
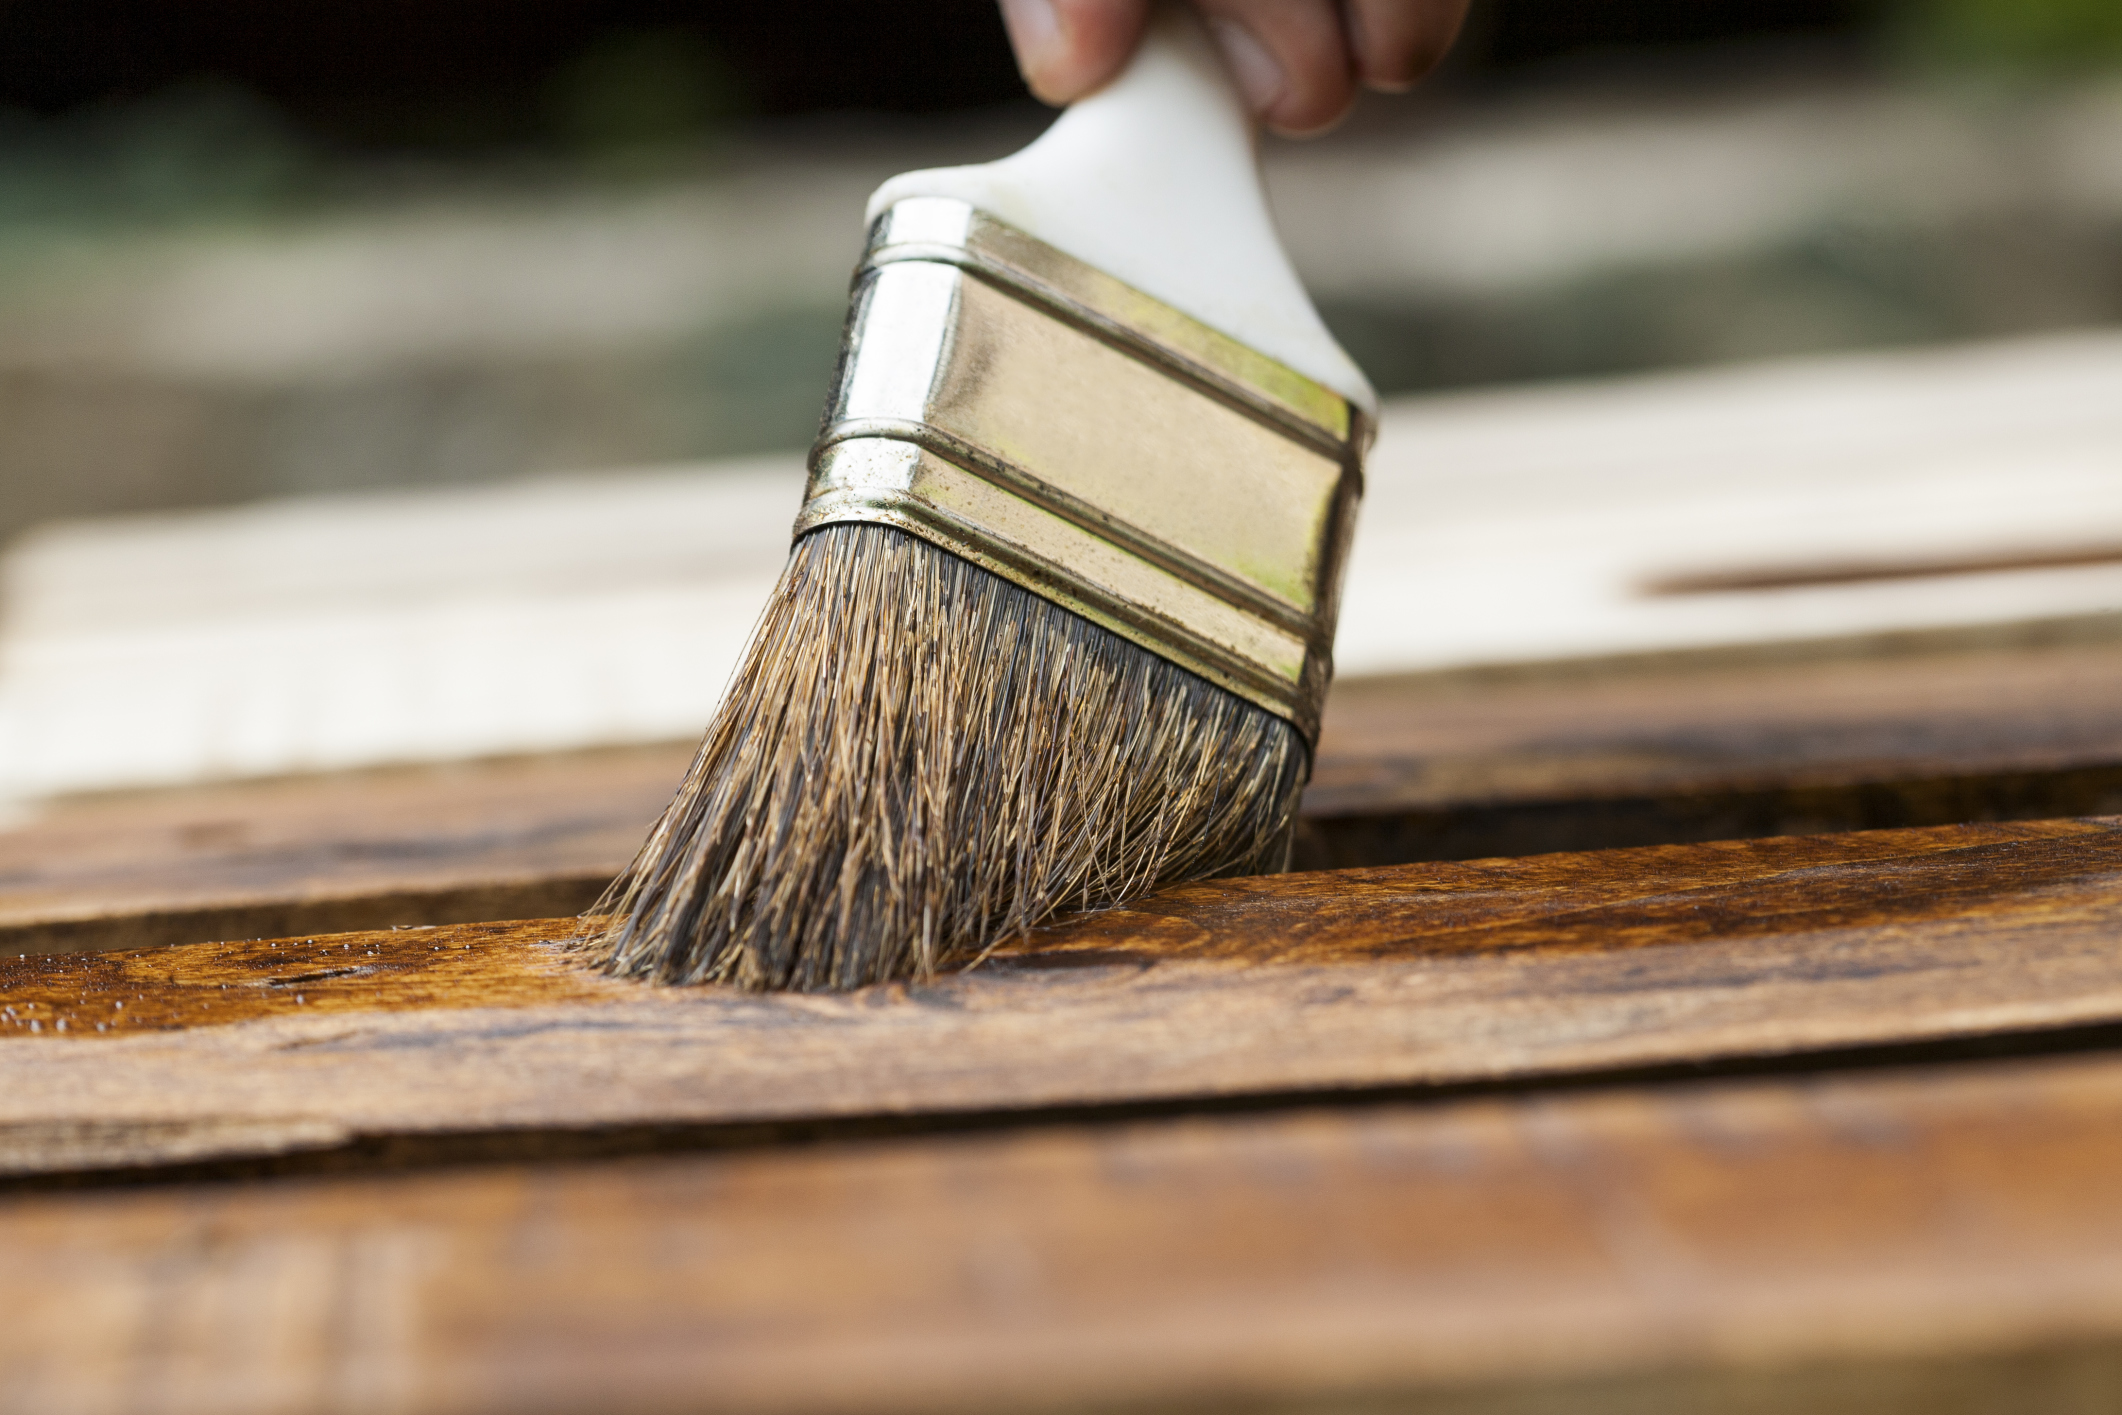
Gather Your Materials
Before you begin cleaning a stain brush, it’s important to gather all the necessary materials to ensure a successful cleaning process. Having the right tools and cleaning agents at hand will make your task much easier. Here are the materials you will need:
- A bucket or sink
- Warm water
- Mild dish soap or brush cleaner
- A scrub brush or toothbrush
- Paper towels or clean cloth
- Gloves (optional)
Having a bucket or sink is essential to fill with warm water for cleaning the brushes. It’s important to use warm water as it helps in loosening up the paint and makes the cleaning process more effective. Additionally, mild dish soap or a specific brush cleaner will aid in breaking down any residue on the brush.
By having a scrub brush or toothbrush designated for cleaning purposes, you can easily scrub the bristles to remove any stubborn paint or stains. Additionally, paper towels or a clean cloth will help you in drying the bristles properly.
Wearing gloves is optional, but it can be beneficial to protect your hands from any chemicals or paint residue that may be present on the brush.
Once you have gathered all the necessary materials, you are ready to move on to the next step: removing excess paint from the brush.
Remove Excess Paint
Before you can clean a stain brush, it’s important to remove any excess paint from the bristles. This will make the cleaning process much more effective and ensure that your brush is thoroughly cleaned. Here’s how to remove excess paint from a stain brush:
- If the paint is still wet, gently tap the brush against the side of the bucket or sink to remove any excess paint.
- If the paint has dried on the brush, use a scraper or your fingernail to scrape off as much of the paint as possible. Be careful not to damage the bristles while doing this.
- If there is still residual paint on the bristles, you can use a brush comb to remove any remaining paint. Gently rake the comb through the bristles to loosen the paint.
It’s important to remove as much paint as possible before proceeding with the cleaning process. This will prevent the paint from contaminating the cleaning solution and ensure that the brush is properly cleaned.
Once you have removed the excess paint, you can move on to pre-treating the brush to further prepare it for cleaning.
Pre-Treat the Brush
Before diving into the cleaning process, it’s a good idea to pre-treat the stain brush to help break down any dried or stubborn paint. This step will make it easier to remove the remaining residue during the cleaning process. Follow these steps to pre-treat your brush:
- Fill a container with warm water. Ensure that there’s enough water to fully submerge the bristles of the brush.
- Add a small amount of mild dish soap or brush cleaner to the water. Mix it well to create a soapy solution.
- Place the brush into the soapy water, making sure that all the bristles are submerged.
- Let the brush soak for about 10-15 minutes. This will allow the soap to penetrate and loosen the dried paint.
- During this time, you can gently agitate the brush in the soapy water to help dislodge any stubborn paint.
Pre-treating the brush will help soften the dried paint and make it easier to clean later on. The mild dish soap or brush cleaner will break down the paint particles and loosen them from the bristles.
Once the brush has finished soaking, you can proceed to the next step of the cleaning process: using warm soapy water to clean the bristles thoroughly.
Use Warm Soapy Water
Now that you have pre-treated the stain brush, it’s time to clean the bristles using warm soapy water. This step will help remove any remaining paint and residue from the brush. Follow these steps to effectively clean the bristles:
- Fill a clean container or sink with warm water. Ensure that the water is not too hot, as it can damage the bristles.
- Add a few drops of mild dish soap or brush cleaner to the water. Mix it well to create a soapy solution.
- Take the pre-treated brush and submerge the bristles fully into the warm soapy water. Swirl the brush around gently to ensure all the bristles are soaked.
- Allow the brush to sit in the soapy water for a few minutes. This will give the soap time to break down any remaining paint.
- Using your fingers, gently massage the bristles to help loosen any paint or residue. Be careful not to forcefully bend or damage the bristles.
Warm soapy water is effective in removing paint from the bristles because it helps to break down and dissolve the paint particles. The dish soap or brush cleaner acts as a surfactant, allowing the water to penetrate the bristles and lift away the paint.
After you have thoroughly cleaned the bristles with warm soapy water, it’s time to move on to the next step: scrubbing the bristles to ensure a deep clean.
Scrub the Bristles
After cleaning the stain brush with warm soapy water, it’s important to scrub the bristles to ensure a deep clean. Scrubbing will help remove any remaining paint or residue that may be stuck in the bristles. Follow these steps to effectively scrub the bristles:
- Take a scrub brush or toothbrush designated for cleaning purposes. Make sure it has soft bristles to avoid damaging the stain brush.
- Dip the scrub brush or toothbrush into the warm soapy water.
- Gently scrub the bristles of the stain brush in a back-and-forth motion. Pay close attention to the base of the bristles, as this is where paint and residues tend to accumulate.
- If there are any stubborn areas with paint residue, apply a bit more pressure while scrubbing to loosen the paint.
- Continue scrubbing until you no longer see any paint or residue coming off the bristles.
Scrubbing the bristles will help ensure that all traces of paint are removed and that the brush is thoroughly clean. By using a scrub brush or toothbrush, you can effectively agitate the bristles and reach into smaller crevices.
Once you have finished scrubbing the bristles, it’s time to move on to the next step: rinsing the brush thoroughly to remove any soapy residue.
Rinse the Brush Thoroughly
After scrubbing the bristles of the stain brush, it’s essential to rinse the brush thoroughly to remove any remaining soap residue and ensure a clean finish. Follow these steps to effectively rinse the brush:
- Hold the stain brush under running water, allowing the water to flow through the bristles.
- Gently squeeze the bristles to ensure that all soap residue is rinsed away.
- Continue rinsing the brush until the water runs clear and there is no evidence of soap suds.
- Run your fingers through the bristles to ensure there are no leftover paint or soap residue.
Rinsing the brush thoroughly is crucial to prevent any soap residue from affecting the performance of the brush in future painting projects. It also ensures that no leftover paint or residue remains in the bristles.
Once you have rinsed the brush thoroughly, it’s time to move on to the next step: removing any stubborn stains that may still be present on the brush.
Remove Stubborn Stains
Even after rinsing the brush thoroughly, there may still be some stubborn stains remaining on the bristles. These stains can affect the performance of the brush and potentially transfer onto your next painting project. Follow these steps to effectively remove stubborn stains from your stain brush:
- Create a mixture of warm water and dish soap or brush cleaner in a small container.
- Dip just the bristles of the brush into the mixture, ensuring that the handle of the brush does not come into contact with the solution.
- Gently scrub the bristles using a scrub brush or toothbrush.
- If the stain persists, you can try using a small amount of rubbing alcohol on a cloth or paper towel to dab at the affected area.
- Continue scrubbing or dabbing until the stubborn stain is completely removed.
If the stain is particularly stubborn, you can also try using a specialized brush cleaner or paint thinner. However, be cautious when using these products, as they may have strong odors or be harsh on certain types of bristles.
By taking the time to remove stubborn stains, you ensure that your stain brush remains in optimal condition and delivers clean, smooth strokes on your future painting projects. Once the stubborn stains are removed, it’s important to properly dry the brush to avoid any damage.
Dry the Brush Properly
After cleaning and removing any stubborn stains from the stain brush, it’s crucial to dry it properly to prevent any damage or mold growth. Follow these steps to ensure your brush dries thoroughly:
- Gently squeeze out any excess water from the bristles by running your fingers along the length of the bristles.
- Use a clean cloth or paper towel to pat the bristles dry, absorbing any remaining moisture.
- Shape the bristles back into their original form, ensuring they are straight and not clumped together.
- Lay the brush flat or hang it upside down to air dry. Avoid placing the brush upright with the bristles pointing towards the ground, as this can cause the bristles to bend or lose their shape.
- Allow the brush to air dry completely before storing it. This may take several hours to overnight, depending on the brush size and thickness of the bristles.
It’s essential to ensure that the brush is completely dry before storing it to prevent any moisture from causing the bristles to warp or grow mold. Mold growth can not only compromise the quality of the brush but also pose health risks.
Additionally, avoid using a hairdryer or any direct heat source to speed up the drying process, as this can damage the bristles or handle of the brush.
Once the brush is thoroughly dried, it’s important to store it properly to maintain its shape and longevity.
Store in a Safe Place
After cleaning and thoroughly drying your stain brush, it’s crucial to store it properly to maintain its shape and protect it from damage. Follow these guidelines to ensure you store your brush in a safe place:
- Find a clean and dry area where you can keep your brush. Avoid storing it in a humid or damp environment, as this can promote mold growth.
- If your stain brush has a protective cover or sleeve, place it back on the brush to help maintain the shape and protect the bristles.
- Alternatively, you can wrap the bristles with a clean cloth or paper towel to prevent dust or debris from settling on them.
- Store the brush upright or hang it with the bristles facing upwards to prevent any bending or warping.
- Keep the brush away from direct sunlight or extreme temperatures, as these can also cause damage to the bristles.
Proper storage will help extend the lifespan of your stain brush and ensure that it’s ready for use in your next painting project. By keeping it in a safe and clean environment, you can prevent any unnecessary wear or contamination of the bristles.
Remember to check the condition of your stored brush periodically and perform any necessary cleaning or maintenance before using it again.