
Measuring and Choosing the Right Shelf
Before you can begin the process of installing a floating shelf, it’s crucial to measure the space where the shelf will be mounted and determine the right size and style for your needs. Here’s how to get started:
1. Measure the Space: Use a tape measure to determine the length, height, and depth of the area where you plan to install the floating shelf. Make sure to consider any obstructions such as light switches, outlets, or molding that may affect the placement of the shelf.
2. Consider Weight Capacity: Evaluate the items you intend to display on the floating shelf and choose a shelf that can safely support their weight. Most floating shelves come with weight capacity specifications, so be sure to check these before making your selection.
3. Choose the Style: Floating shelves come in various styles, such as wood, glass, or metal, each offering a distinct aesthetic. Consider the overall décor of the room and choose a shelf that complements the existing design elements.
4. Check Installation Requirements: Different floating shelf models may have specific installation requirements, such as the need for additional mounting hardware or specific wall types. Make sure to review the manufacturer’s instructions and ensure that your chosen shelf is compatible with your wall.
5. Consider Ease of Installation: If you’re planning to install the floating shelf yourself, take into account your skill level and the tools you have available. Some shelves may require more complex installation procedures, so choose a shelf that aligns with your abilities.
By diligently measuring and selecting the right floating shelf for your space, you’ll lay the foundation for a successful installation process. Keep these considerations in mind as you move forward to ensure that your floating shelf is both functional and aesthetically pleasing.
Gathering the Necessary Tools and Materials
Before you begin the installation process, it’s essential to gather all the tools and materials you’ll need to ensure a smooth and efficient installation. Here’s a list of the items you should have on hand:
1. Floating Shelf Kit: Start by purchasing a floating shelf kit that includes the necessary hardware for installation. This typically includes shelf brackets, screws, and wall anchors.
2. Measuring Tape: Ensure you have a measuring tape to accurately measure the wall and mark the position of the shelf.
3. Level: A level will help you ensure that the shelf is perfectly horizontal during installation. This is important for both functionality and aesthetics.
4. Power Drill: You’ll need a power drill to create pilot holes for the screws and wall anchors. Make sure your drill is charged and equipped with the appropriate drill bits.
5. Screwdriver: Depending on the type of screws included in your floating shelf kit, you may need a screwdriver to tighten them securely.
6. Pencil or Marker: Use a pencil or marker to mark the position of the shelf on the wall. This will help guide you during the installation process.
7. Stud Finder: If you’re planning to mount the shelf on a wall stud, a stud finder will help you locate the studs for added stability.
8. Wall Anchors: If you’re installing the shelf on drywall or plaster walls, it’s crucial to use wall anchors to provide extra support. Make sure to choose the appropriate wall anchors for the weight capacity of your shelf.
9. Safety Equipment: Don’t forget to prioritize your safety by wearing protective eyewear and gloves when handling tools and drilling into walls.
By gathering these essential tools and materials ahead of time, you’ll be well-prepared to tackle the floating shelf installation process efficiently and effectively. Having everything at your fingertips will save you time and ensure a successful outcome.
Locating and Marking the Shelf’s Position
Once you have all the necessary tools and materials ready, the next step in installing a floating shelf is to accurately locate and mark the position where the shelf will be mounted. Follow these steps to ensure precise placement:
1. Find the Studs: If you plan to mount the shelf on wall studs, use a stud finder to locate them. This will provide additional support and stability for your shelf.
2. Measure and Mark: Use a measuring tape to find the desired height for your shelf. Mark this height on the wall using a pencil or marker. Ensure that the mark is level by using a level or by measuring from the floor or ceiling.
3. Mark Stud Locations: If you’re mounting the shelf on studs, mark their locations on the wall. This will help you align the brackets properly and ensure a secure installation.
4. Determine Bracket Placement: Depending on the size of your shelf and the number of brackets included in your kit, determine the appropriate spacing for the brackets along the marked line. Divide the width of the shelf evenly among the brackets for proper weight distribution.
5. Mark Bracket Positions: Use a measuring tape to mark the specific positions of the brackets on the wall, based on the determined spacing. Double-check your measurements to ensure accuracy.
6. Check Alignment: Take a step back and visually inspect the marked positions of the shelf and brackets. Ensure that the placement aligns with your desired aesthetic and that it is level and centered within the space.
7. Adjust if Necessary: If you’re not satisfied with the initial placement, make any necessary adjustments to the markings. Take your time to get it right before moving on to the next steps.
By taking the time to accurately locate and mark the position of your floating shelf, you’ll set the stage for a successful installation. Precise measurements and level marks will ensure that your shelf is both visually appealing and functionally secure.
Preparing the Wall for Installation
Before you can proceed with installing a floating shelf, it’s important to properly prepare the wall to ensure a sturdy and long-lasting installation. Here’s what you need to do:
1. Clear the Area: Remove any objects, decorations, or furniture that may obstruct your access to the wall where the shelf will be installed. This will allow you to work freely and avoid any accidents during the process.
2. Patch Any Holes: If there are any existing holes or damage on the wall surface, fill them with spackling compound and smoothen the area with a putty knife. Ensure that the surface is clean and even before proceeding.
3. Clean the Wall: Dust, dirt, and grease can affect the adhesive properties of wall anchors and the stability of the shelf. Use a clean cloth or sponge to wipe the wall surface and remove any debris or grime.
4. Find Wall Studs (Optional): If you’re planning to mount the shelf on wall studs for added support, use a stud finder to locate the studs and mark their locations on the wall. This step is particularly important if you have heavy items to display on the shelf.
5. Mark Anchor Positions: Take the shelf brackets provided in your kit and hold them up against the previously marked positions on the wall. Use a pencil or marker to mark the spots where you’ll need to install wall anchors. Ensure that the brackets are level and centered before marking.
6. Consider Cable and Wire Placement: If there are electrical cables or wires behind the wall, take this into consideration when marking the anchor positions. Avoid drilling into these areas to prevent any damage to the electrical system.
7. Double-Check Measurements: Before proceeding with drilling, double-check all measurements and markings to ensure accuracy. Confirm that the marked positions align with the desired placement of the shelf and that they are level.
By properly preparing the wall for installation, you’ll create a solid foundation for your floating shelf. Taking the extra time to clear, clean, and mark the wall will help ensure a smooth and trouble-free installation process.
Installing the Wall Anchors
Installing wall anchors is a crucial step in ensuring the stability and secure attachment of your floating shelf. Here’s a step-by-step guide to help you through the process:
1. Select the Right Wall Anchors: Choose wall anchors that are appropriate for the type of wall you have (drywall, plaster, etc.) and the weight capacity specified for your floating shelf. Consult the manufacturer’s instructions or seek professional advice if you’re unsure about which anchors to use.
2. Mark the Drill Points: Align the brackets to the previously marked positions on the wall. Then, using a pencil or marker, mark the spots on the wall where you’ll need to drill the holes for the wall anchors. Ensure that the marks align with the bracket’s holes and are level.
3. Drill Pilot Holes: Attach the appropriate size drill bit to your power drill and begin drilling pilot holes at the marked points. Be mindful of the depth of the holes, as it should match the length of the wall anchors you’re using.
4. Insert the Wall Anchors: Gently tap the wall anchors into the pilot holes using a hammer until they are flush with the wall surface. Make sure they fit securely in the holes and do not protrude.
5. Attach the Brackets: Line up the brackets with the installed wall anchors. Insert screws through the bracket’s mounting holes and into the wall anchors. Use a screwdriver or power drill to tighten the screws, ensuring that the brackets are firmly attached to the wall.
6. Double-Check Stability: Give the brackets a gentle tug to ensure they are securely fastened to the wall. They should not move or feel loose. If there is any instability, check the installation of the wall anchors and brackets to ensure they are properly secured.
7. Repeat for Additional Brackets: If your floating shelf requires multiple brackets, repeat the same process for each bracket, ensuring proper spacing and alignment.
By following these steps, you’ll successfully install the wall anchors, laying the foundation for a strong and secure floating shelf. Taking the time to choose the right anchors and properly install them will ensure that your shelf is safely attached to the wall.
Attaching the Shelf Bracket
After installing the wall anchors, the next step in the installation process is attaching the shelf bracket. Follow these steps to ensure a secure attachment:
1. Position the Bracket: Hold the shelf bracket against the wall, aligning it with the installed wall anchors. Ensure that the bracket is level and centered according to your desired placement for the shelf.
2. Mark the Screw Holes: Use a pencil or marker to mark the locations of the screw holes on the wall through the bracket’s mounting holes. Make sure to remove the bracket temporarily to have a clear view of the markings.
3. Drill Pilot Holes: Attach the appropriate size drill bit to your power drill. Drill pilot holes at the marked locations on the wall, ensuring that the holes are slightly smaller than the diameter of the screws included with the shelf bracket.
4. Align the Bracket: Hold the bracket against the wall again and align the mounting holes with the drilled pilot holes. Make any necessary adjustments to ensure proper alignment and levelness.
5. Insert the Screws: Insert the screws through the bracket’s mounting holes and into the pilot holes in the wall. Use a screwdriver or power drill to tighten the screws, securing the bracket firmly to the wall.
6. Double-Check Stability: Give the bracket a gentle tug to ensure it is securely attached to the wall. It should not move or feel loose. If there is any instability, check the tightness of the screws and make any necessary adjustments.
7. Repeat for Additional Brackets: If your floating shelf requires multiple brackets, repeat the same process for each bracket, ensuring proper spacing and alignment.
By following these steps, you’ll securely attach the shelf bracket to the wall, setting the stage for the final steps of the installation process. Paying attention to alignment and stability will ensure that your floating shelf remains securely in place.
Mounting the Floating Shelf
After the shelf bracket is securely attached to the wall, it’s time to mount the floating shelf itself. Follow these steps to ensure a successful installation:
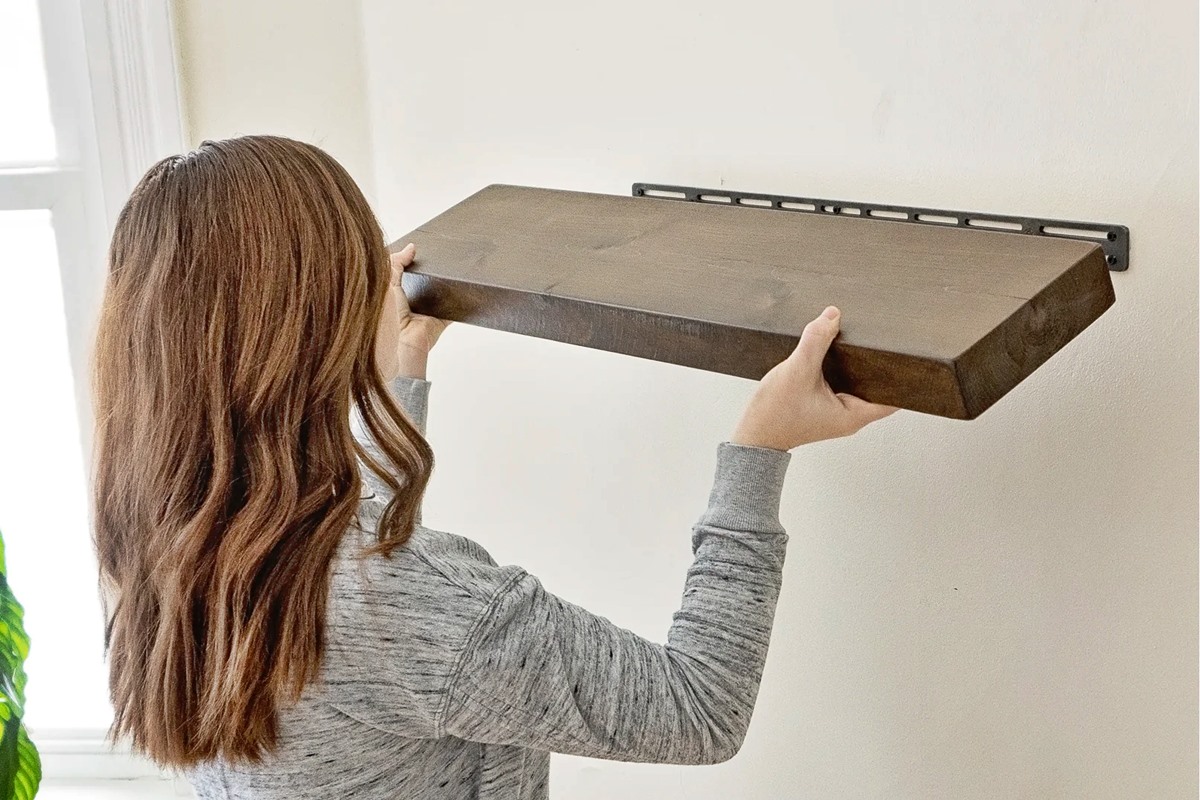
1. Position the Shelf: Hold the floating shelf above the installed bracket, aligning it with the bracket’s protrusions or slots. Ensure that the shelf is level and centered according to your desired placement.
2. Slide the Shelf Onto the Bracket: Carefully slide the shelf onto the bracket, making sure that it fits securely and snugly into place. The bracket should support the weight of the shelf without any wobbling or instability.
3. Adjust Shelf Placement: Once the shelf is mounted on the bracket, double-check its placement and make any necessary adjustments. Ensure that it is level and centered within the space. Take a step back and visually inspect the shelf to ensure its alignment with the overall aesthetic of the room.
4. Check for Stability: Give the floating shelf a gentle shake or light pressure test to ensure it is securely mounted to the bracket. It should not move or feel unstable. If there is any wobbling or looseness, double-check the attachment of the bracket to the wall and make any necessary adjustments.
5. Verify Weight Capacity: Before loading the shelf with items or decorations, verify the weight capacity specified by the manufacturer. Ensure that the items you plan to display on the shelf fall within the recommended weight limits to prevent any damage or accidents.
6. Make Final Adjustments: Stand back and visually inspect the floating shelf once more. Ensure that it is level, stable, and properly aligned with the brackets and the room’s overall aesthetics. Make any final adjustments as needed.
By following these steps, you’ll successfully mount the floating shelf onto the bracket, completing the installation process. Ensuring proper alignment, stability, and weight capacity will ensure that your floating shelf is not only attractive but also functional and secure.
Securing the Shelf in Place
Once the floating shelf is mounted on the bracket, it’s important to take the necessary steps to secure it in place. Follow these guidelines to ensure the shelf remains stable and properly attached:
1. Tighten Bracket Screws: Inspect the screws that secure the shelf bracket to the wall. Use a screwdriver or power drill to tighten them further, ensuring that the bracket is firmly attached to the wall. This will provide additional stability and prevent any movement.
2. Apply Adhesive (Optional): If desired or specified by the manufacturer, you can apply adhesive to the top surface of the bracket before mounting the shelf. This will provide extra security and prevent the shelf from accidentally sliding off the bracket.
3. Use Support Brackets (If Applicable): Some floating shelf kits come with additional support brackets to enhance stability. If your kit includes such brackets, follow the manufacturer’s instructions to install them securely, providing extra support for the shelf.
4. Consider Additional Support: If you have a particularly heavy load or plan to display valuable or fragile items on the shelf, consider adding additional support. Consult a professional or seek advice from the manufacturer on how to reinforce the shelf’s stability.
5. Avoid Overloading: Respect the weight capacity guidelines provided by the manufacturer. Overloading the shelf with excessive weight can compromise its stability and lead to damage or accidents. Distribute the items evenly across the shelf to maintain balance.
6. Periodic Maintenance: Regularly inspect the shelf and its attachment to the wall. Check for any signs of loosening or instability. If necessary, re-tighten screws, adjust the brackets, or seek professional assistance to ensure the continued security of the floating shelf.
By taking the time to properly secure the floating shelf in place, you’ll ensure its stability and longevity. Following these steps and considering additional support when needed will provide peace of mind and allow you to confidently display your items on the shelf.
Finishing and Decorating the Floating Shelf
Once the floating shelf is securely installed, it’s time to put the finishing touches and add personal style with your chosen decorations. Here are some steps to consider when finishing and decorating your floating shelf:
1. Clean and Polish: Before adding any decorations, give the shelf a quick dusting or wipe-down to ensure it’s clean and free from any residue or smudges. Consider using a wood cleaner or polish to enhance the shine and condition of wooden shelves.
2. Organize and Arrange: Arrange your items on the shelf in an appealing and visually balanced way. Consider grouping items in clusters or sections, varying the heights and sizes for added visual interest. Play around with different arrangements until you find the most aesthetically pleasing display.
3. Layer and Combine: Experiment with layering items on the shelf to create depth and dimension. Place smaller items in front of larger ones, and mix textures, colors, and materials to create a visually captivating display.
4. Incorporate Greenery: Add a touch of freshness and life to your floating shelf by including small potted plants or fresh flowers. Not only will this add a pop of color, but it will also bring a sense of nature and tranquility to the space.
5. Consider Lighting: Highlight your decorations by incorporating small LED lights or placing a table lamp near the shelf. Lighting can add a warm and inviting ambiance, making your floating shelf a focal point in the room.
6. Personalize with Art and Photos: Showcase your personality by incorporating framed photos or small pieces of art on the shelf. This allows you to personalize the space and make it truly your own.
7. Revisit and Revise: Don’t be afraid to change and update the decorations on your floating shelf periodically. Experiment with different arrangements or swap out items to keep the display fresh and evolving.
By giving attention to the finishing touches and décor of your floating shelf, you can transform it into a stylish and personalized focal point in the room. Take your time to curate and arrange the items, ensuring a visually appealing and meaningful display.