
Using a Dremel Tool with a Diamond Wheel
If you don’t have a glass cutter on hand, you can still cut a mirror using a Dremel tool with a diamond wheel. Here are the steps to follow:
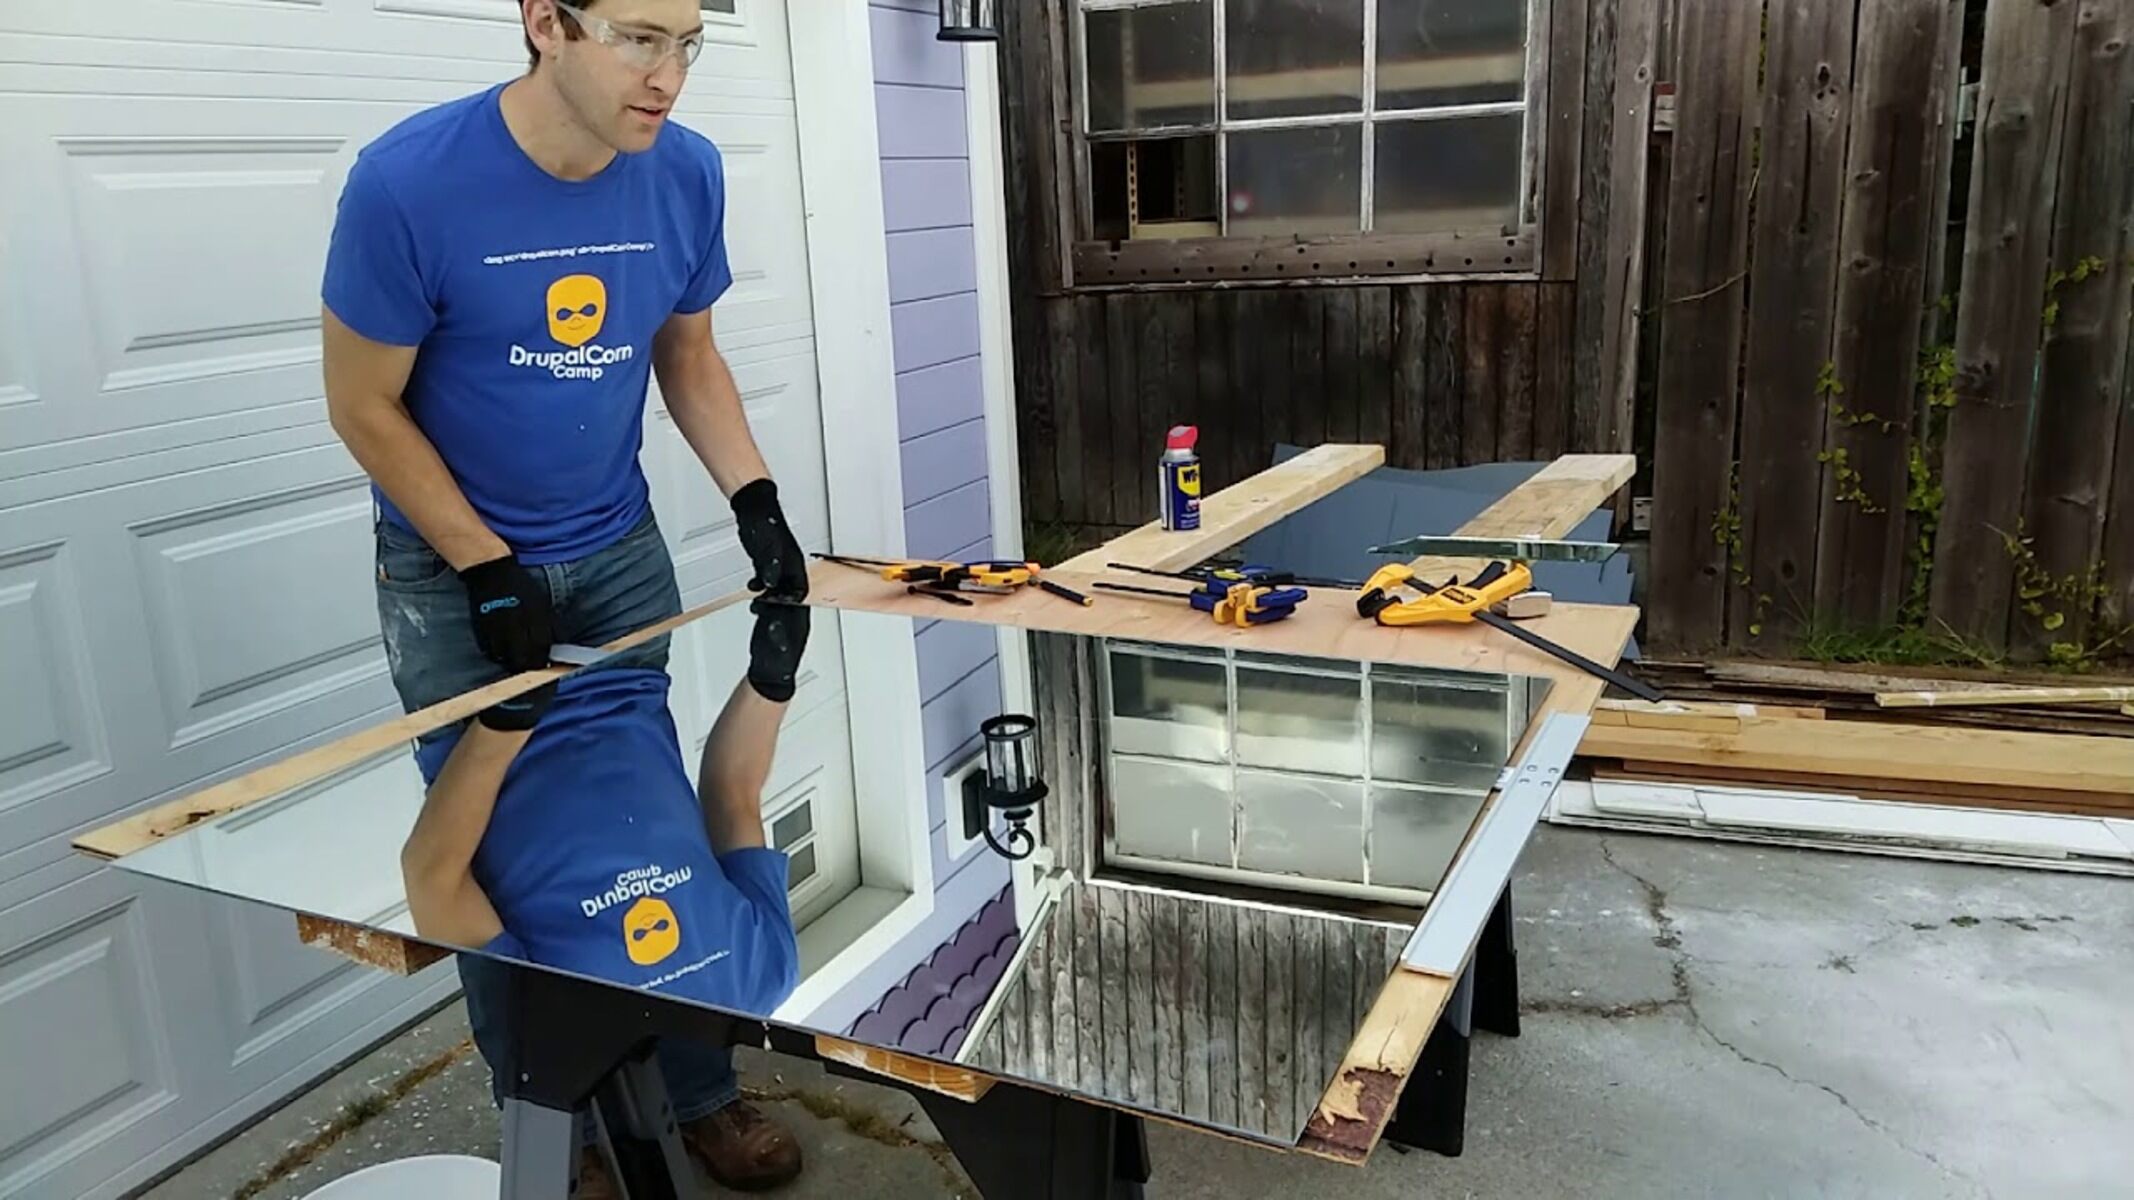
- Safety first: Before starting, make sure to wear protective goggles and gloves to avoid any accidents and injuries.
- Prepare your workspace: Find a clean, flat surface to work on and ensure that it is well-lit. Place a soft cloth or towel underneath the mirror to prevent it from sliding or scratching.
- Mark your desired cut: Use a permanent marker to draw a line on the mirror where you want to make the cut. Ensure that the line is straight and accurately positioned.
- Attach the diamond wheel: Attach a diamond cutting wheel to your Dremel tool. Make sure it is properly secured before proceeding.
- Start cutting: Carefully guide the diamond wheel along the marked line, applying gentle pressure. Let the diamond wheel do the work and avoid applying excessive force, as it may cause the mirror to crack or shatter.
- Take breaks: If you notice the mirror getting too hot or the cutting process becoming difficult, take short breaks to allow both the mirror and the diamond wheel to cool down.
- Smooth the edges: Once you have completed the cut, use sandpaper or a sanding block to smooth the edges of the mirror. This will help prevent any potential cuts or injuries.
- Clean the mirror: After cutting, clean the mirror with a glass cleaner and a lint-free cloth to remove any debris or dust.
Remember, cutting a mirror with a Dremel tool requires precision and patience. Take your time and follow the steps carefully to achieve a clean and accurate cut. Please be cautious during the process and handle the tools responsibly to ensure your safety.
Using a Tile Cutter with a Carbide Wheel
If you have a tile cutter available, you can use it as an alternative to a glass cutter for cutting a mirror. Follow these steps to cut a mirror using a tile cutter with a carbide wheel:
- Gather your materials: In addition to the tile cutter, you will need a straight edge or ruler, a permanent marker, and a clean, flat surface to work on.
- Measure and mark: Determine the desired dimensions for your mirror and use a ruler and marker to mark the cutting line. Ensure that the line is straight and accurately positioned.
- Prepare the tile cutter: Set up the tile cutter according to the manufacturer’s instructions. Adjust the carbide wheel to align with the marked cutting line.
- Score the mirror: Place the mirror face-up on the tile cutter, aligning the cutting line with the carbide wheel. Apply consistent pressure while running the wheel along the line to score the mirror’s surface.
- Break the mirror: Carefully bring the scored line to the edge of the tile cutter and gently apply pressure on both sides to break the mirror along the scored line. Be cautious to avoid any damage or injury during this step.
- Smooth the edges: After cutting, use sandpaper or emery cloth to smooth the edges of the mirror. This will help eliminate any sharp or rough edges and provide a polished finish.
- Inspect the cut: Check the cut edge for any imperfections or unevenness. If needed, use sandpaper or a file to make minor adjustments and ensure a clean and smooth cut.
- Clean the mirror: Once you are satisfied with the cut, clean the mirror with a glass cleaner and a soft cloth to remove any residue or debris.
Remember to take precautionary measures and wear protective eyewear and gloves while handling the mirror and the tile cutter. Practice patience and precision to achieve the desired outcome. Cutting a mirror with a tile cutter may require some practice, so don’t worry if your first attempt is not perfect. With practice, you will become more confident and skilled in cutting mirrors with a tile cutter.
Using a Metal File or Sandpaper
If you don’t have access to specialized glass cutting tools, you can still cut a mirror using a metal file or sandpaper. Follow these steps to cut a mirror using this method:
- Gather your materials: You will need a metal file or sandpaper with medium to fine grit, a straight edge or ruler, a permanent marker, and a clean, flat surface to work on.
- Measure and mark: Determine the desired dimensions for your mirror and use a ruler and marker to mark the cutting line. Ensure that the line is straight and accurately positioned.
- File or sand the mirror: Place the mirror on a stable surface and use the metal file or sandpaper to slowly and gently file or sand along the marked cutting line. Apply even pressure and make several passes, gradually increasing the pressure to create a groove.
- Break the mirror: Once the groove is deep enough, carefully hold the mirror on both sides of the groove and apply gentle pressure to break it along the line. Take care to avoid any damage or injury during this step.
- Smooth the edges: After cutting, use sandpaper or emery cloth to smooth the edges of the mirror. This will help eliminate any sharp or rough edges and provide a polished finish.
- Inspect the cut: Examine the cut edge for any unevenness or imperfections. If needed, use finer sandpaper to refine and smooth the edges further for a clean and polished appearance.
- Clean the mirror: Once you are satisfied with the cut, clean the mirror with a glass cleaner and a soft cloth to remove any debris or residue.
While cutting a mirror with a metal file or sandpaper may take more time and effort compared to using specialized tools, it is a viable option when those tools are not available. Remember to work slowly and be patient, ensuring that the cutting process is gradual and controlled. Take breaks as needed to prevent overheating and to maintain precision. With care and practice, you can successfully cut a mirror using a metal file or sandpaper.
Using a Glass Bottle Cutter
If you have a glass bottle cutter, you can repurpose it to cut a mirror. The process may vary depending on the type of glass bottle cutter you have, but here are some general steps to follow:
- Gather your materials: You will need a glass bottle cutter, a mirror, a ruler or straight edge, a marker, and a clean, flat surface.
- Measure and mark: Determine the desired dimensions for your mirror and use a ruler and marker to mark the cutting line on the mirror. Ensure that the line is straight and accurately positioned.
- Prepare the glass bottle cutter: Adjust the glass bottle cutter according to the instructions provided by the manufacturer. Some models may require you to adjust the cutting wheel position or tighten screws to secure the mirror.
- Cut the mirror: Hold the mirror firmly with one hand and place the cutting wheel of the glass bottle cutter on the marked cutting line. Slowly rotate the mirror while applying gentle, even pressure with the cutter. Continue rotating the mirror several times to create a score line.
- Break the mirror: Once you have scored the mirror, use a glass breaking tool or pliers to gently tap or apply pressure along the scored line. This will help separate the mirror into two pieces. Be careful to avoid any damage or injury during this step.
- Smooth the edges: After cutting, use sandpaper or a sanding block to smooth the edges of the mirror. This will help eliminate any sharp or rough edges and provide a polished finish.
- Clean the mirror: Once you are satisfied with the cut, clean the mirror with a glass cleaner and a soft cloth to remove any debris or residue.
It’s important to refer to the specific instructions provided by the manufacturer of your glass bottle cutter for more precise guidance. Practice patience and caution during the cutting process to achieve a clean and accurate cut. With a glass bottle cutter, you can repurpose glass bottles into mirrors while enjoying the creative satisfaction of upcycling.
Using a Hacksaw or Handsaw with a Carbide Grit Blade
If you have a hacksaw or handsaw with a carbide grit blade, you can use it to cut a mirror. Follow these steps for this method:
- Gather your materials: You will need a hacksaw or handsaw with a carbide grit blade, a straight edge or ruler, a marker, a protective mask, and a clean work surface.
- Measure and mark: Determine the desired dimensions for your mirror and use a ruler and marker to mark the cutting line on the mirror. Ensure that the line is straight and accurately positioned.
- Protect yourself: Put on a protective mask and safety glasses to shield your face from any glass particles generated during the cutting process.
- Position the mirror: Lay the mirror on a flat surface with the marked cutting line aligned with the edge of the surface.
- Cut the mirror: Hold the saw firmly and start cutting along the marked line, applying moderate pressure. Take your time and let the saw do the work. Maintain a steady cutting rhythm to ensure a clean cut.
- Smooth the edges: After cutting, use sandpaper or emery cloth to smooth the edges of the mirror. This will help eliminate any sharp or rough edges and provide a polished finish.
- Inspect the cut: Examine the cut edge of the mirror for any unevenness or imperfections. If needed, use finer sandpaper or a file to refine and smooth the edges further.
- Clean the mirror: Once you are satisfied with the cut, clean the mirror with a glass cleaner and a lint-free cloth to remove any residue or debris.
When using a hacksaw or handsaw with a carbide grit blade, it’s important to work carefully and attentively to prevent accidental injuries or damage to the mirror. Take your time and maintain a steady hand to achieve a clean and precise cut. With practice, you can successfully cut a mirror using a hacksaw or handsaw with a carbide grit blade.
Using a Glass Scorer and Breaker Tool
A glass scorer and breaker tool is a specialized tool designed to make clean and precise cuts in glass, including mirrors. Follow these steps to cut a mirror using a glass scorer and breaker tool:
- Gather your materials: You will need a glass scorer and breaker tool, a straight edge or ruler, a marker, a protective mask, and a clean work surface.
- Measure and mark: Determine the desired dimensions for your mirror and use a ruler and marker to mark the cutting line on the mirror. Ensure that the line is straight and accurately positioned.
- Protect yourself: Put on a protective mask and safety glasses to shield your face from any glass particles generated during the cutting process.
- Secure the mirror: Place the mirror on a flat and stable surface, making sure it doesn’t move while you’re cutting.
- Score the mirror: Hold the glass scorer and breaker tool firmly and place the cutting wheel against the edge of the mirror at the starting point of the marked line. Apply even pressure and smoothly run the tool along the line, scoring the surface of the mirror.
- Break the mirror: Once the mirror is scored, use the breaker part of the tool to apply gentle pressure on both sides of the scored line. The mirror should break along the line. Take care to avoid any injury or damage during this step.
- Smooth the edges: After cutting, use sandpaper or emery cloth to smooth the edges of the mirror. This will help eliminate any sharp or rough edges and provide a polished finish.
- Inspect the cut: Examine the cut edge of the mirror for any unevenness or imperfections. If needed, use finer sandpaper or a file to refine and smooth the edges further for a clean and polished appearance.
- Clean the mirror: Once you are satisfied with the cut, clean the mirror with a glass cleaner and a soft cloth to remove any debris or residue.
The glass scorer and breaker tool provides a precise and reliable way to cut a mirror. However, it is important to handle the tool with care and follow the manufacturer’s instructions for best results. Practice patience and caution during the cutting process to achieve a clean and accurate cut. With practice, you can successfully cut a mirror using a glass scorer and breaker tool.
Using a Laser Cutter
If you have access to a laser cutter, you can utilize this advanced tool to cut a mirror with precision and efficiency. Here are the steps to use a laser cutter to cut a mirror:
- Gather your materials: In addition to a laser cutter, you will need a mirror, a computer or control panel to operate the machine, and a clean, flat surface to work on.
- Prepare the laser cutter: Make sure the laser cutter is properly calibrated and the power settings are adjusted according to the mirror’s thickness. Consult the instruction manual or a laser cutting expert for guidance if necessary.
- Import or create the design: Using appropriate software, import or create the design for the mirror cut. Ensure that the dimensions, lines, and shapes are accurately represented in the design file.
- Place the mirror: Carefully position the mirror within the laser cutter’s cutting bed, ensuring that it is secure and flat.
- Set the parameters: In the laser cutter software or control panel, set the appropriate parameters such as power, speed, and number of passes based on the mirror’s thickness and desired precision.
- Start the cutting process: Double-check all settings and safety measures, then start the laser cutter to begin cutting the mirror according to the imported or created design.
- Monitor the process: Stay vigilant throughout the cutting process, observing the laser cutter’s progress and making sure that the mirror is being cut accurately.
- Inspect the cut: Once the laser cutter has completed the cutting process, carefully remove the mirror from the cutting bed and inspect the cut edges for any imperfections or roughness.
- Clean the mirror: After cutting, clean the mirror with a glass cleaner and a lint-free cloth to remove any residue or debris.
Using a laser cutter offers precise and efficient results when cutting a mirror. However, it is crucial to follow the machine’s operating instructions and take appropriate safety precautions during the process. Additionally, consult with experienced users or professionals when working with a laser cutter for the first time. With proper handling and knowledge, you can achieve clean and accurate mirror cuts with a laser cutter.
Using a Wet Tile Saw with a Diamond Blade
If you have access to a wet tile saw with a diamond blade, you can use it as an effective tool for cutting a mirror. Here are the steps to follow:
- Gather your materials: In addition to the wet tile saw, gather a mirror, a straight edge or ruler, a marker, water, and a clean work surface.
- Measure and mark: Determine the desired dimensions for your mirror and use a ruler and marker to mark the cutting line on the mirror. Ensure that the line is straight and accurately positioned.
- Set up the wet tile saw: Fill the reservoir of the wet tile saw with water according to the manufacturer’s instructions. Ensure the diamond blade is in good condition and properly installed.
- Position the mirror: Place the mirror on the wet tile saw’s cutting bed, aligning the marked cutting line with the blade.
- Turn on the saw and make the cut: Turn on the wet tile saw and slowly guide the mirror towards the blade, allowing it to make a smooth and controlled cut along the marked line. Apply light pressure and let the saw do the work.
- Smooth the edges: After cutting, use sandpaper or emery cloth to smooth the edges of the mirror. This will help eliminate any sharp or rough edges and provide a polished finish.
- Inspect the cut: Examine the cut edge of the mirror for any unevenness or imperfections. If needed, use finer sandpaper or a file to refine and smooth the edges further for a clean and polished appearance.
- Clean the mirror: Once you are satisfied with the cut, clean the mirror with a glass cleaner and a soft cloth to remove any debris or residue.
Using a wet tile saw with a diamond blade ensures clean and precise cuts on a mirror. However, it is essential to follow the manufacturer’s instructions and safety guidelines when operating the tool. Take necessary precautions such as wearing eye protection and working in a well-ventilated area. With proper handling and care, you can achieve professional-looking results when cutting a mirror with a wet tile saw.
Using a Wire or String and Heat Method
When you don’t have access to traditional glass cutting tools, another method to cut a mirror is by using a wire or string and heat. While this technique requires some patience and precision, it can be an effective alternative. Here’s how you can cut a mirror using a wire or string and heat:
- Gather your materials: You will need a wire or string, matches or a lighter, a container filled with ice water, and a clean, flat work surface.
- Measure and mark: Determine the desired dimensions for your mirror and use a ruler and marker to mark the cutting line on the mirror. Ensure that the line is straight and accurately positioned.
- Create a groove: Place the wire or string along the marked cutting line and hold the ends firmly on both sides of the mirror. Apply even pressure and use a sawing motion to create a shallow groove in the mirror’s surface.
- Heat the wire or string: Light a match or a lighter and carefully heat the portion of the wire or string that is directly above the mark on the mirror. Ensure the heat is evenly distributed along the groove.
- Apply thermal shock: Once the wire or string has been heated for a sufficient amount of time, quickly immerse the mirror in the container of ice water. The sudden temperature change will create a thermal shock and cause the mirror to break along the groove.
- Smooth the edges: After cutting, use sandpaper or emery cloth to smooth the edges of the mirror. This will help eliminate any sharp or rough edges and provide a polished finish.
- Clean the mirror: Once you are satisfied with the cut, clean the mirror with a glass cleaner and a soft cloth to remove any debris or residue.
It’s important to exercise caution when using the wire or string and heat method. Be mindful of your safety, as the wire or string and the mirror can become extremely hot during the process. Take your time and regularly dip the wire or string into the ice water to prevent overheating. With practice and patience, you can achieve a clean cut using the wire or string and heat method as an alternative to traditional glass cutting tools.