
How Does a Crisping Tray Work?
A crisping tray is an innovative kitchen tool that helps you achieve perfectly crispy and golden-brown results when cooking certain foods. But how does it work? Let’s dive into the science behind it.
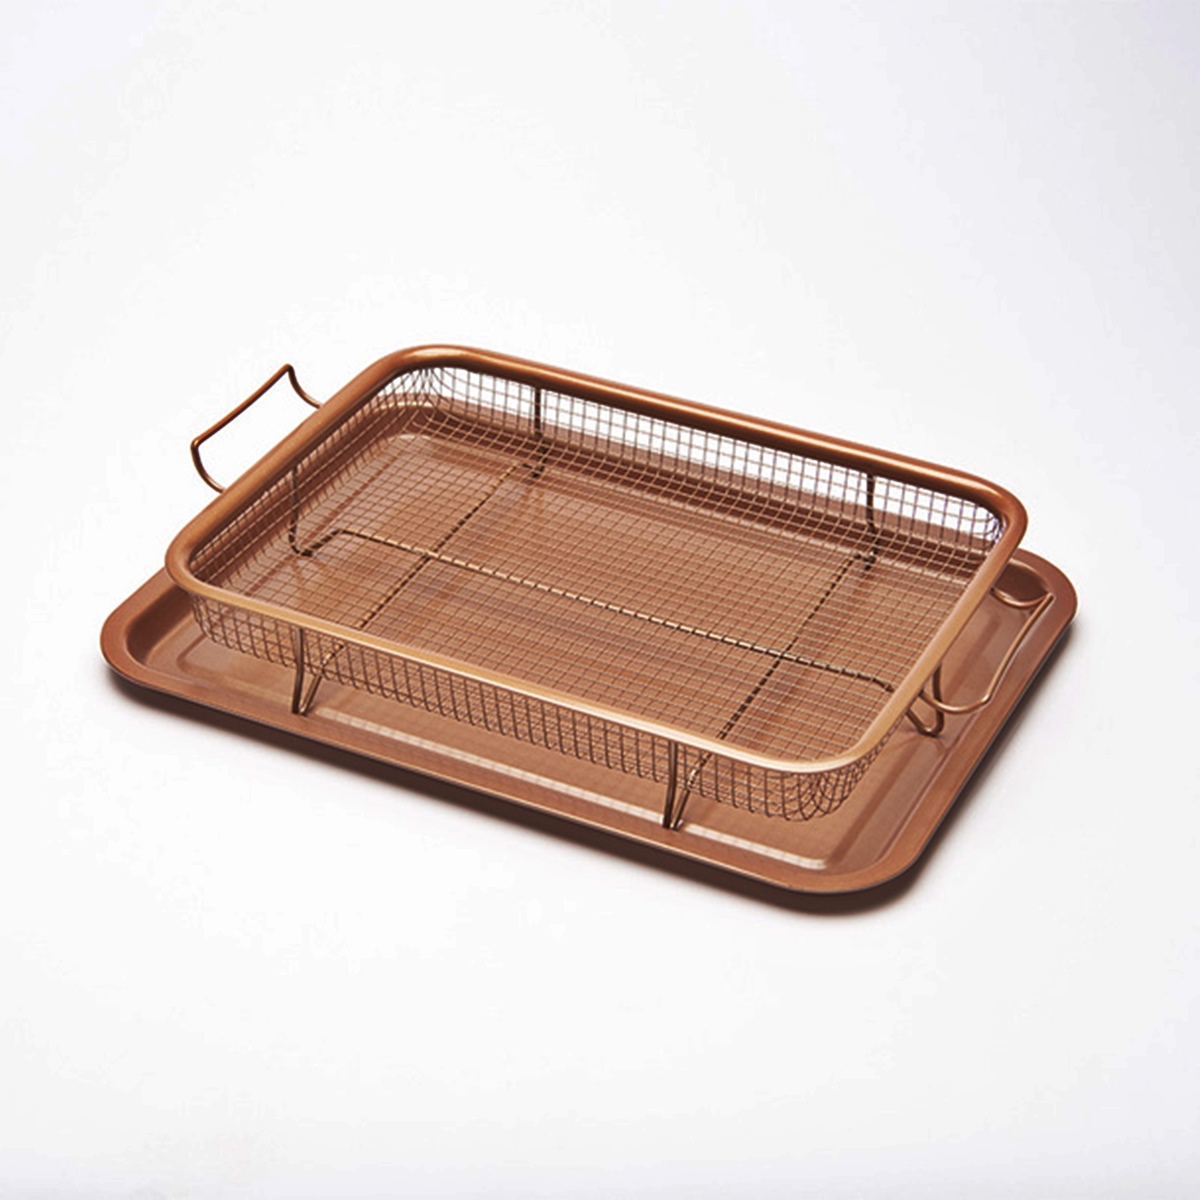
At its core, a crisping tray functions as a specialized baking sheet or pan that utilizes elevated grates or perforations. These grates or perforations allow heat to circulate around the food, promoting even cooking while simultaneously allowing excess moisture to escape. This efficient air circulation is key to achieving that coveted crispiness.
By allowing hot air to circulate underneath and around the food, a crisping tray essentially provides a more efficient cooking process. The elevated position prevents the food from sitting in any juices or fats that may have rendered, allowing them to drip away. This helps prevent the food from becoming soggy or greasy, resulting in a beautifully crispy and flavorful end result.
In addition to promoting airflow, some crisping trays come with an added feature: a non-stick coating. This coating not only prevents food from sticking to the tray but also aids in the overall crispiness of the food. The non-stick surface promotes browning and helps achieve an even, crispy texture.
Furthermore, the materials used to construct crisping trays also play a role in their functionality. Most trays are made from high-quality metal alloys that are not only durable but also excellent conductors of heat. This ensures that the tray heats up quickly and evenly, providing optimal cooking conditions for a crispy outcome.
Whether you’re cooking bacon, chicken wings, or even reheating leftovers like pizza, a crisping tray can work wonders. It harnesses the power of circulating air and elevated cooking surfaces to create that desired crispy texture, resulting in a more flavorful and enjoyable eating experience.
The Benefits of Using a Crisping Tray
Using a crisping tray in your cooking routine can offer a range of benefits that can elevate your culinary skills and elevate the quality of your meals. Let’s take a closer look at some of the advantages of using a crisping tray in the kitchen.
1. Crispy Texture: The primary benefit of using a crisping tray is that it helps you achieve a crispy and golden-brown texture on your food. Whether you’re roasting vegetables, baking chicken, or reheating leftovers, the elevated grates or perforations on the tray allow hot air to circulate evenly, resulting in a crispy exterior and a tender interior.
2. Healthier Cooking: By using a crisping tray, you can enjoy healthier meals. The elevated position of the food allows fats and oils to drip away, reducing the overall grease content. This means you can indulge in your favorite crispy dishes with less guilt.
3. Time-Saving: Crisping trays are designed to optimize cooking time. The efficient airflow and even heat distribution provided by the tray can speed up the cooking process, allowing you to prepare your meals faster. Additionally, since the food cooks more evenly, you can avoid the hassle of constantly flipping or rotating it.
4. Versatility: Crisping trays are incredibly versatile and can be used for a wide range of dishes. From roasted vegetables and French fries to chicken wings and even desserts like cookies, the crisping tray can handle it all. It’s a multipurpose tool that can enhance your cooking repertoire.
5. Easy Cleanup: Many crisping trays come with a non-stick coating, making cleanup a breeze. The non-stick surface prevents food particles from sticking, allowing you to easily wipe it clean with a sponge or place it in the dishwasher. Say goodbye to scrubbing stubborn remnants off traditional baking sheets!
6. Consistent Results: With a crisping tray, you can expect consistent results every time you use it. The combination of optimal airflow, even heat distribution, and the non-stick surface ensures that your food cooks evenly and achieves that perfect crispiness, resulting in a professional-quality outcome.
Overall, using a crisping tray in your cooking endeavors can enhance the texture, taste, and overall enjoyment of your meals. From achieving an irresistible crispy exterior to reducing the grease content of your dishes, this versatile kitchen tool is a must-have for any aspiring home chef.
Different Types of Crisping Trays
When it comes to crisping trays, there are a variety of options available on the market. Each type offers unique features and benefits that cater to different cooking needs and preferences. Here are some of the most common types of crisping trays:
1. Perforated Crisping Trays: These trays feature small perforations or holes evenly distributed across the surface. The perforations allow heat to circulate freely around the food, promoting crispiness while preventing sogginess. They are perfect for cooking a wide range of dishes, from vegetables and meats to seafood and even baked goods.
2. Elevated Crisping Trays: These trays have raised grates or ridges that elevate the food above the surface. The elevated position allows for better airflow and even cooking. They are especially useful when cooking fatty foods like bacon or sausages, as they allow the excess grease to drip away, resulting in crispy and less greasy results.
3. Non-Stick Crisping Trays: These trays come with a non-stick coating, typically made from materials like Teflon or ceramic. The non-stick surface prevents food from sticking, making cleanup easier and ensuring that your food achieves a beautiful golden-brown color without any burnt or stuck-on bits. These trays are ideal for delicate items like fish fillets or pastries.
4. Mesh Crisping Trays: Mesh trays are constructed with fine wire mesh instead of solid grates or perforations. The mesh design allows for excellent airflow, ensuring thorough cooking and crispy results. They are particularly great for making crispy fries, chips, or other small-sized foods that need even heat distribution.
5. Silicone Crisping Trays: These trays are made from flexible and heat-resistant silicone material. They often come with raised ridges or perforations to help elevate the food and promote airflow. Silicone trays are lightweight, easy to clean, and can withstand high temperatures, making them a convenient option for smaller kitchens or outdoor cooking on grills.
6. Multi-Purpose Crisping Trays: Some crisping trays offer multiple functionalities, serving as both crisping trays and baking sheets. These versatile trays are designed to provide optimal crisping capabilities while also being suitable for general baking purposes. They are a great addition to any kitchen that values versatility and minimizing clutter.
Ultimately, the type of crisping tray you choose will depend on your specific cooking needs and preferences. Whether you opt for a perforated tray for all-around crisping or a non-stick tray for hassle-free cleanup, incorporating a crisping tray into your culinary arsenal can open up a world of crispy and delicious possibilities in the kitchen!
Tips for Using a Crisping Tray
To make the most out of your crisping tray and achieve the best results, here are some helpful tips to keep in mind:
1. Preheat the tray: Just like with any cooking method, preheating the crisping tray is crucial. Place the tray in the oven while it’s preheating, ensuring that it reaches the desired cooking temperature before placing the food on it. This helps kickstart the crisping process and ensures even cooking.
2. Use cooking spray or oil: To prevent food from sticking to the tray, lightly spray it with cooking spray or brush a thin layer of oil on the surface before placing your food on it. This will help achieve a crispier exterior and make cleanup easier.
3. Arrange food in a single layer: Avoid overcrowding the crisping tray as it can hinder proper airflow and result in uneven cooking. Arrange the food in a single layer, leaving some space between each piece to allow hot air to circulate evenly.
4. Flip or rotate halfway through: For even crispiness, consider flipping or rotating the food halfway through the cooking process. This helps ensure that both sides of the food receive equal exposure to the hot air and results in a more uniformly crispy texture.
5. Monitor cooking time: Keep a close eye on the cooking time, as different foods and quantities may require slight adjustments. It’s important to follow the recommended cooking times, but also rely on visual cues such as color and texture to determine when the food is done to your desired level of crispiness.
6. Don’t overcrowd the oven: If you’re cooking multiple trays or dishes in the oven, make sure there is enough space for proper air circulation. Overcrowding the oven can lead to uneven cooking and affect the overall crispiness of the food.
7. Experiment with different seasonings: Crisping trays provide an excellent opportunity to experiment with various seasonings and flavors. Whether it’s sprinkling some herbs and spices, adding a touch of garlic powder, or drizzling some balsamic glaze, get creative and enhance the taste of your crispy creations.
8. Let it cool before cleaning: Allow the crisping tray to cool down completely before cleaning it. This helps prevent any warping or damage that can occur due to rapid temperature changes. Once cooled, hand wash the tray with warm soapy water or place it in the dishwasher if it’s dishwasher-safe.
By following these tips, you can maximize the potential of your crisping tray and achieve perfectly crispy and delicious results every time. Whether you’re cooking up some crispy chicken tenders or baking a batch of crispy fries, these tips will help you elevate your culinary game.
Popular Recipes You Can Make with a Crisping Tray
A crisping tray is a versatile kitchen tool that opens up a world of delicious possibilities. Here are some popular recipes that you can make using a crisping tray:
1. Crispy Oven-Baked Chicken Wings: Coat the wings in your favorite seasonings, arrange them on the crisping tray, and bake until they are golden and crispy. Serve them with your choice of dipping sauce for a crowd-pleasing appetizer or main dish.
2. Crispy Roasted Vegetables: Cut your favorite vegetables into bite-sized pieces, toss them with olive oil and seasonings, then spread them out on the crisping tray. Roast in the oven until the vegetables are tender on the inside and crispy on the outside.
3. Crunchy Fish Sticks: Dip fish fillets in an egg wash, coat them in breadcrumbs, and place them on the crisping tray. Bake until the fish is flaky and the coating is crispy. Enjoy them with tartar sauce or your preferred dipping sauce.
4. Perfectly Crispy French Fries: Cut potatoes into sticks, soak them in cold water to remove excess starch, pat them dry, and toss with oil and seasonings. Spread them in a single layer on the crisping tray and bake until they are golden and crispy.
5. Crispy Bacon: Place bacon strips on the elevated grates of the crisping tray, allowing the excess grease to drip away. Bake in the oven until the bacon is crispy and cooked to your desired level of doneness.
6. Homemade Pizza Crust: Prepare pizza dough from scratch or use store-bought dough. Place it directly on the crisping tray and add your favorite toppings. Bake until the crust is golden and crispy, and the cheese is melted and bubbly.
7. Crispy Chicken Tenders: Coat chicken tenderloins in seasoned flour, dip them in beaten eggs, then coat them in breadcrumbs. Arrange them on the crisping tray and bake until they are crispy and cooked through.
8. Crunchy Granola: Mix together oats, nuts, dried fruits, honey, and spices. Spread the mixture in a thin, even layer on the crisping tray and bake until it becomes crispy and golden. Use it as a topping for yogurt or enjoy it on its own as a healthy snack.
9. Baked Mozzarella Sticks: Cut mozzarella cheese into sticks, dip them in flour, then egg wash, and coat them in breadcrumbs. Arrange them on the crisping tray and bake until the cheese is melty and the coating is crispy.
10. Crispy Chicken Skin: If you love indulging in crispy chicken skin, the crisping tray is perfect for achieving that. Arrange the chicken skin on the tray and bake until it becomes irresistibly crispy and golden.
These are just a few examples of the many delicious recipes you can prepare using a crisping tray. Experiment with different ingredients, seasonings, and cooking techniques to create your own crispy masterpieces!
Cleaning and Caring for Your Crisping Tray
Proper cleaning and care are essential to keep your crisping tray in top condition and ensure its longevity. Here are some tips to help you clean and care for your crisping tray:
1. Hand Washing: Most crisping trays are best cleaned by hand. After use, allow the tray to cool down completely before washing it. Use warm soapy water and a non-abrasive sponge or dishcloth to gently scrub away any food residue. Rinse thoroughly and dry with a clean towel.
2. Non-Stick Coating: If your crisping tray has a non-stick coating, avoid using abrasive cleaning tools such as steel wool or harsh cleaning agents that can damage the coating. Opt for gentle cleaning methods to preserve the non-stick properties.
3. Dishwasher Safety: Check the manufacturer’s instructions to determine if your crisping tray is dishwasher-safe. Some trays can safely be placed in the dishwasher, making cleaning even more convenient. However, if hand washing is recommended, it’s best to follow those guidelines.
4. Soak Tough Stains: For stubborn stains or baked-on residue, you can soak the crisping tray in warm soapy water for a few minutes before scrubbing. This will help loosen the debris and make it easier to clean.
5. Avoid Harsh Chemicals: Steer clear of using harsh chemicals or oven cleaners on your crisping tray, as they may damage the material or coating. Stick to gentle dish soap and warm water for regular cleaning.
6. Avoid Metal Utensils: When using the crisping tray, avoid using metal utensils that can scratch the surface or coating. Opt for silicone, wooden, or nylon utensils instead to preserve the integrity of the tray.
7. Store Properly: To prevent any dents or warping, store your crisping tray in a dry and flat position. If you need to stack multiple trays, place a piece of parchment paper or a soft cloth between them to provide cushioning.
8. Regular Maintenance: To keep your crisping tray in optimal condition, give it a quick inspection every so often. Check for any signs of wear, such as peeling coating or loose grates, and address them accordingly.
By following these cleaning and care tips, you can keep your crisping tray in excellent shape for many delicious meals to come. Good maintenance ensures consistent cooking results and prolongs the lifespan of this fantastic kitchen tool.
Frequently Asked Questions About Crisping Trays
Here are some common questions people have about crisping trays:
1. Can I use a crisping tray in the oven?
Yes, crisping trays are designed to be used in the oven. They are made from materials that can withstand high temperatures to promote efficient and even cooking.
2. Can I use a crisping tray on a grill?
Some crisping trays are suitable for use on a grill, but it’s important to check the manufacturer’s instructions to determine if your specific crisping tray is grill-safe. Not all trays are designed to withstand direct heat from a grill.
3. Can I use a crisping tray for microwaving?
Most crisping trays are not intended for use in the microwave. The high intensity of microwave heat can damage the tray or cause it to warp. It’s best to check the manufacturer’s recommendations before using your crisping tray in the microwave.
4. Can I cut food directly on a crisping tray?
It is not recommended to cut food directly on a crisping tray, especially if it has a non-stick coating. Sharp utensils may scratch or damage the surface, reducing the effectiveness of the tray and potentially causing it to rust over time.
5. How do I prevent food from sticking to the crisping tray?
To prevent food from sticking to the crisping tray, lightly coat it with cooking spray or oil before placing your food on it. This creates a barrier between the food and the tray, making it easier to remove the food after cooking.
6. What types of foods can I cook on a crisping tray?
You can cook a wide range of foods on a crisping tray, including meats, vegetables, seafood, fries, and even baked goods. The tray’s design promotes even cooking and crispiness for various types of dishes.
7. Can I use a crisping tray to reheat leftovers?
Absolutely! Crisping trays are excellent for reheating leftovers such as pizza, chicken tenders, or fries. They can revive the crispiness and make the reheated food taste as good as fresh.
8. Can I use parchment paper on a crisping tray?
Using parchment paper on a crisping tray is generally safe and can help prevent food from sticking. Just make sure the parchment paper is oven-safe and doesn’t hang over the edges of the tray, as it could pose a fire hazard.
9. How do I store my crisping tray?
To store your crisping tray, ensure it is clean and dry. Store it in a flat position to prevent warping or bending. If you need to stack multiple trays, place a protective layer, such as parchment paper or a soft cloth, between them to prevent scratching.
10. Can I use a crisping tray for air frying?
A crisping tray can function similarly to an air fryer, as it helps promote crispiness without the need for excessive oil. However, it’s important to note that crisping trays are not dedicated air fryers and may not provide the exact same cooking experience or results.
These are just a few frequently asked questions about crisping trays. If you have more specific inquiries or concerns, always refer to the manufacturer’s instructions and guidelines for your particular crisping tray.