
Selecting the Right Ribbon
When it comes to tying a beautiful bow for your ornament, the first step is selecting the right ribbon. The ribbon you choose can greatly impact the overall look and feel of your creation. Here are some factors to consider when selecting the perfect ribbon:
- Width: The width of the ribbon will determine the size and fullness of the bow. For smaller ornaments, a narrow ribbon of around 1/2 to 1 inch width is ideal. If you’re working with larger ornaments, you can opt for wider ribbons, up to 2 inches in width, for a more dramatic effect.
- Material: Ribbons come in a variety of materials, such as satin, velvet, organza, or grosgrain. Consider the aesthetic you want to achieve and the theme of your ornament. For a classic and elegant look, satin ribbons work well. If you’re going for a more rustic or natural feel, consider using burlap or twine.
- Color: The color of the ribbon should complement the ornament and enhance its overall appearance. Choose a color that matches the theme or color scheme of your ornament. Alternatively, you can opt for a contrasting color to create a visually striking effect.
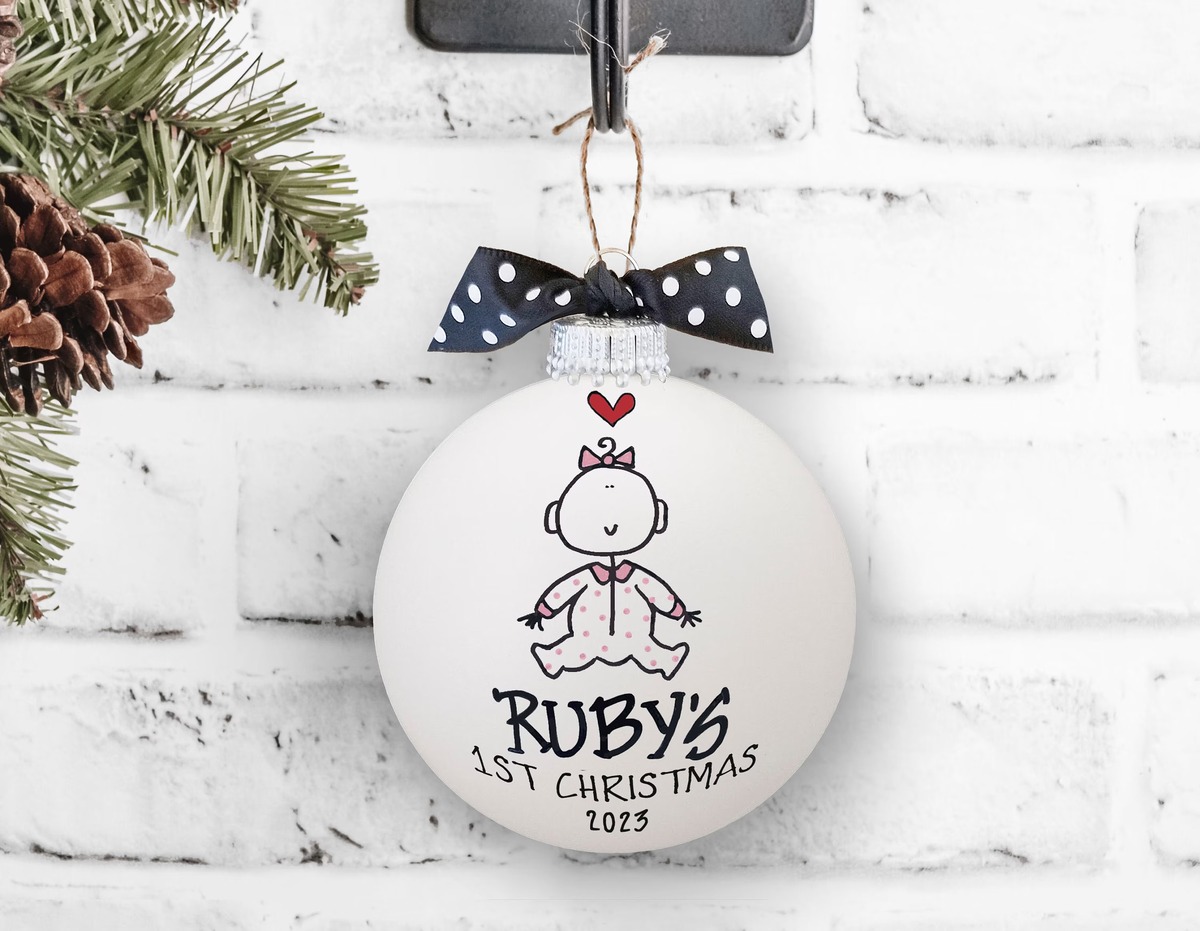
- Pattern: If you want to add some visual interest to your bow, consider using ribbons with patterns or prints. Polka dots, stripes, or festive holiday designs can add a playful or festive touch to your ornament.
- Texture: Consider the texture of the ribbon and how it will add depth and dimension to your bow. Ribbons with a subtle texture, like ribbed or woven patterns, can add an interesting visual element to your ornament.
By considering these factors, you can choose a ribbon that not only complements your ornament but also adds an extra touch of beauty and charm. Remember, the right ribbon can elevate your ornament and make it a standout piece on any holiday tree or decoration.
Measuring and Cutting the Ribbon
Once you’ve selected the perfect ribbon for your ornament, the next step is to measure and cut it to the appropriate length. Here’s how to do it:
- Measure the Ribbon: Start by wrapping the ribbon around your ornament to determine the desired length. Allow for some extra length to work with, as you’ll need it for creating the loops and tying the knot. Once you’ve found the right length, make a mental note or use a small piece of tape to mark it.
- Cut the Ribbon: Using a sharp pair of scissors, carefully cut the ribbon at the marked length. It’s important to cut it at a straight angle to ensure a neat and clean finish. If you prefer a more decorative touch, you can also cut the ends of the ribbon into a V-shape or diagonal shape for a unique look.
By measuring and cutting the ribbon accurately, you’ll ensure that it fits perfectly around your ornament and allows for easy manipulation when creating the bow. Remember to double-check your measurements before making the final cut, as it’s always better to have a slightly longer ribbon than one that’s too short.
Creating the First Loop
With your ribbon measured and cut to the desired length, it’s time to start creating the bow for your ornament. Follow these steps to create the first loop:
- Hold the Ribbon: Take one end of the ribbon and hold it horizontally between your thumb and index finger.
- Create the Loop: Using your free hand, bring the loose end of the ribbon over the held end to form a loop. The size of the loop will vary depending on the desired fullness and size of the bow. Experiment with different sizes until you achieve the desired look.
- Hold the Loop: Once the loop is formed, use your other hand to pinch the base of the loop where the two ends meet. This will help secure the loop and prevent it from unraveling.
- Adjust the Tails: If desired, you can leave some extra length from the loose end of the ribbon to create decorative tails. Simply adjust the length accordingly.
Remember, the size of the loop will determine the overall fullness of the bow, so feel free to experiment with different loop sizes until you’re satisfied with the look. Ensure that the loop is secure by tightly holding the base, as this will prevent it from coming undone as you create the remaining elements of the bow.
Forming the Second Loop
After creating the first loop of your bow, it’s time to move on to forming the second loop. Follow these steps to complete the bow for your ornament:
- Hold the Ribbon: With the first loop securely held, take the loose end of the ribbon and bring it over the top of the loop, forming a second loop on the opposite side.
- Cross the Ribbon: Once the second loop is formed, bring the loose end of the ribbon underneath the first loop and cross it over to the other side. This will create a crossing point between the two loops.
- Hold the Loop: Pinch the base of the second loop, just like you did with the first loop, to hold it in place.
- Adjust the Size: If needed, adjust the size of the second loop to match the size of the first loop. Make sure both loops are symmetrical and balanced.
Forming the second loop creates the classic bow shape and enhances the fullness of your ornament decoration. As you go through these steps, keep in mind that the size and shape of the loops can be adjusted to your preference. Play around with different sizes until you achieve the desired look for your ornament.
Adjusting the Loops
Once you’ve formed both loops of your bow, the next step is to adjust and finesse the loops to ensure they are symmetrical and perfectly balanced. Follow these steps to achieve a polished and professional look:
- Hold the Loops: With both loops securely formed, use your fingers to hold onto the base of each loop, applying gentle pressure to maintain their shape.
- Adjust the Size: Take a moment to evaluate the size of each loop. If one loop appears larger or smaller than the other, gently manipulate it by pulling or pushing on the ribbon to adjust its size. Aim for symmetrical and balanced loops that mirror each other.
- Fluff the Loops: Carefully fluff and arrange the ribbon within each loop to achieve a full and voluminous appearance. Use your fingers to gently spread out the folds of the ribbon, ensuring it fills out the loop evenly.
- Tweak the Tails: If you left some extra length to create decorative tails, now is the time to adjust and position them. Experiment with different angles and shapes, such as curved or cascading tails, to add an extra touch of elegance to your bow.
Take your time during this step to ensure the loops are balanced, the ribbon is fluffed, and the tails are positioned just right. By carefully adjusting the loops, you can create a visually appealing bow that will enhance the overall look of your ornament.
Tying the Knot
After adjusting and perfecting the loops of your bow, it’s time to secure them in place by tying a knot. Follow these steps to ensure a secure and neat knot for your ornament:
- Cross the Loops: Take the loose ends of the ribbon and cross them over each other at the base of the loops. The right end should cross over the left end.
- Create a Loop: Take the right end of the ribbon and form a loop by bringing it underneath the crossed section. This loop will create the first part of your knot.
- Pull Through: Feed the right end of the ribbon through the loop, creating a knot. Hold onto the loops with one hand while gently pulling the loose ends to tighten the knot. Make sure the knot is secure but not too tight to allow for adjustments if needed.
- Double Knot (Optional): If desired, create an extra layer of security by repeating steps 2 and 3 to tie a double knot. This will ensure that your bow stays in place and doesn’t unravel easily.
When tying the knot, be cautious not to pull too tightly, as it may distort the shape of your loops or cause the ribbon to tear. Take your time and adjust the knot as needed to achieve a balanced and secure result. Once tied, you can give the loops a final fluff and arrangement to ensure they are positioned to your liking.
Trimming the Ends
With the bow securely tied, the final step in creating a beautifully finished ornament is trimming the ends of the ribbon. By trimming the ends, you can achieve a clean and polished look. Follow these steps to trim the ends of your bow:
- Assess the Length: Hold the ornament up or lay it flat to determine the desired length of the ribbon tails. Consider the overall size of the ornament and the look you want to achieve. You can go for longer tails for a more dramatic effect or trim them shorter for a more tailored and neat appearance.
- Angle the Cut: To add an elegant touch, consider cutting the ribbon ends at an angle. Hold the ribbon in one hand and use sharp scissors to trim the ends diagonally. Angled cuts not only add visual interest but also help prevent fraying.
- Test the Length: After making the initial cuts, hold up the ornament and assess the length of the tails once again. Make any necessary adjustments by trimming off more ribbon or evening out the angles to ensure they are symmetrical.
- Fray Prevention: To prevent the ribbon ends from fraying, you have a few options. You can use a clear nail polish or fabric glue to seal the cut edges. Alternatively, you may use a fray-check liquid specifically designed for preventing fraying in fabric and ribbon.
Take your time when trimming the ends, ensuring that they are the desired length and angled to your liking. By paying attention to this final detail, you can give your ornament a professional and finished appearance that will enhance its overall presentation.