
Choosing the Right Materials
When it comes to wrapping a candle, selecting the appropriate materials is essential to create an aesthetically pleasing and secure wrap. The right materials will not only enhance the overall look of the candle but also provide durability and protection. Here are some tips to keep in mind when choosing your wrapping materials:
- Tissue paper: Opt for high-quality tissue paper in a color that complements the candle’s design or theme. Make sure the paper is thick enough to prevent tearing but still flexible for easy wrapping.
- Burlap: Consider using burlap for a rustic or natural look. Choose a burlap fabric that is sturdy and has a tight weave to ensure durability. You can find burlap in various colors and patterns to match your candle’s style.
- Ribbon or bow: Select a ribbon or bow that coordinates with the overall design. Satin or grosgrain ribbons work well for a luxurious touch, while twine or jute can create a more rustic feel. Ensure that the ribbon or bow is wide enough to securely hold the wrap in place.
- Embellishments: Consider adding embellishments like dried flowers, small ornaments, or beads to enhance the visual appeal. Choose decorations that are lightweight and won’t damage the candle when added.
- String or twine: Use a sturdy string or twine to secure the wrap and give it a finished look. Make sure the string or twine complements the color scheme and style of the wrap.
By using the right materials, you can create a beautifully wrapped candle that not only protects the candle but also adds a touch of elegance or charm to any gift or décor. So, gather your chosen materials and let’s move on to the next step: preparing the candle for wrapping.
Preparing the Candle
Before you begin wrapping your candle, it’s important to properly prepare it to ensure a clean and seamless wrap. Follow these steps to prepare your candle:
- Clean the surface: Use a soft cloth or tissue to gently wipe the surface of the candle. This will remove any dirt, dust, or fingerprints, ensuring a smooth and clean wrap.
- Trim the wick: Check the wick of the candle and trim it to about ¼ inch in length. This helps to ensure a clean burn and prevents excessive smoke or flickering while the candle is lit.
- Remove any packaging: If the candle came in a box or plastic wrap, remove it carefully to avoid damaging the candle’s surface or design.
- Inspect for imperfections: Take a close look at the candle to check for any imperfections, such as chips or cracks. If you notice any, consider wrapping the candle in a way that hides or minimizes these blemishes.
By taking the time to properly prepare your candle, you’ll ensure that the wrapping process goes smoothly and that the final result looks polished and professional. Now that your candle is ready, let’s move on to the next step: wrapping it with tissue paper.
Wrapping with Tissue Paper
Wrapping a candle with tissue paper not only adds an elegant touch but also provides a layer of protection. Follow these steps to achieve a beautiful wrap:
- Measure and cut: Lay the tissue paper flat on a clean surface. Place the candle in the center and measure how much tissue paper you’ll need to completely wrap it. Cut the tissue paper to the appropriate size.
- Center the candle: Position the candle in the middle of the cut tissue paper. Ensure that there is an equal amount of excess paper on all sides.
- Wrap the candle: Start by folding one side of the tissue paper over the candle, gently pressing it against the surface to secure it. Repeat the process with the remaining sides, overlapping the edges slightly for a snug fit.
- Tuck the edges: With your fingers, tuck the excess tissue paper into the bottom of the candle. This creates a neat and seamless finish.
If desired, you can add an extra layer of tissue paper for a more luxurious look. Simply repeat the above steps with a second piece of tissue paper, ensuring that it aligns with the first layer.
Wrapping your candle with tissue paper not only provides a visually pleasing presentation but also safeguards it from scratches and scuffs. Now that you’ve wrapped the candle with tissue paper, let’s move on to creating a burlap wrap for an added touch of charm.
Creating a Burlap Wrap
If you’re looking to add a rustic or natural touch to your wrapped candle, a burlap wrap is the perfect choice. Follow these steps to create a charming burlap wrap:
- Measure the burlap: Lay the burlap fabric flat and place the candle in the center. Measure and cut enough burlap to wrap around the candle, leaving some excess for folding and securing.
- Wrap the burlap: Wrap the burlap around the candle, ensuring a snug fit. The rough texture of the burlap adds a unique and tactile element to the overall look.
- Fold and secure: If there is excess burlap at the top and bottom of the candle, fold it neatly towards the center. Secure the folded burlap in place using a small piece of double-sided tape or a dab of craft glue.
- Add finishing touches: Consider adding a decorative element such as a ribbon or twine around the burlap wrap to enhance its appearance. Tie it in a bow or wrap it in a simple knot for an added touch of elegance.
The burlap wrap adds a rustic and organic look to your candle, making it perfect for rustic-themed weddings, farmhouse-inspired home decor, or natural gift-giving. Now that you’ve created a burlap wrap, let’s move on to the next step: adding a ribbon or bow for the final flourish.
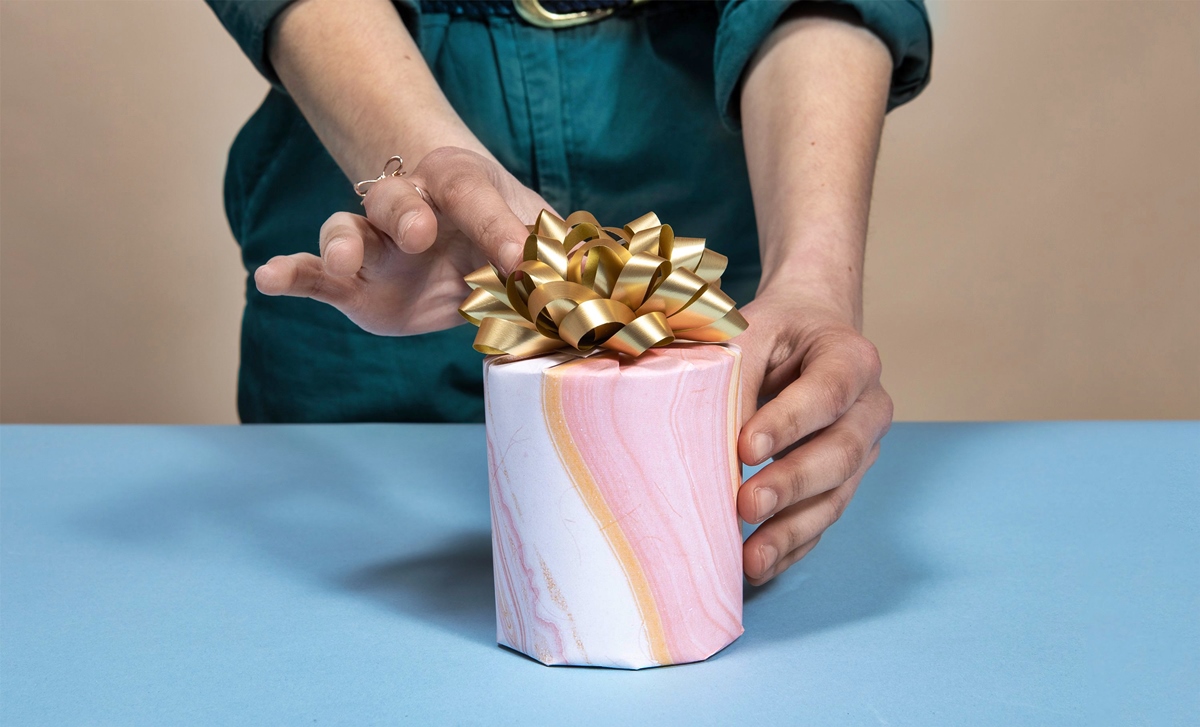
Adding a Ribbon or Bow
Adding a ribbon or bow is the perfect finishing touch to elevate the look of your wrapped candle. It adds a touch of elegance and can complement the overall design or theme. Here’s how you can add a ribbon or bow:
- Select the ribbon: Choose a ribbon that fits the style and color scheme of the wrapped candle. Satin or grosgrain ribbons work well for a polished and luxurious look, while twine or jute can create a more rustic or natural feel.
- Measure and cut: Determine the desired length of the ribbon. It should be long enough to wrap around the candle and tie a bow or create a decorative knot. Cut the ribbon to the appropriate length.
- Wrap the ribbon: Place the ribbon around the wrapped candle, positioning it where you want it. Hold the ends of the ribbon together and tightly secure it in place by tying a bow or knot. Adjust the bow or knot until it looks balanced and symmetrical.
- Trim the ends: If the ribbon ends are too long, trim them diagonally or in a V shape for a clean and finished look.
Adding a ribbon or bow not only enhances the visual appeal of the wrapped candle but also serves a practical purpose by holding the wrap securely in place. It gives your candle a polished and festive touch, making it ideal for special occasions and gifting. Now that you’ve added a ribbon or bow, let’s explore how you can further decorate your wrapped candle with embellishments.
Decorating with Embellishments
Take your wrapped candle to the next level by incorporating decorative embellishments. These small additions can enhance the overall look and add a personal touch to your creation. Here’s how you can decorate your wrapped candle with embellishments:
- Dried flowers: Consider adding dried flowers that complement the theme or color scheme of the candle. Gently tuck the flowers into the folds of the wrap or secure them with a small piece of double-sided tape or craft glue.
- Small ornaments: Find miniature ornaments that match the theme or occasion. Attach them to the burlap wrap or tie them onto the ribbon or bow for a festive touch.
- Beads or sequins: Add a touch of sparkle by stringing beads or sequins onto the ribbon. This can create a delicate and eye-catching detail.
- Personalized tags: Create personalized tags with the recipient’s name, a heartfelt message, or a special occasion. Attach the tag to the ribbon or tuck it under a fold of the wrap.
- Raffia or twine loops: For a rustic look, create loops of raffia or twine and tie them around the candle. This adds an organic and natural element to your decoration.
Remember to keep the size and weight of the embellishments in mind, ensuring they won’t overpower the candle or cause any damage. Play around with different combinations and placements to find the perfect arrangement that suits your style and vision.
With the addition of embellishments, your wrapped candle will become a truly unique and personalized gift or decorative item. Now that you’ve added the finishing touches, let’s move on to securing the wrap to ensure it stays in place.
Securing the Wrap with String or Twine
After putting in all the effort to wrap and decorate your candle, it’s important to securely fasten the wrap in place. String or twine can be a simple yet effective way to keep everything intact. Here’s how you can secure the wrap with string or twine:
- Choose the right string or twine: Select a string or twine that complements the overall look of the wrapped candle. Consider the color, thickness, and texture to ensure it aligns with your desired aesthetic.
- Position the string: Place the string or twine horizontally or diagonally around the candle, near the bottom or middle section of the wrap. This will help hold the wrap together while adding a decorative touch.
- Tie a knot or bow: Bring the ends of the string or twine together, ensuring a snug fit but not too tight to damage the wrap. Tie a secure knot or create a bow for an added visual element. Adjust the knot or bow until it looks balanced and visually appealing.
- Trim the excess: If the string or twine ends are too long, trim them to a desired length. You can cut them straight across or at an angle to add a stylish touch.
By using string or twine to secure your wrapped candle, you not only protect the integrity of the wrap but also add a rustic or handmade feel to the overall presentation. It’s a simple yet effective way to give your wrapped candle a final touch of charm and professionalism.
Now that you’ve securely fastened the wrap, your beautifully wrapped candle is ready to be gifted or displayed. It’s a lovely handmade creation that is sure to be appreciated by anyone who receives it. Enjoy the satisfaction of a job well done!