
Assessing the Damage
Replacing the hood ornament on your Mercedes Benz can be a straightforward process if you have the necessary tools and a basic understanding of car maintenance. Before diving into the replacement process, it’s important to assess the damage and determine if a replacement is indeed necessary. Here are some steps to help you in assessing the damage:
- Inspect the Current Ornament: Take a close look at the existing hood ornament. Is it cracked, chipped, or faded? Assess the extent of the damage, as this will determine whether a repair or replacement is needed.
- Check for Loose or Missing Parts: Examine the attachment mechanism of the hood ornament. Ensure that all screws, clips, or bolts are in place and securely fastened. If any parts are loose or missing, it may be necessary to replace the entire ornament.
- Consider the Age and Condition of the Vehicle: Evaluate the overall age and condition of your Mercedes Benz. Older vehicles may have considerable wear and tear, making a replacement advisable for a sleeker and more polished look. Additionally, if your vehicle has undergone recent repairs or repainting, it may be an opportune time to replace the hood ornament to complement the refreshed exterior.
- Take Budget into Account: Replacing a hood ornament can vary in cost depending on the specific model and brand of your Mercedes Benz. Consider your budget when deciding whether to repair or replace the ornament. In some cases, replacing the ornament may provide a longer-lasting solution and better value for your money.
By thoroughly assessing the damage, you can make an informed decision regarding the replacement of your Mercedes Benz hood ornament. Next, let’s gather the necessary tools to proceed with the replacement process.
Gathering the Necessary Tools
Before you begin the process of replacing the hood ornament on your Mercedes Benz, it’s important to gather all the necessary tools. Having the right tools on hand will ensure a smooth and efficient replacement process. Here are the tools you’ll need:
- Socket Wrench Set: A socket wrench set with various sizes will be useful for removing any screws or bolts securing the old hood ornament.
- Screwdriver Set: Make sure to have a set of screwdrivers, both flathead and Phillips, to tackle any screws or clips holding the ornament in place.
- Trim Removal Tool: This tool will come in handy if there are any clips or fasteners that need to be removed to access the hood ornament.
- Protective Gloves: It’s always a good idea to wear protective gloves to avoid any injuries or scratches while working on your vehicle.
- Microfiber Cloth: Keep a microfiber cloth nearby for wiping down and cleaning any areas that may have accumulated dirt or debris.
- Replacement Hood Ornament: Depending on the specific model and brand of your Mercedes Benz, you’ll need to purchase the appropriate replacement hood ornament. Make sure to research and find a reliable source for your specific model.
By gathering these tools beforehand, you’ll save time and frustration during the replacement process. Remember to have them readily accessible so that you can easily grab the right tool when needed. With everything in place, you’re now ready to move on to the next step of removing the old ornament.
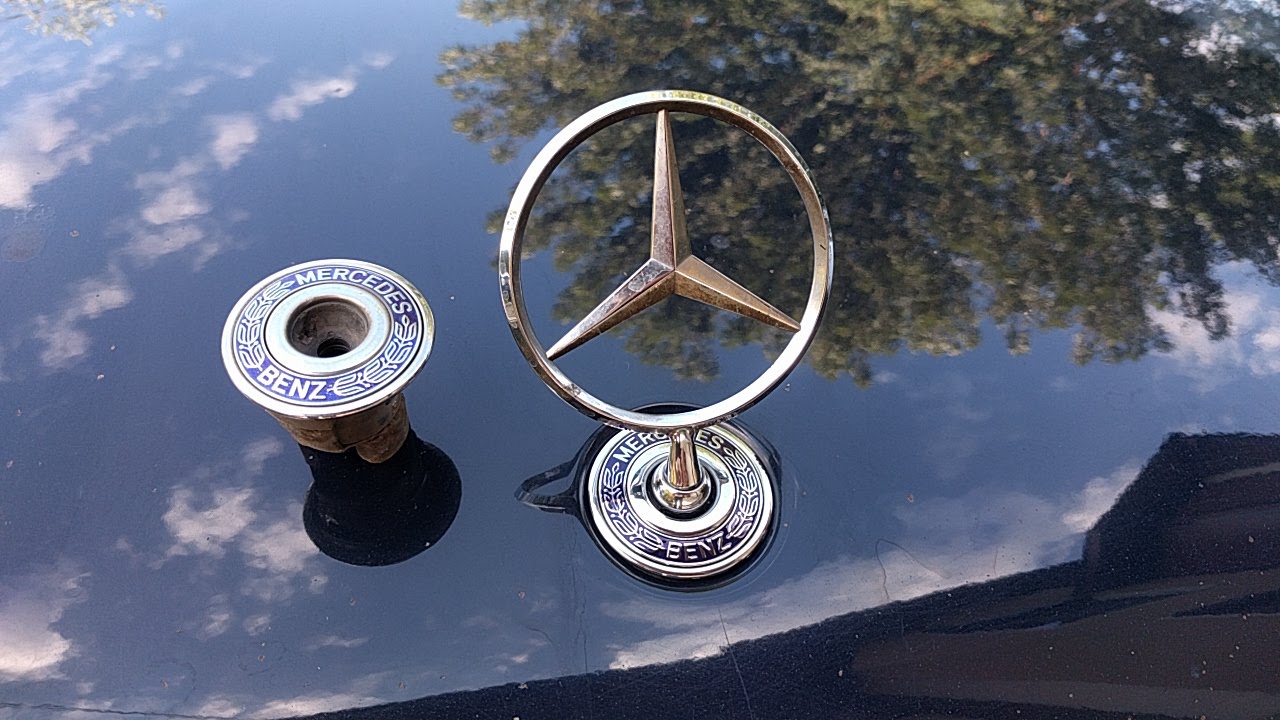
Removing the Old Ornament
Now that you have assessed the damage and gathered the necessary tools, it’s time to remove the old hood ornament from your Mercedes Benz. Follow these steps to ensure a successful removal:
- Locate the Mounting Hardware: Inspect the area around the existing hood ornament to find the mounting hardware. This may include screws, bolts, or clips that are holding the ornament in place.
- Use the Proper Tools: Depending on the type of mounting hardware, use the appropriate tool from your socket wrench or screwdriver set to loosen and remove the screws or bolts. If there are clips, use a trim removal tool to carefully detach them.
- Be Gentle and Patient: Take your time while removing the old ornament to avoid causing any damage to the surrounding area. Apply gentle pressure and ensure that you are removing the hardware without forcing or twisting.
- Set Aside the Old Ornament: Once all the mounting hardware has been removed, carefully lift the old hood ornament and set it aside. Be cautious not to drop or damage it further.
- Clean the Area: With the old hood ornament removed, use a microfiber cloth to clean the surrounding area, removing any dirt or debris that may have accumulated over time.
By following these steps, you can safely and effectively remove the old hood ornament from your Mercedes Benz. Now that the old ornament is out of the way, it’s time to prepare the new ornament for installation.
Preparing the New Ornament
With the old hood ornament successfully removed, it is now time to prepare the new ornament for installation on your Mercedes Benz. Follow these steps to ensure that the new ornament is ready to be mounted:
- Inspect the New Ornament: Before proceeding with the installation, carefully inspect the new hood ornament for any defects or damage. Ensure that it is free from scratches, cracks, or other imperfections that could affect its appearance.
- Check for Compatibility: Verify that the new hood ornament is compatible with your specific Mercedes Benz model. Compare it to the old ornament or consult the user manual to ensure the correct fit.
- Apply Protective Coverings: To protect the new ornament during the installation process, consider applying a temporary protective covering. This could be in the form of adhesive film or a cloth wrapped securely around the ornament.
- Clean the Mounting Area: Just as you cleaned the area after removing the old ornament, take the time to clean the mounting area again. Use a microfiber cloth to remove any residue or dirt that could interfere with the adhesion of the new ornament.
- Double-Check the Mounting Hardware: Before proceeding with the installation, ensure that all of the necessary mounting hardware, such as screws or clips, is accounted for and in good condition. Replace any damaged hardware with new ones if needed.
By thoroughly inspecting the new ornament, ensuring compatibility, applying protective coverings, and cleaning the mounting area, you are setting the stage for a successful installation. Now that you are prepared, let’s move on to the next step of installing the new hood ornament onto your Mercedes Benz.
Installing the New Ornament
Now that you have prepared the new hood ornament for installation, it’s time to mount it onto your Mercedes Benz. Follow these steps to ensure a secure and proper installation:
- Position the New Ornament: Carefully position the new ornament onto the mounting area, aligning it with the holes or slots where the mounting hardware will be inserted.
- Secure the Mounting Hardware: Insert the screws, bolts, or clips into the designated holes or slots of the new ornament. Use the appropriate tool from your socket wrench or screwdriver set to tighten the hardware securely. Be cautious not to overtighten, as it could damage the ornament or the mounting surface.
- Verify Proper Alignment: Step back and double-check the alignment and positioning of the new ornament. Ensure that it sits flush and level with the surrounding surface of the hood.
- Remove any Protective Coverings: If you applied any temporary protective coverings to the new ornament, now is the time to remove them. Take care not to scratch or damage the ornament while doing so.
By following these steps, you can successfully install the new hood ornament onto your Mercedes Benz. Once securely mounted, take a moment to appreciate and admire the fresh and enhanced appearance it brings to your vehicle. However, before considering the installation complete, it’s important to perform a few final tests and touches.
Testing the Ornament and Finishing Touches
After successfully installing the new hood ornament on your Mercedes Benz, it’s important to test its functionality and address any finishing touches to ensure a polished final result. Follow these steps to complete the replacement process:
- Test the Ornament: With the new ornament in place, test its functionality. Gently press or tap the ornament to ensure it is securely attached and does not move or wobble excessively.
- Close and Open the Hood: To further test the durability of the new ornament, close and open the hood of your Mercedes Benz. Pay attention to any vibrations or movements of the ornament while doing so.
- Inspect for Any Loose Parts: After closing and opening the hood, inspect the new ornament and its mounting hardware for any signs of looseness or movement. If any parts are loose, tighten them appropriately with the necessary tools.
- Clean and Polish the Ornament: Use a microfiber cloth and a mild cleaner specifically designed for automotive surfaces to clean and polish the new hood ornament. This will help restore its shine and give it a sleek finished look.
- Step Back and Admire: Finally, take a step back and admire the new hood ornament on your Mercedes Benz. Appreciate the visual enhancement it brings to your vehicle’s front end and the effort you put into the replacement process.
By thoroughly testing the ornament, addressing any loose parts, cleaning and polishing it, and taking a moment to appreciate the final result, you can ensure that the replacement process is complete. Enjoy your newly restored hood ornament and the refreshed look it brings to your Mercedes Benz!