
Choosing Your Materials
When creating a colored pencil vase, choosing the right materials is crucial for achieving the desired result. Here are the essential materials you will need:
- Colored Pencils: Invest in a quality set of colored pencils with a wide range of colors. Look for pencils that have good pigmentation and are easy to blend.
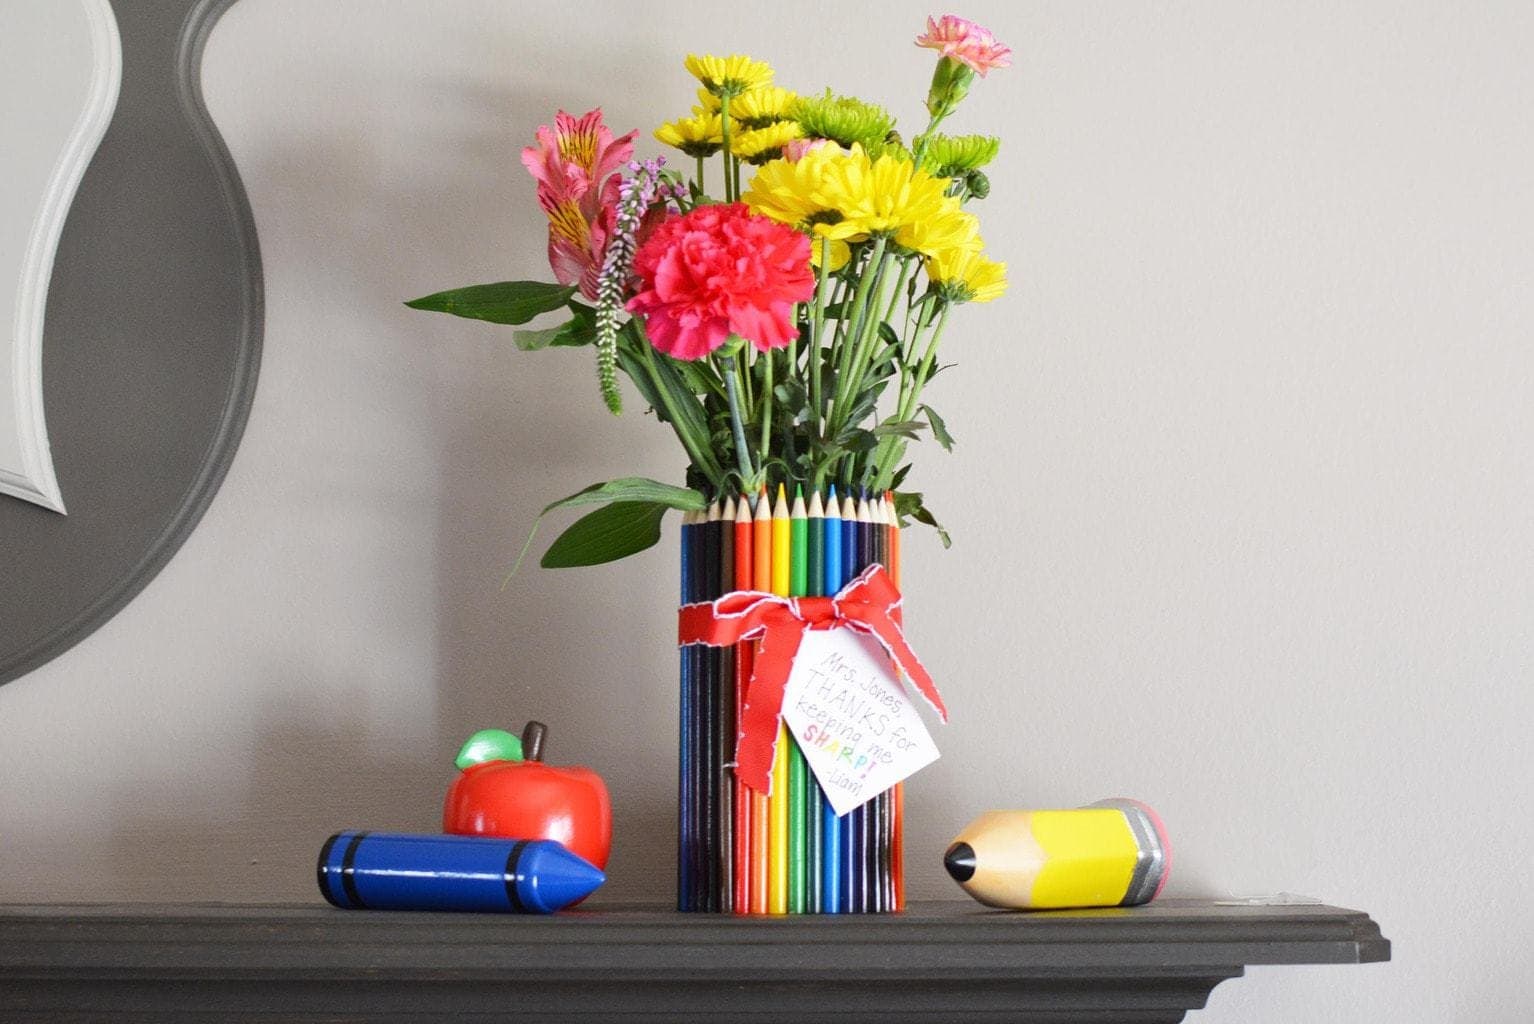
- Vase: Select a glass or ceramic vase in a shape and size that appeals to you. Ensure that it is clean, smooth, and free from any cracks or chips.
- Masking Tape: Use masking tape to create clean edges and precise lines on your vase. It will help you achieve sharp borders between colors.
- Eraser: Have a soft pencil eraser on hand for fixing mistakes or erasing any unwanted pencil marks.
- Blending Tools: Consider using a blending stump or a blending pen to achieve smooth transitions and gradients between colors.
- Protective Spray: A fixative or varnish spray is necessary to seal and protect your finished colored pencil vase.
Additionally, you may want to have a pencil sharpener and a ruler for precise measurements. Having a pencil extender can also be useful for maximizing the use of your pencils.
It’s important to select materials that are compatible with each other. Make sure that the pencils adhere well to the surface of the vase and that the varnish spray you choose is suitable for use on glass or ceramic.
Remember, the quality of your materials will greatly impact the final result. Investing in good quality colored pencils and other supplies will make a noticeable difference in the vibrancy and longevity of your colored pencil vase.
Preparing the Vase
Before you begin applying colored pencils to your vase, it’s important to properly prepare the surface to ensure optimal adhesion and longevity of the design. Follow these steps to prepare your vase:
- Clean the Vase: Start by thoroughly cleaning the vase with mild soap and warm water. Use a soft cloth or sponge to remove any dirt, dust, or oils from the surface. Rinse the vase well and allow it to dry completely.
- Apply Rubbing Alcohol: After the vase is dry, lightly dampen a clean cloth or paper towel with rubbing alcohol. Gently wipe down the entire surface of the vase to remove any remaining residue. This step will help improve the adhesion of the colored pencils.
- Mask the Edges: Use strips of masking tape to cover the edges and any areas of the vase that you do not want to color. Ensure that the tape is applied firmly and evenly to create clean and sharp lines.
- Create a Base: Decide on the base color for your vase and apply it evenly using your colored pencils. Use light pressure to layer the color and achieve a smooth and solid base. Consider using a complementary color to enhance the overall design.
- Test Colors: Before proceeding with your design, test different colored pencils on a small, inconspicuous area of the vase. This will allow you to assess the color payoff and ensure that the pencils adhere well to the surface.
By properly preparing the vase, you establish a clean and receptive surface for the colored pencils. This step will greatly contribute to the longevity and durability of your colored pencil design. Take your time during the preparation phase to ensure a seamless and professional-looking end result.
Creating a Design Plan
Before you start adding colors to your colored pencil vase, it’s essential to have a design plan in place. A well-thought-out design plan will help you visualize your ideas, choose the right colors, and create a harmonious and eye-catching design. Here are some steps to help you create a design plan for your colored pencil vase:
- Gather Inspiration: Look for inspiration in various sources such as nature, patterns, artwork, or even your personal interests. Take note of color combinations, motifs, and overall themes that catch your eye and resonate with your artistic vision.
- Sketch your Ideas: Use a sketchbook or plain paper to rough out different design possibilities. Experiment with different compositions, shapes, and patterns. This will help you visualize how the design will translate onto the curved surface of the vase.
- Consider the Vase Shape: Take into account the shape and contours of the vase when planning your design. Certain patterns or motifs may need to be adjusted or modified to accommodate the curved surface.
- Choose a Color Palette: Select a color palette that complements your design concept. Consider using analogous colors (colors next to each other on the color wheel) for a harmonious look, or complementary colors (opposite colors on the color wheel) for a bold and contrasting design.
- Plan the Placement of Colors: Determine where each color will be placed in your design. Think about how colors will blend or transition into one another to create depth and dimension. Consider using light and dark shades to add contrast and highlights.
- Experiment with Patterns and Textures: Explore different patterns, textures, and techniques that can be achieved with colored pencils. Test out cross-hatching, stippling, or even layering different colors to create interesting effects and visual interest.
Creating a design plan will help guide you throughout the coloring process and ensure that you achieve the desired outcome. It allows you to be intentional with your design choices and helps prevent mistakes or inconsistencies. Remember, your design plan is not set in stone and can evolve as you work on the vase. Embrace creativity and allow room for spontaneity to make your colored pencil vase truly unique.
Applying Base Colors
Once you have your design plan in place, it’s time to start applying the base colors to your colored pencil vase. The base colors will lay the foundation for your design and give you a starting point to build upon. Here’s how you can apply the base colors:
- Refer to your design plan: Take a look at your design plan and identify the areas that require base colors. These areas will typically be larger sections or background elements.
- Choose the appropriate colored pencils: Select the colored pencils that match the base colors you have in mind. Consider the shade, intensity, and tone of the colors you want to use.
- Apply the base colors: Using light pressure, start layering the colored pencil onto the vase. Work in small, controlled strokes, and ensure that the color is evenly distributed. Gradually build up the color until you achieve the desired vibrancy and coverage.
- Blend if necessary: Depending on the effect you want to achieve, you may choose to blend the base colors using a blending stump or a blending pen. This will result in a smoother and more seamless transition between colors.
- Work in sections: To avoid smudging or overlapping colors unintentionally, work on one section at a time. Allow each section to dry before moving on to the next, especially if you are using multiple layers of colors.
While applying the base colors, keep in mind the overall composition and balance of your design. Focus on achieving solid colors and creating a smooth foundation for the rest of your colored pencil work.
Remember, the base colors will serve as a backdrop for the additional layers and details you will add later. Take your time and ensure that the base colors are applied neatly and evenly to create a solid foundation for the subsequent stages of your colored pencil vase project.
Layering Colors for Depth
Now that you have applied the base colors to your colored pencil vase, it’s time to add depth and dimension to your design by layering colors. Layering colors involves building up multiple layers of different hues to create shading, highlights, and a sense of three-dimensionality. Here’s how you can effectively layer colors:
- Refer to your design plan: Review your design plan to identify the areas where you want to add depth and shading. These areas may include objects, contours, or elements that require additional dimension.
- Choose the appropriate colored pencils: Select pencils that are slightly darker or lighter than the base colors to create contrast and depth. Consider the direction of light and how it impacts the shading in your design.
- Blend, layer, and repeat: Start by lightly layering the darker or lighter color over the base color. Use small, controlled strokes and gradually build up the color intensity. Blend the layers together using a blending stump or a blending pen to create smooth transitions.
- Pay attention to highlights and shadows: Identify the areas that would naturally catch highlights or cast shadows. Use lighter or darker shades accordingly to create a sense of volume and realism in your design.
- Experiment with different techniques: Explore different techniques such as cross-hatching, stippling, or even using a dry brush to create texture and visual interest. Varying your techniques will add depth and richness to your colored pencil vase.
Remember to work in layers, building up the colors gradually, and allowing each layer to dry before adding the next. This will prevent the colors from smudging and ensure that the layers blend seamlessly.
Layering colors requires patience and a keen eye for detail. Take your time to observe the subtle variations in your design and adjust the colors accordingly. Remember, the layering process is where your design truly comes to life, adding depth and dimension to your colored pencil vase.
Adding Details and Highlights
When it comes to creating a truly captivating colored pencil vase, the addition of details and highlights can make all the difference. Adding intricate details and well-placed highlights will bring your design to life and give it that extra touch of realism. Here’s how you can add details and highlights to your colored pencil vase:
- Refer to your design plan: Consult your design plan to identify the areas that require additional details or highlights. These may include intricate patterns, textures, or specific elements that need emphasis.
- Select the appropriate colored pencils: Choose pencils that are either slightly darker or lighter than the surrounding colors to create contrast and make the details and highlights pop.
- Focus on small areas at a time: Work in small, focused sections to add the desired details and highlights. Use light pressure and precise strokes to achieve fine lines, intricate patterns, or delicate textures.
- Enhance textures and patterns: If your design calls for textures or patterns, think about how you can make them more pronounced. Consider adding subtle shading or cross-hatching to create depth and dimension.
- Bring attention to focal points: Identify the focal points of your design and apply highlights using a lighter shade of colored pencil. This will draw the viewer’s eye to specific areas and add a sense of luminosity and realism.
- Use white or light-colored pencils for highlights: For a more pronounced highlight, use a white or light-colored pencil to add a touch of brightness and contrast. Apply these highlights sparingly and strategically for maximum impact.
Adding details and highlights requires precision and attention to detail. Take your time to work on each area carefully, ensuring that the details and highlights enhance the overall composition and contribute to the visual appeal of your colored pencil vase.
Remember, the details and highlights will create visual interest and bring your design to life. Approach this stage with patience and a steady hand, and enjoy the process of adding those final touches.
Blending and Mixing Colors
Blending and mixing colors is a crucial step in creating a smooth and seamless look in your colored pencil vase. Blending allows you to create gradual transitions between different shades, while mixing colors opens up a world of possibilities for creating unique hues and tones. Here’s how you can effectively blend and mix colors:
- Refer to your design plan: Review your design plan to identify areas where you want to blend colors for gradient effects or areas where you want to mix colors to create new tones.
- Choose the appropriate colored pencils: Select two or more colors that you want to blend or mix. Ensure that these colors are compatible and will create a visually appealing result.
- Blend colors to create smooth transitions: For blending, start by layering one color over the other using light pressure. Use a blending stump or a blending pen to smudge and blend the colors together, creating a gradual transition between the shades.
- Mix colors to create new tones: To mix colors, layer one color over the other using varying pressure. Experiment with different combinations to achieve the desired hue. You can mix directly on the vase or on a separate piece of paper before applying it to the vase.
- Take your time and build up the layers: Blending and mixing colors may require multiple layers to achieve the desired effect. Take your time and work gradually, allowing each layer to dry before adding the next.
- Pay attention to the pressure and strokes: Adjust the pressure and strokes when blending or mixing colors to create the desired effect. Lighter pressure and circular motions are often effective for blending, while heavier pressure and cross-hatching can help with color mixing.
Blending and mixing colors will bring depth, dimension, and visual interest to your colored pencil vase. It allows you to create smooth color transitions and introduce new tones that can enhance the overall aesthetic of your design.
Remember, practice and experimentation are key when it comes to blending and mixing colors. Don’t be afraid to try different color combinations, techniques, and approaches to achieve the desired effect. Enjoy the process and let your creativity guide you.
Sealing and Finishing the Vase
After you have completed the coloring process on your colored pencil vase, it’s important to seal and finish the design to protect it and enhance its longevity. Sealing your vase will help preserve the colors and prevent smudging or fading over time. Here are the steps to seal and finish your colored pencil vase:
- Clean the vase: Ensure that your colored pencil vase is clean and free from any residual pencil shavings or dust. Use a soft cloth or brush to remove any debris before proceeding.
- Choose a protective sealant: Select a high-quality sealant or fixative that is suitable for use on glass or ceramic surfaces. Look for a product specifically designed for colored pencils. Test it on a small area of the vase to ensure compatibility and desired outcome.
- Apply the sealant: Follow the instructions on the sealant product regarding application. Spray the sealant evenly over the entire colored surface of the vase, holding the spray can at a distance to get a smooth and even coat. Apply multiple thin coats rather than one heavy coat to prevent drips or pooling.
- Allow drying and curing time: After applying the sealant, allow the vase to dry and cure according to the instructions provided by the manufacturer. The drying time may vary depending on the specific sealant used.
- Inspect and touch-up if necessary: Once the sealant has dried, inspect the vase for any imperfections or areas that may require touch-ups. Use colored pencils to fix any minor issues such as missed spots or smudges.
- Add embellishments (optional): If desired, you can enhance the finished look of your colored pencil vase by adding embellishments such as ribbons, gems, or decorative elements. Use adhesive suitable for glass or ceramic surfaces to attach these embellishments securely.
Sealing and finishing your colored pencil vase will not only protect your artwork but also give it a professional and polished appearance. The sealant will provide a protective barrier against moisture, sunlight, and minor scratches, ensuring that your design remains vibrant and intact for years to come.
Always follow the instructions provided by the sealant manufacturer and allow sufficient drying time to achieve the best results. Take care to handle the vase gently after sealing to avoid smudging or damaging the final finish. Display your finished colored pencil vase with pride, knowing that your artwork is protected and ready to be admired.
Displaying and Caring for Your Colored Pencil Vase
Now that your colored pencil vase is complete, it’s time to showcase and care for your beautiful artwork. Displaying and properly maintaining your vase will ensure its longevity and keep it looking exquisite. Here are some tips for displaying and caring for your colored pencil vase:
- Choose a suitable display location: Select a location where your colored pencil vase can be seen and appreciated. Consider factors such as lighting, room temperature, and the overall aesthetic of the space.
- Avoid direct sunlight: Protect your colored pencil vase from direct sunlight, as it may cause the colors to fade over time. Place it in an area that receives indirect or diffused light.
- Handle with care: When moving or handling your vase, always do so with caution to avoid accidentally dropping or damaging it. Hold it securely and avoid placing excessive pressure on any specific area.
- Keep your vase clean: Regularly dust your colored pencil vase using a soft, dry cloth. Avoid using water or harsh cleaning agents that could potentially damage the colored pencil surface or the vase itself.
- Minimize exposure to moisture: Keep your vase away from areas of excess moisture, such as bathrooms or near open windows. Moisture can cause the colors to smudge or the vase material to deteriorate.
- Consider a display stand or coaster: To protect surfaces and prevent potential scratches, consider placing your colored pencil vase on a display stand or a decorative coaster. This will also add an additional touch of elegance to the overall presentation.
- Rotate your display: To prevent prolonged exposure to light and maintain an even appearance, periodically rotate the position of your colored pencil vase within your display area.
By following these tips, you can ensure that your colored pencil vase remains in excellent condition and can be enjoyed for years to come. Displaying your work strategically and caring for it properly will help preserve its beauty and allow you to continue to admire your artistic creation.
Remember, although your colored pencil vase is a unique and stunning piece of artwork, it is also delicate. Treat it with care, keep it clean, and take preventative measures to protect it from potential damage. By doing so, you can proudly showcase your colored pencil vase and appreciate the intricate details and hard work that went into creating it.