
Materials Needed
In order to clean the drip tray in your Samsung refrigerator, you will need to gather a few materials. These items will help you efficiently and effectively remove any buildup or debris that may have accumulated in the tray. Here are the materials you will need:
- A small screwdriver or a similar tool for removing screws (if required)
- A pair of gloves to protect your hands
- A sponge or cleaning cloth
- Dishwashing liquid or a mild household cleaner
- A brush with soft bristles
- A towel or paper towels for drying
Having these materials ready will ensure that you can complete the cleaning process without any interruptions. It’s always a good idea to gather everything you need before you start, so you don’t have to search for items while in the middle of the task.
Now that you have your materials ready, let’s move on to the step-by-step instructions for cleaning the drip tray in your Samsung refrigerator.
Step 1: Unplug the refrigerator
The first step in cleaning the drip tray of your Samsung refrigerator is to ensure the appliance is safely unplugged from the power source. This precautionary measure will eliminate the risk of electric shock and ensure your safety while handling the internal components of the refrigerator.
Locate the power cord at the back of the refrigerator and carefully unplug it from the wall socket. Make sure to handle the plug itself and not the cord to avoid any damage. Once the refrigerator is unplugged, you can proceed with the cleaning process.
Unplugging the refrigerator is essential as it eliminates any power supply to the appliance, preventing accidents or malfunctions during the cleaning process. It also helps to maintain energy efficiency by minimizing the electricity consumption while you work on the drip tray.
Remember to always prioritize safety when working with any electrical appliance. By unplugging the refrigerator, you can focus on the task at hand without worrying about any potential hazards. Now that you have successfully unplugged the refrigerator, you are ready to move on to the next step of the cleaning process.
Step 2: Locate the drip tray
Before you can clean the drip tray in your Samsung refrigerator, you need to locate where it is situated. The drip tray is typically found at the bottom of the refrigerator, beneath the vegetable or crisper drawers. It collects any excess water or condensation that forms during the cooling process.
To locate the drip tray, start by opening the refrigerator door and removing any items from the vegetable or crisper drawers. Then, take a closer look at the bottom of the fridge’s interior. You will likely notice a removable panel or cover that conceals the drip tray.
In some Samsung refrigerator models, the drip tray may be located on the exterior, at the back of the appliance. If you are unable to find it inside the refrigerator, carefully pull the refrigerator away from the wall to inspect the back panel for the drip tray.
Once you have located the drip tray, examine it to see if it is removable. Some models have trays that can be easily lifted or slid out, while others may require you to unscrew or unclip the panel to access the drip tray.
Refer to the user manual specific to your Samsung refrigerator model if you are unsure about the location or removal process of the drip tray. It will provide you with detailed instructions tailored to your appliance.
Now that you have successfully located the drip tray, you are ready to move on to the next step of the cleaning process. Ensure that you have all the necessary materials and continue with the instructions to effectively clean the drip tray and maintain your refrigerator’s optimal performance.
Step 3: Remove the drip tray
Now that you have located the drip tray in your Samsung refrigerator, it’s time to remove it for cleaning. Removing the drip tray will allow you to thoroughly clean and remove any accumulated residue or debris.
Depending on your refrigerator model, the process of removing the drip tray may vary. In some models, the drip tray can be easily lifted or slid out from its position. However, in other models, you may need to unscrew or unclip the panel that covers the tray before being able to remove it.
Refer to your user manual for specific instructions on how to remove the drip tray in your Samsung refrigerator. The manual will provide you with step-by-step guidance tailored to your appliance’s design.
When removing the drip tray, it’s important to handle it with care to avoid any spills or accidents. The tray may contain liquid or residue, so wearing gloves is recommended to protect your hands.
Once you have successfully removed the drip tray, place it on a stable surface, such as a countertop or sink, to begin the cleaning process.
Now that the drip tray is removed and ready for cleaning, let’s move on to the next step to ensure its thorough sanitation and maintenance.
Step 4: Clean the drip tray
With the drip tray removed from your Samsung refrigerator, it’s time to clean it to ensure optimal performance and prevent any unpleasant odors or buildup.
Start by rinsing the drip tray with warm water to remove any loose debris. This will help to loosen and wash away any residue or particles that may have accumulated. Use a mild dishwashing liquid or a household cleaner to create a soapy solution.
Next, dip a sponge or cleaning cloth into the soapy solution and gently scrub the drip tray to remove any stubborn stains or grime. Pay attention to the corners and edges of the tray, as these areas can accumulate more residue. Use a soft-bristle brush to reach into tight spaces if needed.
For tough stains or persistent buildup, you may need to let the soapy solution sit on the drip tray for a few minutes to loosen the dirt. Then, scrub the tray again with the sponge or brush until the stains are removed.
After thoroughly cleaning the drip tray, rinse it again under warm water to remove any soap residue. Ensure that all cleaning products are completely removed, as any leftover residue can affect the taste and odor of the refrigerator’s contents.
Inspect the drip tray for any remaining dirt or residue. If necessary, repeat the cleaning process until the tray is spotless. Remember to check the back panel of the refrigerator, as there may be additional drip trays or compartments that require cleaning.
Once you are satisfied with the cleanliness of the drip tray, proceed to the next step to ensure its proper drying and sanitation before reinstalling it in your Samsung refrigerator.
Step 5: Dry and sanitize the drip tray
After cleaning the drip tray of your Samsung refrigerator, it is crucial to ensure that it is thoroughly dried and sanitized before reinstalling it. This step helps to eliminate any remaining moisture and prevents the growth of bacteria or mold.
Start by using a clean towel or a few sheets of paper towels to dry the drip tray completely. Gently pat the tray to absorb any excess water, paying attention to the corners and crevices. Ensure that no moisture is left behind, as this can lead to unpleasant odors or potential damage to the tray.
Once the drip tray is dry, it is important to sanitize it to maintain a clean and hygienic environment. You can use a sanitizing solution specifically designed for cleaning kitchen surfaces, or you can create a mixture of water and white vinegar to disinfect the tray.
Dampen a clean cloth or sponge with the sanitizing solution and wipe the entire surface of the drip tray. Pay close attention to the areas that may have come into contact with spills or food particles. This sanitization process will help to eliminate any remaining bacteria and ensure a fresh and clean drip tray.
Allow the drip tray to air dry completely before proceeding to the next step. Placing the tray in direct sunlight or near a ventilated area can expedite the drying process. Avoid reinstalling the tray while it is still damp, as this can lead to mold growth or unpleasant odors.
By thoroughly drying and sanitizing the drip tray, you are taking important steps to maintain the cleanliness and functionality of your Samsung refrigerator. Once the tray is completely dry, you can proceed to the next step to reinstall it.
Step 6: Reinstall the drip tray
Now that the drip tray of your Samsung refrigerator is clean, dry, and sanitized, it’s time to reinstall it back into its original position.
Carefully place the drip tray back into the designated spot in the refrigerator. Make sure it fits securely and aligns properly with any guiding slots or hooks that may be present. If your Samsung refrigerator model requires screws or clips to secure the tray, follow the instructions provided in the user manual to ensure proper installation.
Take a moment to double-check that the drip tray is correctly positioned and securely in place. This will prevent any potential leaks or spills from occurring and ensure that the tray functions as intended.
If your refrigerator has multiple drip trays or compartments, repeat the same process for each one, ensuring that they are all properly reinstalled.
Once the drip tray is securely back in its original position, close the panel or cover that houses the tray. If any screws were removed during the disassembly process, make sure to tighten them to secure the panel in place.
By successfully reinstalling the drip tray, you have completed a vital step in maintaining the cleanliness and functionality of your Samsung refrigerator. Now, you are ready to proceed to the final step to ensure the proper functioning of your appliance.
Step 7: Plug the refrigerator back in
After cleaning and reinstalling the drip tray in your Samsung refrigerator, the final step is to plug the appliance back into the power source. This will restore the electricity supply and allow the refrigerator to resume its normal operation.
Locate the power cord at the back of the refrigerator and carefully plug it back into the wall socket. Ensure that the plug is inserted securely and the cord is not tangled or obstructed in any way.
Once the refrigerator is plugged back in, you will typically hear a humming sound as the appliance starts up. This indicates that the cooling system is functioning correctly, and the refrigerator is ready to keep your food fresh.
It’s essential to allow the refrigerator some time to reach its optimal temperature before restocking it with food. This ensures that the interior of the refrigerator cools down efficiently, promoting food safety and preservation.
Ensure that the refrigerator door is closed securely and tightly. This helps to maintain the desired temperature inside the appliance and maximize energy efficiency.
By plugging the refrigerator back in, you have successfully completed the cleaning process and ensured the proper functioning of your Samsung refrigerator. Regular maintenance, including cleaning the drip tray, will contribute to the longevity and efficiency of your appliance.
Tips for Preventing Future Build-up in the Drip Tray
Once you have cleaned the drip tray in your Samsung refrigerator, you can take preventive measures to minimize future build-up and keep the tray clean for longer periods. Here are some helpful tips:
- Regularly clean the interior: Routinely wipe down the interior of your refrigerator, paying attention to any spills or leaks. By keeping the interior clean, you can reduce the amount of residue that finds its way into the drip tray.
- Check for clogs: Regularly inspect the drain hole or tube located near the back of the refrigerator. If you notice any blockages, use a pipe cleaner or a small brush to clear the clog. This will prevent excess water from accumulating in the drip tray and causing unpleasant odors.
- Empty and clean the vegetable or crisper drawers: Remove the drawers from the refrigerator periodically and clean them thoroughly. This will prevent any liquid or debris from overflowing into the drip tray.
- Avoid placing hot or uncovered food: Place hot items or uncovered foods on plates or in containers to prevent any liquid or condensation from entering the drip tray. This will help reduce the amount of residue that accumulates in the tray.
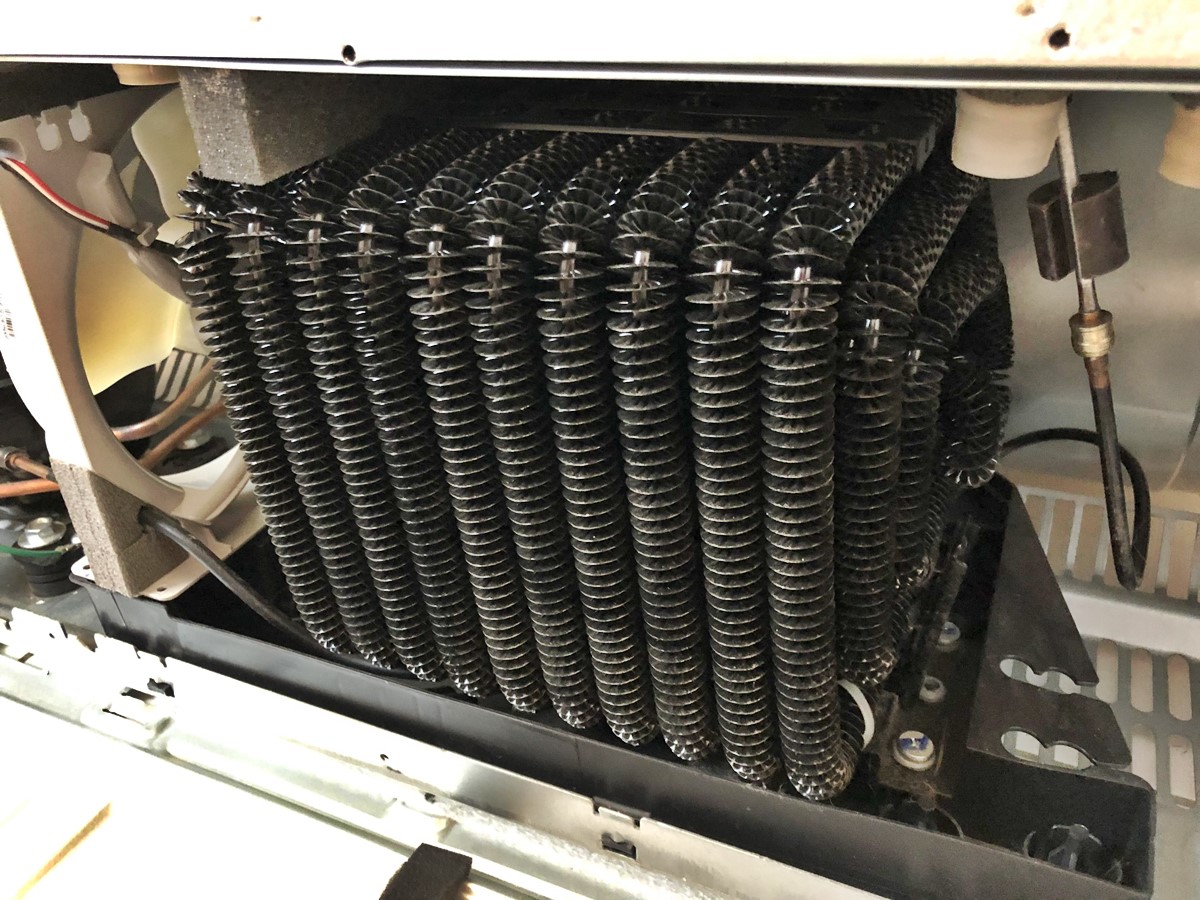
- Regularly inspect and clean the condenser coils: The condenser coils, usually located at the back or underside of the refrigerator, can collect dust and affect the efficiency of the cooling system. Clean the coils regularly using a vacuum cleaner or a coil brush to prevent excess condensation and moisture that can end up in the drip tray.
- Monitor and adjust humidity levels: Some refrigerators have humidity control settings that can help prevent excess condensation. Adjust these settings according to the recommended levels for your specific model to minimize moisture in the fridge and reduce the accumulation of water in the drip tray.
By following these tips, you can proactively prevent future build-up in the drip tray of your Samsung refrigerator. Regular maintenance and attention to cleanliness will help keep your appliance in optimal condition and extend its lifespan.