
Safety Precautions
When adjusting a grandfather clock pendulum, it’s important to prioritize safety to avoid any accidents or damage to the clock. Here are some essential safety precautions to keep in mind:
- Clear the Area: Before beginning any adjustments, make sure the area around the clock is clear of any obstacles or delicate items that could be knocked over. Create a safe working space to avoid any unnecessary accidents.
- Wear Protective Gear: It’s advisable to wear protective gloves and eyewear when handling the clock components. This will safeguard your hands from getting injured or damaged, especially when working with delicate parts.
- Take Your Time: Adjusting a grandfather clock pendulum requires patience and attention to detail. Rushing the process may lead to mistakes or unintended consequences. Stay focused and take your time to ensure accurate adjustments.
- Handle with Care: Grandfather clocks are intricate pieces of machinery with delicate mechanisms. Handle the clock components, especially the pendulum, with utmost care to avoid any damage. Avoid unnecessary impacts or rough handling.
- Seek Professional Help: If you are unsure about making adjustments or encounter any difficulties, it is recommended to seek the assistance of a professional clock technician. They have the expertise to handle grandfather clock adjustments properly and can ensure the best results without any risk of damage.
- Keep Tools Organized: When using tools for adjustments, keep them organized in a designated area. This will prevent any accidental misplacement or loss, as well as reduce the risk of injury from sharp or pointed tools.
- Disconnect the Power: Before making any adjustments, turn off the power supply to the clock. Unplug the clock from the power source or remove the batteries if it runs on battery power. This will prevent any electrical accidents or damage during the adjustment process.
By following these safety precautions, you can ensure a smooth and secure process while adjusting the grandfather clock pendulum. Take your time, be cautious, and prioritize safety above all else to maintain the clock’s integrity and prevent any accidents or damage.
Understanding the Pendulum
The pendulum is an integral part of a grandfather clock and plays a crucial role in its timekeeping accuracy. Understanding how the pendulum works is essential when it comes to adjusting it properly. Here’s a breakdown of the key components and concepts related to the pendulum:
Pendulum Length: The length of the pendulum refers to the distance from the point of suspension to the center of mass. This length determines the swing’s duration, which affects the clock’s timekeeping accuracy. Longer pendulums have a slower swing while shorter ones swing faster.
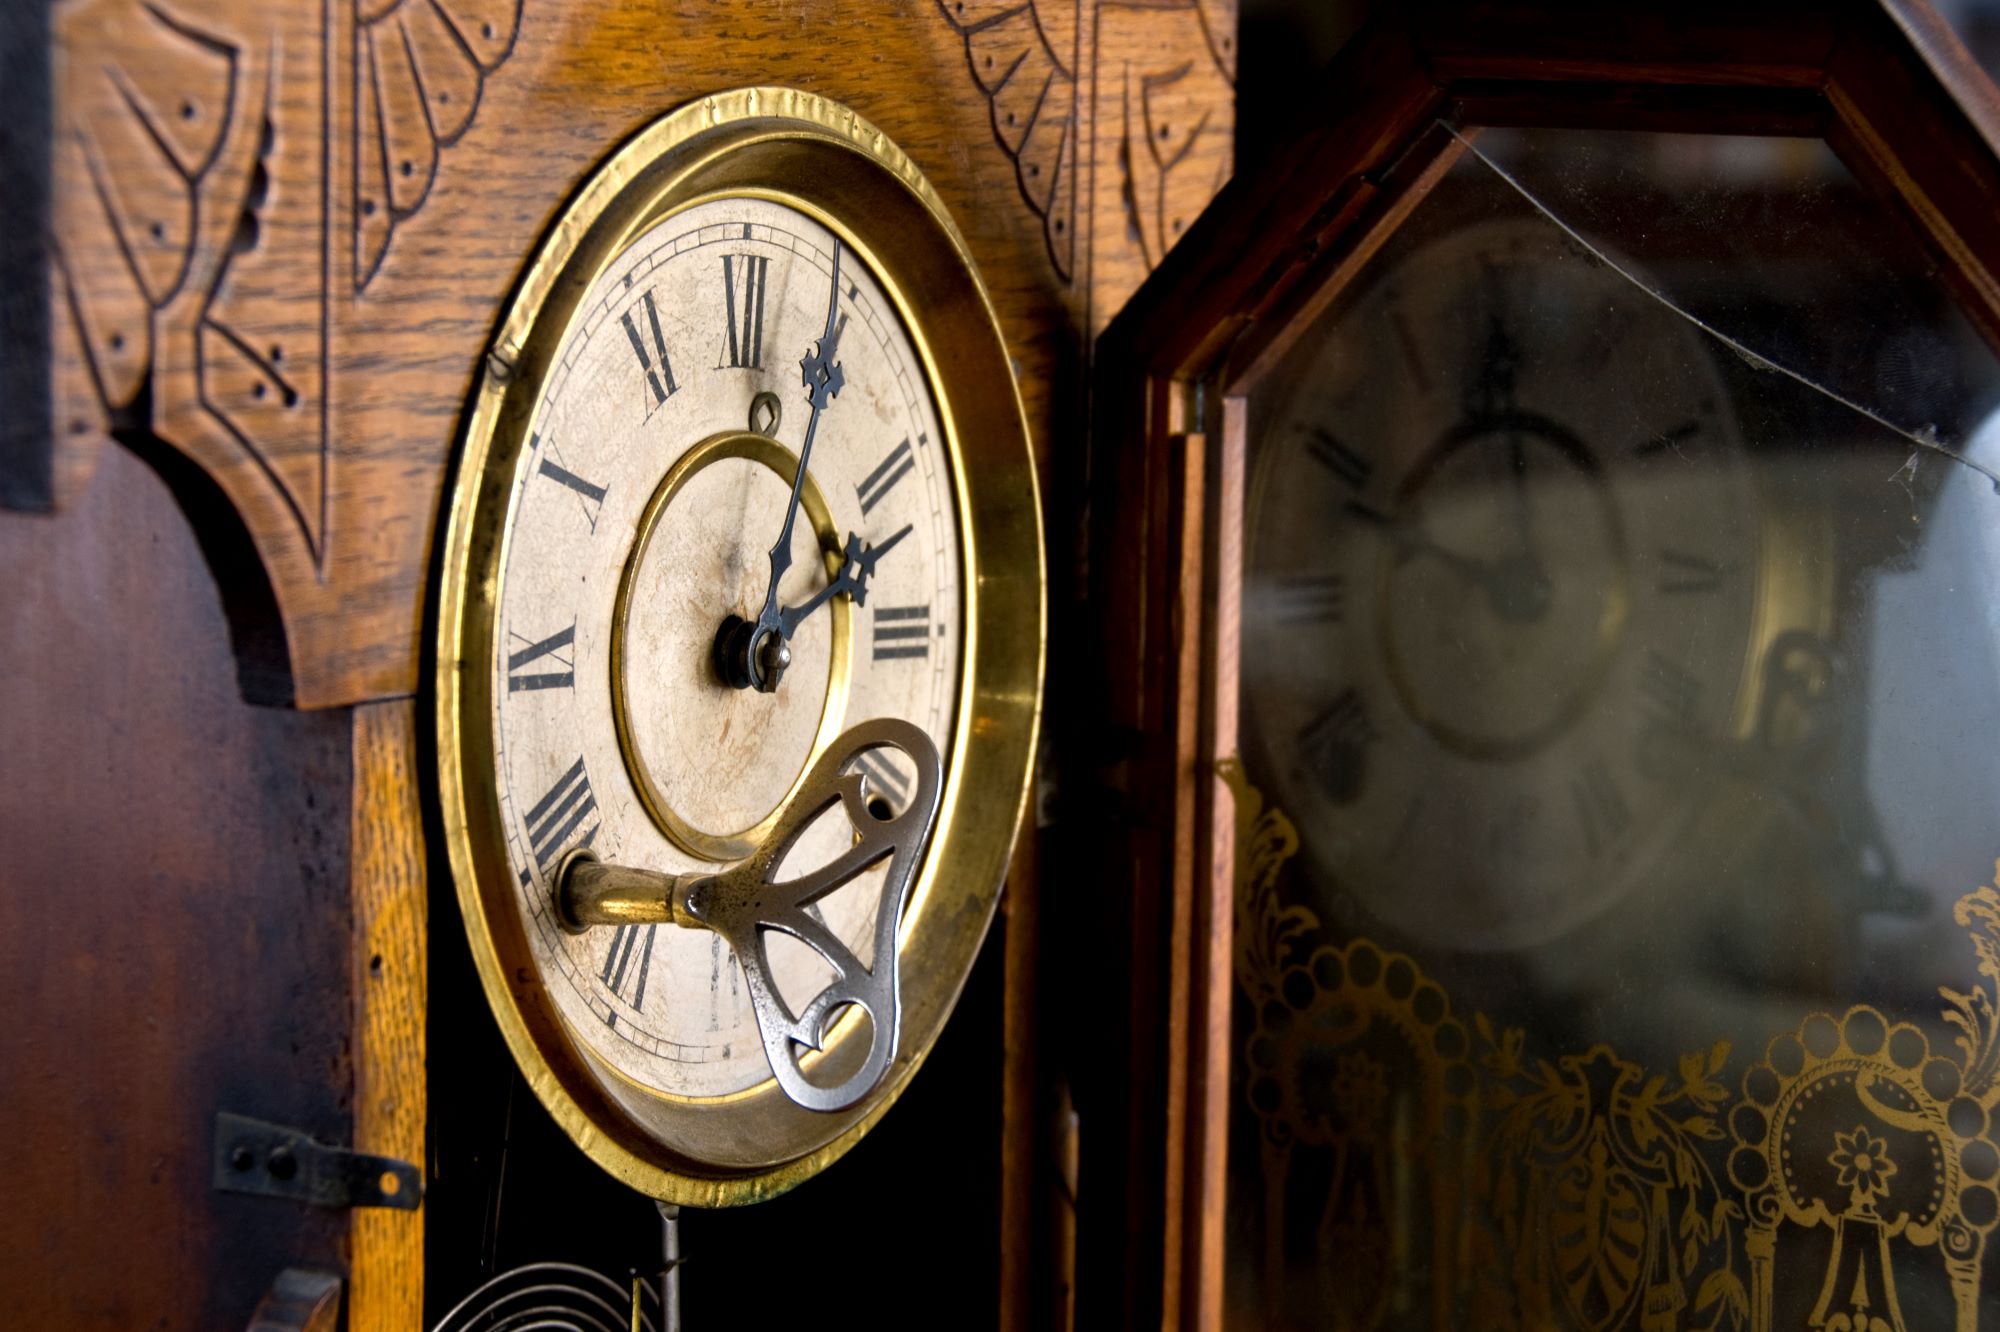
Regulating Nut: Located near the bottom of the pendulum, the regulating nut is used to adjust the effective length of the pendulum. Turning the nut clockwise raises the bob, effectively shortening the pendulum and speeding up the clock. Conversely, turning the nut counterclockwise lowers the bob, lengthening the pendulum and slowing down the clock.
Pendulum Beat: The pendulum beat refers to the regular rhythm or tick-tock sound produced by the clock’s movement. It is essential for ensuring accurate timekeeping. A proper pendulum beat is when the tick and tock sounds are evenly spaced and have equal loudness. Adjusting the pendulum length can help achieve the correct pendulum beat.
Bob: The bob is the weight at the bottom of the pendulum. It provides the necessary mass to maintain the pendulum’s swing and regulate the clock’s timekeeping. The weight of the bob can vary depending on the clock model and design. Some grandfather clocks may have adjustable bobs for fine-tuning timekeeping.
Isolation: The pendulum should be isolated from external vibrations to ensure accurate timekeeping. Place the clock on a stable surface away from sources of vibration, such as speakers, washing machines, or heavy foot traffic areas.
By familiarizing yourself with these key concepts of the pendulum, you can better understand how it affects the grandfather clock’s timekeeping. This understanding will aid you in making precise adjustments to maintain accurate timekeeping and ensure the smooth operation of your clock.
Checking the Level
One of the essential steps in adjusting a grandfather clock pendulum is ensuring that the clock is properly level. A level clock ensures accurate timekeeping and prevents unnecessary wear and tear on the clock’s mechanisms. Here’s how you can check and adjust the level of your grandfather clock:
Use a Bubble Level: Start by obtaining a high-quality bubble level that is long enough to span the width of the clock case. Place it on top of the clock case, parallel to the front of the clock. Ensure that the vial in the bubble level is centered between the two lines to indicate a level position.
Adjust the Leveling Feet: Most grandfather clocks have adjustable leveling feet. If the bubble level indicates that the clock is not level, use a wrench or the appropriate tool to adjust the feet accordingly. Turn the leveling feet clockwise to raise that side of the clock, and counterclockwise to lower it. Make small adjustments and check the level frequently until the bubble is centered.
Check in Different Locations: To ensure accuracy, it’s recommended to check the level in multiple locations around the clock. Place the bubble level in different positions, including the sides and back of the clock, to ensure that the clock is level from all angles.
Stabilize the Clock: Once the clock is properly leveled, check for any signs of instability. Gently shake the clock from different angles to see if it wobbles or sways. If you notice any instability, further adjustments may be needed to stabilize the clock.
Routine checks for leveling are important, as the level of the surface on which the clock stands can change over time. Additionally, moving the clock can also affect its level. Therefore, periodic verification and adjustments are recommended to maintain an accurate and level position for the clock.
Adjusting the Pendulum Length
Once you have ensured that your grandfather clock is properly leveled, you may need to adjust the pendulum length to fine-tune its timekeeping. Here’s a step-by-step guide on how to adjust the pendulum length:
1. Determine the Desired Timekeeping: Before making any adjustments, decide whether your clock is running too fast or too slow. This will help you determine whether you need to lengthen or shorten the pendulum.
2. Locate the Regulating Nut: Look for the regulating nut on the pendulum near the bottom of the clock case. It is usually a small nut that can be turned clockwise or counterclockwise.
3. Adjusting the Pendulum Length: To shorten the pendulum and speed up the clock, turn the nut clockwise. Make small half-turn adjustments and observe the impact on the clock’s timekeeping. If you need to lengthen the pendulum and slow down the clock, turn the nut counterclockwise.
4. Test the Adjustments: After each adjustment, give the clock some time to settle and observe its timekeeping accuracy. It may take several hours or a few days to notice the full impact of the adjustment. Repeat the process until the clock keeps time accurately.
5. Fine-Tune as Needed: If you find that the clock is still not keeping time accurately after adjusting the pendulum length, make small additional adjustments in the same direction. Remember to allow enough time for the clock to settle before assessing its timekeeping accuracy again.
Remember, when making adjustments to the pendulum length, it’s crucial to be patient and make gradual changes. Avoid making large adjustments at once, as this can disrupt the clock’s accuracy. It may take some trial and error to achieve the precise pendulum length needed for optimal timekeeping.
Adjusting the pendulum length is a delicate process, and it’s normal to take some time to find the right balance. By being patient and observant, you can achieve accurate timekeeping and fully enjoy the beauty and functionality of your grandfather clock.
Setting the Proper Beat
In order to maintain accurate timekeeping, it’s important to ensure that the pendulum has the proper beat. The beat refers to the swing rhythm of the pendulum, which should have a consistent tick-tock sound. Here’s how you can set the proper beat for your grandfather clock:
1. Listen to the Beat: Stand near the clock and listen to the tick-tock sound. A proper beat should have an even rhythm, with the tick and tock sounds being evenly spaced and having equal loudness.
2. Observe the Pendulum Swing: Watch the pendulum swing from side to side. The swing should be smooth and regular, without any jerky or irregular movements.
3. Adjust the Pendulum: If you notice any irregularities in the beat or swing of the pendulum, you may need to make adjustments. Start by ensuring that the clock is properly leveled. A level clock helps the pendulum swing smoothly and evenly.
4. Check for Levelness: Using a bubble level, verify that the clock is still level. If it is not, follow the steps outlined in the “Checking the Level” section to adjust the leveling feet and recheck the levelness.
5. Find the Ideal Beat: Gradually adjust the pendulum length using the regulating nut, making small half-turn adjustments at a time. As you make adjustments, listen carefully to the beat and observe the pendulum swing. Continue making minor adjustments until you achieve the desired beat.
6. Fine-Tune as Needed: Give the clock some time to settle and observe its timekeeping accuracy after each adjustment. If you find that the beat is still not even, make further minor adjustments to the pendulum length until the desired beat is achieved.
Setting the proper beat may take some trial and error, as each grandfather clock is unique. Patience and careful observation are key to achieving the optimal beat for accurate timekeeping. By ensuring a smooth and regular swing of the pendulum, you can enjoy the harmonious ticking and tocking sounds of your grandfather clock.
Testing the Timekeeping
After adjusting the pendulum length and setting the proper beat, it’s important to test the timekeeping accuracy of your grandfather clock. Here are some steps to help you accurately assess the clock’s timekeeping performance:
1. Set the Time: Start by ensuring that the clock is set to the correct time. Use a reliable time source, such as an atomic clock or a trusted timekeeping device, to synchronize the clock’s time accurately.
2. Monitor the Clock: Leave the clock to run undisturbed for at least 24 hours, preferably longer. During this period, closely observe the clock’s timekeeping accuracy.
3. Take Notes: Keep a log or record of the time differences between the grandfather clock and the accurate time source at regular intervals. Record the time variation at least once every 12 hours or more often if possible.
4. Analyze the Time Variations: After the monitoring period, analyze the time differences and calculate the average time variation. This will give you a clearer understanding of the clock’s overall timekeeping accuracy.
5. Make Additional Adjustments: If the clock consistently runs fast or slow during the monitoring period, you may need to make minor adjustments to the pendulum length. Use the regulating nut to make small corrections, aiming to bring the clock’s timekeeping closer to the accurate time source.
6. Repeat the Testing: Repeat the testing process if you make any further adjustments to the pendulum length. Continue monitoring and analyzing the time variations until the clock achieves satisfactory timekeeping accuracy.
It’s important to note that grandfather clocks are mechanical devices and may have small variations in timekeeping, even after adjustments. However, with careful monitoring and periodic adjustments, you can achieve a high level of accuracy without compromising the clock’s overall performance.
By thoroughly testing the timekeeping accuracy of your grandfather clock, you can ensure that it not only serves as a beautiful piece of decor but also maintains its primary function of keeping precise time. Be patient and persistent throughout the testing process to achieve optimal timekeeping results.
Troubleshooting Tips
While adjusting a grandfather clock pendulum, you may encounter some challenges or issues along the way. Here are a few troubleshooting tips to help you address common problems and ensure the smooth operation of your clock:
1. Uneven Beat
- Check the levelness of the clock and adjust the leveling feet if necessary.
- Ensure that the pendulum swing is smooth and regular without any obstructions.
- If the beat remains uneven, make small adjustments to the pendulum length using the regulating nut until the desired beat is achieved.
2. Inaccuracy in Timekeeping
- Verify that the clock is properly leveled to ensure accurate timekeeping.
- Check that the pendulum length is adjusted correctly; make small incremental adjustments if needed.
- Ensure that the clock is in a stable location without exposure to excessive vibrations or temperature fluctuations.
- If the clock continues to run inaccurately, consult a professional clock technician for further assistance.
3. Pendulum Stops Swinging
- Check if the clock is properly wound or if the weight(s) need to be raised.
- Inspect for any obstructions or entanglements that may be preventing the pendulum from swinging freely.
- Verify that the suspension spring is intact and properly connected to the pendulum.
- If the problem persists, seek professional help to diagnose and fix the issue.
4. Chiming or Striking Malfunction
- Ensure that the clock is properly wound and that the weights are set correctly.
- Check for any blockages or interferences that may be hindering the movement of the chime hammers or strike mechanism.
- If the chiming or striking functions still do not work properly, consult a professional clock technician.
5. Regular Maintenance
- Periodically clean and oil the clock’s internal mechanisms to ensure smooth operation.
- Avoid using harsh chemicals or abrasive materials during the cleaning process.
- Keep the clock away from direct sunlight, as it can cause the wood to fade or warp over time.
By following these troubleshooting tips and understanding how to address common issues, you can help maintain the optimal performance of your grandfather clock. If you encounter persistent or complex problems, it is always advisable to seek the guidance of a professional clock technician to avoid causing further damage.