
Gather the necessary tools
Before attempting to fix a grandfather clock, it’s essential to gather the necessary tools to ensure a smooth and successful repair process. Having these tools on hand will save you time and frustration while working on your prized timepiece. Here are the essential tools you’ll need:
- Screwdrivers: A set of screwdrivers with different sizes and types of heads will be required to remove screws and access different parts of the clock. It’s best to have both flathead and Phillips head screwdrivers in your arsenal.
- Wrench: A small adjustable wrench will come in handy for tightening or loosening nuts and bolts as needed.
- Pliers: Pliers will be useful for various tasks, such as gripping and pulling small components, adjusting levers, or holding things in place while you work.
- Hammer: A lightweight hammer will be used to gently tap or adjust parts without causing damage to the delicate clock mechanisms.
- Oil and lubricant: Clock oil and lubricant are essential for ensuring smooth movement and preventing excess wear on the clock’s components. Make sure to use a high-quality, specifically formulated clock oil.
- Leveling tool: A leveling tool, such as a small bubble level, is crucial for ensuring the clock is perfectly balanced and upright, which is essential for its proper operation.
- Cotton gloves: Wearing cotton gloves while handling the clock components will help prevent oils and dirt from your hands from transferring onto the delicate mechanisms.
- Clock cleaning solution: A clock cleaning solution, along with soft brushes and cloths, will be needed to clean the dust and grime that may have accumulated over time.
By gathering these tools beforehand, you’ll be well-equipped to tackle common issues and perform the necessary adjustments or repairs on your grandfather clock.
Safety Precautions
When working with a grandfather clock, it’s important to prioritize safety to avoid accidents and damage to the delicate components. Follow these safety precautions to protect yourself and the clock:
- Disconnect the power: Before starting any repairs or adjustments, make sure to disconnect the clock from its power source. This will prevent any electrical hazards while working with the mechanisms.
- Work in a well-lit area: Ensure that you have adequate lighting in your workspace to clearly see the clock components and avoid making mistakes or causing accidental damage.
- Handle with care: Grandfather clocks are delicate and have intricate parts. Handle the clock with care, avoiding any sudden movements or impacts that may cause damage to the delicate mechanisms.
- Use protective gear: Wear safety glasses to protect your eyes from any debris that may be dislodged during repairs or adjustments. Additionally, using cotton gloves will prevent oils and dirt from your hands from transferring onto the clock’s mechanisms.
- Work on a stable surface: Ensure that the surface you’re working on is stable and level. This will prevent any accidental tipping or movement of the clock while performing repairs, reducing the risk of damage or injury.
- Keep small parts organized: As you disassemble the clock or remove small components, keep them organized and labeled to avoid confusion or misplacement. This will make reassembling the clock much easier later on.
- Avoid over-tightening: When working with screws, bolts, or nuts, be cautious not to over-tighten them as it may cause damage to the clock’s delicate parts. Use the appropriate tools and apply gentle pressure to ensure a secure fit without excessive force.
- Refer to manuals or seek professional help: If you encounter any issues that you’re unsure of how to resolve, consult the clock’s manual or consider seeking assistance from a professional. It’s better to be cautious and avoid further damage than attempting complex repairs without the necessary knowledge.
By adhering to these safety precautions, you can minimize the risks involved in working on a grandfather clock and ensure a safe and successful repair process.
Checking for Obvious Problems
Before diving into any specific repairs or adjustments, it’s important to conduct a thorough assessment of the clock to identify any obvious problems. Here are some key areas to check:
- Visual inspection: Carefully examine the clock for any visible damage, such as cracked glass or dents in the casing. Additionally, check for loose or missing screws, as they can affect the stability and functionality of the clock.
- Pendulum examination: Inspect the pendulum to ensure it is properly attached and swings freely. Look for any signs of wear or damage, such as bent rods or broken suspensions. If necessary, adjust the pendulum guide or replace damaged components to restore its proper function.
- Weighing the weights: Check that the weights are properly attached to their chains or cables and are evenly balanced. If any weights are missing or not properly aligned, it can cause the clock to lose accuracy or stop working altogether.
- Inspecting the clock hands: Examine the clock hands to ensure they are secure and aligned correctly. Misaligned hands can cause inaccurate timekeeping and may indicate underlying issues with the movement.
- Listening for abnormal sounds: Pay attention to any unusual ticking, grinding, or clicking sounds coming from the clock. These may indicate problems with the gears, bushings, or other mechanical components that require further investigation and repair.
- Assessing the chimes: Test the chimes and strike mechanisms to ensure they are functioning correctly. Look out for any discrepancies in the sound or irregularities in the pattern of the chimes, as they can indicate issues with the hammers, chime rods, or other related components.
By carefully inspecting these areas and addressing any obvious problems, you can lay the groundwork for more specific repairs or adjustments that may be needed to restore your grandfather clock’s optimal functioning.
Adjusting the Pendulum
The pendulum is a crucial component of a grandfather clock that regulates its timekeeping. If the clock is running too fast or too slow, it may require adjustments to the pendulum. Follow these steps to properly adjust the pendulum:
- Stop the clock: Before making any adjustments, stop the clock by gently moving the pendulum to one side until it comes to a complete stop.
- Identify the regulating nut: Locate the regulating nut on the bottom of the pendulum. This small nut is used to adjust the length of the pendulum, which in turn affects the clock’s accuracy.
- Adjusting for faster or slower timekeeping:
- To speed up the time: Turn the regulating nut clockwise (to the right) to raise the pendulum bob. This effectively shortens the pendulum’s length, causing the clock to run faster.
- To slow down the time: Turn the regulating nut counterclockwise (to the left) to lower the pendulum bob. This lengthens the pendulum, slowing down the clock’s rate.
- Make small adjustments: When adjusting the pendulum, make small incremental changes, usually no more than a quarter turn of the regulating nut at a time. Allow the clock to run for a few hours after each adjustment to observe its accuracy before making further changes.
- Observe the timekeeping: Continue to monitor the clock’s timekeeping after each adjustment. It may take a few days or even a week to achieve the desired accuracy, so be patient and make additional small adjustments as necessary.
- Stabilize the clock: Once the desired accuracy is achieved, gently nudge the pendulum to start the clock again, ensuring it’s in a stable and level position. This will allow the clock to continue operating correctly.
Adjusting the pendulum is a delicate process that requires careful precision. By following these steps and making gradual adjustments, you can fine-tune the clock’s timekeeping and ensure it is accurately reflecting the passage of time.
Winding the Clock
Winding a grandfather clock is necessary to provide the power needed to keep the clock running. Understanding the proper technique for winding is crucial to avoid damage to the clock and ensure accurate timekeeping. Here are the steps to follow when winding your clock:
- Determine the winding points: Identify the locations on your clock where the winding arbors are located. Typically, there are two keyholes—one for winding the timekeeping mechanism and another for the striking mechanism.
- Identify the correct winding direction: Determine which way to turn the key or crank to wind the clock. Most clocks will require a clockwise motion, but some may require counterclockwise winding. Consult the clock’s manual if you are unsure.
- Wind the striking mechanism: Begin by winding the striking mechanism first. Insert the key or crank into the appropriate keyhole and turn it in the designated direction until you feel resistance. Be careful not to over-wind; stop winding once you begin to feel tension.
- Wind the timekeeping mechanism: After winding the striking mechanism, move on to winding the timekeeping mechanism. Use the same technique as before, inserting the key or crank and winding until you feel resistance.
- Count the number of turns: It’s important to keep track of the number of turns made during the winding process. Some clocks may require a certain number of turns for optimal operation. Consult the clock’s manual for specific guidelines.
- Reset the clock: After completing the winding process, gently nudge the pendulum to start the clock again, making sure it’s in a stable and level position. This will allow the clock to resume its timekeeping function.
Remember to wind your grandfather clock regularly to ensure continuous operation. Typically, clocks require winding every 7 to 10 days, although this may vary depending on the specific clock model.
By following these steps and adhering to the recommended winding frequency, you can keep your grandfather clock running smoothly and maintain accurate timekeeping for years to come.
Cleaning and Lubricating the Movement
Regular cleaning and lubrication of the movement are essential for maintaining optimum performance and longevity of a grandfather clock. Over time, dust, dirt, and old lubricants can build up and hinder the clock’s operation. Here are the steps to effectively clean and lubricate the movement:
- Gather the necessary supplies: Prepare the tools and materials needed for cleaning, including a clock cleaning solution, soft brushes, clean cloths, and clock lubricant. Ensure you have a well-lit and uncluttered workspace.
- Remove the movement: Carefully extract the clock movement from the case while ensuring you keep track of all the small parts and their respective positions. Take pictures or make notes if necessary to aid in reassembly.
- Clean the movement: Dilute the clock cleaning solution according to the manufacturer’s instructions. Using soft brushes, gently remove dirt and grime from all the components of the movement, including gears, pinions, and pivots. Take care not to force any parts or use excessive pressure.
- Rinse and dry: After cleaning, rinse the movement with clean water to remove any remaining cleaning solution residue. Allow the movement to air dry completely or use a hairdryer on a low, cool setting to speed up the drying process.
- Lubricate the movement: Apply a small amount of high-quality clock lubricant to the necessary parts of the movement, such as the gear teeth, bushings, and pivots, according to the manufacturer’s recommendations. Avoid over-lubricating, as excess oil can attract dust and cause issues in the long run.
- Reassemble the movement: Carefully put all the cleaned and lubricated components back into their respective positions, following your notes or reference pictures. Ensure everything fits snugly but without force, ensuring smooth movement and proper alignment.
- Test the clock: Once the movement is back in the case, gently nudge the pendulum to initiate the clock’s operation. Observe its performance, listening for any irregular sounds or hitches in movement. Make any necessary adjustments or corrections before securing the case.
Regular cleaning and lubrication, performed every few years or as recommended by the manufacturer, will help keep your grandfather clock running smoothly and accurately for generations to come. It’s always advisable to consult a professional if you are uncertain or uncomfortable performing these maintenance tasks yourself.
Leveling the Clock
Properly leveling a grandfather clock is crucial for its optimal performance and stability. Uneven surfaces or a tilted clock can cause the pendulum to swing unevenly, resulting in inaccurate timekeeping or even stoppage. Follow these steps to ensure your clock is level:
- Choose a suitable location: Find a stable and level surface for your grandfather clock. Avoid placing it on carpet or an uneven floor, as this can make leveling more challenging.
- Ensure the case is upright: Before leveling, make sure the clock case is in an upright position. Use a bubble level or a smartphone app with a built-in level to check if the case is perfectly vertical. Adjust the position as needed.
- Level the clock from front to back: Place the bubble level horizontally on top of the clock case, parallel to the front of the clock. Adjust the clock’s feet or shim the base as necessary to achieve a level position from front to back.
- Level the clock from side to side: Position the bubble level vertically against the side of the clock case, perpendicular to the front. Adjust the clock’s feet or use shims to achieve a level position from side to side.
- Check the levelness of the pendulum: With the clock case properly leveled, observe the pendulum’s swing. Ensure it swings evenly without touching any surrounding surfaces or obstructions.
- Make small adjustments: If the pendulum swing is not level, use small adjustments to correct it. This may involve gently bending the suspension spring, adjusting the pendulum rod length, or redistributing the weights if necessary. Consult the clock’s manual or seek guidance from a professional if needed.
- Recheck and fine-tune: After making adjustments, recheck the levelness of the clock and observe the pendulum swing again. Continue to fine-tune as needed until the clock is properly leveled and the pendulum swings freely and evenly.
By ensuring your grandfather clock is level, you can optimize its timekeeping accuracy and ensure smooth operation. Remember to periodically check the clock’s levelness and make any necessary adjustments, especially if you move or relocate the clock to a different position.
Troubleshooting Common Issues
Even with proper maintenance, grandfather clocks can experience common issues that require troubleshooting. Here are some of the most common problems you may encounter and steps to address them:
- Clock not chiming or striking: If the clock is not chiming or striking at the correct times, check the hammers and chime rods for any obstructions or misalignment. Ensure that the chime selector lever is in the correct position. If the issue persists, consult the clock’s manual or seek professional assistance.
- Inaccurate timekeeping: If the clock is running too fast or too slow even after pendulum adjustments, make sure the clock is properly wound and the weights are evenly balanced. If the problem persists, it may indicate worn gears or escapement issues, which may require professional repair.
- Pendulum Stops Swinging: If the pendulum stops swinging, check for any obstruction or interference with its movement. Ensure that the pendulum guide is properly aligned and the suspension spring is not damaged. Make sure the clock case is level, as an imbalance can affect the pendulum’s swing. If necessary, consult a professional for further diagnosis and repair.
- Uneven or erratic tick-tock sound: If the clock produces an uneven or erratic tick-tock sound, it may indicate a misalignment of the escapement mechanism. Check for any foreign objects, debris, or worn parts in the escapement. Some adjustments or repairs may require accurate knowledge of clock mechanics, so consider seeking professional assistance if needed.
- Weight chains tangled or stuck: If the weight chains become tangled or stuck, gently untangle or straighten them. Ensure that the chains are properly positioned on the sprockets and are not twisted. If a weight chain becomes disconnected, consult the clock’s manual or seek professional guidance on its reattachment.
It’s important to note that these troubleshooting steps are general guidelines, and specific clock models may have unique requirements and characteristics. If you are uncertain or uncomfortable with any troubleshooting procedures, it is recommended to consult the clock’s manual or seek assistance from a professional clock repair specialist.
Reassembling the Clock
After performing repairs or maintenance on your grandfather clock, it’s time to reassemble the various components and put the clock back together. Properly reassembling the clock is essential to ensure its functionality and longevity. Follow these steps to reassemble your clock:
- Organize the components: Lay out all the cleaned and repaired components in an organized and systematic manner. This will help you easily identify and locate each part during the reassembly process.
- Refer to documentation: Use any reference material available, such as the clock’s manual or notes you took during the disassembly phase, to ensure correct placement and orientation of the components. Pay attention to any specific instructions or diagrams provided.
- Add lubrication: Apply a small amount of clock lubricant to the necessary parts, such as the pivots and bushings, as specified in the clock’s manual or recommended by a professional. This ensures smooth movement and reduces friction that can lead to wear and tear.
- Fit the movement into the case: Gently and carefully place the clock movement back into the case, ensuring alignment with any corresponding holes or brackets. Take your time and avoid applying force or causing unnecessary strain on the components.
- Secure the movement: Once the movement is in place, reattach any screws, nuts, or brackets that hold it securely within the clock case. Use proper tools and tighten the fasteners just enough to ensure stability without risking damage to the components.
- Connect the pendulum and weights: Reattach the pendulum to the clock movement, making sure it is properly aligned and securely attached. Then, hang the weights on their respective chains or cables, ensuring they are even and balanced.
- Test the clock: Gently nudge the pendulum to start the clock, allowing it to swing freely. Listen for the ticking sound and observe the movement of the hands and any chiming or striking mechanism. Make any necessary adjustments to ensure proper operation.
- Check for stability and levelness: Ensure that the clock is stable and level on its chosen surface. Use a level to check the case’s alignment and make any necessary adjustments to achieve a balanced position.
Take your time during the reassembly process, ensuring each component is correctly placed and secured. If you encounter any issues or challenges, consult the clock’s manual or seek guidance from a professional clock repair specialist.
Testing the Clock
After reassembling a grandfather clock, it’s essential to thoroughly test its functionality and ensure that all repairs and adjustments have been successful. Testing the clock will determine if it is keeping accurate time, chiming correctly (if applicable), and operating smoothly. Follow these steps to test your clock:
- Set the correct time: Use a reliable time source, such as an atomic clock or a smartphone with internet connectivity, to set the correct time on the clock. Make sure to adjust the hands gradually and without excessive force to avoid damaging the movement.
- Monitor timekeeping: Let the clock run for at least 24 hours and assess its timekeeping accuracy. Compare the clock’s time with a reliable time source and note any discrepancies. If the clock is running fast or slow, consult the previous steps in this guide to make appropriate adjustments.
- Observe pendulum swing: Pay attention to the pendulum’s swing and ensure that it maintains a consistent and balanced rhythm. The pendulum should swing freely without any obstructions or interference from surrounding surfaces.
- Check the chiming mechanism (if applicable): If your clock has a chiming mechanism, listen for the chimes at the designated intervals. Ensure that the chimes are clear, in tune, and strike the correct number of times for each hour. If the chimes are off or not functioning, refer to the troubleshooting section or seek professional assistance.
- Observe hand movement: Monitor the movement of the hour and minute hands to ensure they are accurate and smooth. Confirm that they are synchronized with the timekeeping mechanism and moving without any hindrance or skipping.
- Listen for abnormal sounds: During testing, listen for any unusual ticking, grinding, or clicking sounds coming from the clock. Unusual sounds may indicate mechanical issues or improper adjustments that require further attention or professional evaluation.
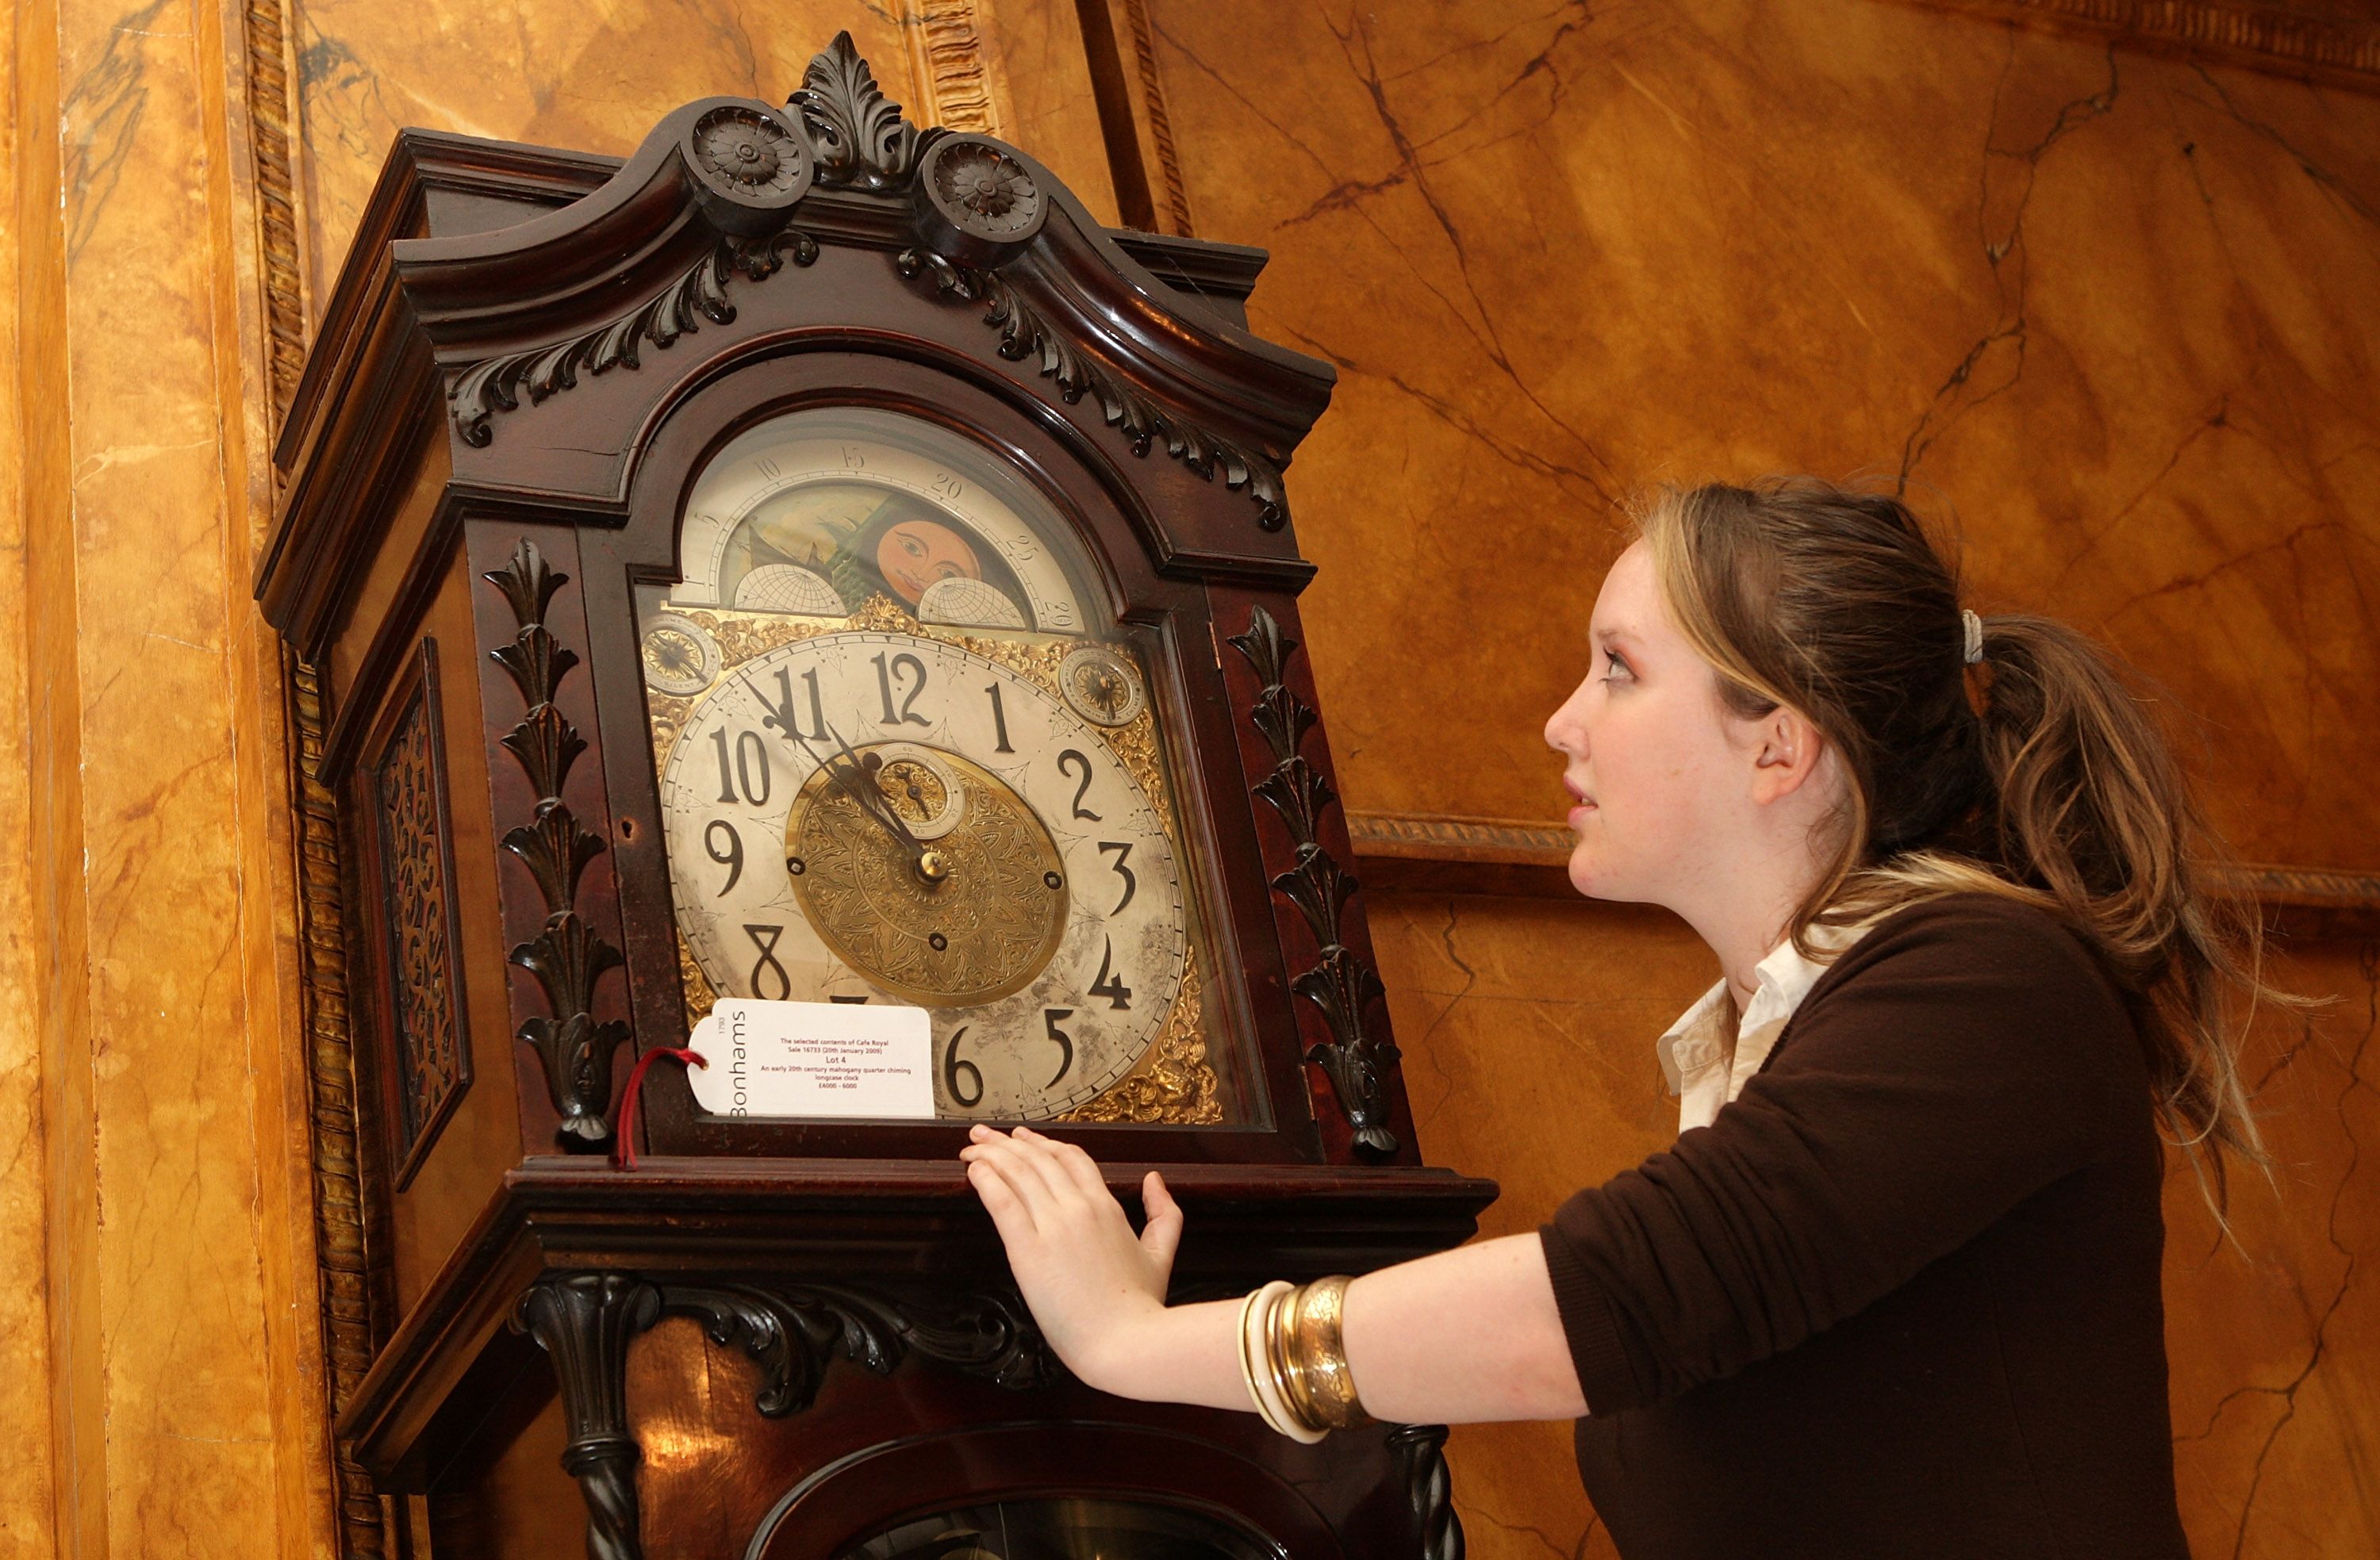
- Assess overall functionality: Test any additional features or complications your clock may have, such as moon phase indicators or calendar displays. Verify that these functions are operating correctly and aligned with the current date and phase.
- Make necessary adjustments: Based on the observations from the testing process, make any final adjustments or corrections to ensure optimal functionality and accuracy. Consult the clock’s manual or seek professional guidance if needed.
By thoroughly testing your grandfather clock, you can ensure that it is functioning properly and accurately reflecting the passage of time. Regularly perform testing and maintenance to keep your clock in excellent working condition and enjoy its beauty and functionality for years to come.