
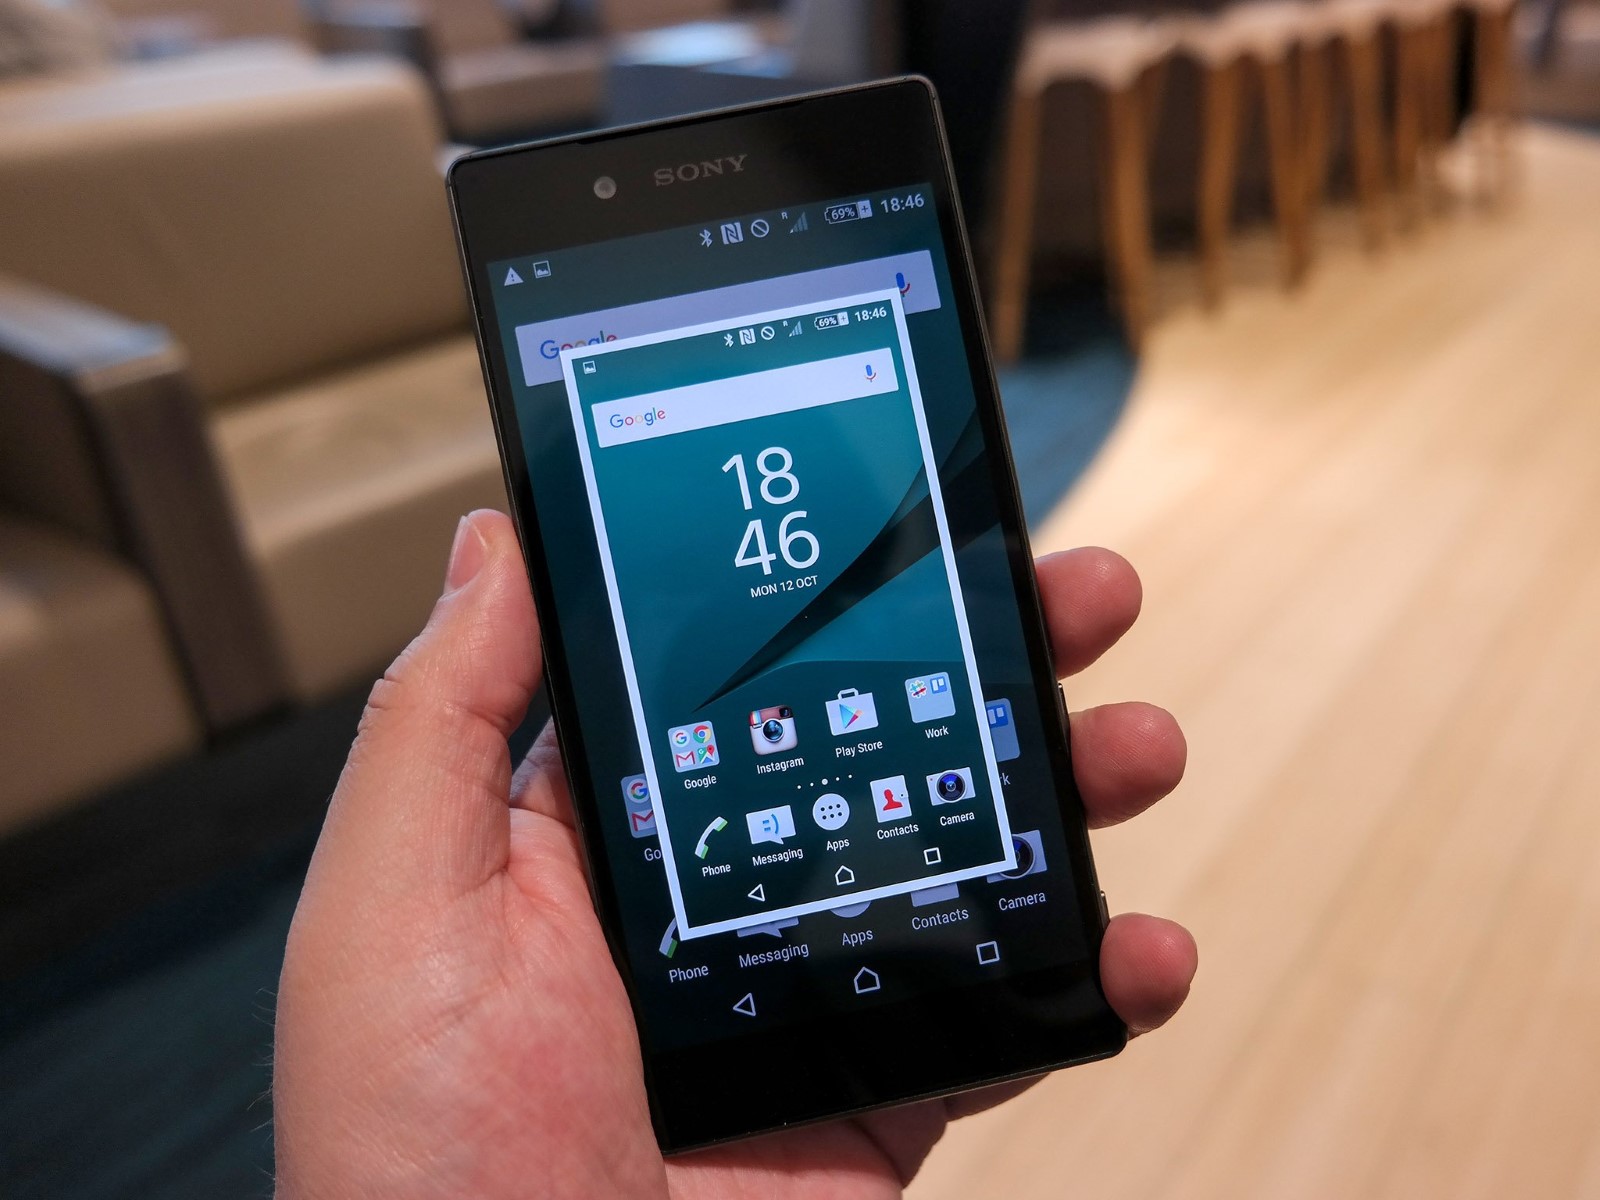
Enable Screenshot on Xperia Z5
Enabling the screenshot feature on your Xperia Z5 is a straightforward process that allows you to capture and save important information, memorable moments, or interesting content displayed on your device's screen. By default, the Xperia Z5 comes equipped with the necessary functionality to take screenshots, and users can easily enable this feature to enhance their overall user experience.
To enable the screenshot feature on your Xperia Z5, follow these simple steps:
-
Accessing the Settings: Begin by unlocking your Xperia Z5 and navigating to the home screen. From there, locate and tap on the "Settings" app, which is represented by a gear icon.
-
Locating the "Capture" Option: Once you have accessed the Settings menu, scroll down to find the "System" section. Within this section, you will find the "Capture" option. Tap on it to proceed.
-
Enabling the Screenshot Feature: Upon selecting the "Capture" option, you will be presented with a list of available capture methods. Look for the "Screenshot" option and ensure that it is enabled by toggling the switch to the "On" position.
By following these steps, you have successfully enabled the screenshot feature on your Xperia Z5, allowing you to effortlessly capture and save images of your screen at any time.
Enabling the screenshot feature on your Xperia Z5 provides you with the flexibility to capture and preserve important information, share interesting content, or save memorable moments with just a few simple taps on your device. This convenient functionality enhances the overall usability of your Xperia Z5 and empowers you to capture and retain valuable content with ease.
Taking a Screenshot with Physical Buttons
Taking a screenshot on your Xperia Z5 using the physical buttons is a convenient and efficient method that allows you to capture the contents displayed on your screen with ease. This approach is particularly useful when you need to quickly capture and save important information, memorable moments, or interesting content without navigating through menus or settings. The straightforward process involves utilizing the physical buttons on your device to initiate the screenshot capture, making it a practical and accessible feature for Xperia Z5 users.
To take a screenshot using the physical buttons on your Xperia Z5, simply follow these steps:
-
Locate the Power and Volume Down Buttons: Begin by identifying the physical buttons on your Xperia Z5. The Power button is typically located on the right side of the device, while the Volume Down button is situated on the opposite side.
-
Positioning and Pressing the Buttons: Once you have identified the Power and Volume Down buttons, position your device's screen to display the content you wish to capture. With the desired content visible, simultaneously press the Power button and the Volume Down button for a brief moment. This action triggers the screenshot capture process, and you may hear a confirmation sound or see a visual indication that the screenshot has been successfully taken.
-
Verifying the Screenshot: After pressing the designated buttons, it is essential to verify that the screenshot has been captured. You can do so by checking the notification panel or accessing the device's gallery app, where the captured screenshot should be readily available for viewing and sharing.
By following these simple steps, you can efficiently capture screenshots on your Xperia Z5 using the physical buttons, providing a quick and accessible method to preserve important information or memorable moments displayed on your device's screen.
The ability to take screenshots using the physical buttons on your Xperia Z5 exemplifies the device's user-friendly design and enhances the overall user experience. This intuitive functionality empowers users to effortlessly capture and retain valuable content, ensuring that important information and memorable moments can be conveniently saved and shared as desired.
Taking a Screenshot with Gestures
Taking a screenshot on the Xperia Z5 using gestures offers a convenient and intuitive alternative to using physical buttons. This method leverages the device's touch screen capabilities, allowing users to capture the contents displayed on their screen with a simple and natural gesture. By incorporating gestures into the screenshot capture process, Xperia Z5 users can seamlessly preserve important information, capture memorable moments, or save interesting content without the need to press physical buttons, offering a modern and user-friendly approach to screenshot functionality.
To take a screenshot with gestures on your Xperia Z5, follow these straightforward steps:
-
Accessing the Settings: Begin by unlocking your Xperia Z5 and navigating to the home screen. From there, locate and tap on the "Settings" app, represented by a gear icon.
-
Locating the "System" Section: Once in the Settings menu, scroll down to find the "System" section. Within this section, you will find the "Gestures" option. Tap on it to proceed.
-
Enabling the Screenshot Gesture: Upon selecting the "Gestures" option, look for the "Three-finger screenshot" or similar option. Ensure that this gesture is enabled by toggling the switch to the "On" position.
With the gesture-based screenshot feature enabled, capturing screenshots on your Xperia Z5 becomes a seamless and intuitive process. To take a screenshot using gestures, follow these steps:
-
Positioning and Gesturing: Display the content you wish to capture on your Xperia Z5's screen. With the desired content visible, gently place three fingers (usually the index, middle, and ring fingers) on the screen and swipe downwards. This gesture initiates the screenshot capture process, allowing you to effortlessly capture the displayed content.
-
Verifying the Screenshot: After performing the gesture, it is important to verify that the screenshot has been successfully captured. You can do so by checking the notification panel or accessing the device's gallery app, where the captured screenshot should be readily available for viewing and sharing.
By incorporating gestures into the screenshot capture process, Xperia Z5 users can seamlessly preserve important information, capture memorable moments, or save interesting content without the need to press physical buttons, offering a modern and user-friendly approach to screenshot functionality. This intuitive functionality enhances the overall user experience, empowering users to effortlessly capture and retain valuable content with a natural and convenient gesture.
Accessing and Managing Screenshots
After successfully capturing screenshots on your Xperia Z5, it is essential to know how to access and manage these saved images efficiently. The ability to access and manage screenshots enables users to review, share, or organize the captured content according to their preferences, ensuring that the screenshots remain easily accessible for future reference or sharing with others.
Upon capturing a screenshot, accessing and managing the saved images can be accomplished through the following steps:
Accessing Screenshots
-
Using the Notification Panel: When a screenshot is captured, a notification typically appears in the notification panel, indicating that the screenshot has been saved. By accessing the notification panel and tapping on the screenshot notification, users can instantly view the captured image and access options to share, edit, or delete the screenshot as needed.
-
Navigating to the Gallery App: Alternatively, users can access their device's gallery app to view and manage the captured screenshots. Within the gallery app, a dedicated folder or section for screenshots is often available, allowing users to conveniently browse through the captured images and perform actions such as sharing, editing, or organizing the screenshots into albums or categories.
Managing Screenshots
-
Organizing into Albums: To maintain a well-organized collection of screenshots, users can create albums within the gallery app to categorize and group related screenshots. This enables users to easily locate specific screenshots based on themes, events, or content types, enhancing the overall accessibility and organization of the captured images.
-
Sharing with Others: Once accessed, users can seamlessly share their captured screenshots with others through various communication channels such as messaging apps, social media platforms, or email. The ability to share screenshots facilitates effortless collaboration, communication, and the sharing of important information or memorable moments with friends, family, or colleagues.
-
Editing and Annotation: Some devices offer built-in editing and annotation features that allow users to enhance their screenshots by adding annotations, highlighting specific areas, or applying filters and effects. These editing capabilities empower users to customize their screenshots according to their preferences, adding a personal touch to the captured content.
By effectively accessing and managing screenshots on the Xperia Z5, users can ensure that their captured images remain organized, easily accessible, and ready for sharing or future reference. This streamlined process enhances the overall usability of the screenshot functionality, enabling users to efficiently preserve and manage valuable content captured from their device's screen.