
Checking Your SIM Card Size
Before you begin the process of inserting your SIM card into your Xperia Z3 Compact, it's essential to ensure that you have the correct SIM card size. The Xperia Z3 Compact requires a nano SIM card, which is the smallest of the three primary SIM card sizes in use today.
To determine if your SIM card is the correct size for the Xperia Z3 Compact, you can compare it to the nano SIM template. This template is often provided with the phone's packaging or can be easily found online. It consists of three outlines representing the standard, micro, and nano SIM card sizes.
To check your SIM card size, place it over the nano SIM outline on the template. If the edges of your SIM card align perfectly with the nano SIM outline and there is no excess space around it, then you have a nano SIM card. However, if there is a significant difference in size or the edges extend beyond the nano SIM outline, then you likely have a larger SIM card that will not be compatible with the Xperia Z3 Compact.
It's important to note that attempting to force a SIM card of the wrong size into the Xperia Z3 Compact can cause damage to the SIM card slot or the SIM card itself. Therefore, taking the time to verify the size of your SIM card before insertion is crucial to avoid potential issues and ensure a smooth and successful setup process for your Xperia Z3 Compact.
Powering Off Your Xperia Z3 Compact
Powering off your Xperia Z3 Compact is a straightforward process that is essential before inserting or removing the SIM card. By following these steps, you can ensure that your device is safely turned off, minimizing the risk of any potential damage during the SIM card insertion process.
-
Press and Hold the Power Button: Located on the right side of the Xperia Z3 Compact, the power button is easily accessible. To initiate the power off sequence, press and hold this button until the power off menu appears on the screen.
-
Select "Power Off": Once the power off menu is displayed, tap on the "Power off" option. This will prompt the device to begin the shutdown process.
-
Confirm the Power Off: After selecting "Power off," a confirmation dialog box will appear, asking if you are sure you want to power off the device. Confirm your choice by tapping "OK."
-
Wait for the Device to Power Off: The Xperia Z3 Compact will now commence the power off sequence. You will notice the screen turning off, indicating that the device is shutting down.
-
Verify the Device is Off: To ensure that the device has powered off completely, wait for a few seconds and then attempt to turn it back on by pressing the power button. If the device does not turn on, it has been powered off successfully.
By following these steps to power off your Xperia Z3 Compact, you can proceed with confidence to the next stage of inserting or removing the SIM card. This simple yet crucial process helps safeguard the device and the SIM card, ensuring a smooth and trouble-free experience when managing your Xperia Z3 Compact.
Remember, taking the time to power off your device properly before handling the SIM card demonstrates a proactive approach to device care and maintenance, ultimately contributing to the longevity and optimal performance of your Xperia Z3 Compact.
Locating the SIM Card Slot
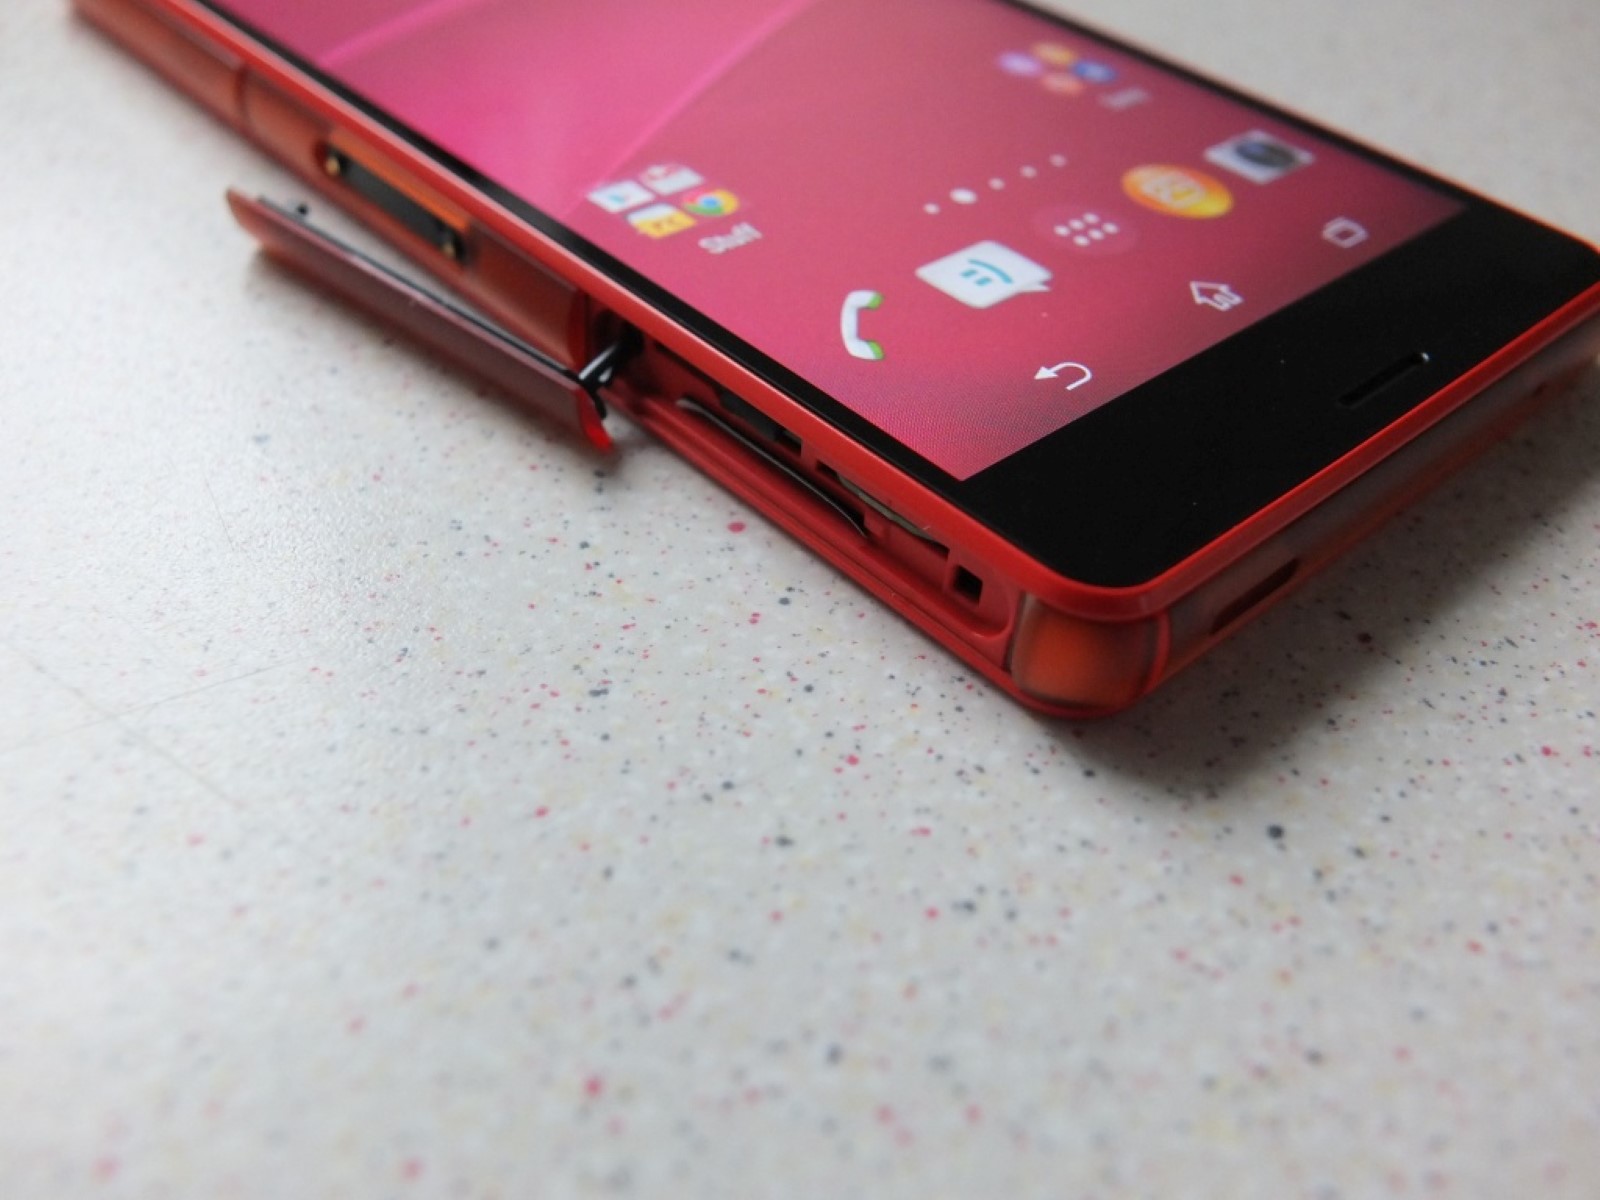
The next step in the process of inserting a SIM card into your Xperia Z3 Compact is to locate the SIM card slot. The SIM card slot on the Xperia Z3 Compact is strategically positioned to ensure ease of access while maintaining the device's sleek and compact design.
To locate the SIM card slot, start by holding your Xperia Z3 Compact securely in your hand. The SIM card slot is typically located on the left-hand side of the device. It is important to note that the exact placement of the SIM card slot may vary slightly depending on the specific model and variant of the Xperia Z3 Compact.
Upon examining the left-hand side of the device, you will notice a small, discreet slot with a tiny pinhole adjacent to it. This pinhole serves as the entry point for the SIM eject tool, which is essential for safely and accurately inserting and removing the SIM card from the Xperia Z3 Compact.
The positioning of the SIM card slot on the left-hand side of the device offers convenience and accessibility, allowing users to manage their SIM card without the need to power off the device or remove the battery. This user-friendly design ensures that the process of inserting or replacing the SIM card is seamless and hassle-free, aligning with the Xperia Z3 Compact's commitment to user convenience and practicality.
By familiarizing yourself with the location of the SIM card slot, you are better prepared to proceed with the subsequent steps of using the SIM eject tool and inserting the SIM card. This understanding empowers you to engage with your Xperia Z3 Compact confidently, knowing that the process of managing your SIM card is designed to be straightforward and user-centric.
As you continue to explore the functionality and features of your Xperia Z3 Compact, being aware of the location of the SIM card slot enhances your overall user experience. It underscores the thoughtful design and meticulous attention to detail that Sony has incorporated into the Xperia Z3 Compact, ensuring that essential tasks such as managing the SIM card are intuitive and accessible for all users.
With the SIM card slot now identified, you are ready to proceed to the next stage of using the SIM eject tool to access the SIM card slot and insert your nano SIM card into your Xperia Z3 Compact.
This detailed understanding of the SIM card slot's location sets the stage for a successful and seamless SIM card insertion process, allowing you to harness the full potential of your Xperia Z3 Compact's connectivity and communication capabilities.
Using the SIM Eject Tool
The SIM eject tool is a small, specialized tool that plays a crucial role in accessing the SIM card slot of your Xperia Z3 Compact. Its purpose is to safely and precisely open the SIM card slot, allowing you to insert or remove the SIM card with ease. This tool is specifically designed to fit into the pinhole located near the SIM card slot on the left-hand side of the device.
To initiate the use of the SIM eject tool, start by locating the small pinhole adjacent to the SIM card slot on your Xperia Z3 Compact. The SIM eject tool is often included in the Xperia Z3 Compact's packaging, ensuring that users have all the necessary accessories to manage their device effectively. If the tool is not readily available, a suitable alternative such as a paperclip can be used, ensuring that it is small enough to fit into the pinhole without causing any damage to the device.
Insert the SIM eject tool into the pinhole with gentle pressure, ensuring that it fits securely into the designated space. Once the tool is inserted, apply a slight amount of force to activate the mechanism that releases the SIM card slot. You will feel a subtle resistance as the tool engages with the internal mechanism, signaling that the SIM card slot is being unlocked.
Carefully and slowly withdraw the SIM eject tool from the pinhole, ensuring that the SIM card slot remains open. The gentle retraction of the tool allows the SIM card slot to be fully accessible for the next stage of the SIM card insertion process. It is essential to handle the SIM eject tool with precision and caution, as it is designed to delicately manage the SIM card slot without causing any damage to the device.
The use of the SIM eject tool exemplifies Sony's commitment to user-friendly design and practicality, as it simplifies the process of accessing the SIM card slot while maintaining the integrity of the Xperia Z3 Compact. This thoughtful inclusion of the SIM eject tool ensures that users can effortlessly manage their SIM card, fostering a seamless and hassle-free experience when interacting with their device.
By effectively utilizing the SIM eject tool, you can confidently proceed to the final stages of inserting the nano SIM card into the SIM card slot of your Xperia Z3 Compact. This pivotal step sets the stage for seamless connectivity and communication, empowering you to harness the full potential of your Xperia Z3 Compact's capabilities.
This detailed understanding of the SIM eject tool's functionality and its role in the SIM card insertion process underscores the meticulous attention to detail and user-centric approach that defines the Xperia Z3 Compact's design. With the SIM card slot now accessible, you are prepared to proceed to the next stage of inserting your nano SIM card, bringing you one step closer to unlocking the full potential of your Xperia Z3 Compact.
This detailed understanding of the SIM eject tool's functionality and its role in the SIM card insertion process underscores the meticulous attention to detail and user-centric approach that defines the Xperia Z3 Compact's design. With the SIM card slot now accessible, you are prepared to proceed to the next stage of inserting your nano SIM card, bringing you one step closer to unlocking the full potential of your Xperia Z3 Compact.
Inserting the SIM Card
With the SIM card slot accessible and the nano SIM card in hand, you are now ready to proceed with the pivotal step of inserting the SIM card into your Xperia Z3 Compact. This process is straightforward and essential for enabling the device to establish connectivity and access mobile network services.
Begin by carefully aligning the nano SIM card with the SIM card slot, ensuring that the metal contacts on the SIM card correspond to the contacts within the SIM card slot. The nano SIM card should be positioned with the angled corner matching the shape of the SIM card slot, facilitating a seamless insertion process.
Gently place the nano SIM card into the SIM card slot, applying slight pressure to ensure that it fits snugly into place. You will feel a subtle resistance as the SIM card is inserted, indicating that it is securely positioned within the slot. It is important to handle the nano SIM card with care and precision, avoiding excessive force that could potentially damage the SIM card or the device.
Once the nano SIM card is inserted, carefully close the SIM card slot by gently pushing it back into its original position. You will notice a subtle click or resistance as the SIM card slot securely closes, indicating that the nano SIM card is now firmly in place within your Xperia Z3 Compact.
This pivotal step of inserting the nano SIM card into your Xperia Z3 Compact sets the stage for seamless connectivity and communication, empowering you to harness the full potential of your device's capabilities. The successful insertion of the nano SIM card ensures that your Xperia Z3 Compact is ready to access mobile network services, make calls, send messages, and utilize data connectivity, enhancing your overall user experience.
By following these steps with precision and attention to detail, you have effectively completed the process of inserting the nano SIM card into your Xperia Z3 Compact. This accomplishment signifies a proactive approach to managing your device's connectivity and communication features, aligning with Sony's commitment to delivering user-friendly and intuitive experiences.
With the nano SIM card securely inserted, you are now prepared to power on your Xperia Z3 Compact and explore its full range of functionalities. This pivotal stage marks the successful completion of the SIM card insertion process, unlocking the seamless connectivity and communication capabilities of your Xperia Z3 Compact.
Powering On Your Xperia Z3 Compact
After successfully inserting the nano SIM card into your Xperia Z3 Compact, the final step in the process is to power on your device. This pivotal action initiates the activation of the SIM card and allows you to access the full range of connectivity and communication features offered by your Xperia Z3 Compact.
To power on your Xperia Z3 Compact, begin by pressing and holding the power button located on the right side of the device. As you apply gentle pressure to the power button, you will notice the screen of your Xperia Z3 Compact coming to life, displaying the iconic Sony logo followed by the device's startup sequence.
As the device powers on, you will be greeted by the vibrant display of the Xperia Z3 Compact, showcasing its high-resolution screen and intuitive user interface. The startup process typically takes a few moments, during which the device initializes its internal systems and prepares to provide you with seamless access to its array of features and functionalities.
Once the startup sequence is complete, you will be prompted to unlock your Xperia Z3 Compact by either entering your PIN, pattern, or using biometric authentication methods such as fingerprint recognition, depending on your device's security settings. This personalized security measure ensures that your device remains secure while granting you effortless access to its capabilities.
Upon successfully unlocking your Xperia Z3 Compact, you will be greeted by the familiar home screen, where you can explore the device's array of apps, features, and settings. The presence of the network signal indicator on the status bar confirms that your SIM card has been activated, enabling you to make calls, send messages, and access mobile data services seamlessly.
With your Xperia Z3 Compact powered on and the SIM card successfully activated, you are now ready to immerse yourself in the full spectrum of experiences offered by your device. Whether it's staying connected with friends and family, browsing the web, or enjoying multimedia content, your Xperia Z3 Compact stands ready to deliver a seamless and intuitive user experience.
The successful powering on of your Xperia Z3 Compact marks the culmination of the SIM card insertion process, paving the way for you to harness the full potential of your device's connectivity and communication capabilities. As you embark on your journey with the Xperia Z3 Compact, the seamless activation of the SIM card sets the stage for a truly immersive and connected experience, tailored to meet your diverse communication needs.
By following these steps with precision and attention to detail, you have successfully powered on your Xperia Z3 Compact, unlocking its full range of capabilities and setting the stage for a seamless and enriching user experience.