
Setting Up Google Account
Setting up a Google account on your Xperia Z3 is a fundamental step in ensuring seamless synchronization of your calendars. By following these simple steps, you can effortlessly integrate your Google account with your Xperia Z3, enabling you to access and manage your Google Calendar on your device.
-
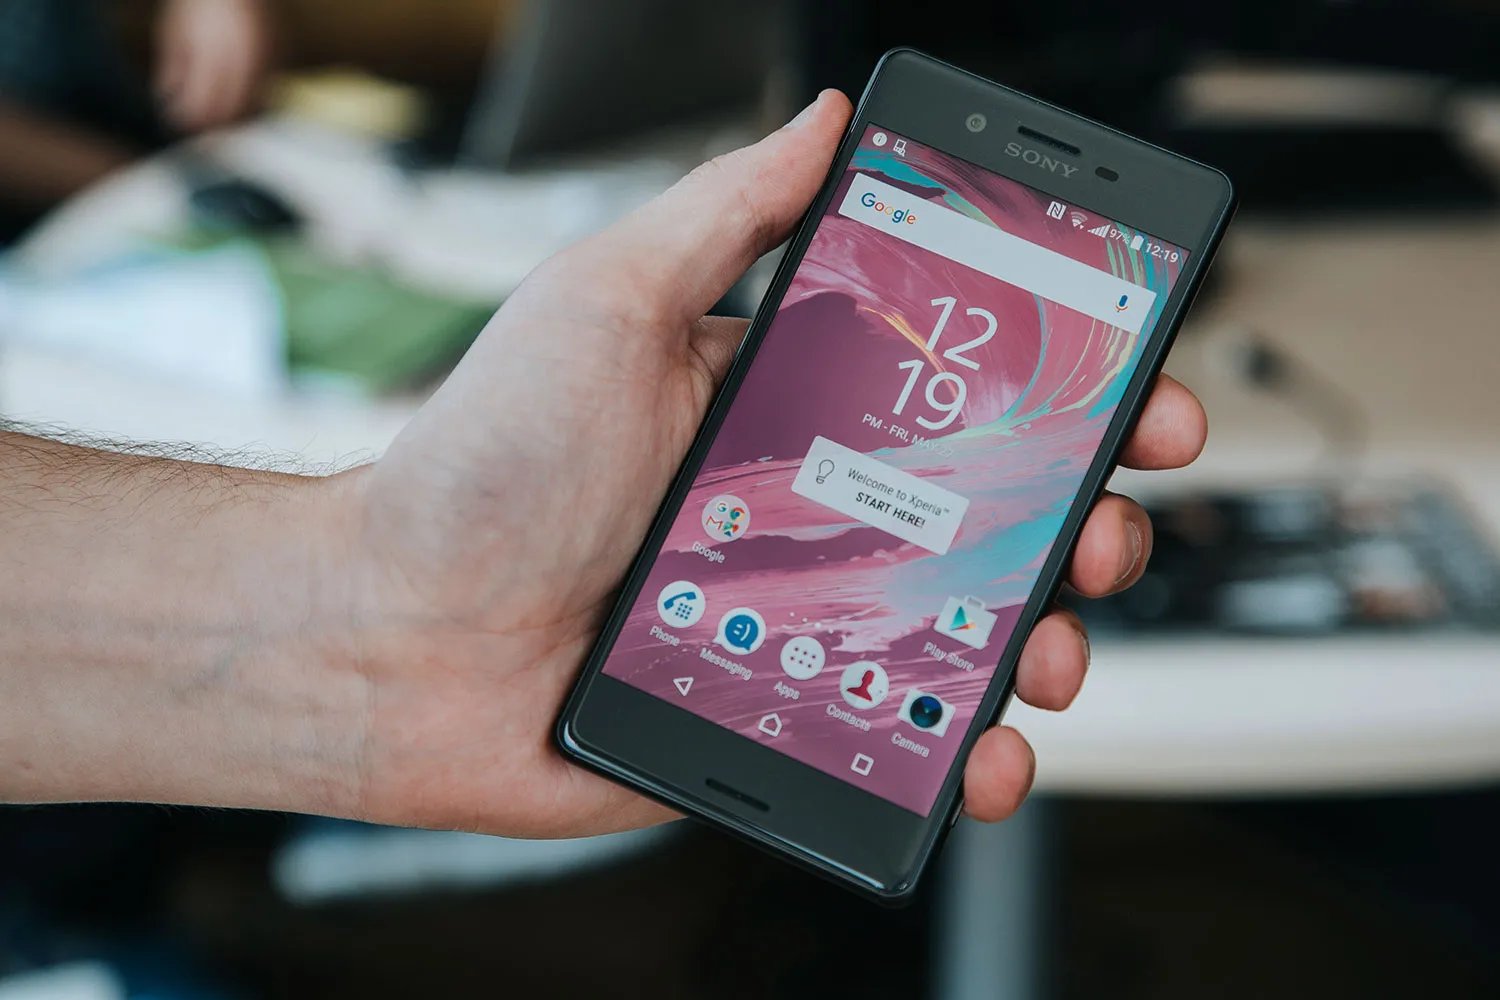
Accessing Settings: To initiate the process, navigate to the 'Settings' app on your Xperia Z3. You can easily locate this app by tapping on the applications menu or swiping down from the top of the screen and selecting the gear icon.
-
Selecting Accounts: Within the 'Settings' menu, scroll down and select the 'Accounts' option. This will display a list of account types that can be added to your device.
-
Adding Google Account: Tap on the 'Add account' option to begin the process of integrating your Google account with your Xperia Z3. You will be presented with a list of account types, including Google. Select 'Google' to proceed.
-
Entering Google Account Details: Upon selecting 'Google', you will be prompted to enter your Google account credentials, including your email address and password. Once you have entered this information, tap 'Next' to proceed.
-
Agreeing to Terms: After entering your credentials, you will be required to review and agree to Google's Terms of Service and Privacy Policy. Once you have reviewed the terms, tap 'I agree' to continue.
-
Confirmation and Sync Options: Following the acceptance of the terms, you will be presented with options to sync various Google services, such as Contacts, Calendar, and Gmail. Ensure that the 'Calendar' option is selected to enable synchronization of your Google Calendar with your Xperia Z3.
-
Completion: Once you have selected the desired sync options, tap 'Next' to complete the setup process. Your Google account is now successfully added to your Xperia Z3, and your Google Calendar will be synced with your device.
By following these straightforward steps, you can seamlessly set up your Google account on the Xperia Z3, allowing for the effortless synchronization of your Google Calendar. This integration ensures that you can conveniently access and manage your schedules and events directly from your Xperia Z3, enhancing productivity and organization in your daily life.
Adding Google Account to Xperia Z3
Adding your Google account to your Xperia Z3 is a crucial step in enabling seamless access to your Google Calendar and other Google services on your device. The process is straightforward and can be completed in a few simple steps, ensuring that you can stay organized and connected to your schedules and events. Here's a detailed guide on how to add your Google account to your Xperia Z3:
-
Accessing Settings: To begin, navigate to the 'Settings' app on your Xperia Z3. You can easily locate this app by tapping on the applications menu or swiping down from the top of the screen and selecting the gear icon.
-
Selecting Accounts: Within the 'Settings' menu, scroll down and select the 'Accounts' option. This will display a list of account types that can be added to your device.
-
Adding Google Account: Tap on the 'Add account' option to initiate the process of integrating your Google account with your Xperia Z3. You will be presented with a list of account types, including Google. Select 'Google' to proceed.
-
Entering Google Account Details: Upon selecting 'Google', you will be prompted to enter your Google account credentials, including your email address and password. Once you have entered this information, tap 'Next' to proceed.
-
Agreeing to Terms: After entering your credentials, you will be required to review and agree to Google's Terms of Service and Privacy Policy. Once you have reviewed the terms, tap 'I agree' to continue.
-
Confirmation and Sync Options: Following the acceptance of the terms, you will be presented with options to sync various Google services, such as Contacts, Calendar, and Gmail. Ensure that the 'Calendar' option is selected to enable synchronization of your Google Calendar with your Xperia Z3.
-
Completion: Once you have selected the desired sync options, tap 'Next' to complete the setup process. Your Google account is now successfully added to your Xperia Z3, and your Google Calendar will be synced with your device.
By following these steps, you can effortlessly add your Google account to your Xperia Z3, allowing for the seamless synchronization of your Google Calendar and other Google services. This integration ensures that you can conveniently access and manage your schedules and events directly from your device, enhancing productivity and organization in your daily life.
Syncing Google Calendar with Xperia Z3
Syncing your Google Calendar with your Xperia Z3 enables you to access and manage your schedules and events seamlessly on your device. This integration ensures that you stay organized and informed about upcoming commitments, enhancing your productivity and time management. Here's a comprehensive guide on how to sync your Google Calendar with your Xperia Z3:
-
Accessing Calendar Settings: Begin by accessing the 'Settings' app on your Xperia Z3. Scroll down to find and select 'Accounts' or 'Accounts & Sync' to view a list of accounts synced to your device.
-
Selecting Google Account: Within the 'Accounts' menu, locate and tap on your Google account. This will display a list of Google services associated with your account.
-
Enabling Calendar Sync: Ensure that the 'Calendar' option is enabled for synchronization. This allows your Google Calendar to sync with your Xperia Z3, ensuring that all your events and schedules are accessible on your device.
-
Adjusting Sync Frequency: You may have the option to adjust the sync frequency for your Google Calendar. This allows you to customize how often your calendar updates on your Xperia Z3, ensuring that you have the latest information at your fingertips.
-
Verifying Sync Status: After enabling calendar sync, verify that the process is successful. You can do this by accessing the calendar app on your Xperia Z3 and checking if your Google Calendar events are visible.
-
Troubleshooting Sync Issues: If you encounter any issues with the sync process, ensure that your device is connected to the internet and that your Google account credentials are up to date. Additionally, you can try restarting your device or re-enabling calendar sync to resolve any potential issues.
By following these steps, you can seamlessly sync your Google Calendar with your Xperia Z3, ensuring that you have access to your schedules and events wherever you go. This synchronization streamlines your organizational processes, allowing you to stay on top of your commitments and manage your time effectively. With your Google Calendar integrated into your Xperia Z3, you can rely on your device to keep you informed and prepared for all your upcoming events and responsibilities.
Managing Calendar Sync Settings
Managing calendar sync settings on your Xperia Z3 allows you to customize the synchronization of your Google Calendar, providing you with control over how your events and schedules are updated and accessed on your device. By adjusting these settings to align with your preferences, you can optimize the functionality of your calendar sync, ensuring a tailored and efficient experience. Here's a detailed exploration of managing calendar sync settings on your Xperia Z3:
Accessing Sync Settings
To begin managing your calendar sync settings, navigate to the 'Settings' app on your Xperia Z3. Within the settings menu, locate and select 'Accounts' or 'Accounts & Sync' to view the list of accounts synced to your device. From the available accounts, tap on your Google account to access the sync settings specific to your Google Calendar.
Customizing Sync Frequency
One of the key aspects of managing calendar sync settings is customizing the sync frequency to align with your preferences. By adjusting the sync frequency, you can control how often your Google Calendar updates on your Xperia Z3. This level of customization ensures that you have the most up-to-date information at your fingertips while optimizing battery and data usage on your device.
Enabling Additional Calendar Accounts
In addition to managing the sync settings for your primary Google Calendar, you may have the option to enable additional calendar accounts on your Xperia Z3. This feature allows you to integrate multiple calendar sources, providing a comprehensive view of your schedules and events in one centralized location. By enabling additional calendar accounts, you can streamline your access to various calendars, enhancing your organizational capabilities.
Syncing Specific Calendar Categories
Furthermore, managing calendar sync settings may offer the ability to sync specific calendar categories based on your preferences. This feature allows you to select and prioritize the synchronization of certain types of events or schedules, such as work-related appointments, personal reminders, or shared calendars. By syncing specific calendar categories, you can tailor the content displayed on your Xperia Z3, ensuring that you focus on the events that are most relevant to you.
Verifying Sync Status
After customizing your calendar sync settings, it is essential to verify the sync status to ensure that your preferences are accurately applied. Access the calendar app on your Xperia Z3 and confirm that the sync settings, including frequency and specific categories, are reflected in the displayed events and schedules. This verification process ensures that your calendar sync settings are optimized to meet your organizational needs.
By actively managing your calendar sync settings on your Xperia Z3, you can tailor the synchronization of your Google Calendar to align with your unique preferences and organizational requirements. This level of customization empowers you to optimize the functionality of your calendar, ensuring that you have a personalized and efficient experience when accessing and managing your schedules and events on your device.