
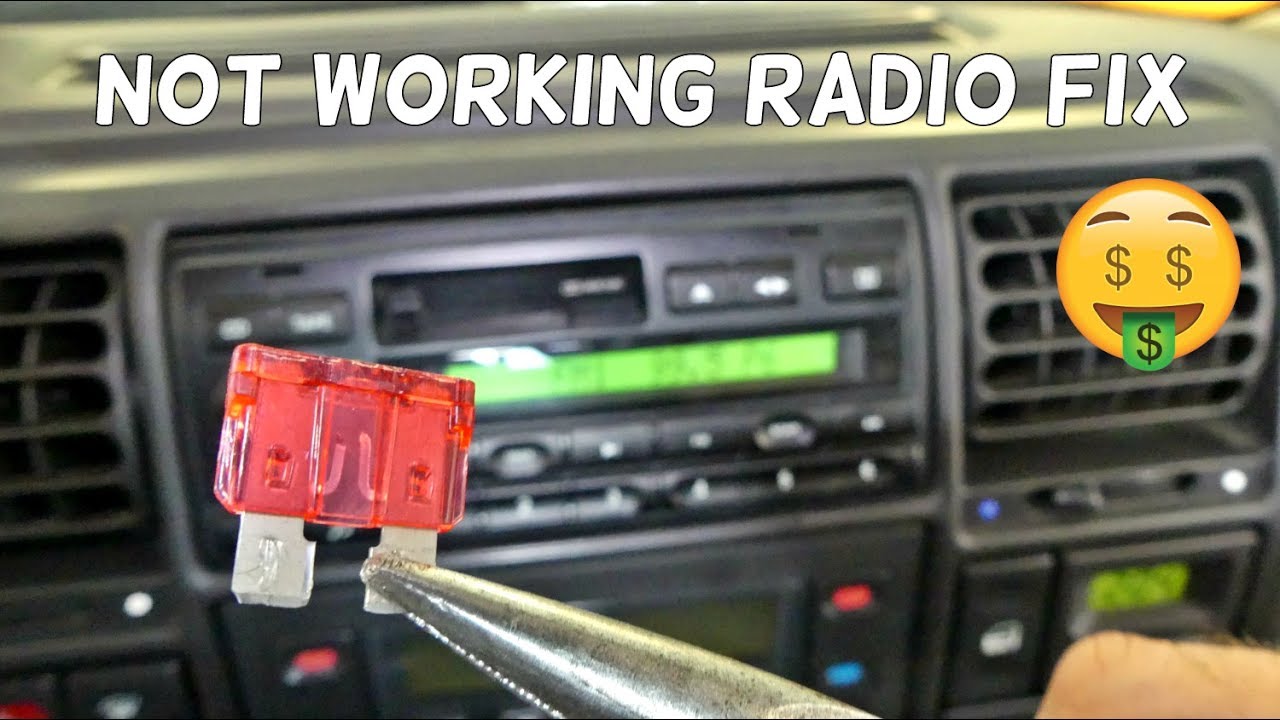
Check the Fuse
When your car radio fails to turn on, the first and simplest step to troubleshoot the issue is to check the fuse. The fuse is responsible for protecting the radio and its components from electrical surges. If the fuse has blown, it can interrupt the power supply to the radio, causing it to not turn on at all. Here’s how you can check the fuse and potentially resolve the problem:
-
Locate the fuse box in your vehicle. It is usually found under the dashboard, near the steering column, or in the engine compartment.
-
Refer to your car’s manual or the fuse box cover to identify the fuse that corresponds to the radio or audio system.
-
Inspect the fuse visually to see if it is blown. A blown fuse will have a broken wire or a charred appearance. If the fuse looks intact, you may want to test it with a multimeter for accuracy.
-
If the fuse is blown, replace it with a new fuse of the same amperage rating. Be sure to use the correct amperage to avoid damaging the radio or other electrical components.
-
Once you have replaced the fuse, try turning on the car radio again to see if it now powers on. If the radio still does not turn on, proceed to the next troubleshooting step.
Checking the fuse should be your first course of action, as it is a common culprit for a non-functioning car radio. However, if the fuse appears to be in good condition or replacing it does not solve the issue, you will need to move on to other potential causes.
Test the Power Supply
If checking the fuse did not resolve the issue of your car radio not turning on, the next step is to test the power supply. This step will help you determine if the power is reaching the radio properly. Here’s how you can test the power supply:
-
Turn off the ignition and remove the car keys from the ignition switch. This is important for safety purposes.
-
Locate the wiring harness that connects to the back of the radio. It is usually a bundle of wires with a plastic connector.
-
Disconnect the wiring harness by gently pressing on the release clips and pulling it out.
-
Using a multimeter set to the voltage testing mode, touch the positive (red) probe of the multimeter to the positive wire of the wiring harness. The positive wire is usually colored red, but consult your car’s manual or a wiring diagram to confirm.
-
Touch the negative (black) probe of the multimeter to the negative wire of the wiring harness. The negative wire is usually colored black or marked with a “-” symbol.
-
Check the multimeter display for a reading of 12 volts. If the multimeter shows no voltage or a significantly lower voltage, it indicates that there is a power supply issue.
If the power supply test reveals that there is no voltage or insufficient voltage reaching the radio, it could be due to a wiring problem or a faulty power source. In such cases, it is advisable to seek the assistance of a professional car technician to diagnose and repair the issue. However, if the power supply test indicates that the voltage is adequate, it means the problem lies elsewhere in the radio system.
Check the Wiring
If your car radio still won’t turn on after checking the fuse and testing the power supply, the next step is to inspect the wiring. Wiring issues can disrupt the flow of electricity, preventing the radio from receiving the necessary power to turn on. Follow these steps to check the wiring:
-
Start by visually inspecting the wiring harness that connects to the back of the radio. Look for any loose, disconnected, or damaged wires. Sometimes wires can become loose due to vibrations or accidental tugging.
-
If you notice any loose or disconnected wires, carefully reconnect them to their appropriate terminals. Be sure to match the colors or follow the wiring diagram provided in your car’s manual.
-
Check for any frayed or damaged wires. If you find any, you may need to repair or replace the affected section of wiring. Make sure to use proper electrical connectors and tape to ensure a secure and reliable connection.
-
Next, check the wire connections at the fuse box. Ensure that they are secure and free from corrosion or dirt. If necessary, clean the connections using a wire brush or contact cleaner.
-
Inspect the ground wire connection. The ground wire is usually black and is connected to the car’s chassis. Make sure the connection is tight and free from corrosion. Disconnect and reconnect it to ensure a proper grounding connection.
By checking the wiring and ensuring all connections are intact and secure, you can eliminate any potential issues arising from faulty or loose wiring. However, if the wiring appears to be in good condition and the radio still fails to turn on, continue to the next step in troubleshooting.
Verify the Ground Connection
If you have already checked the fuse, tested the power supply, and inspected the wiring, but your car radio still refuses to turn on, the next step is to verify the ground connection. A faulty or insufficient ground connection can prevent the radio from operating properly. Here’s how you can verify the ground connection:
-
Locate the ground wire connected to the back of the radio. The ground wire is usually black or marked with a “-” symbol.
-
Ensure that the ground wire is securely connected to a metal part of the car’s chassis. The connection should be clean and free from corrosion or rust.
-
If the ground wire is loose or corroded, disconnect it and clean the terminal and the area where it makes contact with the chassis. Remove any dirt or rust using a wire brush or sandpaper.
-
Once cleaned, reconnect the ground wire securely to the chassis. Make sure it is tight and has a solid connection.
-
If you cannot find a suitable ground connection point on the chassis, you may need to create your own. Look for a nearby metal surface that is free from paint or coatings. Use a self-tapping screw or a bolt and nut to secure the ground wire to this surface.
Verifying the ground connection is crucial as it ensures a stable electrical pathway for the radio to function properly. If the ground connection is compromised, it can lead to various issues, including a non-responsive radio. After verifying the ground connection, attempt to power on the radio again to see if the problem is resolved.
Inspect the Antenna Cable
If your car radio still won’t turn on after checking the fuse, testing the power supply, inspecting the wiring, and verifying the ground connection, it’s time to examine the antenna cable. The antenna cable is responsible for receiving the radio signals, and any issues with it can cause the radio to malfunction. Here’s how you can inspect the antenna cable:
-
Locate the antenna cable connected to the back of the radio. It is usually a coaxial cable with a connector that screws into the antenna port on the radio.
-
Check the connector at both ends of the antenna cable. Ensure that they are securely connected and not loose or corroded. Give them a gentle twist to ensure a tight connection.
-
Inspect the antenna cable for any visible signs of damage such as cuts, fraying, or exposed wires. If you notice any damage, it is recommended to replace the antenna cable.
-
Examine the condition of the antenna itself. Look for any bends, breaks, or corrosion on the antenna’s mast. In case of any visible damage, consider replacing the antenna.
-
If your car has a retractable power antenna, check its functionality. Make sure it extends and retracts smoothly without any obstructions.
A faulty or damaged antenna cable can significantly affect the radio’s reception and functionality. By thoroughly inspecting the antenna cable and ensuring its proper connection and condition, you can eliminate any potential issues related to the antenna. Once you have inspected the antenna cable, try turning on the radio again to see if it powers on.
Examine the Radio Head Unit
If you have gone through the previous troubleshooting steps and your car radio still refuses to turn on, it is time to examine the radio head unit itself. The radio head unit houses the control knobs, buttons, and display, and any issues with it can prevent the radio from functioning properly. Here’s how you can examine the radio head unit:
-
Check for any physical damage on the radio head unit, such as cracks, dents, or water damage. Physical damage could indicate internal problems or a need for repairs.
-
Ensure that all the control knobs and buttons on the radio head unit are intact and responsive. Press and turn each knob to check for smooth operation and proper functionality.
-
Inspect the display screen carefully for any signs of malfunction, such as a blank screen, flickering, or incorrect information. Note any irregularities that could be impacting the radio’s ability to turn on.
-
Check for any loose or disconnected cables at the back of the radio head unit. Ensure that all the necessary connections are secure and properly seated.
-
If your car radio has removable faceplates, remove the faceplate and clean the connectors on both the faceplate and the main unit. Sometimes, a poor connection between the faceplate and the radio can result in a non-responsive unit.
Examining the radio head unit will help identify any issues that may be specific to the unit itself. If you notice any physical damage, malfunctioning buttons, or problematic display, it may be necessary to seek professional assistance or consider replacing the radio head unit.
Check for Blown Speakers
If you have tried the previous troubleshooting steps and your car radio still won’t turn on, it’s essential to check for blown speakers. Blown speakers can cause the radio to remain silent or produce distorted sound. Here’s how you can check for blown speakers:
-
Start by playing audio on your car radio at a reasonable volume. Choose a familiar song or audio source that you know should produce sound through all the speakers.
-
Listen carefully to each speaker in the car to determine if any of them are not producing any sound or if the sound quality is significantly distorted.
-
If you suspect a blown speaker, use the fader or balance control on your car radio to isolate each speaker individually. This will help you identify the specific speaker that may be causing the issue.
-
Visually inspect each speaker for any visible signs of damage, such as tears or holes in the speaker cones. If you notice any damage, there’s a high chance that the speaker is blown.
Blown speakers can occur due to various reasons, such as excessive volume, age, or wear and tear. If you confirm that one or more speakers are blown, you will need to replace them to restore proper audio functionality. Keep in mind that a blown speaker may not directly affect the power-up of the radio, but it can still impact the listening experience when the radio does turn on.
Checking for blown speakers is an important step in troubleshooting a non-functioning car radio. By identifying and replacing any blown speakers, you can ensure that the audio system is functioning correctly and eliminate a potential cause of the radio not turning on.
Verify the Radio Code
If you have exhausted all the previous troubleshooting steps and your car radio still refuses to turn on, it may be necessary to verify the radio code. Many car radios are equipped with an anti-theft feature that requires a specific code to be entered after a power loss or battery replacement. Failure to enter the correct code can prevent the radio from functioning. Here’s how you can verify the radio code:
-
Check your car’s manual or documentation to see if the radio code is provided. It is often written down in the owner’s manual or on a separate card that comes with the vehicle.
-
If you cannot locate the code in the manual or documentation, try contacting the car manufacturer or a dealership. They will usually require your VIN (Vehicle Identification Number) and proof of ownership to assist you in retrieving the radio code.
-
Once you have the radio code, ensure that you have the necessary instructions for entering it correctly. Some radios require you to use the preset buttons to input the code, while others may have a specific procedure using other controls.
-
Disconnect the vehicle’s battery for a few minutes to reset the radio’s memory. Once reconnected, the radio will likely display “Code” or a similar message.
-
Enter the radio code following the provided instructions. Double-check that each digit of the code is entered accurately, as even a single mistake can hinder the radio from turning on.
Verifying the radio code is especially crucial if you recently replaced the battery or experienced a power loss in your vehicle. By ensuring that the correct code is entered, you can overcome the anti-theft feature and allow the radio to regain functionality.
Consult a Professional Technician if All Else Fails
If you have been through all the troubleshooting steps mentioned previously and your car radio still refuses to turn on, it may be time to consult a professional technician. While DIY troubleshooting can often resolve many issues, there are times when more complex problems require the expertise of a trained professional. Here’s why you should consider seeking professional assistance:
-
Experience and Expertise: Professional technicians have experience working with various car radio models and troubleshooting their unique problems. Their expertise allows them to diagnose complex issues and provide accurate solutions.
-
Specialized Equipment: Technicians have access to specialized tools and equipment that may be required to diagnose and repair certain issues with your car radio. These tools can help identify specific faults that may not be possible to detect with basic troubleshooting methods.
-
Manufacturer Support: In some cases, certain car radio issues may fall under warranty coverage or require specific support from the vehicle manufacturer. Professional technicians can navigate these channels and ensure that your radio is serviced according to the manufacturer’s guidelines.
-
Efficiency and Safety: Trying to fix complex electrical issues without the necessary knowledge and expertise can be time-consuming, risky, and may even cause further damage. Consulting a professional technician ensures that the problem is addressed efficiently, reducing the risk of additional issues.
When all else fails, it is best to rely on the skills of a professional technician who specializes in car radios and audio systems. They will be able to thoroughly assess the problem, suggest appropriate solutions, and perform any necessary repairs or replacements.
Remember, attempting to dismantle or tamper with your car radio without the proper knowledge and tools can lead to further complications. It is always better to seek professional assistance rather than potentially causing more damage or voiding any existing warranties.