
Overview of Ninite
Ninite is a powerful and time-saving tool for installing and updating software on your computer. It simplifies the tedious process of manually downloading and installing multiple programs by providing a single, streamlined platform. Designed for both personal and business use, Ninite offers a convenient way to ensure that your essential applications are always up to date.
With Ninite, gone are the days of visiting multiple websites, clicking through endless installation screens, and dealing with bloatware and unwanted extras. It allows you to select from a vast library of popular software applications and install them all at once with just a few clicks.
What sets Ninite apart from other software installation tools is its focus on safety and simplicity. It eliminates the need to search for reliable download sources, as Ninite directly pulls the software from the official websites of the respective applications. This ensures that you are getting the genuine and up-to-date versions of the software without any hidden malware or adware.
Furthermore, Ninite automatically handles the entire installation process in the background, without any unnecessary prompts or toolbars. It intelligently selects the appropriate settings for each software, so you don’t have to spend time configuring them individually. This seamless and hands-off approach saves you valuable time and effort.
Another key benefit of using Ninite is its automatic update feature. It regularly checks for updates to the installed software and keeps them up to date to ensure optimal performance and security. You no longer have to search for updates manually or keep track of each software’s update schedule. Ninite takes care of it all for you.
Whether you’re setting up a new computer, reinstalling the operating system, or simply want to keep your software up to date, Ninite is a must-have tool. Its user-friendly interface, extensive software library, and reliable update management make it a valuable asset for both novice and advanced users.
Features of Ninite
Ninite offers a range of features that make it a standout tool for software installation and updates. Here are some of the key features that set Ninite apart:
- Quick and Easy Installation: Ninite simplifies the process of installing multiple software applications. Instead of visiting each software’s website individually, Ninite provides a single platform where you can select the programs you want to install, saving you time and effort.
- Safe and Secure: Ninite ensures the safety and security of your installations. It fetches software directly from the official sources, eliminating the risk of downloading from potentially unsafe websites. You can trust that you’re getting the genuine and up-to-date versions of the software without any hidden malware or adware.
- No Extra Junk: One of the standout features of Ninite is its commitment to keeping your installations clean. It automatically skips any additional toolbars or unnecessary bundled software that often come with standalone installers, ensuring a clutter-free and hassle-free installation experience.
- Automated Updates: Ninite takes the hassle out of keeping your software up to date. It automatically checks for updates and installs them in the background, so you don’t have to worry about manually searching for updates or managing multiple software update schedules. This ensures that you always have the latest versions of your preferred applications.
- Customizable Selections: Ninite allows you to customize your software selection based on your specific needs. You can choose from a vast library of popular software, including web browsers, media players, productivity tools, and more. Whether you want to install a complete suite or just a few essential programs, Ninite gives you the flexibility to create a tailored installation package.
- Batch Installation: With Ninite, you can install multiple software applications at once. It creates a single installer file that bundles all your selected programs, making it easy to install them simultaneously. This saves you time and effort, especially when setting up a new computer or reinstalling the operating system.
These features make Ninite an incredibly useful tool for both personal and business use. Its user-friendly interface, commitment to safety, and efficiency in managing software installations and updates make it a top choice for anyone looking to simplify the software management process.
How to Download and Install Ninite
Getting started with Ninite is a breeze. Follow these simple steps to download and install Ninite on your computer:
- Open your preferred web browser and navigate to the official Ninite website.
- Once on the Ninite website, you’ll see a list of software categories. Browse through the categories and select the applications you want to install on your computer. You can choose from a wide range of popular software, including web browsers, media players, antivirus software, productivity tools, and more.
- After selecting your desired software, scroll to the bottom of the page and click on the “Get Your Ninite” button.
- The website will generate a custom Ninite installer for you, tailored to your selected software.
- Click on the “Download” button to begin downloading the Ninite installer file.
- Once the download is complete, locate the Ninite installer file in your computer’s Downloads folder or the location where you saved it.
- Double-click on the Ninite installer file to launch the installation wizard.
- Follow the on-screen instructions provided by the installation wizard to complete the installation process. The wizard will guide you through the necessary steps, such as accepting the license agreement and choosing the installation location.
- Once the installation is complete, you can launch Ninite from your computer’s desktop or start menu.
Congratulations! You have successfully downloaded and installed Ninite on your computer. Now you’re ready to start using Ninite to simplify your software installations and updates.
Remember, with Ninite, you can always visit the official Ninite website to download the latest version of the installer whenever you need to reinstall the tool or install it on a new computer. Ninite ensures that you have access to the latest features and enhancements for an optimal user experience.
Selecting and Downloading Software with Ninite
Ninite provides a simple and straightforward process for selecting and downloading software applications. Follow these steps to make the most of Ninite’s software selection:
- Launch Ninite from your computer’s desktop or start menu.
- Once Ninite opens, you’ll see a list of popular software categories on the left-hand side of the interface. Click on the desired category to expand it and view the available applications.
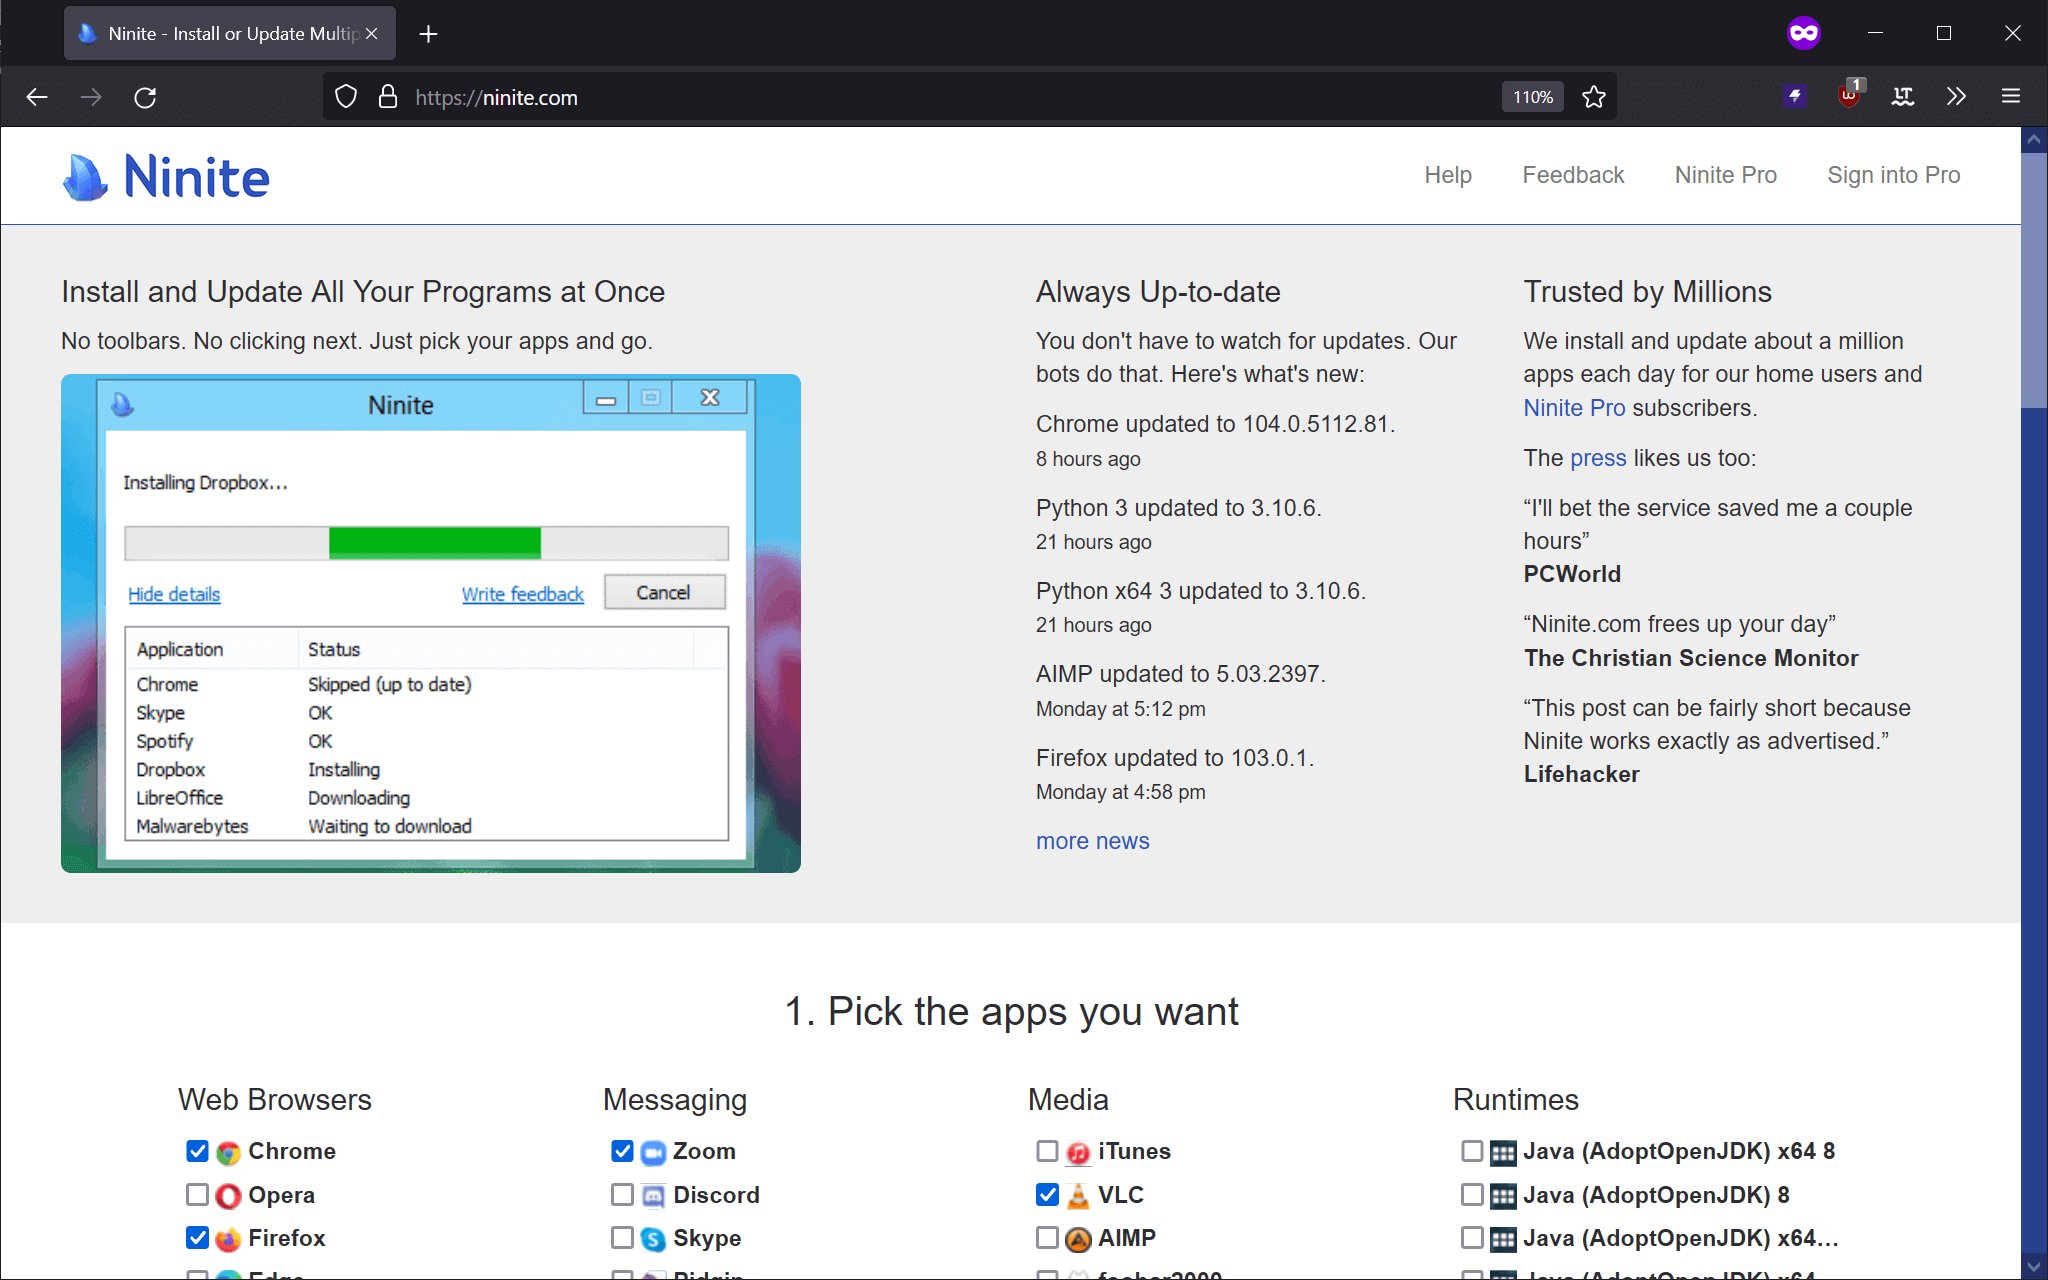
- Browse through the list of software within the selected category. Each application is accompanied by a checkbox. Tick the checkboxes next to the software you want to download and install.
- If you’re not sure which applications to choose, Ninite offers a handy “Recommended” section at the top. This section includes commonly used software that many users find essential.
- After selecting your desired software, scroll to the bottom of the interface and click on the blue “Get Installer” button.
- Ninite will generate a custom installer for you, containing the selected software.
- Click on the “Download” button to initiate the download of the custom Ninite installer.
- Once the download is complete, locate the Ninite installer file on your computer.
- Double-click on the Ninite installer file to launch it.
- The Ninite installer will automatically install the selected software on your computer. It will skip any additional junk and install the software silently in the background, without any unnecessary prompts or toolbars.
It’s worth noting that Ninite installs the software with default settings, so you don’t have to worry about configuring each application individually during the installation process. However, after the installation, you can still customize the settings of each software to your preferences.
Ninite takes care of the entire software selection and download process, saving you precious time and effort. Whether you need to install a comprehensive suite of applications or just a few specific ones, Ninite simplifies the process and ensures you get the latest, genuine software versions without any bloatware or malware.
By utilizing Ninite’s intuitive and efficient interface, you can effortlessly manage your software installations and keep your computer up to date with ease.
Customizing Ninite
Ninite offers some customization options to tailor your software installations based on your specific preferences. Here’s how you can customize Ninite to meet your needs:
- Selecting Software: Ninite allows you to choose which software applications to install. You can browse through the available categories and select the ones that are relevant to you. Whether you want to install a complete suite of applications or just a few specific ones, Ninite gives you the flexibility to customize your software selection.
- Deselecting Software: If you change your mind about installing a particular application, you can easily deselect it before downloading the Ninite installer. Simply uncheck the checkbox next to the software you no longer want to install.
- Updating Software: Ninite not only installs software but also keeps it up to date. However, if you prefer to exclude certain applications from automatic updates, you can customize the update settings. After the installation, locate the Ninite folder in your program files and run the installer again. You’ll be presented with the option to enable or disable specific software updates.
- Unattended Installs: Ninite by default installs the selected software silently, without any prompts or user intervention. However, if you prefer a more interactive installation process, you can run the Ninite installer with command-line options. This allows you to specify additional preferences, such as choosing the installation language or enabling or disabling specific features for certain software.
- Scheduling Updates: By default, Ninite automatically checks for updates and installs them in the background. However, if you want more control over when updates occur, you can use Windows Task Scheduler or other scheduling tools to set specific times for Ninite to check for updates and install them.
- Keeping Installer Files: By default, Ninite deletes the installer files after the installation is complete. However, if you want to keep a copy of the installer for future use or to install the same software on another computer, you can enable the option to save the installer files. This way, you have easy access to the installer whenever you need it.
These customization options give you the freedom to personalize your Ninite experience and adapt it to your specific requirements. Whether you want to select specific software, control updates, or customize the installation process, Ninite provides the flexibility to cater to your individual preferences.
With Ninite’s customization features, you can streamline your software installations and updates while maintaining full control over your software environment.