
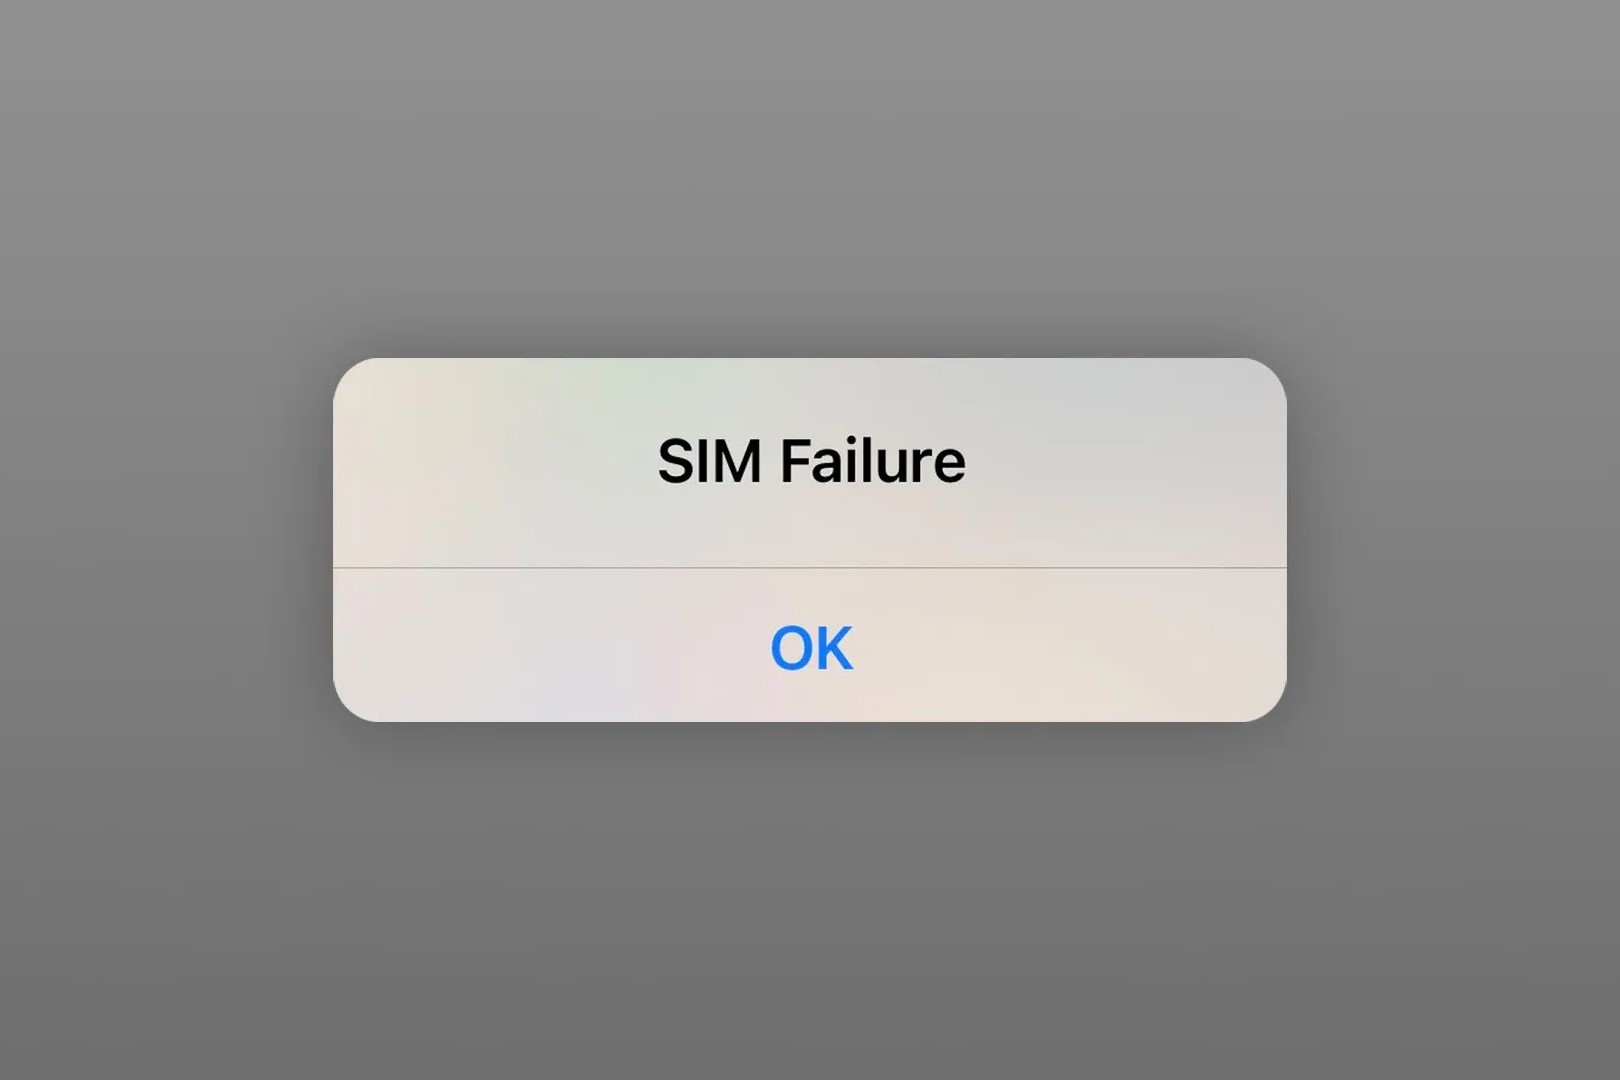
Common Causes of SIM Failure on iPhone 13
The SIM card is a crucial component of your iPhone 13, enabling it to connect to your carrier's network and access various communication services. However, SIM failure can be a frustrating issue that disrupts your ability to make calls, send messages, or use mobile data. Understanding the common causes of SIM failure on the iPhone 13 can help you troubleshoot and resolve these issues effectively.
-
SIM Card Damage: Physical damage to the SIM card, such as scratches or bending, can lead to connectivity issues. Ensure that the SIM card is handled carefully and inserted into the SIM tray correctly to avoid damage.
-
SIM Tray Issues: A misaligned or faulty SIM tray can prevent the SIM card from making proper contact with the iPhone's internal components. Inspect the SIM tray for any visible damage and ensure that the SIM card is securely inserted.
-
Network Coverage: In areas with poor network coverage or signal interference, the iPhone 13 may struggle to establish a stable connection with the carrier's network, leading to SIM failure. Check for network coverage issues in your location.
-
Outdated Carrier Settings: If the carrier settings on your iPhone 13 are outdated, it can impact the functionality of the SIM card. Ensure that your device has the latest carrier settings installed to maintain seamless connectivity.
-
Software Glitches: Software bugs or glitches within the iOS operating system can occasionally affect the functionality of the SIM card. Keeping your iPhone 13 updated with the latest iOS version can help address potential software-related issues.
-
SIM Card Incompatibility: Using an incompatible or unsupported SIM card in your iPhone 13 can result in SIM failure. Ensure that the SIM card is compatible with your carrier and the iPhone 13 model.
By identifying these common causes of SIM failure on the iPhone 13, you can take proactive steps to troubleshoot and address the underlying issues. In the following sections, we will delve into troubleshooting methods and solutions to resolve SIM card issues on your iPhone 13 effectively.
Troubleshooting SIM Card Issues on iPhone 13
When encountering SIM card issues on your iPhone 13, it's essential to approach troubleshooting systematically to identify and resolve the underlying causes. By following these steps, you can effectively troubleshoot SIM card issues and restore seamless connectivity to your device.
-
Restart Your iPhone 13: Begin by restarting your iPhone 13 to refresh its system and potentially resolve temporary software glitches that may be affecting the SIM card functionality. To do this, press and hold the power button until the "slide to power off" slider appears. After the device powers off, press and hold the power button again until the Apple logo appears, indicating that the iPhone is restarting.
-
Eject and Reinsert the SIM Card: Sometimes, simply reseating the SIM card can address connectivity issues. Use the SIM eject tool or a paperclip to gently eject the SIM tray, remove the SIM card, and then reinsert it securely into the tray. Ensure that the SIM card is properly aligned and that the tray is inserted back into the iPhone 13 without any resistance.
-
Check for Carrier Settings Update: Access the "Settings" app on your iPhone 13 and navigate to "General" > "About." If a carrier settings update is available, a prompt will appear, allowing you to install the latest settings provided by your carrier. Keeping these settings up to date can optimize the compatibility and performance of your SIM card with the carrier's network.
-
Airplane Mode Reset: Toggle Airplane Mode on and off to reset the device's wireless connections. Access the Control Center by swiping down from the top-right corner of the screen (iPhone with Face ID) or swiping up from the bottom of the screen (iPhone with Home button). Tap the airplane icon to enable Airplane Mode, wait a few seconds, and then tap it again to disable Airplane Mode.
-
Check for iOS Updates: Ensure that your iPhone 13 is running the latest version of iOS. Go to "Settings" > "General" > "Software Update" to check for and install any available updates. Keeping your device's operating system up to date can address known software issues that may impact the SIM card's functionality.
-
Reset Network Settings: If persistent SIM card issues persist, you can reset the network settings on your iPhone 13. This action will reset Wi-Fi, Bluetooth, and cellular settings to their default configurations, potentially resolving connectivity issues. To do this, navigate to "Settings" > "General" > "Reset" > "Reset Network Settings" and confirm the action.
By systematically troubleshooting SIM card issues on your iPhone 13, you can identify and address the root causes of connectivity issues, restoring the seamless functionality of your device's SIM card. If the issues persist after following these steps, contacting Apple Support or your carrier for further assistance may be necessary.
Checking SIM Card Compatibility with iPhone 13
Ensuring that the SIM card used with your iPhone 13 is compatible is essential for seamless connectivity and optimal performance. The compatibility of the SIM card is determined by factors such as the network technology supported by the iPhone 13 model and the type of SIM card required. Here's a detailed look at how to check the compatibility of your SIM card with the iPhone 13:
1. Determine the Supported Network Technology:
The iPhone 13 supports various network technologies, including 5G, 4G LTE, and earlier generations. It's crucial to verify the network technology supported by your iPhone 13 model to ensure that the SIM card is compatible. You can find this information on Apple's official website or in the device specifications provided by the manufacturer.
2. Identify the SIM Card Type:
The iPhone 13 is designed to accommodate specific types of SIM cards, including nano-SIM and eSIM. Nano-SIM cards are the traditional, physically removable cards, while eSIMs are embedded directly into the device and can be activated through a carrier's network. Check the SIM card slot on your iPhone 13 to determine the type of SIM card it supports.
3. Contact Your Carrier:
If you're unsure about the compatibility of your current SIM card with the iPhone 13, contacting your carrier's customer support can provide clarity. Your carrier can verify whether your existing SIM card is compatible with the iPhone 13 and offer guidance on obtaining a compatible SIM card if necessary.
4. Consider eSIM Activation:
If your iPhone 13 supports eSIM technology and you prefer the convenience of a digital SIM card, you can explore the option of activating an eSIM with your carrier. This process typically involves obtaining an eSIM activation code from your carrier and following the provided instructions to set up the eSIM on your iPhone 13.
By taking these steps to check the compatibility of your SIM card with the iPhone 13, you can ensure that your device is equipped with a suitable SIM card for seamless connectivity and access to your carrier's network services. This proactive approach can help prevent potential compatibility issues and optimize the performance of your iPhone 13's communication capabilities.
Resetting Network Settings on iPhone 13
Resetting the network settings on your iPhone 13 can serve as a powerful troubleshooting tool to address persistent connectivity issues and optimize the performance of wireless connections. This process effectively resets Wi-Fi, Bluetooth, and cellular settings to their default configurations, potentially resolving network-related glitches and enhancing the overall stability of your device's connectivity.
To initiate the network settings reset on your iPhone 13, follow these steps:
-
Accessing Network Settings: Begin by unlocking your iPhone 13 and navigating to the home screen. From there, locate and tap on the "Settings" app, which is represented by a gear icon.
-
Navigating to General Settings: Within the Settings menu, scroll and locate the "General" option, typically denoted by a gear icon. Tap on "General" to access a range of device management settings.
-
Selecting Reset Options: Within the General settings, scroll down to find the "Reset" option, which is usually located towards the bottom of the list. Tap on "Reset" to proceed to the reset options menu.
-
Choosing Network Reset: In the Reset menu, select the "Reset Network Settings" option. This action will prompt your iPhone 13 to confirm the network settings reset, emphasizing that this process will erase all network-related settings and return them to their default state.
-
Confirming the Reset: Upon selecting the "Reset Network Settings" option, your iPhone 13 will request confirmation to proceed with the reset. Confirm the action by entering your device's passcode if prompted, and then confirm the reset when prompted again.
-
Completing the Reset: Once the reset is confirmed, your iPhone 13 will initiate the process, resetting all network settings to their default configurations. This may include Wi-Fi networks, Bluetooth devices, and cellular settings.
After completing the network settings reset, your iPhone 13 will restart to apply the changes. It's important to note that this action will not erase your personal data or media; rather, it focuses solely on network-related configurations.
By performing a network settings reset on your iPhone 13, you can effectively address persistent connectivity issues, erratic Wi-Fi behavior, Bluetooth pairing problems, and other network-related anomalies. This proactive troubleshooting step can help restore the seamless functionality of your device's wireless connections, providing a more reliable and stable user experience.
In the event that network issues persist after the reset, further troubleshooting or assistance from Apple Support or your carrier may be necessary to address any underlying hardware or service-related concerns.
Updating iPhone 13's Software
Keeping your iPhone 13's software up to date is essential for ensuring optimal performance, security, and compatibility with various network technologies and services. Apple regularly releases software updates that include bug fixes, feature enhancements, and improvements to the overall stability of the iOS operating system. By updating your iPhone 13's software, you can address potential software-related issues that may impact the functionality of the SIM card and other essential components of your device.
To update your iPhone 13's software, follow these steps:
-
Connect to Wi-Fi: Before initiating a software update, ensure that your iPhone 13 is connected to a stable Wi-Fi network. Software updates can be large in size, and using Wi-Fi helps prevent excessive data usage and ensures a reliable download process.
-
Accessing Software Update: Unlock your iPhone 13 and navigate to the home screen. Tap on the "Settings" app, represented by a gear icon, to access the device settings. From the Settings menu, select "General," followed by "Software Update." Your iPhone 13 will then check for available updates.
-
Downloading and Installing Updates: If a software update is available for your iPhone 13, you will be prompted to download and install it. Tap "Download and Install" to initiate the process. Depending on the size of the update and your internet connection speed, this may take some time. Ensure that your device is adequately charged or connected to a power source during the update process.
-
Verifying Update Installation: Once the update is downloaded, your iPhone 13 will begin the installation process. This typically involves verifying the update and preparing the device for the installation. Your device will restart as part of the installation process, and you may see the Apple logo and a progress bar during this phase.
-
Completing the Update: After the installation is complete, your iPhone 13 will restart, and the updated software will be applied. Once the update is successfully installed, you can unlock your device and resume using it with the latest software version.
By regularly updating your iPhone 13's software, you can benefit from improved system stability, enhanced security features, and the resolution of known software issues that may impact the functionality of the SIM card and other critical components. This proactive approach helps ensure that your device remains optimized for seamless connectivity and reliable performance across various network environments.
In the event that SIM card issues persist after updating your iPhone 13's software, further troubleshooting or assistance from Apple Support or your carrier may be necessary to address any underlying concerns.
Contacting Carrier for SIM Card Support
If you've exhausted troubleshooting options and continue to experience SIM card issues with your iPhone 13, reaching out to your carrier for dedicated support can be a pivotal step in resolving the underlying concerns. Carrier support teams are equipped to provide specialized assistance related to SIM card compatibility, network provisioning, and account-specific configurations, offering tailored solutions to address connectivity challenges.
When contacting your carrier for SIM card support, consider the following steps to streamline the support process and maximize the effectiveness of your interaction:
-
Gather Essential Information: Before reaching out to your carrier, gather pertinent details such as your iPhone 13's IMEI (International Mobile Equipment Identity) number, the SIM card's ICCID (Integrated Circuit Card Identifier), and any error messages or specific symptoms you've encountered. This information can expedite the troubleshooting process and enable the support team to tailor their assistance to your device and account.
-
Initiate Contact: Most carriers offer multiple channels for customer support, including phone hotlines, online chat support, and in-person visits to retail locations. Choose a contact method that aligns with your preferences and initiate the conversation by clearly articulating the SIM card issues you're experiencing. Providing a concise yet comprehensive overview of the symptoms and steps you've already taken to troubleshoot can help the support team understand the context of your inquiry.
-
Follow Guidance and Troubleshooting: Upon engaging with the carrier's support team, be prepared to follow their guidance and troubleshooting steps. This may involve verifying account details, confirming network provisioning, or performing specific actions on your iPhone 13 to diagnose and address the SIM card issues. Cooperating with the support team's instructions can expedite the resolution process and ensure that all potential avenues for resolution are explored.
-
Seek Clarification and Documentation: If the support interaction involves specific account changes, network re-provisioning, or SIM card replacements, seek clarification on the actions taken and request documentation or reference numbers for any modifications made to your account or services. This can serve as valuable reference material and provide transparency regarding the steps taken to address the SIM card issues.
-
Follow-Up and Feedback: After the support interaction, monitor your iPhone 13 for any improvements in SIM card functionality based on the assistance provided. If the issues persist or if you have feedback regarding the support experience, consider following up with your carrier to relay the outcomes and seek further assistance if necessary.
By proactively engaging with your carrier for SIM card support, you can leverage their expertise and resources to address complex connectivity issues, ensure SIM card compatibility, and optimize the performance of your iPhone 13 within the carrier's network ecosystem. This collaborative approach can lead to effective resolutions and a seamless user experience with your device's communication capabilities.