
Download Google Apps
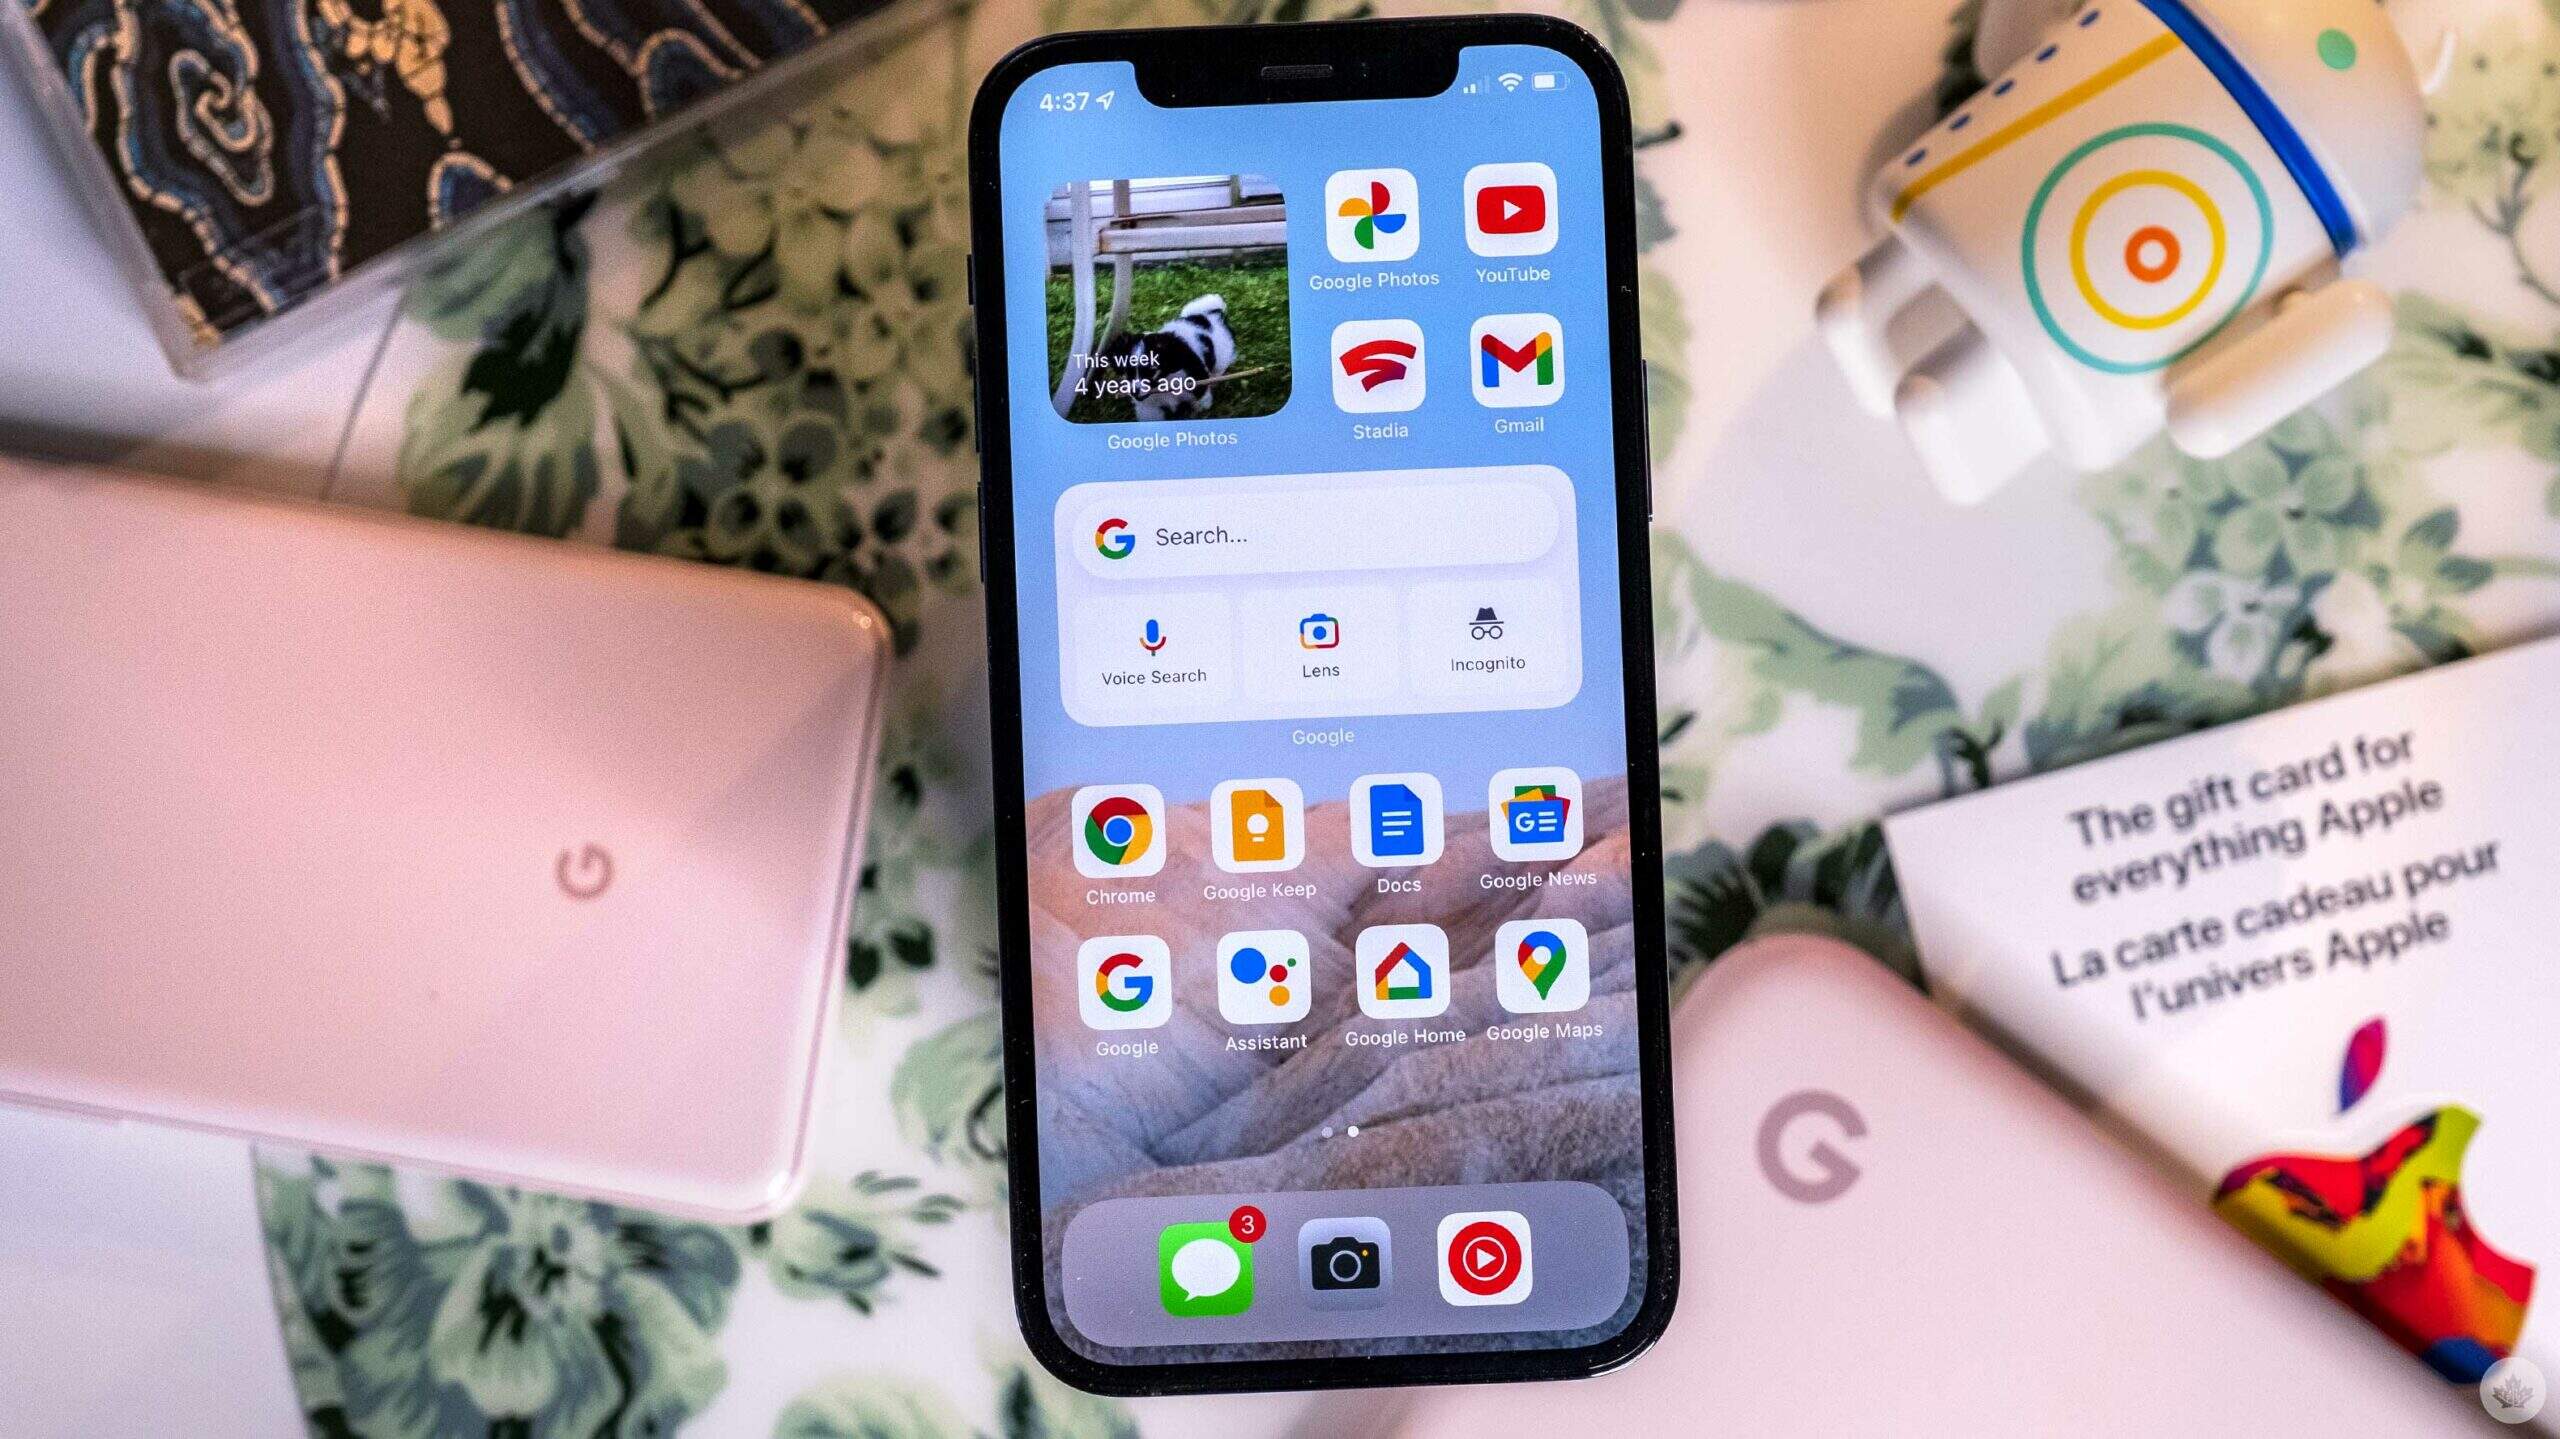
To turn your iPhone into a Google phone, the first step is to download the necessary Google apps from the App Store. These apps offer a wide range of features and functionalities that can seamlessly integrate with your iPhone’s operating system. Here are some key Google apps that you should consider downloading:
- Google Voice: This app allows you to make free calls, send texts, and access voicemail using your Google Voice number. It provides a convenient way to manage your calls and messages from one central hub.
- Google Chrome: Switching to Google’s web browser, Chrome, can enhance your browsing experience on your iPhone. It offers fast and secure browsing, personalized recommendations, and even syncs your bookmarks and search history across devices.
- Google Photos: With Google Photos, you can back up and store all your photos and videos in the cloud. It offers unlimited storage for high-quality photos and is a great solution for organizing and sharing your memories.
- Google Drive: As a cloud storage service, Google Drive allows you to access your files on the go. You can store documents, photos, videos, and more, making them easily accessible across devices and shareable with others.
- Google Maps: Google Maps is a must-have app for navigation and exploring your surroundings. It provides accurate maps, real-time traffic updates, public transportation information, and even has a feature to save offline maps for use when you don’t have an internet connection.
These are just a few examples of the Google apps you can download on your iPhone. Each app offers unique features that can significantly enhance your iPhone experience. Take some time to explore the App Store and discover other useful Google apps that align with your needs and interests.
Once you have downloaded these apps, you are ready to start setting them up and making the most of the Google ecosystem on your iPhone.
Set Up Google Voice
Setting up Google Voice on your iPhone is a straightforward process that allows you to make calls, send texts, and manage your voicemail using your Google Voice number. Here’s how to set it up:
- Download the Google Voice app from the App Store and open it on your iPhone.
- Sign in with your Google account or create a new one if you don’t already have one.
- Follow the on-screen prompts to set up your Google Voice number. You can choose to get a new number or link it to an existing mobile number.
- Grant the app permissions to access your microphone, contacts, and notifications. These permissions are necessary for making and receiving calls, syncing contacts, and receiving notifications for new messages.
- Once your number is set up, you can start making calls and sending texts from the Google Voice app. You can also receive calls and text messages using your Google Voice number. The app allows you to view your call history, manage voicemails, and customize call settings like call forwarding and Do Not Disturb.
- To ensure that all calls and texts go through your Google Voice number, you can set it as your default dialer in the iPhone settings. Open the Settings app, go to Phone, and select “Default Dialer.” Choose Google Voice from the list of available options.
By setting up Google Voice on your iPhone, you can enjoy the flexibility of managing your calls and texts from one central platform. It’s especially useful if you want to separate your personal and professional phone numbers or if you’re traveling and want to make calls using a local number.
Keep in mind that Google Voice may require an internet connection, either cellular data or Wi-Fi, to make calls and send texts. Make sure you have a stable internet connection to fully utilize the app’s features.
Now that you have Google Voice set up on your iPhone, you can start enjoying the convenience and versatility of managing your communications using your Google Voice number.
Make Google Default Apps
To fully integrate Google into your iPhone, you can set Google apps as your default applications. This means that whenever you perform certain actions on your iPhone, such as opening links or sending emails, they will automatically open in the corresponding Google app. Here’s how to make Google apps your default:
- Google Chrome as default browser: Open the Settings app on your iPhone, scroll down, and tap on “Chrome.” From there, toggle on the “Default Browser App” option. Now, whenever you tap on a link, it will open directly in Google Chrome.
- Gmail as default email app: In the Settings app, scroll down and tap on “Gmail.” Select “Default Mail App” and choose Gmail from the list of available options. This will open any email links or actions in Gmail instead of the default Mail app.
- Google Maps as default maps app: Open the Settings app, scroll down, and tap on “Maps.” Choose “Default Maps App” and select Google Maps. Now, any location links or directions you open will automatically open in Google Maps for navigation and exploration.
By setting Google apps as your defaults, you can streamline your experience and seamlessly integrate Google’s functionalities into your daily use of the iPhone. This allows you to have a more consistent and personalized experience across your devices.
Keep in mind that these settings may vary slightly depending on your iPhone model and iOS version. If you don’t see the options mentioned above, it’s possible that they are located in different sections of the Settings app.
With Google apps set as your defaults, you can enjoy a smoother and more efficient experience on your iPhone, making it feel more like a Google phone.
Sync Google Contacts
One of the key advantages of turning your iPhone into a Google phone is the ability to sync your contacts with Google. By syncing your contacts, you can access and manage them across devices, ensuring that your contact list is always up to date. Here’s how to sync Google contacts with your iPhone:
- Open the Settings app on your iPhone.
- Scroll down and tap on “Contacts.”
- Select “Accounts” and then tap on “Add Account.”
- Choose “Google” from the list of available account types.
- Sign in with your Google account. If you have two-factor authentication enabled, follow the prompts to verify your identity.
- Toggle on the switch next to “Contacts” to enable contact syncing with your Google account.
- You can customize other options like syncing notes or calendars if desired.
- Tap on “Save” to complete the setup process.
Once you’ve set up the sync, your Google contacts will automatically appear in the Contacts app on your iPhone. Any changes you make to your contacts on either your iPhone or your Google account will be synced across both devices, ensuring that your contact information is always consistent and up to date.
Syncing your contacts with Google not only provides a convenient way to manage your contacts but also acts as a backup in case you lose or upgrade your iPhone. You can easily restore your contacts by signing in to your Google account on a new device.
Remember to keep your Google account synced regularly to ensure any new contacts you add on your iPhone are also backed up and accessible on your Google account.
By syncing your contacts with Google, you can enjoy the benefits of seamless contact management and easy accessibility across devices, bringing you one step closer to transforming your iPhone into a Google phone.
Set Up Google Calendar
To further optimize your iPhone as a Google phone, setting up Google Calendar is essential. With Google Calendar, you can easily manage your schedules, events, and reminders across devices. Here’s how to set up Google Calendar on your iPhone:
- Download the Google Calendar app from the App Store and open it on your iPhone.
- Sign in with your Google account or create a new one if you don’t already have one.
- Grant the app permissions to access your calendar and notifications. These permissions are necessary for syncing your events and receiving reminders.
- Once you’re signed in, you’ll have access to your Google Calendar, which will automatically sync with any events you have already set up on your account.
- You can customize the calendar view, notification settings, and event preferences to suit your needs. The app offers various features, such as the ability to create multiple calendars, set recurring events, and share calendars with others.
- Synchronize your Google Calendar with your iPhone’s native calendar app by going to the Settings app, selecting “Calendar,” and toggling on the switch next to “Accounts.” Ensure that your Google account is selected and that the “Calendars” option is enabled.
Once set up, you can enjoy the benefits of seamlessly managing and accessing your calendar events across devices. Any changes or additions made to your events on your iPhone or through Google Calendar will be instantly synced.
Google Calendar also integrates well with other Google apps, such as Google Meet. You can easily schedule and join video meetings directly from your calendar events, simplifying your workflow and enhancing productivity.
Whether it’s keeping track of important appointments, planning your day, or organizing your work schedule, Google Calendar offers a powerful and convenient solution for staying on top of your events and commitments.
By setting up Google Calendar on your iPhone, you can enjoy the full suite of Google productivity tools and make your iPhone truly function as a Google phone.
Use Google Maps
One of the standout features of a Google phone is the powerful and reliable navigation tool, Google Maps. By using Google Maps on your iPhone, you can enjoy accurate directions, real-time traffic updates, and a wealth of location information. Here’s how to make the most of Google Maps:
1. Get the Google Maps app: Download the Google Maps app from the App Store and open it on your iPhone.
2. Allow location access: When prompted, grant the app access to your location so it can provide accurate directions and information based on your current whereabouts.
3. Search for locations: Use the search bar at the top of the app to find specific addresses, landmarks, or businesses. Google Maps will show you relevant results and provide options for navigating to your chosen destination.
4. Get directions: If you’re looking to go from one place to another, tap the “Directions” button and enter your starting and ending locations. Google Maps will provide turn-by-turn directions, along with estimated travel times based on current traffic conditions.
5. Explore your surroundings: Use the “Explore” feature in Google Maps to discover nearby restaurants, coffee shops, attractions, and more. This can be especially helpful when you’re in a new area or looking for something specific.
6. Save favorite places: You can save your favorite places in Google Maps by tapping on the location marker and selecting “Save.” This allows you to quickly access these places later and even create personalized lists for different purposes, such as “Favorite Restaurants” or “Must-Visit Landmarks.”
7. Access offline maps: Google Maps also provides the option to download offline maps for areas where you might not have a stable internet connection. This can be handy when traveling to remote locations or when you want to conserve data usage.
With Google Maps on your iPhone, you can confidently navigate uncharted territories, find the best routes to your destinations, and discover new places along the way.
Make sure to keep the app updated to access the latest features and improvements that Google regularly rolls out to enhance the user experience. With Google Maps, your iPhone truly becomes a valuable tool for getting around and exploring the world.
Use Google Photos
Google Photos is a powerful tool for managing and storing your photos and videos. By using Google Photos on your iPhone, you can take advantage of its advanced features and convenient cloud-based storage. Here’s how to make the most of Google Photos:
- Download the Google Photos app: Install the Google Photos app from the App Store and open it on your iPhone.
- Sign in to your Google account: Sign in with your Google account or create a new one if you don’t already have an account.
- Backup your photos and videos: Google Photos offers unlimited free storage for high-quality photos and videos. Enable the backup feature in the app to automatically upload your iPhone photos and videos to your Google account. You can choose whether to upload over Wi-Fi only or also use cellular data.
- Organize and manage your media: Use Google Photos’ intuitive interface to browse, search, and organize your photos and videos. You can create albums, add captions, and even apply filters and edits to enhance your media.
- Create and share albums: Share your favorite moments with friends and family by creating albums in Google Photos. You can invite others to view, comment, and contribute to the album, making it a collaborative experience.
- Discover memories: Google Photos automatically creates and highlights memories, such as collages, animations, and short videos, based on your photos. This feature adds a delightful touch to reliving your most cherished moments.
- Free up space on your iPhone: Once your photos and videos are backed up to Google Photos, you can free up storage on your iPhone by removing them from your device. Rest assured that they will remain safely stored in your Google account.
- Access your media from anywhere: Google Photos syncs your photos and videos across devices, ensuring that they are accessible on your iPhone, computer, or any other device with internet access. Simply sign in to your Google account to view and manage your media.
Google Photos provides a seamless and efficient way to organize, store, and share your memories. With its powerful search capabilities and abundant storage capacity, you can effortlessly manage your growing photo and video collection.
Take advantage of the intelligent features, such as automatic backups and smart suggestions, to make the most of your Google Photos experience. Keep in mind that while Google Photos offers unlimited free storage for high-quality photos and videos, full-resolution media may count toward your Google account storage quota.
By using Google Photos on your iPhone, you can enjoy a convenient and secure solution for preserving and reliving your precious moments.
Access Google Drive
Google Drive is a cloud storage service that allows you to securely store and access your files from anywhere, including your iPhone. By accessing Google Drive on your iPhone, you can have all your important documents, photos, and videos at your fingertips. Here’s how to make the most of Google Drive:
- Download the Google Drive app: Install the Google Drive app from the App Store and open it on your iPhone.
- Sign in to your Google account: Sign in with your Google account or create a new one if you don’t already have an account.
- Upload files to Google Drive: Tap on the “+” icon in the app to upload files from your iPhone to your Google Drive. You can choose to upload photos, videos, documents, and more. Google Drive offers 15 GB of free storage, with options to expand your storage capacity if needed.
- Organize and manage your files: Use the Google Drive app to organize your files into folders, rename them, or move them to different locations. You can also star specific files or folders to quickly access them later.
- Collaborate and share files: Share files or folders with others directly from the Google Drive app. You can choose whether to give them view-only access or allow them to edit the files. This makes collaboration on projects or sharing important documents with colleagues seamless.
- Offline access: Google Drive also allows you to access certain files offline. Simply mark files as “Available offline” in the app, and you can view or edit them even without an internet connection.
- Integrate with other apps: Google Drive integrates with various productivity apps on the App Store, enabling you to edit documents, spreadsheets, and presentations directly within the Google Drive app or the respective connected apps.
- Back up your photos: Google Drive works seamlessly with Google Photos, automatically backing up your photos and videos. This provides an additional layer of backup and ensures your precious memories are safe.
By accessing Google Drive on your iPhone, you can have all your important files with you wherever you go. Whether it’s work-related documents or personal photos, you can easily access and manage them on the go from your iPhone.
Ensure that you have a stable internet connection to fully utilize the features of Google Drive. However, with the offline access option, you can still view and edit selected files even when you’re offline.
Google Drive offers a reliable and secure solution for cloud storage, making it easy to access and manage your files on your iPhone. Take advantage of this powerful tool to keep your documents organized, collaborate with others, and have peace of mind knowing that your files are securely stored in the cloud.
Try Google Assistant
Google Assistant is a virtual voice assistant that can help you streamline tasks and get information quickly on your iPhone. By trying Google Assistant, you can take advantage of its intuitive voice commands and useful features. Here’s how to make the most of Google Assistant:
- Download the Google Assistant app: Install the Google Assistant app from the App Store and open it on your iPhone.
- Set up Google Assistant: Sign in with your Google account or create a new one if you don’t already have an account. Follow the on-screen prompts to set up Google Assistant and customize your preferences.
- Activate Google Assistant: Launch the app or use the “Hey Google” phrase to activate Google Assistant. You can also assign a shortcut to access it quickly by pressing the home button or using a gesture.
- Ask questions and get information: Utilize the power of Google’s search engine by asking Google Assistant questions or requesting information. Whether it’s the latest news, weather updates, sports scores, or general knowledge, Google Assistant can provide answers and help you stay informed.
- Set reminders and alarms: With Google Assistant, you can easily set reminders and alarms by speaking commands. Just say, “Hey Google, set a reminder to call John at 3 PM” or “Hey Google, set an alarm for 8 AM.”
- Control smart devices: If you have compatible smart devices in your home, Google Assistant can help you control them with voice commands. You can turn on the lights, adjust the thermostat, or even play your favorite music hands-free.
- Manage your schedule: Use Google Assistant to create events, schedule appointments, and manage your calendar. Simply say, “Hey Google, schedule a meeting on Friday at 10 AM” or “Hey Google, what’s on my calendar for today?”
- Explore app integrations: Google Assistant can integrate with various apps, allowing you to perform tasks without leaving the assistant. You can send messages, make voice calls, order food, or even book a ride using supported apps.
Google Assistant provides a convenient and hands-free way to access information and interact with your iPhone. By utilizing its capabilities, you can save time and effortlessly manage your daily tasks.
Remember to grant the necessary permissions for Google Assistant to access your microphone, contacts, and other relevant data to deliver a personalized experience.
Try out Google Assistant on your iPhone and discover how this voice-activated assistant can improve your productivity and simplify your day-to-day life.