
Understanding Micro USB Chargers
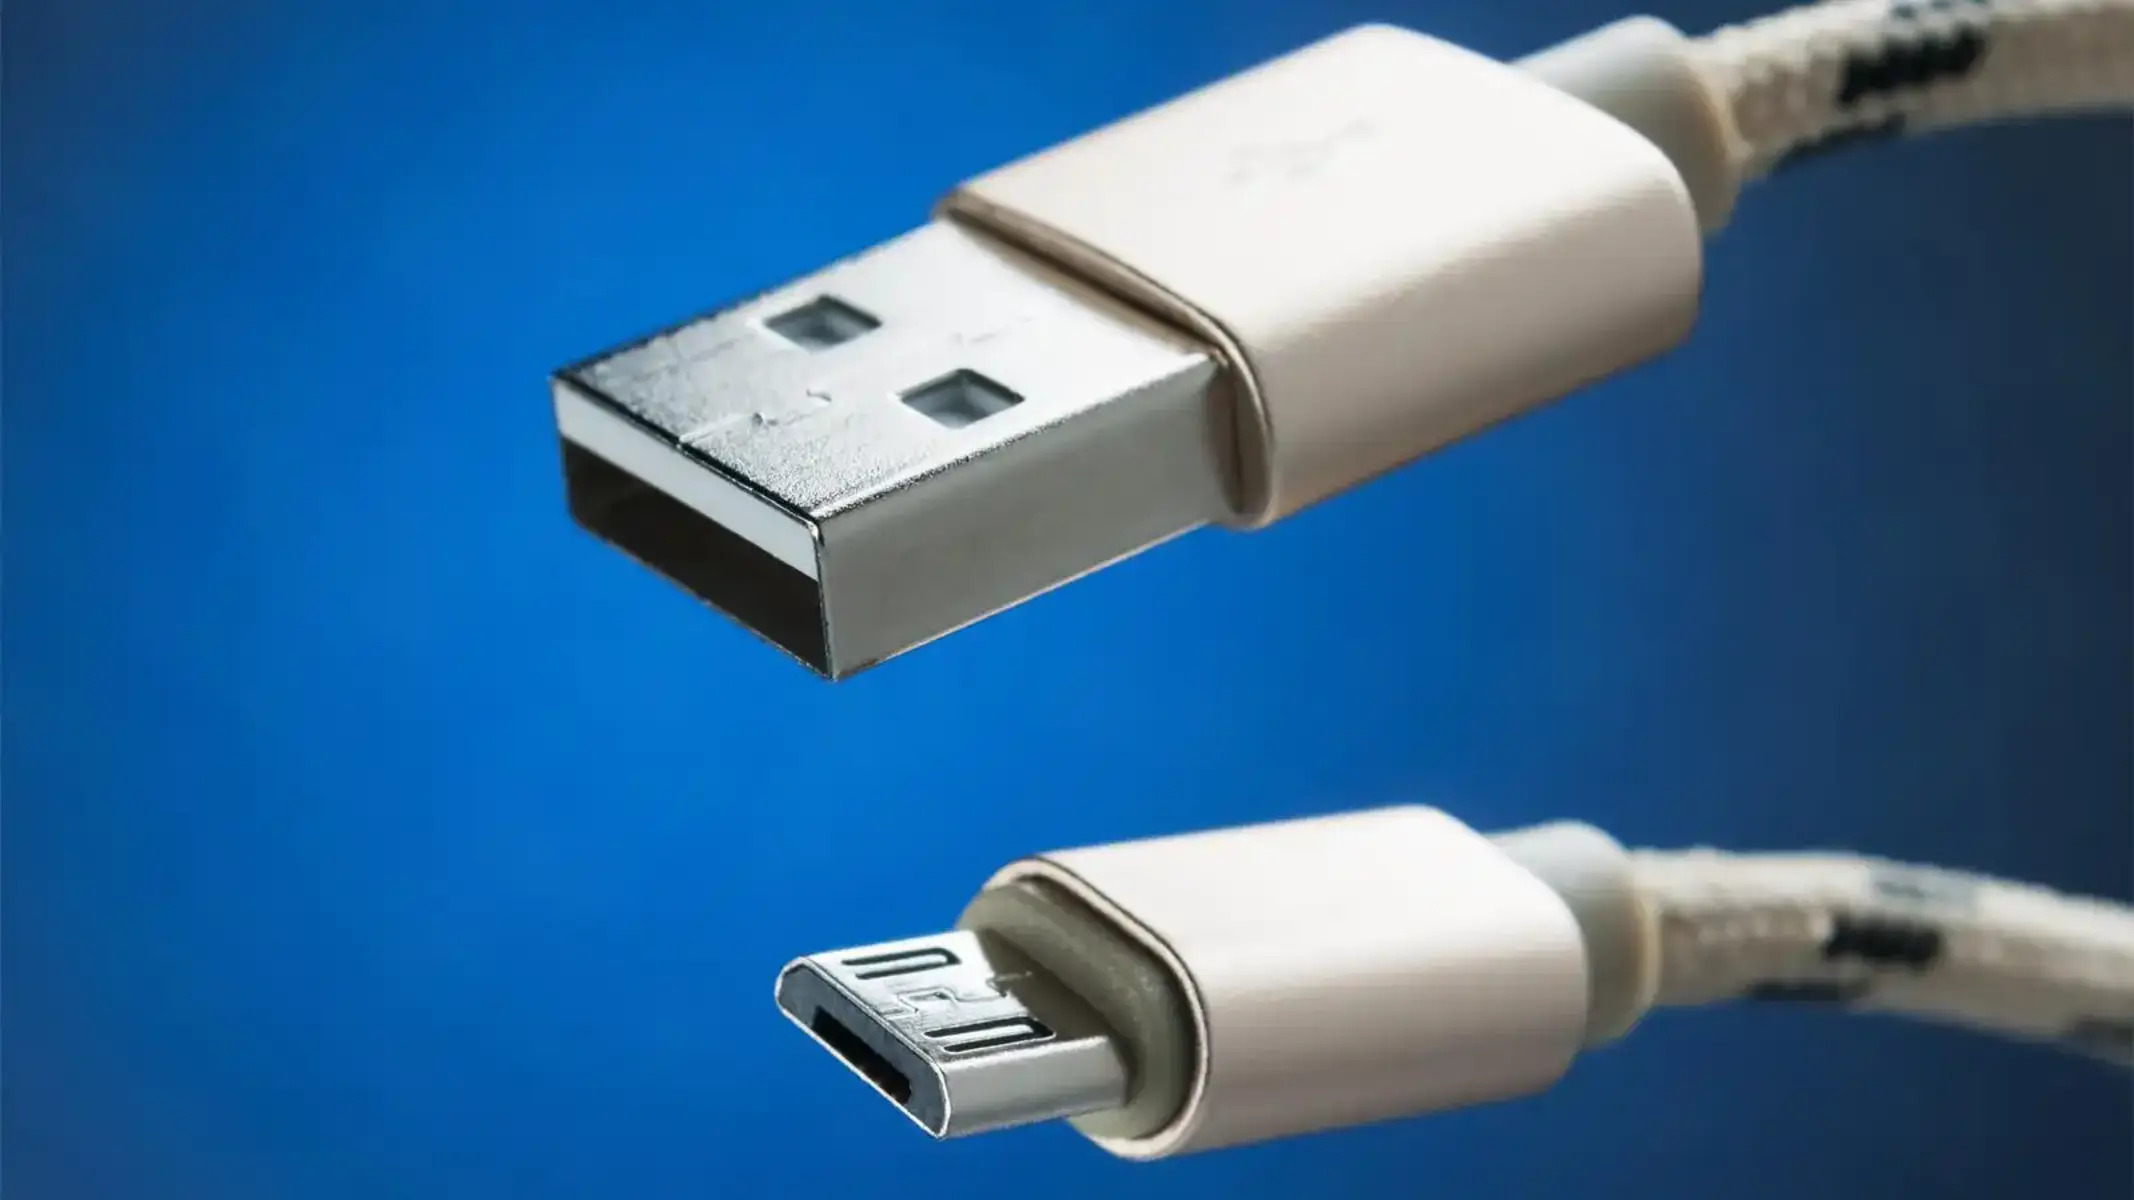
Micro USB chargers are widely used to power and charge a variety of devices, including smartphones, tablets, Bluetooth speakers, and other portable electronics. These chargers feature a compact and versatile design, with a small, rectangular connector that can be plugged in either way, making them convenient and user-friendly. The standard USB Type-A connector on the opposite end allows for seamless connectivity with power adapters, computers, and other power sources.
The micro USB standard has become ubiquitous due to its widespread adoption by manufacturers and its compatibility with a wide range of devices. Its small form factor and durable design make it a popular choice for powering portable electronics. Understanding the basic components and functionality of micro USB chargers is essential for troubleshooting and resolving common issues that may arise during everyday use.
Micro USB chargers consist of several key components, including the male micro USB connector, the USB Type-A connector, and the internal wiring that facilitates the transfer of power and data. The male micro USB connector, also known as the plug, features a distinctive trapezoidal shape with a tab on one side, allowing for easy insertion into the charging port of compatible devices. The USB Type-A connector, commonly found on power adapters and computer ports, serves as the interface between the charger and the power source. This standardized design ensures compatibility across various devices and power outlets.
Furthermore, micro USB chargers are designed to deliver a specific voltage and current to the connected device, ensuring efficient and safe charging. Understanding the electrical specifications and power output of micro USB chargers is crucial for diagnosing and resolving charging issues, as variations in voltage and current can impact the charging performance and overall functionality of the connected device.
In addition to their charging capabilities, micro USB cables can also facilitate data transfer between devices, allowing for the seamless exchange of files and information. This dual functionality adds to the versatility and utility of micro USB chargers, making them indispensable accessories for modern electronics users.
Overall, a comprehensive understanding of micro USB chargers, including their design, functionality, and compatibility, is essential for effectively troubleshooting and addressing common charging issues. By familiarizing oneself with the fundamental aspects of micro USB technology, users can confidently tackle charging problems and ensure the reliable performance of their electronic devices.
Common Issues with Micro USB Chargers
Despite their widespread use and convenience, micro USB chargers are susceptible to various issues that can hinder their charging capabilities. Understanding these common issues is essential for effectively troubleshooting and resolving charging problems. Some of the prevalent issues with micro USB chargers include:
- Loose Connection: Over time, the micro USB connector may become loose, resulting in an unreliable connection between the charger and the device. This can lead to intermittent charging or a complete loss of connection.
- Physical Damage: The physical wear and tear of the charger’s connectors and cables can result in fraying, bending, or breakage, impacting the overall functionality of the charger.
- Charging Port Obstruction: Accumulated dust, lint, or debris within the charging port of the device can obstruct the connection with the charger, leading to ineffective charging.
- Compatibility Issues: Incompatibility between the charger and the device, as well as the use of low-quality or non-standard cables, can result in charging inefficiencies and connectivity problems.
- Software Glitches: Software-related issues within the connected device, such as charging port recognition errors or firmware bugs, can impede the charging process.
- Power Source Problems: Issues with the power outlet, power adapter, or USB port can affect the charger’s ability to deliver the required power to the device.
These common issues can significantly impact the charging performance of micro USB chargers, leading to frustration and inconvenience for users. Recognizing the symptoms and underlying causes of these issues is essential for implementing effective troubleshooting strategies and restoring the functionality of the charger.
By addressing these common issues with proactive troubleshooting and maintenance, users can ensure the reliable and efficient operation of their micro USB chargers, enhancing the overall charging experience for their electronic devices.
Tools and Equipment Needed for Troubleshooting
When troubleshooting issues with micro USB chargers, having the right tools and equipment at hand is essential for effectively diagnosing and resolving charging problems. The following tools and equipment are indispensable for conducting thorough troubleshooting:
- Microfiber Cloth: A soft microfiber cloth is useful for gently cleaning the charging port of the device, removing any accumulated dust or debris that may obstruct the connection with the charger.
- Cotton Swabs or Compressed Air: These tools can be used to carefully clean the interior of the charging port, ensuring that any debris or lint is removed without causing damage to the port.
- Isopropyl Alcohol: When used in moderation, isopropyl alcohol can aid in cleaning the charging port and connectors, effectively dissolving any stubborn residue or buildup.
- Replacement Micro USB Cables: Having spare, high-quality micro USB cables on hand allows for testing the charger with different cables to identify potential cable-related issues.
- Alternate Power Source: Utilizing a different power adapter or USB port can help determine if the charging issues are related to the power source rather than the charger itself.
- Diagnostic Device: A secondary device, such as another smartphone or tablet, can be used to test the charger’s functionality and identify whether the issue lies with the charger or the original device.
- Software Diagnostic Tools: Utilizing software diagnostic tools, such as device-specific diagnostic apps or firmware update utilities, can help identify and address software-related charging issues.
- Small Screwdriver Set: In cases where physical inspection and repair of the charger are necessary, a small screwdriver set can facilitate the disassembly and examination of the charger’s components.
By equipping oneself with these essential tools and equipment, users can confidently approach the troubleshooting process, systematically identifying and addressing the underlying causes of charging issues with micro USB chargers. Additionally, maintaining a clean and organized toolkit ensures preparedness for future troubleshooting needs, fostering a proactive approach to charger maintenance and care.
Step 1: Inspect the Physical Condition of the Charger
Before delving into the troubleshooting process, it is crucial to thoroughly inspect the physical condition of the micro USB charger and its associated components. This initial step provides valuable insights into potential issues that may affect the charger’s functionality. The following sub-steps outline the key aspects to consider during the physical inspection:
- Examine the Connector and Cable: Carefully inspect the micro USB connector and cable for any signs of damage, including fraying, bending, or exposed wiring. Such physical damage can hinder the charger’s performance and may necessitate cable replacement.
- Check for Bent or Misaligned Connectors: Ensure that the pins within the micro USB connector are not bent or misaligned, as this can impede the proper connection with the device’s charging port. Gently straighten any bent pins using a small tool if necessary.
- Inspect the USB Type-A Connector: Similarly, examine the USB Type-A connector for any damage or deformation that may affect its ability to establish a secure connection with the power source.
- Verify Cable Integrity: Flex the cable gently along its length, checking for any areas where the cable may be internally damaged. Such damage can lead to intermittent charging or complete failure of the charger.
- Assess Overall Cable Integrity: Evaluate the entire length of the cable for kinks, cuts, or wear that may compromise its structural integrity and electrical conductivity.
By meticulously assessing the physical condition of the charger, users can identify potential sources of charging issues and take proactive measures to address them. This comprehensive inspection sets the stage for targeted troubleshooting efforts, ensuring that any underlying physical issues are promptly identified and resolved.
Step 2: Check the Power Source
After inspecting the physical condition of the micro USB charger, the next crucial step in the troubleshooting process involves evaluating the power source and its compatibility with the charger. This step is essential for identifying and addressing potential issues related to the power supply. The following sub-steps outline the key considerations when checking the power source:
- Test the Power Outlet or Adapter: Plug the charger into a different power outlet or use an alternate power adapter to rule out issues with the original power source. A faulty outlet or adapter can hinder the charger’s ability to deliver the required power to the connected device.
- Verify Voltage and Current Ratings: Ensure that the power outlet or adapter provides the appropriate voltage and current ratings as specified by the charger’s requirements. Using an incompatible power source can lead to charging inefficiencies and potential damage to the charger or the connected device.
- Utilize a USB Port for Testing: If using a power adapter, attempt to charge the device by connecting the micro USB charger to a USB port on a computer or another compatible device. This helps determine if the issue is specific to the power adapter or outlet.
- Check for Power Fluctuations: Use a reliable voltage tester or power monitor to assess the stability of the power supply. Fluctuations or irregularities in voltage can impact the charger’s performance and the overall charging process.
- Consider Environmental Factors: Evaluate the charging environment for potential factors that may affect the power source, such as extreme temperatures, humidity, or electrical interference. Addressing these environmental considerations can contribute to consistent and reliable charging.
By thoroughly examining the power source and its compatibility with the micro USB charger, users can pinpoint any power-related issues that may be affecting the charging process. This systematic approach ensures that the charger is receiving the necessary power to effectively charge the connected device, addressing potential challenges related to the power supply.
Step 3: Clean the Charging Port
One of the common culprits behind charging issues with micro USB chargers is the accumulation of dust, lint, or debris within the device’s charging port. Cleaning the charging port is a critical step in troubleshooting, as it can alleviate connectivity problems and ensure a secure connection between the charger and the device. The following sub-steps outline the process of cleaning the charging port:
- Power Off the Device: Before cleaning the charging port, power off the device to prevent any potential electrical hazards and ensure safe handling during the cleaning process.
- Inspect the Charging Port: Using a flashlight or adequate lighting, carefully examine the charging port for any visible debris, dust, or lint that may be obstructing the connection. Take note of any buildup that may need to be removed.
- Gently Remove Debris: Use a soft, lint-free microfiber cloth or a clean, dry toothbrush to gently remove any visible debris or lint from the charging port. Exercise caution to avoid causing damage to the port or dislodging internal components.
- Utilize Compressed Air or Cotton Swabs: If stubborn debris persists, carefully use compressed air or a cotton swab to dislodge and remove the remaining particles from the charging port. Exercise restraint to avoid pushing debris further into the port.
- Clean the Connector: Inspect the micro USB connector on the charger for any debris or residue, and clean it using a microfiber cloth or a cotton swab dampened with isopropyl alcohol if necessary.
- Ensure Thorough Cleaning: Verify that the charging port and the connector are free from any residual debris or moisture before attempting to reconnect the charger to the device.
By diligently cleaning the charging port and the connector, users can eliminate potential barriers to effective charging and establish a reliable connection between the charger and the device. This proactive maintenance step contributes to the overall longevity and performance of the micro USB charger, ensuring consistent and efficient charging for the connected device.
Step 4: Test with Different Cables and Devices
Conducting tests with various micro USB cables and compatible devices is an essential step in the troubleshooting process, allowing users to identify potential issues related to the charger’s compatibility and functionality. This step involves systematically testing the charger with different cables and devices to isolate the source of charging problems. The following sub-steps outline the process of testing with different cables and devices:
- Utilize Spare Micro USB Cables: If available, test the charger with one or more spare micro USB cables to determine if the issue is related to the original cable. High-quality, undamaged cables should be used for accurate testing.
- Connect to Alternate Devices: Use the charger to power and charge alternate compatible devices, such as smartphones, tablets, or other electronics, to assess its performance across different devices. This helps identify any device-specific issues impacting the charging process.
- Observe Charging Behavior: Monitor the charging behavior and performance when using different cables and devices. Note any differences in charging speed, reliability, or connectivity to pinpoint potential issues.
- Document Test Results: Keep a record of the test results, including observations of charging performance with different cables and devices. Documenting the outcomes can aid in identifying patterns and potential sources of charging issues.
- Compare Charging Performance: Compare the charging performance across various test scenarios, noting any consistent issues or variations in charging behavior. This comparison can reveal insights into the charger’s compatibility and functionality.
By systematically testing the micro USB charger with different cables and devices, users can gain valuable insights into the charger’s compatibility and performance. This empirical approach allows for the identification of potential cable-related issues, device-specific compatibility challenges, and overall charger functionality, paving the way for targeted troubleshooting and resolution of charging problems.
Step 5: Check for Software Issues
Addressing potential software-related issues within the connected device is a crucial step in troubleshooting micro USB charger problems. Software glitches, charging port recognition errors, and firmware bugs can impede the charging process, necessitating a thorough examination of the device’s software environment. The following sub-steps outline the process of checking for software issues:
- Review Device Settings: Access the device’s settings menu and navigate to the battery or power management section to verify that the charging settings are configured correctly. Ensure that any power-saving modes or battery optimization features are not hindering the charging process.
- Update Device Firmware: Check for available firmware updates for the device and install any pending updates to address potential software-related issues. Updated firmware can resolve known charging issues and enhance overall device performance.
- Restart or Reset the Device: Perform a soft reset or reboot the device to clear temporary software glitches that may be affecting the charging functionality. In cases of persistent issues, consider a factory reset as a last resort after backing up essential data.
- Utilize Diagnostic Apps: Install and use device-specific diagnostic apps or utilities designed to identify and address charging-related issues. These apps can provide insights into the device’s charging behavior and any software-related anomalies.
- Check for Compatibility Mode: If the device offers compatibility or USB mode settings, ensure that the appropriate mode is selected for charging. Selecting the correct mode can mitigate compatibility issues with the micro USB charger.
By meticulously examining the software environment of the connected device, users can proactively address potential software-related impediments to the charging process. This systematic approach ensures that software glitches, firmware inconsistencies, and device settings are thoroughly evaluated and optimized, contributing to a seamless and efficient charging experience with the micro USB charger.
Step 6: Repairing or Replacing the Charger
After completing the initial troubleshooting steps, users may need to consider repairing or replacing the micro USB charger based on the identified issues and the effectiveness of previous troubleshooting efforts. This final step involves evaluating the viability of repairing the charger or opting for a replacement to ensure reliable charging for the connected devices. The following considerations outline the process of determining whether to repair or replace the charger:
- Assess Physical Damage: If the charger exhibits significant physical damage, such as frayed cables, bent connectors, or visible wear, assess the extent of the damage. Minor damage may be repairable, while extensive damage may warrant replacement.
- Evaluate Charging Performance: Consider the charging performance and reliability of the charger following the troubleshooting steps. If the charger consistently exhibits subpar performance or fails to charge devices effectively, replacement may be necessary.
- Cost of Repair versus Replacement: Compare the potential cost of repairing the charger, including parts and labor, with the cost of purchasing a new, high-quality replacement charger. Assessing the cost-effectiveness of each option is essential in making an informed decision.
- Warranty Coverage: Determine if the charger is covered under a manufacturer’s warranty or an extended warranty plan. If the charger is within the warranty period and the issues are covered, pursuing a warranty claim for repair or replacement may be advantageous.
- Consider Environmental Impact: Evaluate the environmental impact of repairing versus replacing the charger. Opting for repair when feasible contributes to sustainability by reducing electronic waste and conserving resources.
- Review User Experience: Reflect on the overall user experience and satisfaction with the charger. If the charger has consistently met the user’s needs and expectations, repairing it may be a preferred option to maintain continuity.
By carefully weighing these considerations, users can make an informed decision regarding the repair or replacement of the micro USB charger. This strategic approach ensures that the charging needs of the connected devices are effectively met, whether through repairing the existing charger or acquiring a new, reliable replacement to support ongoing charging requirements.