
Connecting your Xperia to the computer
To transfer pictures from your Xperia to a computer, the first step is to establish a physical connection between the two devices. This can be achieved using a USB cable, which allows for a direct and reliable data transfer process.
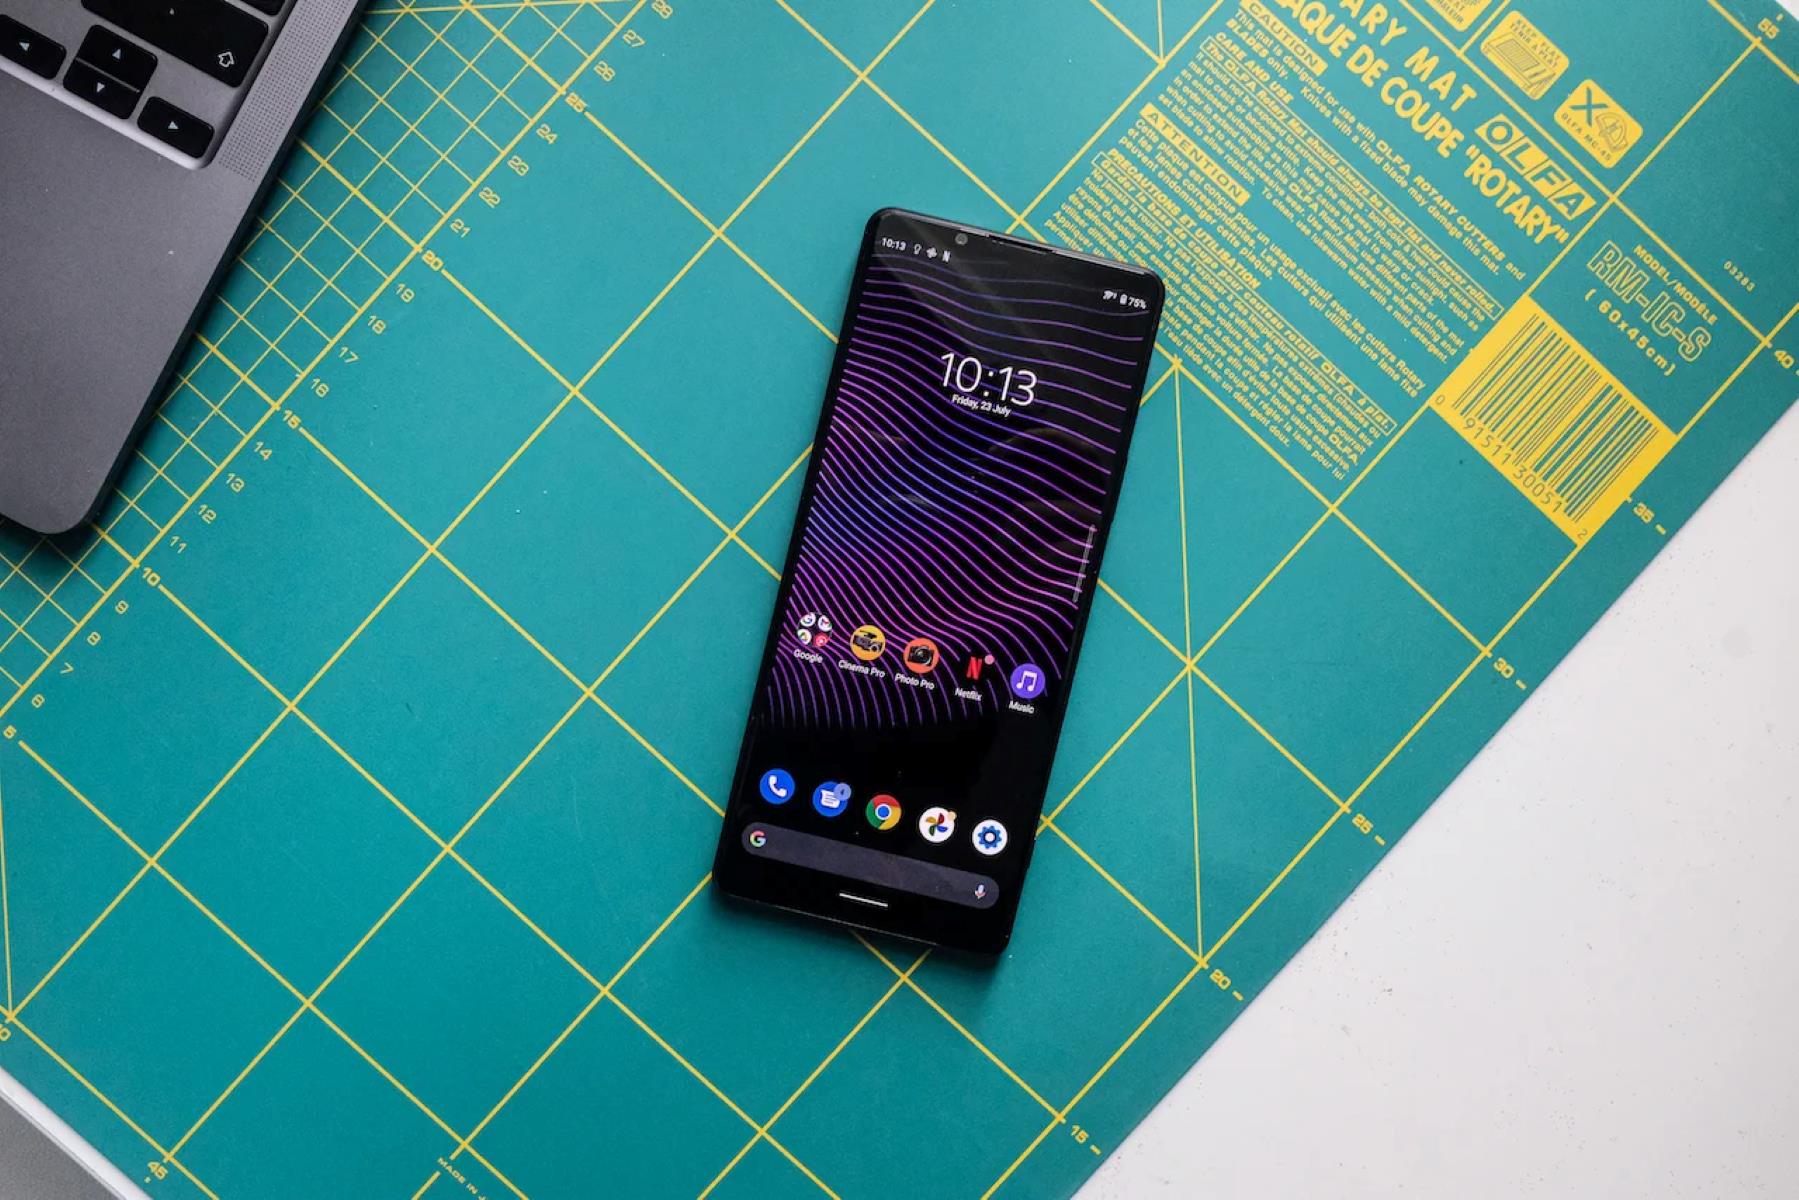
When connecting your Xperia to the computer, ensure that both devices are powered on and unlocked. Locate the USB port on your Xperia device, usually found at the bottom or on the side, depending on the model. Next, take the USB cable and insert one end into the USB port on your Xperia. The other end of the cable should be plugged into an available USB port on your computer.
Upon establishing the physical connection, your Xperia may prompt you to select the type of USB connection. This step is crucial as it determines how the device will be recognized by the computer. You can typically choose between options such as "File Transfer" or "MTP" (Media Transfer Protocol). Selecting the "File Transfer" option enables your computer to access the storage on your Xperia, including the pictures and other media files.
Once the appropriate USB connection mode is selected, your computer should recognize the Xperia as a connected device. You can then navigate to the file explorer or Finder on your computer to access the contents of your Xperia. Look for the device listed under the available drives or connected devices. By accessing the internal storage or SD card of your Xperia, you can locate the folder containing your pictures.
With the pictures accessible on your computer, you can simply copy and paste them into a folder of your choice, or directly import them into a photo management application for organization and editing.
Establishing a physical connection between your Xperia and the computer provides a straightforward and efficient method for transferring pictures, ensuring that you can easily access and manage your media files across devices.
Using a USB cable to transfer pictures
Transferring pictures from your Xperia to a computer using a USB cable offers a direct and efficient method for managing your media files. This approach provides a reliable connection that facilitates the seamless transfer of pictures without relying on wireless networks or additional hardware.
To initiate the process, ensure that both your Xperia device and the computer are powered on and unlocked. Locate the USB port on your Xperia, which is typically situated at the bottom or on the side, depending on the specific model. Once the USB port is identified, take the USB cable and insert one end into the corresponding port on your Xperia.
The next step involves connecting the other end of the USB cable to an available USB port on your computer. Upon establishing this physical connection, your Xperia may prompt you to select the type of USB connection. This step is crucial as it determines how the device will be recognized by the computer.
You will typically have the option to choose between "File Transfer" or "MTP" (Media Transfer Protocol). Selecting the "File Transfer" option enables your computer to access the storage on your Xperia, including the pictures and other media files stored on the device.
Once the appropriate USB connection mode is selected, your computer should recognize the Xperia as a connected device. By navigating to the file explorer or Finder on your computer, you can access the contents of your Xperia. Look for the device listed under the available drives or connected devices.
Upon locating your Xperia, you can access the internal storage or SD card to find the folder containing your pictures. With the pictures accessible on your computer, you can simply copy and paste them into a folder of your choice, or directly import them into a photo management application for organization and editing.
This method of using a USB cable to transfer pictures from your Xperia to a computer provides a straightforward and efficient approach for managing your media files. It ensures that you can easily access and organize your pictures across devices, offering a seamless and reliable transfer process.
Transferring pictures wirelessly using Bluetooth or Wi-Fi
Transferring pictures wirelessly from your Xperia to a computer using Bluetooth or Wi-Fi provides a convenient and cable-free method for managing your media files. This approach eliminates the need for physical connections, offering flexibility and mobility during the transfer process.
Using Bluetooth for Picture Transfer
Bluetooth technology enables the wireless transfer of pictures between your Xperia and a computer that is equipped with Bluetooth capabilities. To initiate the transfer, ensure that Bluetooth is enabled on both devices. On your Xperia, navigate to the Settings menu and select Bluetooth. Activate Bluetooth and ensure that the device is discoverable.
On your computer, access the Bluetooth settings and ensure that it is turned on and set to discoverable mode. Once both devices are discoverable, they can be paired by selecting the Xperia from the list of available devices on your computer. Follow the on-screen prompts to complete the pairing process.
After the devices are successfully paired, you can initiate the picture transfer. Navigate to the folder containing the pictures on your Xperia, select the images you want to transfer, and choose the option to share via Bluetooth. Your computer should be listed as a target device for the transfer. Select your computer and initiate the transfer process.
Utilizing Wi-Fi for Picture Transfer
Wi-Fi connectivity offers another wireless option for transferring pictures from your Xperia to a computer. This method leverages the local Wi-Fi network to establish a connection between the two devices, enabling seamless picture transfer.
To begin, ensure that both your Xperia and the computer are connected to the same Wi-Fi network. On your Xperia, navigate to the Settings menu and select Wi-Fi. Connect to the desired Wi-Fi network and ensure that the connection is stable.
On your computer, ensure that it is also connected to the same Wi-Fi network. Once the devices are connected to the same network, you can proceed with the picture transfer process.
Utilizing third-party applications or built-in features, you can initiate the picture transfer over the Wi-Fi network. This may involve selecting the pictures you wish to transfer and choosing the option to share or send them via Wi-Fi. Your computer should be detected as a target device for the transfer, allowing you to initiate the process seamlessly.
Transferring pictures wirelessly using Bluetooth or Wi-Fi provides a flexible and convenient approach for managing your media files. Whether you opt for Bluetooth or Wi-Fi, both methods offer wireless connectivity that simplifies the picture transfer process, enhancing the overall user experience.
Utilizing cloud storage services for picture transfer
Utilizing cloud storage services for picture transfer offers a versatile and efficient method for seamlessly managing and accessing your media files across devices. Cloud storage platforms such as Google Drive, Dropbox, and OneDrive provide users with the ability to store, sync, and share pictures and other files from their Xperia to a computer with ease.
To begin the process, ensure that you have an active account with a cloud storage service of your choice. Most cloud storage providers offer dedicated applications for mobile devices, including Xperia smartphones, allowing for seamless integration and access to your stored content.
Once you have the cloud storage application installed on your Xperia, you can proceed to upload the pictures you wish to transfer to the cloud. This typically involves selecting the desired images from your device's gallery or file manager and choosing the option to upload them to your cloud storage account. Depending on the service, you may have the ability to organize your pictures into specific folders or albums within the cloud storage platform, facilitating easy access and management.
After uploading the pictures to the cloud, you can then access them from your computer by logging into the corresponding cloud storage account via a web browser or the dedicated desktop application. This seamless synchronization allows you to view and download the pictures directly to your computer, providing a convenient method for transferring media files without the need for physical connections or direct device-to-device communication.
Furthermore, cloud storage services often offer features such as automatic syncing and backup, ensuring that your pictures remain securely stored and accessible across devices. This can provide peace of mind, knowing that your media files are protected and readily available whenever you need them.
In addition to transferring pictures between your Xperia and computer, utilizing cloud storage services also enables easy sharing of media files with others. Whether it's collaborating on a project, sharing memories with friends and family, or accessing your pictures from multiple devices, cloud storage platforms offer a seamless and versatile solution for picture transfer and management.
By leveraging cloud storage services for picture transfer, users can enjoy the benefits of accessibility, synchronization, and backup, enhancing the overall experience of managing and transferring media files between their Xperia and computer.
Using a memory card to transfer pictures
Transferring pictures from your Xperia to a computer using a memory card offers a convenient and versatile method for managing your media files. This approach leverages the storage capabilities of a memory card to facilitate the seamless transfer of pictures without relying on direct device-to-device connections or wireless networks.
To initiate the picture transfer process using a memory card, begin by ensuring that your Xperia device is powered off. Locate the slot for the memory card on your Xperia, typically situated on the side or back of the device. Carefully insert the memory card into the designated slot, ensuring that it is securely positioned and properly aligned.
Once the memory card is inserted, power on your Xperia and navigate to the Settings menu. Access the Storage or Memory settings to verify that the device recognizes the inserted memory card. This step ensures that the Xperia can access the storage capacity of the memory card for storing and transferring pictures.
Next, use the built-in file manager or gallery application on your Xperia to select the pictures you wish to transfer. Choose the option to move or copy the selected pictures to the memory card. This process may involve creating a dedicated folder on the memory card to organize the transferred pictures, providing a structured approach for managing your media files.
After the selected pictures are successfully transferred to the memory card, power off your Xperia and remove the memory card from the device. Insert the memory card into a compatible card reader or adapter, and then connect the card reader to an available USB port on your computer.
Upon connecting the memory card to your computer, navigate to the file explorer or Finder to access the contents of the memory card. Locate the folder containing the transferred pictures and proceed to copy them to a folder of your choice on your computer. This straightforward process allows for easy access and organization of your transferred pictures on your computer.
Utilizing a memory card to transfer pictures from your Xperia to a computer offers a flexible and efficient approach for managing your media files. Whether it's a microSD card or other compatible memory card formats, this method leverages the storage capacity of the memory card to facilitate seamless picture transfer, providing users with a versatile and accessible solution for managing their media files across devices.