
Checking SIM Card Compatibility with iPhone 12
Before installing a SIM card in your iPhone 12, it's crucial to ensure that the SIM card is compatible with the device. The iPhone 12 supports nano-SIM cards, which are the smallest SIM card size available. To check the compatibility of your SIM card with the iPhone 12, follow these steps:
-
Identify the SIM Card Type: The iPhone 12 is designed to work with a nano-SIM card. This is the smallest SIM card size and is commonly used in modern smartphones. If your current SIM card is larger than a nano-SIM, such as a micro-SIM or standard SIM, you will need to contact your mobile service provider to obtain a compatible nano-SIM card.
-
Check the SIM Card Specifications: Examine the SIM card to verify that it meets the nano-SIM standard. Nano-SIM cards measure approximately 12.3mm x 8.8mm, making them significantly smaller than their predecessors. If your SIM card matches these dimensions, it is likely a nano-SIM and should be compatible with the iPhone 12.
-
Consult with Your Mobile Service Provider: If you are uncertain about the compatibility of your SIM card, reach out to your mobile service provider for assistance. They can confirm whether your current SIM card is compatible with the iPhone 12 or provide you with a compatible nano-SIM card.
Ensuring that your SIM card is compatible with the iPhone 12 is essential for a seamless installation process. By following these steps, you can confidently proceed with the SIM card installation, knowing that your device and SIM card are fully compatible.
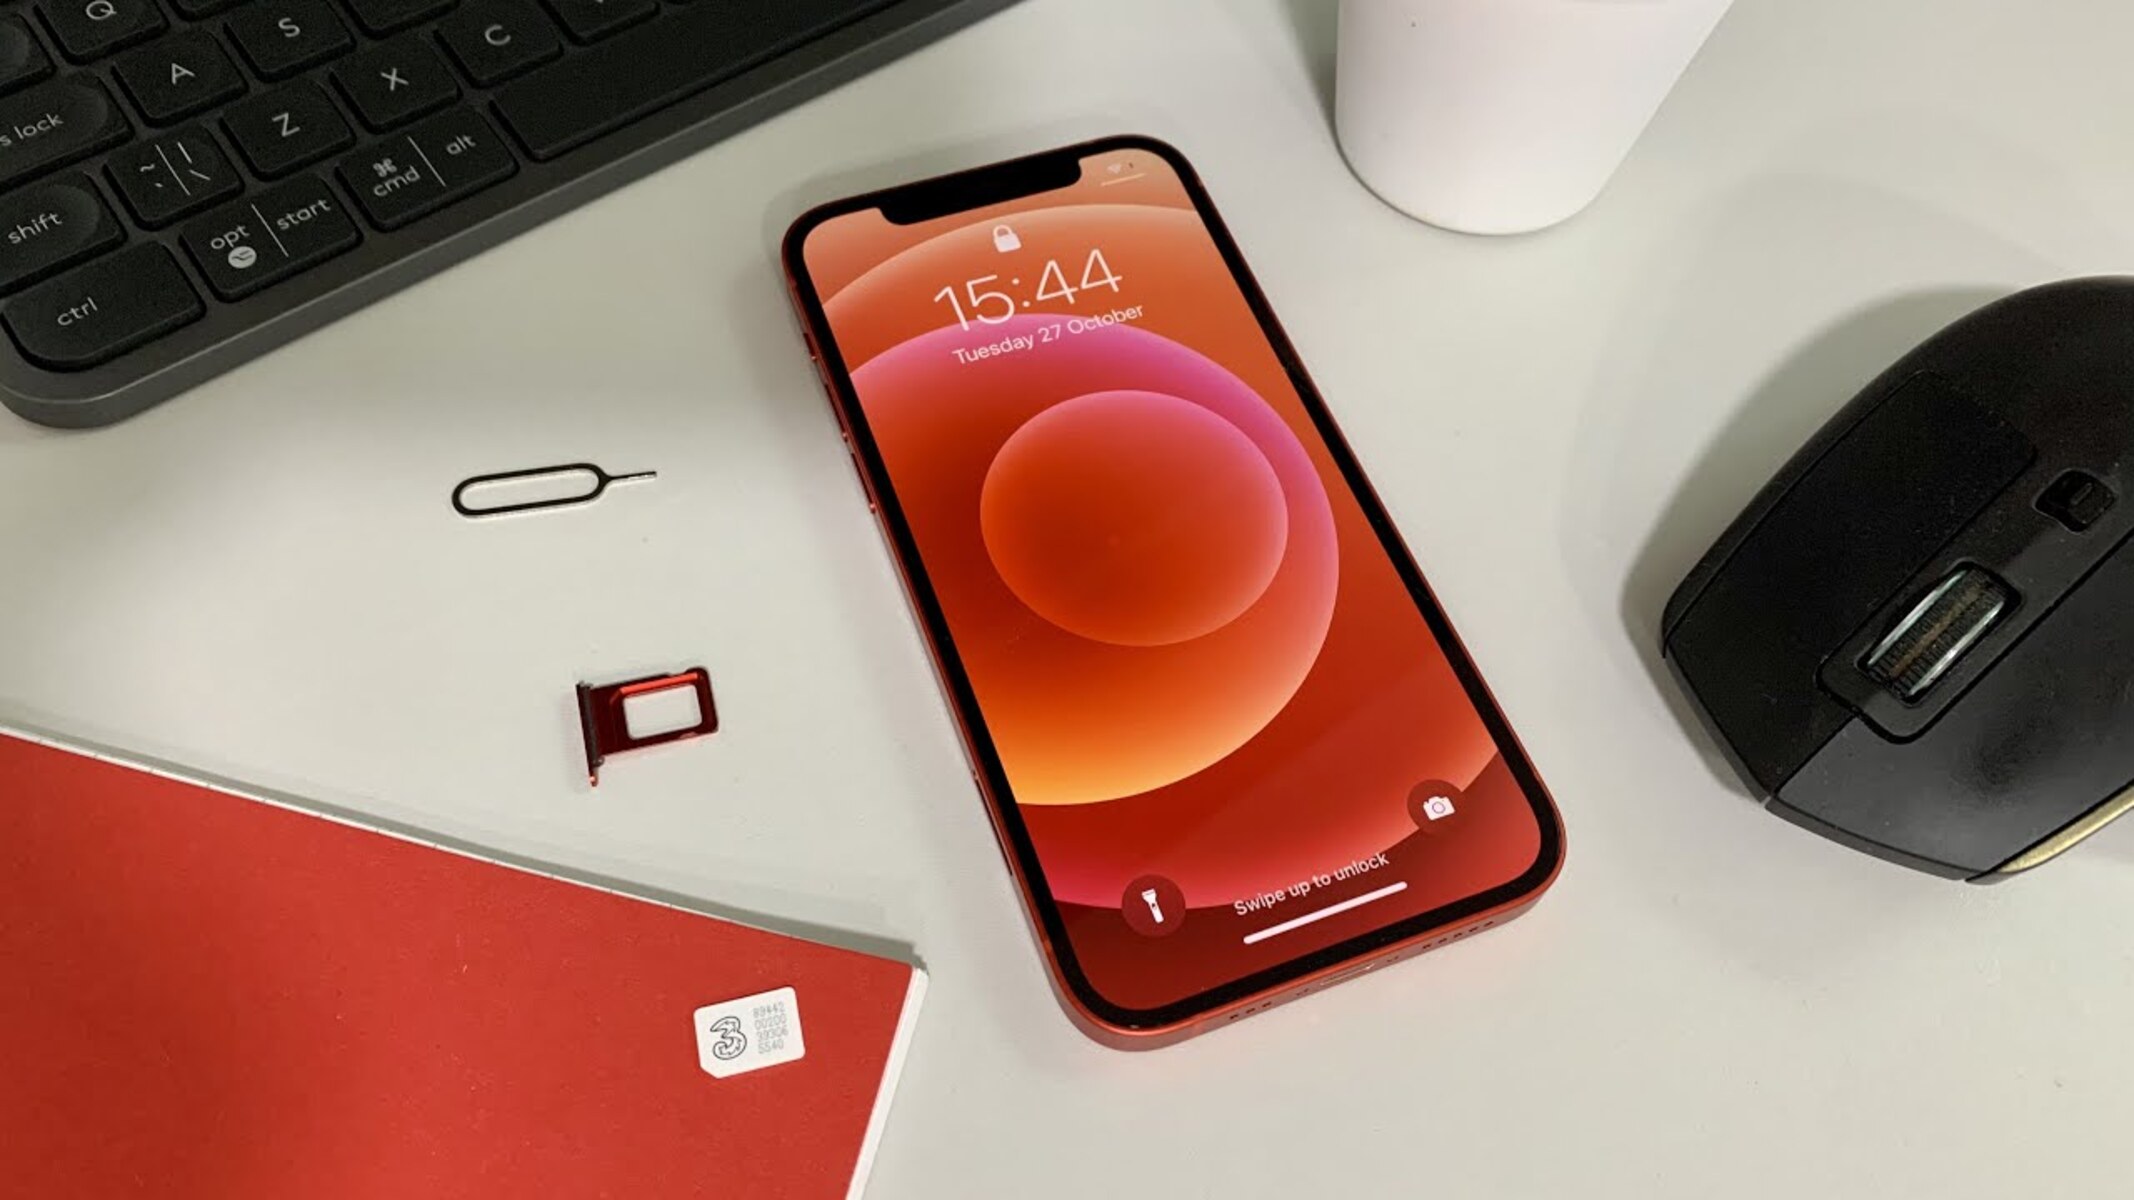
Removing the SIM Card Tray from iPhone 12
The process of removing the SIM card tray from your iPhone 12 is a fundamental step in preparing the device for SIM card installation or replacement. This procedure requires precision and care to avoid any damage to the SIM card tray or the device itself. Here's a detailed guide on how to safely remove the SIM card tray from your iPhone 12:
-
Power Off the iPhone 12: Before attempting to remove the SIM card tray, ensure that your iPhone 12 is powered off. This precautionary measure prevents any potential disruption during the removal process and reduces the risk of damage to the device.
-
Locate the SIM Card Tray Slot: The SIM card tray slot is typically located on the side of the iPhone 12. It is identifiable by a small pinhole, which is used to eject the tray. On the iPhone 12, the SIM card tray slot is situated on the left-hand side of the device, near the bottom.
-
Use the Ejection Tool: Apple provides a SIM card ejection tool with the iPhone 12. If the tool is not readily available, a small paperclip can be used as an alternative. Insert the ejection tool or paperclip into the pinhole of the SIM card tray slot, applying gentle pressure to activate the ejection mechanism.
-
Carefully Remove the SIM Card Tray: Once the ejection mechanism is activated, the SIM card tray will partially protrude from the slot. Gently pull the tray out of the iPhone 12, ensuring a steady and controlled motion to prevent any damage to the tray or the device.
-
Handle the SIM Card Tray with Caution: Upon removing the SIM card tray, handle it with care to avoid any bending or damage. The SIM card tray is a delicate component that houses the SIM card securely, and mishandling it can lead to potential issues during reinsertion.
By following these steps, you can safely remove the SIM card tray from your iPhone 12 without encountering any complications. This process sets the stage for the subsequent installation of a SIM card or the replacement of an existing one. It is essential to exercise patience and precision throughout the removal process to ensure the integrity of the SIM card tray and the iPhone 12 itself.
Placing the SIM Card in the Tray
Once the SIM card tray has been carefully removed from the iPhone 12, the next step is to place the SIM card securely into the tray. This process demands attention to detail and a gentle touch to ensure that the SIM card is positioned correctly within the tray. Here's a comprehensive guide on how to effectively place the SIM card in the tray of your iPhone 12:
-
Inspect the SIM Card: Before proceeding, take a moment to inspect the SIM card. Ensure that it is free from any visible damage and that the gold contacts on the card are clean and unobstructed. Any debris or damage on the SIM card can hinder its functionality and connectivity.
-
Position the SIM Card Tray: Lay the SIM card tray on a flat surface with the metal contacts facing upward. The tray has a designated slot where the SIM card will be placed. It's essential to align the SIM card with the corresponding shape and size of the slot to guarantee a proper fit.
-
Align the SIM Card: Carefully position the SIM card on the designated area within the tray, ensuring that the gold contacts on the SIM card align with the contacts within the tray. The SIM card should fit snugly within the designated space, with no protruding edges or misalignment.
-
Gently Place the SIM Card: With precision, gently lower the SIM card into the designated slot within the tray. Apply even pressure to ensure that the SIM card sits flat and secure within the tray. Avoid using excessive force, as this can potentially damage the SIM card or the tray.
-
Verify the Placement: After placing the SIM card in the tray, visually inspect the alignment and positioning of the card. Ensure that it sits flush within the tray and that the gold contacts are fully exposed and unobstructed. Any misalignment or partial insertion of the SIM card can lead to connectivity issues.
-
Handle with Care: Throughout the process of placing the SIM card in the tray, handle both the SIM card and the tray with care to prevent any accidental damage. The delicate nature of the SIM card requires gentle handling to maintain its functionality.
By following these steps, you can effectively place the SIM card in the tray of your iPhone 12 with precision and confidence. This meticulous process sets the stage for seamlessly inserting the SIM card tray back into the device, ensuring a secure and reliable connection for your iPhone 12.
Inserting the SIM Card Tray Back into iPhone 12
After securely placing the SIM card in the tray, the final step in the SIM card installation process for the iPhone 12 involves delicately reinserting the SIM card tray back into the device. This crucial step requires precision and care to ensure that the tray is properly aligned and fully seated within the iPhone 12. Here's a detailed guide on how to effectively insert the SIM card tray back into your iPhone 12:
-
Position the SIM Card Tray: Before reinserting the SIM card tray, carefully inspect it to ensure that the SIM card is securely placed within the tray. Verify that the SIM card is aligned correctly and sits flat within the designated slot. Any misalignment or protrusion of the SIM card can impede the tray from fitting properly into the iPhone 12.
-
Align the Tray with the Slot: Locate the SIM card tray slot on the side of the iPhone 12. Position the SIM card tray at a slight angle, aligning it with the slot to facilitate a smooth insertion. It's essential to approach this step with caution to avoid any resistance or potential damage to the tray or the device.
-
Gently Insert the Tray: With a steady hand, carefully slide the SIM card tray back into the slot of the iPhone 12. Apply gentle pressure and ensure that the tray moves smoothly into the device without any forceful resistance. It's crucial to maintain a controlled motion throughout the insertion process to prevent any mishaps.
-
Verify the Placement: Once the SIM card tray is fully inserted into the iPhone 12, take a moment to verify its placement. Ensure that the tray sits flush with the device's exterior and that there are no protruding edges or misalignment. A secure and proper fit of the tray is essential for maintaining the integrity of the SIM card and the device's functionality.
-
Power On the iPhone 12: After successfully reinserting the SIM card tray, power on your iPhone 12 to initiate the device's connectivity with the newly installed or replaced SIM card. Upon powering on the device, allow it to establish the necessary network connections, enabling you to seamlessly utilize your iPhone 12 with the installed SIM card.
By following these steps with precision and attention to detail, you can effectively insert the SIM card tray back into your iPhone 12, ensuring a secure and reliable connection for your device. This meticulous process concludes the SIM card installation or replacement procedure, allowing you to fully utilize the connectivity features of your iPhone 12 with confidence.