
Checking the Current Time
Checking the Current Time
Before you can set the time on your iHome docking station, it’s essential to ensure you have the correct current time. Here’s how you can easily check the current time:
-
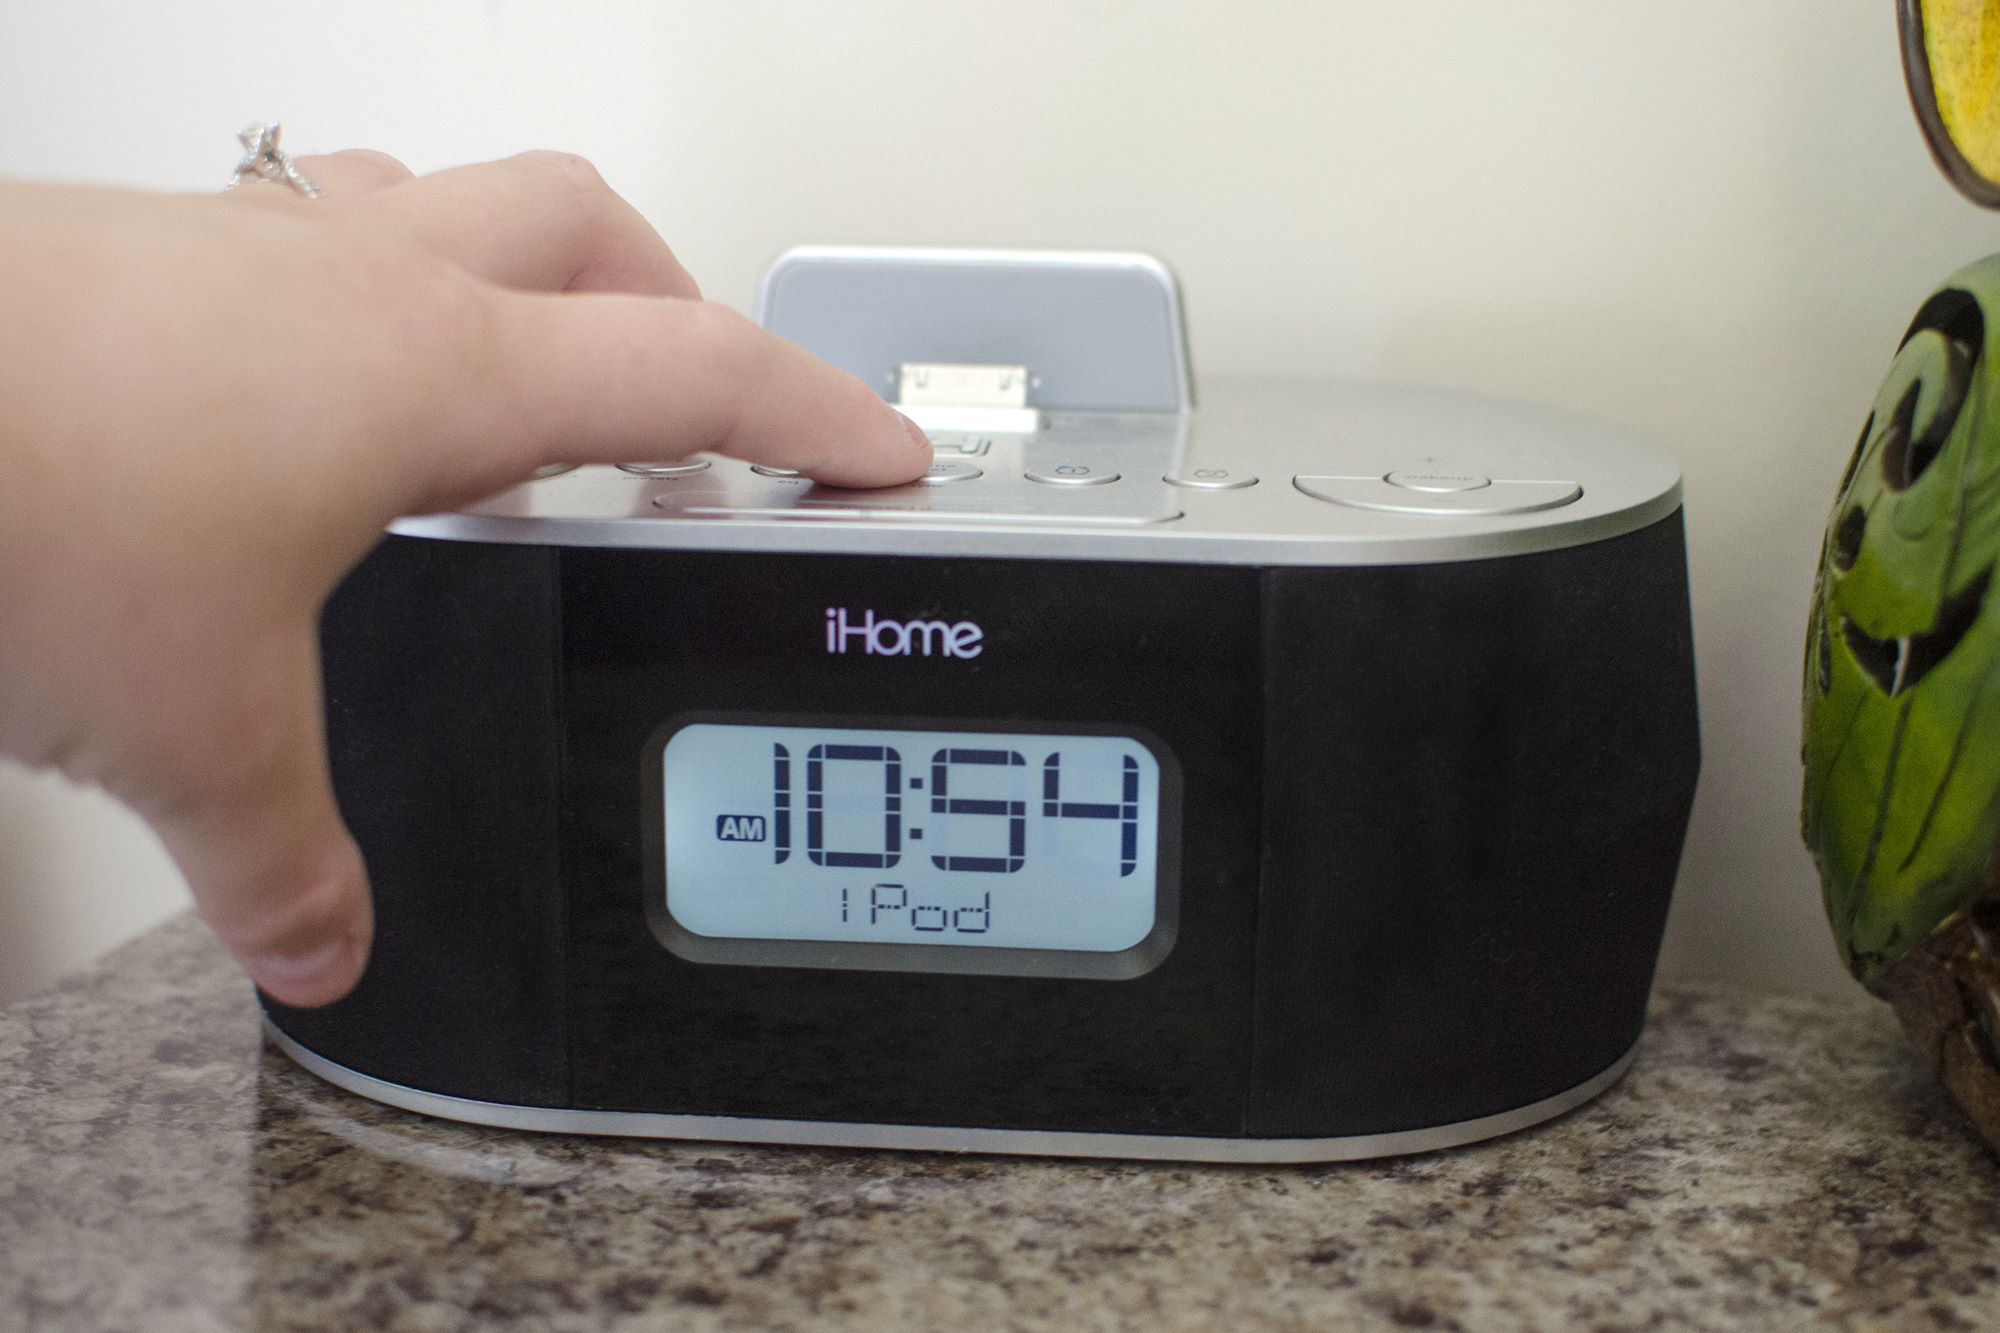
On the iHome Docking Station: Look at the display on your iHome docking station. The current time should be prominently displayed on the screen. If the time is incorrect, you'll need to manually set it or use the sync button to update it.
-
Using an External Source: If you want to verify the accuracy of the time displayed on your iHome docking station, you can cross-reference it with an external source. This could be your smartphone, computer, or any other reliable timekeeping device. Simply compare the time displayed on your iHome docking station with the time on the external source to ensure they match.
-
Daylight Saving Time: Remember to account for daylight saving time if it is in effect. The iHome docking station should automatically adjust for daylight saving time, but it's always a good idea to double-check, especially after a time change.
By confirming the current time on your iHome docking station, you can proceed with confidence, knowing that you are working with the correct time reference.
Setting the Time Manually
Setting the Time Manually
If your iHome docking station’s clock needs to be set manually, follow these simple steps:
- Access the Time Setting Mode: Locate the “Clock,” “Time Set,” or similar button on your iHome docking station. Press and hold this button until the time display begins to flash, indicating that you have entered the time setting mode.
- Adjust the Hours: Once in the time setting mode, use the designated buttons or dials to adjust the hours. Depending on your model, this may involve pressing arrow buttons, rotating a dial, or using touchscreen controls. Continue to hold or press the corresponding button until the desired hour is reached.
- Set the Minutes: After setting the hours, navigate to the minutes using the same method as before. Adjust the minutes until they reflect the current time accurately.
- Confirm and Exit: Once the correct time is displayed, press the “Clock” or “Time Set” button again to confirm the settings. This action will finalize the time adjustment and exit the time setting mode.
It’s important to ensure that the time is accurately set to guarantee the proper functioning of alarms, timers, and other time-dependent features on your iHome docking station. By following these straightforward steps, you can manually set the time with ease.
Setting the Time Using the Sync Button
Setting the Time Using the Sync Button
If your iHome docking station is equipped with a sync button, you can easily update the time to match the current time provided by your connected device. Here’s how to do it:
- Locate the Sync Button: Identify the sync button on your iHome docking station. It is typically labeled as “Sync” and may be located on the front, top, or side of the device. Pressing this button will trigger the time synchronization process.
- Ensure Device Connectivity: Make sure that your iHome docking station is connected to a compatible device, such as a smartphone or tablet, via Bluetooth or a physical connection. The device should be powered on and displaying the correct current time.
- Initiate Time Sync: Press the sync button on your iHome docking station. The device will attempt to synchronize its internal clock with the time data provided by the connected device. This process may take a few moments to complete.
- Verify the Updated Time: Once the synchronization process is finished, check the display on your iHome docking station to confirm that the time has been successfully updated. The time should now match the current time displayed on your connected device.
By utilizing the sync button, you can effortlessly ensure that the time on your iHome docking station remains accurate and in sync with your preferred timekeeping device.
Setting the Time Using the iHome App
Setting the Time Using the iHome App
If you own an iHome docking station that is compatible with the iHome Control app, you can conveniently set the time using your smartphone or tablet. Here’s how to do it:
- Download and Install the iHome Control App: Begin by downloading the iHome Control app from the App Store (for iOS devices) or Google Play Store (for Android devices). Install the app on your smartphone or tablet and ensure that it is connected to the same network as your iHome docking station.
- Pair Your iHome Docking Station: Open the iHome Control app and follow the on-screen instructions to pair your iHome docking station with the app. This typically involves selecting your device from a list of available options and confirming the connection.
- Access the Time Settings: Once your iHome docking station is successfully paired with the app, navigate to the “Settings” or “Device Settings” section within the app. Look for the option to adjust the time or clock settings for your specific iHome device.
- Set the Time: Within the time settings interface, you can manually input the current time or utilize the app’s synchronization feature to update the time based on the time data from your smartphone or tablet. Follow the app’s prompts to finalize the time adjustment for your iHome docking station.
By leveraging the iHome Control app, you can streamline the process of setting the time on your iHome docking station, all from the convenience of your mobile device.