
Step 1: Check the Model Number
Before you can start setting the time on your iHome alarm clock, it’s important to know the specific model number of your device. The model number can usually be found on the bottom or back of the device, or in the user manual that came with it. It is typically a combination of letters and numbers.
Knowing the model number is crucial as different models may have variations in the way the time is set or have additional features that affect the process. By identifying your model number, you can ensure that you are following the correct instructions tailored to your specific device.
If you are unable to locate the model number on your iHome alarm clock, try checking the manufacturer’s website or contacting their customer support for assistance. They will be able to provide you with the necessary information to proceed with setting the time on your device.
Once you have identified the model number, you’re ready to move on to the next step of setting the time on your iHome alarm clock.
Step 2: Locate the Time/Date Button
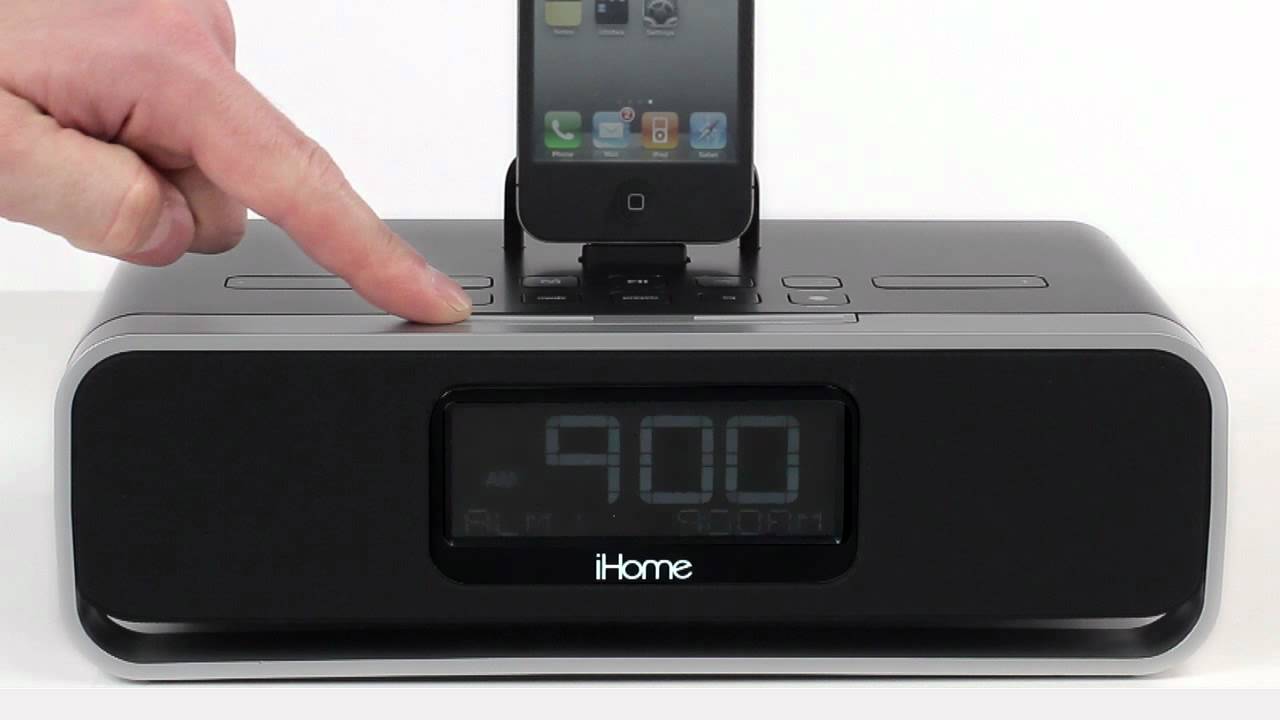
After determining the model number of your iHome alarm clock, the next step is to locate the Time/Date button on the device. The Time/Date button is a dedicated button that allows you to access and adjust the time and date settings.
On most iHome alarm clocks, the Time/Date button is conveniently located on the front or top panel of the device. Look for a button that is specifically labeled as “Time,” “Time/Date,” or has a clock icon. The button may also be accompanied by other function buttons or be part of a control panel.
If you are unable to find the Time/Date button on the front or top panel, try checking the sides or back of the device. Some iHome alarm clocks may have the button located in less obvious places, so it’s essential to thoroughly inspect the device for any button or control labeled with “Time” or “Date.”
If you’re still having trouble locating the Time/Date button, consult the user manual or refer to the manufacturer’s website for specific instructions for your model. They may provide detailed illustrations or descriptions to help you locate the button accurately.
Once you have located the Time/Date button on your iHome alarm clock, you’re ready to proceed to the next step of setting the time.
Step 3: Press and Hold the Time/Date Button
Now that you have located the Time/Date button on your iHome alarm clock, it’s time to press and hold the button to access the time setting mode. Pressing and holding the Time/Date button typically activates the clock’s setup or adjustment mode.
Make sure your alarm clock is on and displaying the current time before proceeding with this step. Look for the current time displayed on the device’s LED or LCD screen.
To enter the time setting mode, press and hold the Time/Date button for a few seconds. You may need to hold the button for an extended period, as some models require a longer press to activate the setting mode.
During this process, you might see the numbers on the display screen start to flash or the clock itself may enter a setup mode. This indicates that you have successfully entered the time adjustment mode.
If pressing and holding the Time/Date button does not seem to activate the time setting mode, consult your user manual or the manufacturer’s website for specific instructions related to your iHome alarm clock model. They might provide alternative methods or additional steps required to access the time adjustment mode.
Once you have successfully entered the time setting mode, you’re ready to move on to the next step of adjusting the time on your iHome alarm clock.
Step 4: Adjust the Time Using the Hour and Minute Buttons
Now that you have entered the time setting mode on your iHome alarm clock, it’s time to adjust the time using the Hour and Minute buttons. These buttons allow you to increment or decrement the hours and minutes displayed on the clock.
Take a moment to familiarize yourself with the layout of the buttons on your specific model. Look for buttons labeled “Hour” and “Minute” or buttons with arrow icons pointing up and down. These buttons are commonly found near the Time/Date button or in close proximity to each other.
To adjust the hours, press the Hour button, usually denoted by an “H” or an arrow pointing up. Each press of the Hour button will increase the hour value by one. Continue pressing the button until the desired hour is displayed on the clock’s screen.
Next, to adjust the minutes, press the Minute button, usually denoted by an “M” or an arrow pointing down. Similar to the Hour button, each press of the Minute button will increase the minute value by one. Continue pressing the button until the desired minute is displayed on the clock’s screen.
Keep in mind that some models may have additional buttons or functions to switch between 12-hour and 24-hour formats or to toggle between AM and PM. If your iHome alarm clock offers these features, consult the user manual or the manufacturer’s instructions for guidance on using them.
Once you have adjusted the hours and minutes to the correct time, you’re almost done! Just a few more steps to ensure that your iHome alarm clock displays the accurate time.
Step 5: Set the AM/PM Time
After adjusting the hours and minutes on your iHome alarm clock, it’s important to set the correct AM or PM time to ensure the clock displays the accurate time of day.
Take a look at the clock’s screen and locate the indicator for AM or PM. This may be displayed as “AM” and “PM” or represented by a small dot or icon.
If your clock shows “AM” and it is currently morning, there’s no need to make any changes. However, if the clock displays “PM” and it should be morning, you’ll need to switch the clock to the AM time mode.
Most iHome alarm clocks provide a separate button or function to toggle between AM and PM. Look for a button labeled “AM/PM” or an icon with a sun and a moon. Press this button to switch between AM and PM, ensuring the clock accurately reflects the time of day.
On some models, pressing the Hour button after adjusting the minutes may automatically toggle between AM and PM. Refer to the user manual or manufacturer’s instructions to determine the specific steps required for your iHome alarm clock.
Once you have set the correct AM or PM time, take a moment to double-check that the clock is displaying the accurate time and the desired AM or PM indicator.
If you encounter any issues or are unsure about the steps to set the AM or PM time on your specific iHome alarm clock model, consult the user manual or contact the manufacturer’s customer support for further assistance.
Now that the AM or PM time is properly set, you’re almost done with the time setup process. Just one more step to save the settings.
Step 6: Press the Time/Date Button to Save the Settings
Now that you have adjusted the time and AM/PM settings on your iHome alarm clock, it’s time to save the changes by pressing the Time/Date button once again.
Pressing the Time/Date button will finalize the time and date settings and store them in the clock’s memory. This ensures that the clock will continue to display the correct time even after power interruptions or battery replacements.
After pressing the Time/Date button, you may notice the numbers on the display screen stop flashing, indicating that the changes have been saved. Depending on your model, the clock may automatically exit the time adjustment mode and return to displaying the current time.
Take a moment to review the clock’s screen and verify that the time and AM/PM settings are accurate. If everything looks correct, congratulations! You have successfully set the time on your iHome alarm clock.
However, if you notice any discrepancies in the time or AM/PM display, repeat the previous steps to make the necessary adjustments. It is important to ensure the settings are correct for the clock to function effectively.
Now, you can confidently rely on your iHome alarm clock to wake you up at the desired time and keep you on schedule.
If you encounter any difficulties in saving the settings or have any questions about specific features or functions of your iHome alarm clock, refer to the user manual or contact the manufacturer’s customer support for assistance. They will be able to provide you with further guidance based on your specific model.