
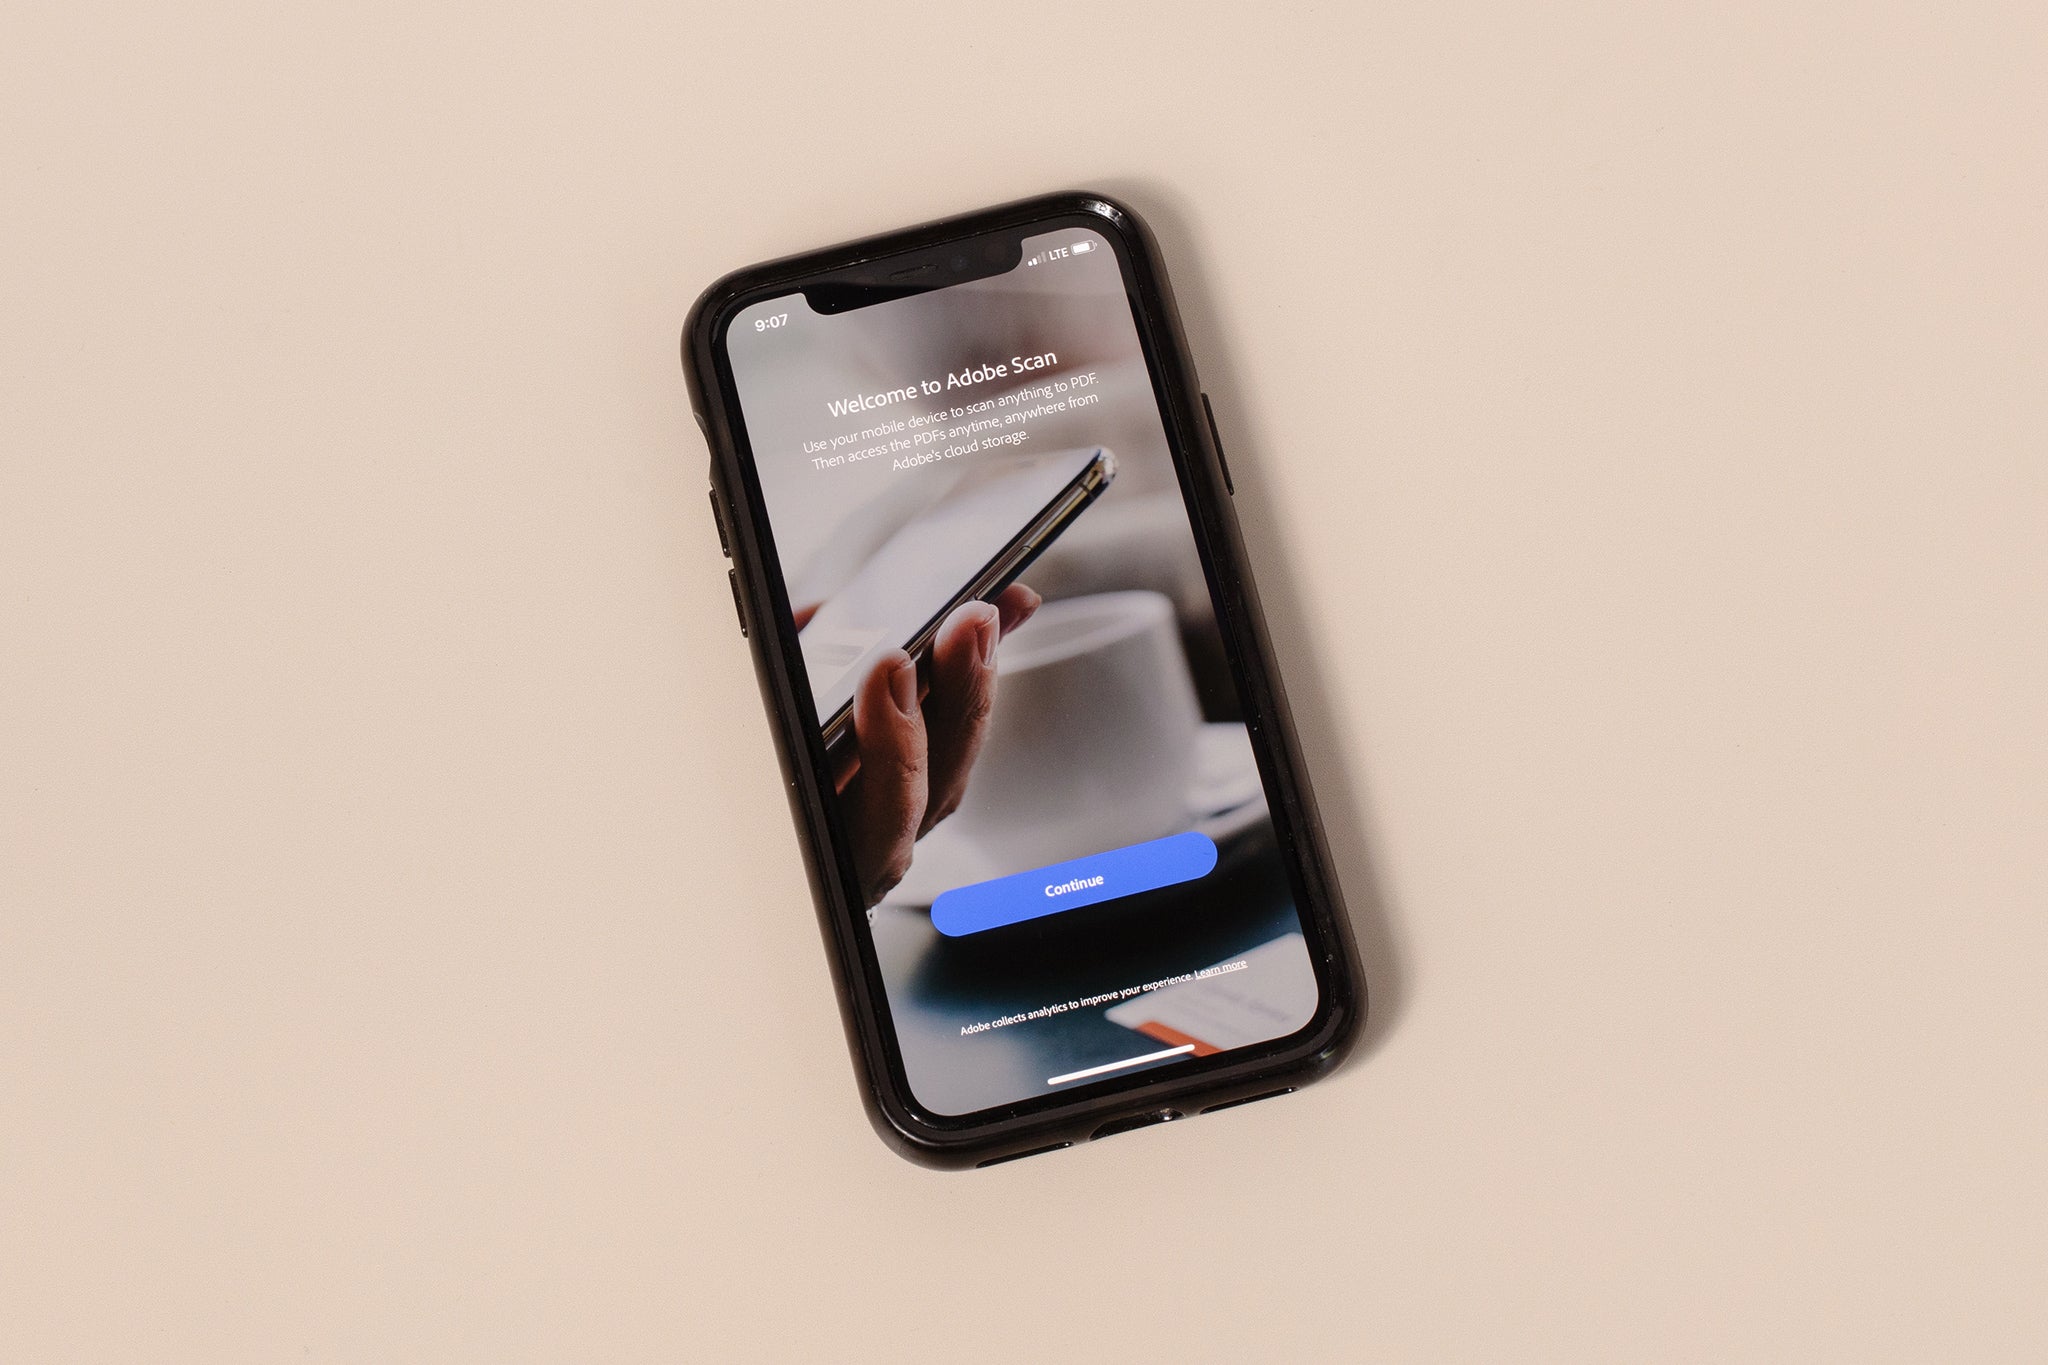
Choosing the Right App for Scanning
When it comes to scanning documents with your iPhone 13, selecting the right app is crucial for achieving high-quality results. With the plethora of scanning apps available on the App Store, it's essential to choose one that aligns with your specific needs and preferences. Here are some key factors to consider when selecting the ideal scanning app:
-
User-Friendly Interface: Opt for an app that offers a user-friendly interface, making it easy to navigate and operate. Look for intuitive features that streamline the scanning process, allowing you to capture documents effortlessly.
-
OCR Capabilities: If you require advanced functionality such as optical character recognition (OCR) to convert scanned documents into editable text, ensure that the app supports this feature. OCR technology can be immensely beneficial for digitizing text and extracting valuable information from scanned documents.
-
Cloud Integration: Consider an app that seamlessly integrates with cloud storage services such as iCloud, Google Drive, or Dropbox. This integration enables you to conveniently store and access your scanned documents across various devices, ensuring seamless synchronization and accessibility.
-
Enhanced Scanning Features: Look for apps that offer enhanced scanning features, such as automatic edge detection, perspective correction, and color enhancement. These features can significantly improve the quality and clarity of scanned documents, resulting in professional-looking outputs.
-
Security and Privacy: Prioritize apps that prioritize the security and privacy of your scanned documents. Look for apps that offer robust encryption and secure storage options, safeguarding your sensitive information from unauthorized access.
-
Integration with Other Apps: If you anticipate the need to seamlessly transfer scanned documents to other apps or platforms, consider an app that offers integration with email, messaging apps, or productivity tools. This integration can streamline your workflow and enhance productivity.
By carefully evaluating these factors, you can make an informed decision when selecting the right scanning app for your iPhone 13. Whether you prioritize ease of use, advanced features, or seamless integration with other tools, choosing the right app sets the foundation for a smooth and efficient document scanning experience.
Setting Up the Document
Before diving into the process of scanning a document with your iPhone 13, it's essential to ensure that the document is properly set up to optimize the scanning process. Setting up the document effectively can significantly impact the quality and accuracy of the scanned output. Here's a detailed guide on how to prepare the document for scanning:
-
Clear the Workspace: Begin by clearing the workspace where the document will be placed for scanning. Remove any clutter or obstructions to create a clean and unobstructed surface. This ensures that the document lays flat and is free from any potential shadows or distractions that could affect the scanning process.
-
Ensure Sufficient Lighting: Adequate lighting is crucial for capturing clear and legible scans. Position the document in an area with ample natural light or utilize artificial lighting to illuminate the workspace. Avoid harsh glares or reflections on the document, as they can compromise the quality of the scan.
-
Position the Document: Carefully place the document on a stable and flat surface, ensuring that all corners are aligned and the document is free from any folds or creases. If the document is a multi-page or double-sided, organize the pages in the desired order to streamline the scanning process.
-
Remove Obstructions: Check for any potential obstructions around the document, such as pens, paper clips, or other objects that could interfere with the scanning process. Clearing the area around the document minimizes the risk of capturing unwanted elements in the scan.
-
Consider Background Contrast: If the document features light-colored text or images, position it against a contrasting background to enhance visibility and clarity. Conversely, if the document contains dark elements, ensure that the background provides sufficient contrast to facilitate accurate scanning.
-
Stabilize the Document: To prevent the document from shifting or moving during the scanning process, use weights or paperweights to hold it in place. This ensures that the document remains stationary, minimizing the risk of blurriness or distortion in the scanned output.
By meticulously setting up the document before initiating the scanning process, you can optimize the conditions for capturing high-quality scans with your iPhone 13. These preparatory steps lay the groundwork for a seamless and efficient scanning experience, ultimately yielding professional and polished digital documents.
Positioning the iPhone for Scanning
Positioning your iPhone 13 appropriately is a critical aspect of achieving optimal scanning results. The way you position the device can significantly impact the clarity, alignment, and overall quality of the scanned document. Here's a comprehensive guide on how to position your iPhone for scanning, ensuring that you capture precise and professional-looking digital documents.
Stability and Alignment
Before initiating the scanning process, it's essential to ensure that your iPhone 13 is stable and aligned with the document. Place the device on a flat and stable surface, such as a desk or table, to minimize any potential movement or shaking during the scanning process. This stability is crucial for capturing sharp and clear scans without blurriness or distortion.
Document Placement
Position the document within the frame of the iPhone's camera in a way that maximizes the utilization of the available space. Ensure that the entire document is visible within the camera's viewfinder, allowing for sufficient margins around the edges to capture the complete content. Align the document parallel to the edges of the frame to maintain straightness and symmetry in the scanned output.
Angle and Perspective
Consider the angle and perspective from which the document will be scanned. For flat, single-page documents, position the iPhone directly above the document, maintaining a perpendicular angle to ensure an even and consistent focus across the entire surface. If scanning a three-dimensional object or a curved document, adjust the angle to capture the content accurately, minimizing any potential distortions.
Lighting and Shadows
Evaluate the lighting conditions to avoid casting shadows or glares on the document. Position the iPhone in a way that minimizes the presence of shadows, ensuring even illumination across the document's surface. Additionally, be mindful of any reflections or glares that may affect the clarity of the scan, adjusting the positioning to mitigate their impact.
Distance and Focus
Maintain an optimal distance between the iPhone's camera and the document to achieve a sharp and focused scan. Avoid positioning the device too close, which can result in blurriness, or too far, which may compromise the clarity of the captured text and images. Finding the right balance ensures that the document is captured with precision and detail.
By meticulously considering these factors and positioning your iPhone 13 thoughtfully, you can optimize the conditions for scanning documents with exceptional clarity and accuracy. This attention to detail sets the stage for producing professional-grade digital scans that effectively preserve the integrity and legibility of the original documents.
Adjusting the Settings
Fine-tuning the scanning settings on your iPhone 13 is pivotal in ensuring that the resulting digital documents meet your specific requirements for clarity, color accuracy, and file format. By customizing the settings to align with the characteristics of the document being scanned, you can optimize the scanning process and achieve professional-grade outputs. Here's a detailed exploration of the key settings that can be adjusted to enhance the scanning experience:
Resolution and Quality
Begin by adjusting the resolution and quality settings to determine the level of detail and sharpness in the scanned document. Higher resolutions result in more detailed scans, ideal for capturing fine text and intricate graphics. However, it's important to strike a balance, as excessively high resolutions can lead to larger file sizes without significant visual improvement. Assess the nature of the document and the intended use of the scanned output to determine the optimal resolution and quality settings.
Color and Contrast
The color and contrast settings play a crucial role in preserving the visual fidelity of the scanned document. Depending on the nature of the original document, you may need to adjust the color balance and contrast to accurately replicate the visual characteristics. For color documents, ensure that the settings capture vibrant and true-to-life hues, while grayscale documents may require adjustments to achieve optimal contrast and tonal range. By fine-tuning these settings, you can ensure that the scanned output faithfully represents the original document's visual attributes.
File Format and Compression
Selecting the appropriate file format and compression settings is essential for balancing file size and compatibility without compromising the quality of the scanned document. Common file formats such as PDF, JPEG, and PNG offer varying levels of compression and compatibility. Consider the intended use of the scanned document and the compatibility requirements of the target platform or software when choosing the file format. Additionally, evaluate the compression options to strike a balance between file size and image quality, ensuring that the scanned document remains clear and legible while minimizing storage space.
Auto-Enhancement and Filters
Many scanning apps offer auto-enhancement features and filters that can automatically improve the quality of the scanned document. These features may include automatic cropping, edge enhancement, and noise reduction, among others. Assess the suitability of these enhancements based on the characteristics of the document and your specific preferences. While these features can streamline the scanning process and enhance the overall quality of the output, it's important to review the impact of these enhancements to ensure that they align with your desired results.
By thoughtfully adjusting these settings, you can tailor the scanning process to suit the unique attributes of the document, ultimately yielding digital scans that meet your exacting standards for quality, accuracy, and visual fidelity.
Capturing the Document
Capturing the document with precision and attention to detail is the pivotal moment in the scanning process. With your iPhone 13 positioned and the settings adjusted, it's time to capture the document and transform it into a high-quality digital format. Here's a comprehensive guide on the steps involved in capturing the document with your iPhone 13:
-
Steady Alignment: Ensure that your iPhone 13 is stably positioned above the document, maintaining a consistent angle and distance. Hold the device steady to avoid any unnecessary movement during the capture process, which can result in blurred or distorted scans.
-
Focus and Composition: Take a moment to verify that the document is accurately framed within the camera's viewfinder. Confirm that all edges are visible, and the document is aligned parallel to the frame. Pay attention to the focus indicator on the screen to ensure that the document is in sharp focus before proceeding.
-
Capture Gesture: Most scanning apps offer a dedicated capture button or gesture to initiate the scanning process. Utilize this feature to capture the document seamlessly. Some apps may also support hands-free capture modes, allowing you to trigger the capture using voice commands or gestures, providing added convenience.
-
Multiple Page Scans: If you're scanning a multi-page document, take advantage of features that support batch scanning. This allows you to capture multiple pages in succession, streamlining the process and ensuring that all pages are seamlessly combined into a single digital document.
-
Review and Retake: After capturing the document, take a moment to review the scan preview. Assess the clarity, alignment, and overall quality of the captured document. If necessary, utilize the option to retake the scan to ensure that the final output meets your expectations.
-
Save and Export: Once satisfied with the captured document, proceed to save or export it using the preferred file format and storage location. Take advantage of any additional features offered by the scanning app, such as naming the document, adding tags, or applying metadata to facilitate organization and retrieval.
By following these steps, you can confidently capture documents with your iPhone 13, leveraging the capabilities of your scanning app and the advanced camera technology of the device to produce digital scans that faithfully preserve the content and visual characteristics of the original documents.
Reviewing and Saving the Scanned Document
After capturing the document with your iPhone 13, the final steps involve reviewing the scanned output and saving it in a suitable format for future use. This critical phase ensures that the digital document meets your quality standards and is conveniently accessible for various purposes.
Upon capturing the document, take a moment to review the scan preview provided by the scanning app. Carefully examine the clarity, alignment, and overall visual fidelity of the scanned document. Pay attention to details such as text legibility, image sharpness, and color accuracy to ensure that the digital representation faithfully mirrors the original document. If the preview reveals any discrepancies or imperfections, consider utilizing the option to retake the scan, aiming to achieve an output that aligns with your expectations.
Once satisfied with the scanned document, proceed to save or export it using the preferred file format and storage location. Most scanning apps offer a range of file format options, including PDF, JPEG, and PNG, each with distinct characteristics in terms of compression, compatibility, and visual fidelity. Select the format that best suits the intended use of the document, considering factors such as file size, image quality, and platform compatibility.
In addition to choosing the appropriate file format, take advantage of any additional features offered by the scanning app to enhance the organization and accessibility of the scanned document. This may include naming the document, adding relevant tags or keywords, and applying metadata that facilitates efficient categorization and retrieval. By incorporating these details during the saving process, you can streamline the management of scanned documents and optimize their integration into your digital workflow.
Furthermore, consider leveraging the seamless integration capabilities of the scanning app to directly store the scanned document in cloud storage services such as iCloud, Google Drive, or Dropbox. This integration ensures that the digital document is securely backed up and readily accessible across various devices, promoting seamless synchronization and collaboration.
By meticulously reviewing and saving the scanned document with attention to detail and purposeful organization, you can confidently integrate the digital output into your professional and personal endeavors, harnessing the convenience and versatility of digital document management.