
Checking for any running applications
Before safely ejecting your Lenovo laptop from the docking station, it’s crucial to ensure that no applications are running that could potentially interfere with the ejection process. Here’s a step-by-step guide to checking for any running applications:
- Step 1: Look for any open applications in the taskbar at the bottom of the screen. Ensure that all essential programs are closed, including word processors, spreadsheets, web browsers, and any other software that may be actively running.
- Step 2: Check for background processes by pressing Ctrl + Shift + Esc to open the Task Manager. Navigate to the “Processes” tab and close any unnecessary or lingering processes that could potentially impede the ejection process.
- Step 3: Save any unsaved work in the running applications. It’s essential to ensure that all files are properly saved and closed to prevent data loss or corruption.
By following these steps, you can confidently proceed with the safe ejection of your Lenovo laptop from the docking station without the risk of disrupting any active processes or losing unsaved work.
Saving and closing any open files
Before disconnecting your Lenovo laptop from the docking station, it’s crucial to ensure that all open files are properly saved and closed to prevent data loss or corruption. Here’s a step-by-step guide to saving and closing any open files:
- Step 1: Save your work in all open applications. This can typically be done by clicking on the “File” menu and selecting “Save” or using the keyboard shortcut Ctrl + S.
- Step 2: Close all open applications by clicking on the “X” in the upper right corner of each window or using the keyboard shortcut Alt + F4. Ensure that you have saved any changes before closing each application.
- Step 3: Verify that all files are properly closed by checking the taskbar for any lingering application icons. If any applications are still running, repeat the process of saving and closing them.
By meticulously following these steps, you can safeguard your data and prevent any potential loss or corruption of files when safely ejecting your Lenovo laptop from the docking station.
Disconnecting any peripherals
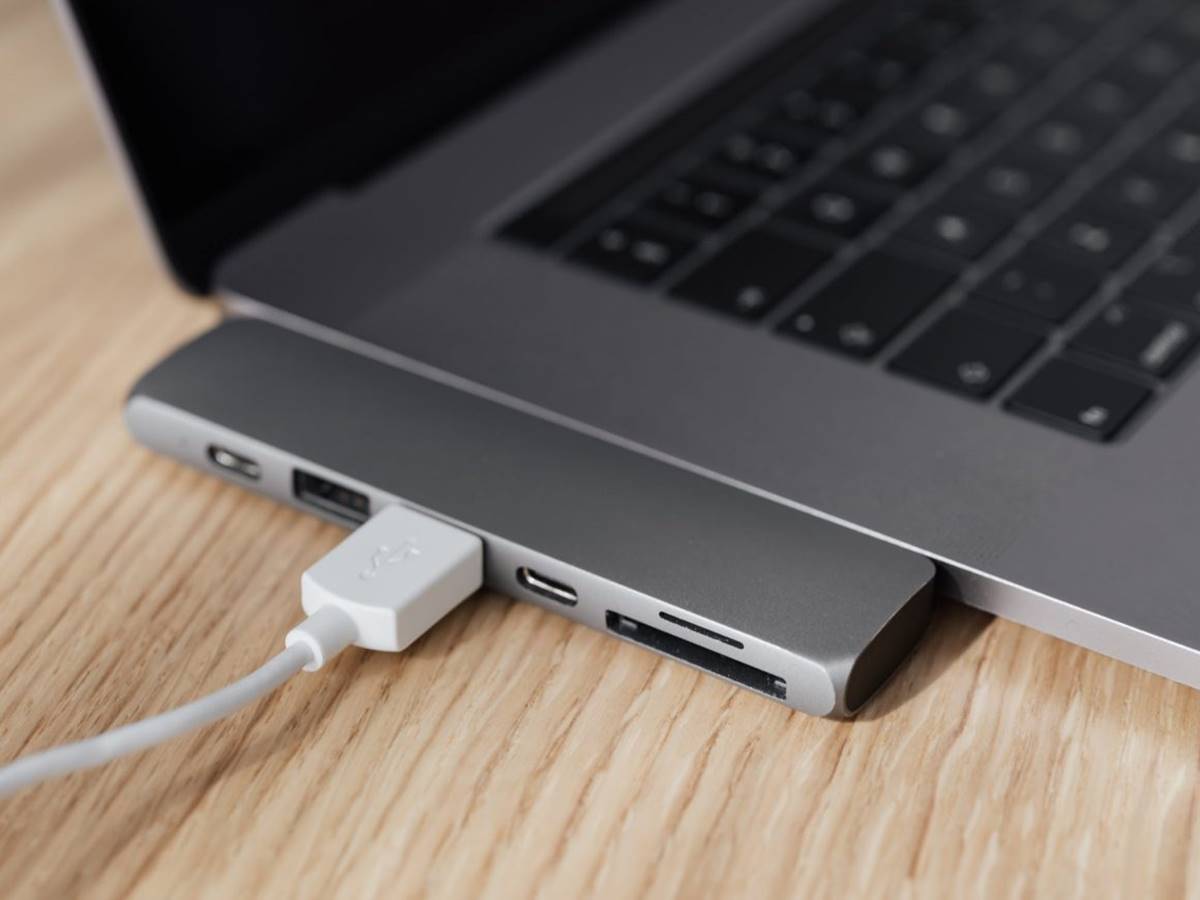
Before ejecting your Lenovo laptop from the docking station, it’s important to disconnect any peripherals that may be connected to the laptop. This ensures a smooth and safe ejection process. Here’s a step-by-step guide to disconnecting peripherals:
- Step 1: Unplug any external monitors or displays connected to the laptop. This can typically be done by gently removing the cable from the laptop’s video port.
- Step 2: Disconnect any USB devices, such as external hard drives, flash drives, or peripherals like a mouse or keyboard. Safely remove these devices by right-clicking on the device icon in the system tray and selecting “Eject” or “Safely Remove Hardware.”
- Step 3: If using a wired internet connection, unplug the Ethernet cable from the laptop’s port. If connected to a docking station, ensure that any additional cables, such as power and data cables, are also disconnected.
By following these steps, you can ensure that all peripherals are safely disconnected from your Lenovo laptop, reducing the risk of damage to the devices or the laptop itself during the ejection process.
Pressing the eject button on the docking station
Once you have ensured that all applications are closed, files are saved, and peripherals are disconnected, the next step is to safely eject your Lenovo laptop from the docking station. Here’s a step-by-step guide to pressing the eject button on the docking station:
- Step 1: Locate the eject button on the docking station. This button is typically situated on the side or front of the docking station and is often marked with an eject symbol.
- Step 2: Gently press the eject button. Depending on the docking station model, you may need to press and hold the button for a few seconds to initiate the ejection process.
- Step 3: Observe the docking station for any visual or audible cues that the ejection process has commenced. Some docking stations have indicator lights or sounds to signify that the laptop is being safely ejected.
- Step 4: Wait for the ejection process to complete. It’s essential to exercise patience and allow the docking station to disengage the laptop securely.
By following these steps, you can confidently and safely initiate the ejection process for your Lenovo laptop from the docking station, minimizing the risk of any potential damage or data loss.
Waiting for the notification that it’s safe to remove the laptop
After pressing the eject button on the docking station, it’s crucial to wait for the notification indicating that it’s safe to remove your Lenovo laptop. This step ensures that the ejection process is completed, and the laptop can be safely lifted from the docking station. Here’s a step-by-step guide to waiting for the notification:
- Step 1: Monitor the laptop screen for any on-screen notifications or messages from the operating system or docking station software. These notifications typically indicate that the laptop is ready to be removed from the docking station.
- Step 2: Pay attention to any indicator lights on the docking station. Some docking stations have LED indicators that change color or flash to signal that the ejection process is complete and the laptop can be safely removed.
- Step 3: Listen for audible cues from the docking station. Some models emit a sound or beep to signify that the laptop can be safely ejected.
- Step 4: Exercise patience and wait for the definitive notification that it’s safe to remove the laptop. Rushing this step may lead to an incomplete ejection process, potentially causing damage to the laptop or the docking station.
By diligently following these steps and waiting for the appropriate notification, you can ensure that the ejection process is successfully completed, and your Lenovo laptop can be safely lifted from the docking station without any adverse effects.
Gently lifting the laptop from the docking station
Once you have received the notification that it’s safe to remove the laptop from the docking station, the final step is to gently lift the Lenovo laptop from its dock. This process ensures that the laptop is safely disengaged from the docking station without causing any damage. Here’s a step-by-step guide to lifting the laptop:
- Step 1: Ensure that you have a firm grip on the laptop. Place your hands on the sides of the laptop, avoiding any obstructive components such as ports or buttons.
- Step 2: Lift the laptop straight up from the docking station, using slow and steady movements. Avoid jerky or abrupt motions that could potentially dislodge the laptop or damage the docking connectors.
- Step 3: Check that the laptop is completely detached from the docking station before lifting it too far. It’s important to verify that the laptop is free from the docking connectors to prevent any strain on the connections.
- Step 4: Once the laptop is lifted, set it down on a stable surface. Avoid placing it on uneven or precarious surfaces to prevent accidental drops or damage to the laptop.
By carefully following these steps and gently lifting the laptop from the docking station, you can ensure that the disengagement process is completed without any mishaps, allowing you to safely use your Lenovo laptop in its portable configuration.