
Assessing the Situation
When your SIM card gets stuck in your Samsung phone, it can be a frustrating experience. Before attempting to retrieve the stuck SIM card, it’s essential to assess the situation carefully. Take a moment to evaluate the condition of the phone and the position of the SIM card. This initial assessment will help you determine the best approach to safely and effectively remove the SIM card without causing any damage to the phone.
Start by examining the exterior of the phone to ensure that there are no visible signs of damage or obstruction around the SIM card slot. Check for any dents, scratches, or debris that may be impeding the smooth removal of the SIM card. Additionally, inspect the back cover of the phone to identify the location of the SIM card slot and familiarize yourself with the phone’s design.
Next, power off the phone to prevent any potential damage to the SIM card or the phone itself during the removal process. Once the phone is powered off, gently press on the back cover to locate the specific area where the SIM card is housed. Take note of any unusual resistance or obstruction that you may encounter while attempting to access the SIM card slot.
It’s also important to consider the type of SIM card your Samsung phone uses. Some Samsung models may have a tray-based SIM card slot, while others may feature a direct insertion slot. Understanding the type of SIM card slot in your phone will help you determine the most suitable method for retrieving the stuck SIM card.
By carefully assessing the situation, you can gain valuable insights into the condition of your phone and the potential challenges you may face in removing the stuck SIM card. This preparatory step sets the stage for a methodical and successful SIM card retrieval process, ensuring that you approach the task with confidence and precision.
Gathering the Necessary Tools
Before embarking on the task of retrieving a stuck SIM card from your Samsung phone, it’s essential to gather the necessary tools to facilitate a smooth and safe removal process. Having the right tools at your disposal will not only make the task more manageable but also minimize the risk of causing any damage to the phone or the SIM card.
Here are the essential tools you’ll need:
- Sim Ejector Tool: This small, pin-like tool is designed specifically for ejecting SIM card trays from mobile devices. It’s often included in the original packaging of your Samsung phone, but if it’s not readily available, you can use a suitable alternative, such as a paperclip or a similar fine, pointed object.
- Paperclip: In the absence of a SIM ejector tool, a standard paperclip can serve as an effective substitute. However, it’s crucial to straighten the paperclip to create a narrow, rigid end that can be inserted into the SIM card slot without causing any damage.
- Adhesive Tape: A small piece of adhesive tape can be used to create a makeshift tab for pulling out the stuck SIM card. This method can be particularly helpful when dealing with a SIM card that is difficult to grasp due to its position within the slot.
Once you have gathered these essential tools, ensure that you have a well-lit and spacious workspace to carry out the SIM card retrieval process. A clear and organized environment will allow you to focus on the task at hand and minimize the chances of misplacing any small components during the removal procedure.
By assembling the necessary tools and preparing a suitable workspace, you can approach the task of retrieving the stuck SIM card with confidence and efficiency. With the right tools at your disposal, you’ll be well-equipped to navigate the removal process and successfully free the SIM card from your Samsung phone.
Removing the Back Cover
Before attempting to retrieve a stuck SIM card from your Samsung phone, the first step is to remove the back cover to gain access to the SIM card slot. The process of removing the back cover may vary slightly depending on the model of your Samsung phone, but the following general steps can guide you through this initial phase.
1. Power Off the Phone: Ensure that your phone is powered off before proceeding with the removal of the back cover. This precautionary measure helps prevent any potential damage to the phone or the SIM card during the removal process.
2. Locate the Notch or Slot: Examine the edges of the phone’s back cover to identify the presence of a small notch or slot. Some Samsung phone models feature a small indentation along the edge of the back cover, while others may have a designated slot for prying the cover open.
3. Apply Gentle Pressure: Using your fingertips or a plastic opening tool, apply gentle pressure to the identified notch or slot to initiate the release of the back cover. It’s important to exert steady and even pressure to avoid bending or damaging the cover during the removal process.
4. Work Around the Edges: Once the initial section of the back cover is loosened, carefully work your way around the edges of the phone, gradually releasing the clips or latches that secure the cover in place. Take your time and exercise patience to prevent any abrupt or forceful movements that could lead to unintended damage.
5. Remove the Cover: Once all the clips or latches are disengaged, gently lift the back cover away from the phone, taking care to avoid any sudden or abrupt motions that could potentially dislodge internal components or cables.
By following these steps, you can safely remove the back cover of your Samsung phone, gaining access to the SIM card slot and preparing the phone for the subsequent steps involved in retrieving the stuck SIM card. With the back cover removed, you are now ready to proceed with locating the SIM card slot and initiating the SIM card retrieval process.
Locating the SIM Card Slot
Once you have successfully removed the back cover of your Samsung phone, the next step in retrieving a stuck SIM card is to locate the SIM card slot. The location and design of the SIM card slot may vary depending on the specific model of your Samsung phone, so it’s essential to familiarize yourself with the layout of the phone’s interior to identify the position of the SIM card slot.
Here are the general steps to locate the SIM card slot:
1. Inspect the Interior: With the back cover removed, take a moment to inspect the interior of the phone, paying close attention to the area where the SIM card is typically housed. In most Samsung phone models, the SIM card slot is located near the top or side of the phone’s interior, often accompanied by a small diagram indicating the correct orientation for inserting the SIM card.
2. Identify the SIM Card Tray: Some Samsung phone models feature a SIM card tray that can be ejected using a SIM ejector tool or a suitable alternative. The SIM card tray is a small, rectangular component that houses the SIM card and can be easily identified by its shape and the presence of a small pinhole for ejecting the tray.
3. Observe the Direct Insertion Slot: If your Samsung phone utilizes a direct insertion slot for the SIM card, it will typically feature a small opening with metal contacts inside to facilitate the direct insertion of the SIM card. Take note of the orientation of the SIM card slot and the position of any locking mechanism that may be securing the stuck SIM card in place.
By carefully inspecting the interior of your Samsung phone, you can locate the SIM card slot and gain a clear understanding of its design and orientation. This preparatory step sets the stage for the subsequent methods of retrieving the stuck SIM card, ensuring that you approach the task with a thorough understanding of the phone’s internal layout and the specific features of the SIM card slot.
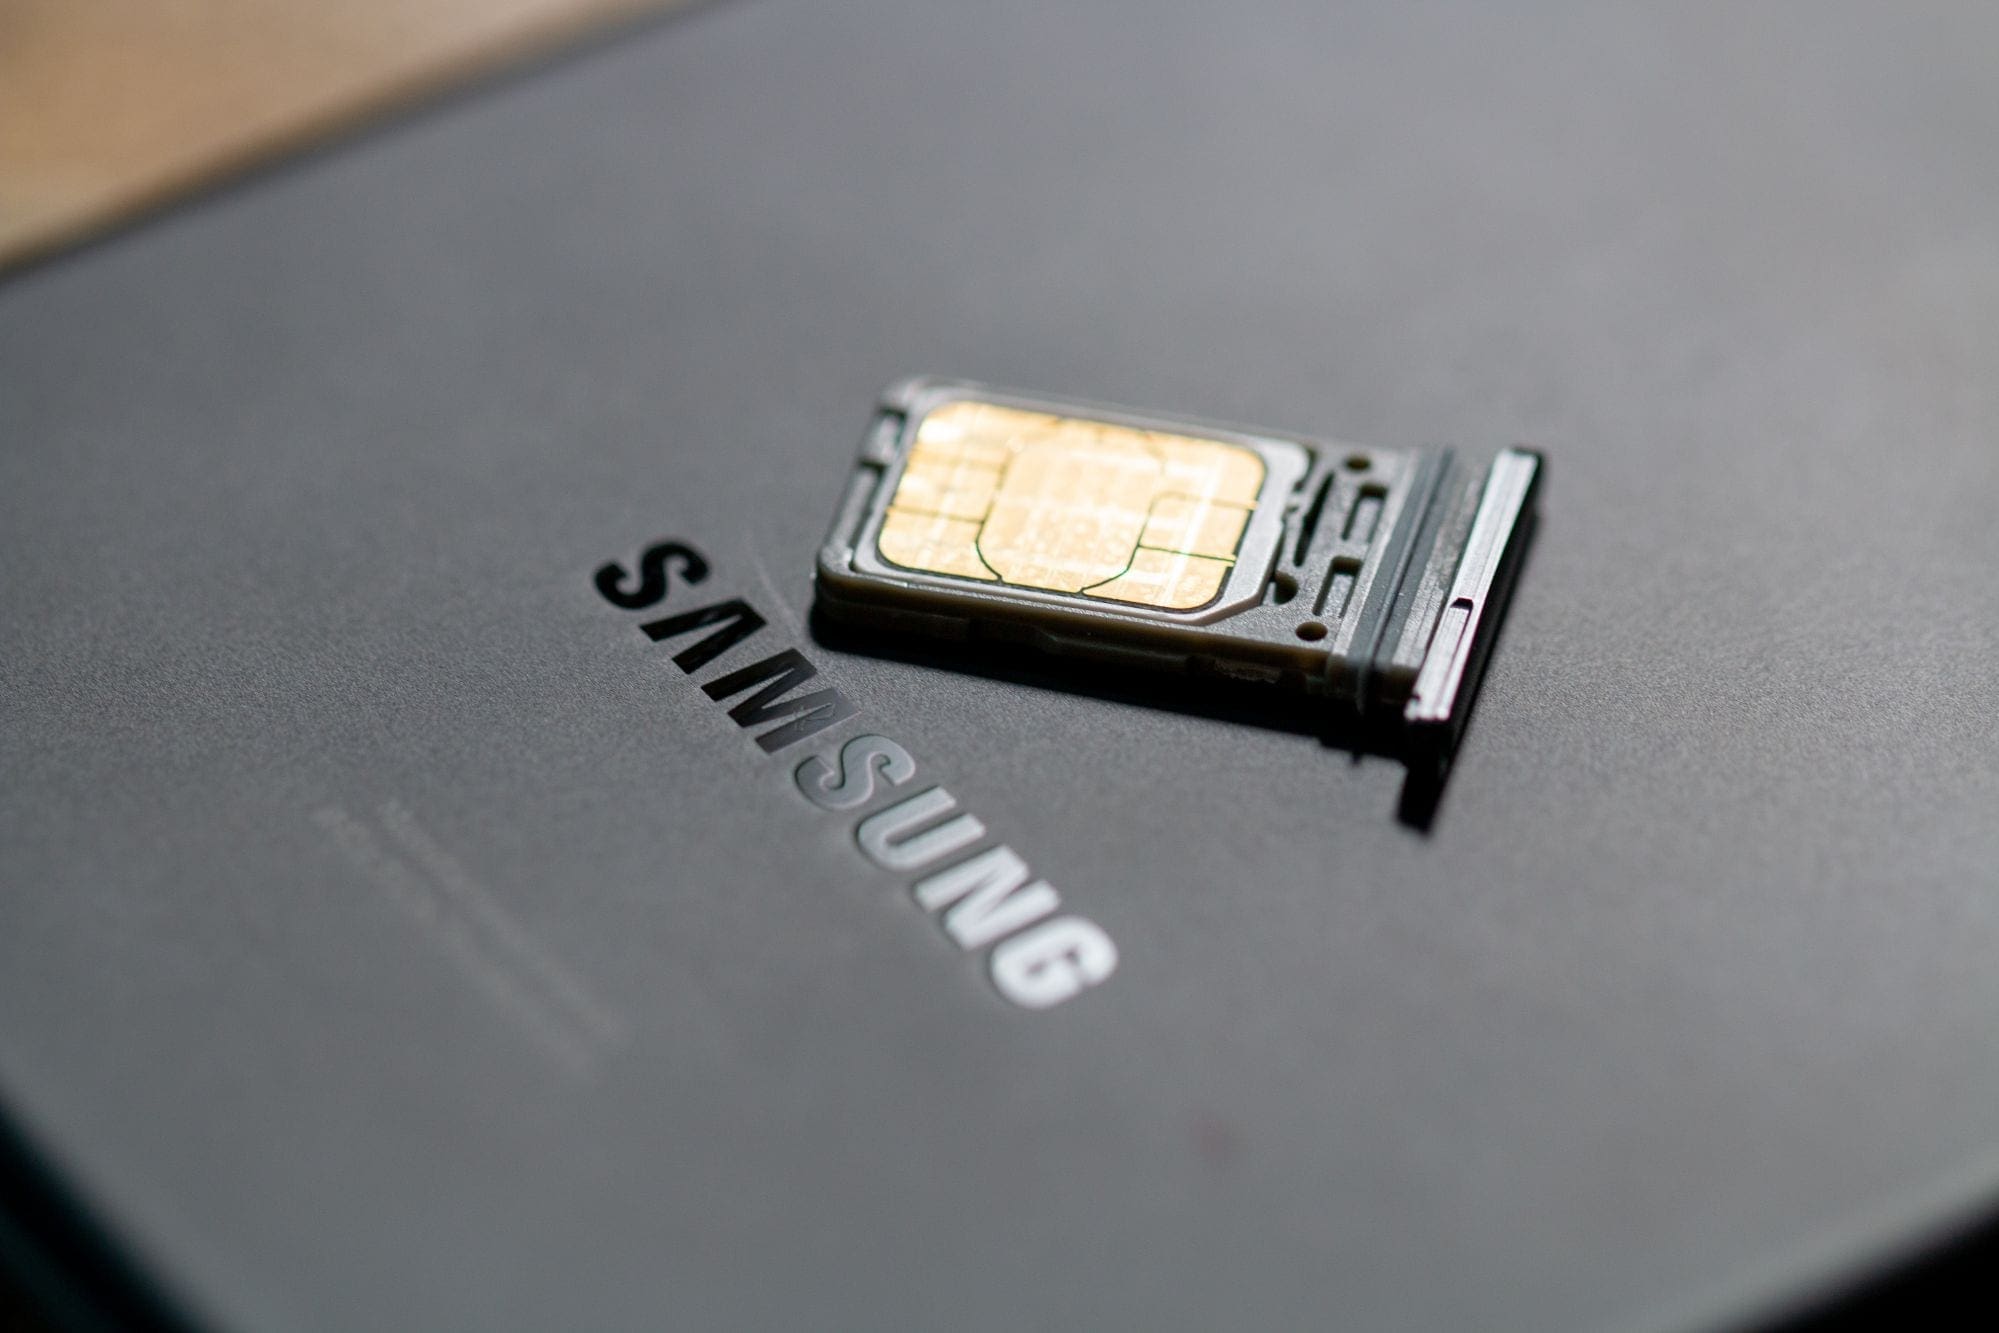
Using a SIM Ejector Tool
When a SIM card becomes stuck in a Samsung phone, utilizing a SIM ejector tool can be an effective method for safely removing the card from the slot. The SIM ejector tool, often provided with the original packaging of the phone, is specifically designed for ejecting SIM card trays from mobile devices. If the tool is not readily available, a suitable alternative, such as a paperclip or a similar fine, pointed object, can be used to achieve a similar result.
Here’s a step-by-step guide to using a SIM ejector tool:
1. Identify the Ejector Pinhole: Locate the small pinhole on the side or top of your Samsung phone, which indicates the position of the SIM card tray. The pinhole is designed to accommodate the SIM ejector tool and facilitate the ejection of the SIM card tray from the phone.
2. Insert the SIM Ejector Tool: Insert the pointed end of the SIM ejector tool into the pinhole, ensuring that it fits securely into the opening. Apply gentle pressure to engage the internal mechanism that releases the SIM card tray from its locked position within the phone.
3. Eject the SIM Card Tray: Once the SIM ejector tool is inserted into the pinhole, exert steady pressure to trigger the ejection of the SIM card tray from the phone. The tray should gradually slide out of the phone, allowing you to access the stuck SIM card and safely remove it from the slot.
4. Retrieve the Stuck SIM Card: With the SIM card tray partially or fully ejected, carefully remove the tray from the phone, taking care not to dislodge the SIM card or cause any damage to the internal components. Gently maneuver the tray to access the stuck SIM card and carefully extract it from the slot.
By utilizing a SIM ejector tool or a suitable alternative, you can effectively retrieve a stuck SIM card from your Samsung phone without causing any damage to the phone or the SIM card. This method provides a controlled and precise approach to freeing the stuck SIM card, allowing you to safely resume using your phone without any lingering issues related to the SIM card’s removal.
Using a Paperclip
When a SIM card is stuck in a Samsung phone and a SIM ejector tool is not available, a standard paperclip can serve as an effective alternative for retrieving the stuck SIM card. By straightening the paperclip to create a narrow, rigid end, you can carefully maneuver it into the SIM card slot to dislodge and extract the stuck card. Here’s a step-by-step guide to using a paperclip for this purpose:
1. Straighten the Paperclip: Begin by straightening out a standard-sized paperclip to create a narrow, rigid end that can be inserted into the SIM card slot without causing any damage to the phone or the SIM card itself. Take care to ensure that the end of the paperclip is smooth and free of any sharp edges that could potentially scratch the phone’s interior.
2. Locate the SIM Card Slot: With the back cover of the phone removed, locate the SIM card slot and carefully position the straightened end of the paperclip near the stuck SIM card. Exercise caution to avoid applying excessive force that could potentially damage the internal components of the phone.
3. Insert the Paperclip: Gently insert the narrow end of the straightened paperclip into the SIM card slot, maneuvering it carefully to apply light pressure to the stuck SIM card. By delicately nudging the card, you can gradually dislodge it from its position within the slot.
4. Retrieve the Stuck SIM Card: Once the stuck SIM card is partially dislodged, carefully maneuver the paperclip to facilitate the complete extraction of the card from the slot. Exercise patience and precision to avoid causing any damage to the SIM card or the phone’s internal components during the retrieval process.
When using a paperclip to retrieve a stuck SIM card, it’s important to approach the task with a gentle and methodical mindset, ensuring that the process is carried out with utmost care and precision. By following these steps, you can effectively free the stuck SIM card from your Samsung phone, allowing you to resume using the device without any lingering issues related to the SIM card’s removal.
Using Adhesive Tape
When a SIM card becomes stuck in a Samsung phone, using adhesive tape can provide a practical solution for retrieving the stuck card without causing damage to the phone or the SIM card itself. This method is particularly useful when the SIM card is positioned in a way that makes it challenging to grasp and remove using traditional tools. Here’s a step-by-step guide to using adhesive tape to retrieve a stuck SIM card:
1. Prepare the Adhesive Tape: Cut a small piece of adhesive tape and fold it over itself, creating a makeshift tab with the sticky side facing outward. The tab should be narrow enough to fit into the SIM card slot while providing a sufficient grip to facilitate the removal of the stuck SIM card.
2. Insert the Adhesive Tab: Carefully insert the adhesive tab into the SIM card slot, positioning it in a way that allows the sticky side to make contact with the stuck SIM card. Take care to avoid applying excessive force that could potentially damage the phone’s internal components or dislodge the SIM card further into the slot.
3. Attach the Stuck SIM Card: Once the adhesive tab is positioned near the stuck SIM card, gently press it against the surface of the card to create a secure bond. The adhesive properties of the tape will allow it to adhere to the stuck SIM card, providing a reliable means of extracting the card from the slot.
4. Retrieve the Stuck SIM Card: With the adhesive tab securely attached to the stuck SIM card, carefully pull the tab outward, exerting a steady and controlled force to dislodge the card from its position within the slot. Exercise patience and precision to ensure that the SIM card is removed smoothly without causing any damage.
Using adhesive tape to retrieve a stuck SIM card offers a gentle and non-invasive approach to freeing the card from the phone’s SIM card slot. By following these steps, you can effectively overcome the challenge of a stuck SIM card, allowing you to resume using your Samsung phone without any lingering issues related to the SIM card’s removal.
Putting the Back Cover Back On
After successfully retrieving the stuck SIM card from your Samsung phone, the final step involves putting the back cover back on to secure the phone’s internal components and restore its original appearance. Properly reattaching the back cover is essential to ensure that the phone functions optimally and maintains its structural integrity. Here’s a guide to putting the back cover back on your Samsung phone:
1. Align the Cover: Position the back cover above the phone, aligning it carefully with the edges and corners of the device. Take note of any notches or grooves that indicate the correct orientation of the cover, ensuring that it fits snugly into place without any gaps or misalignment.
2. Apply Even Pressure: Once the cover is properly aligned, apply gentle and even pressure along the edges and sides of the phone to secure the cover in place. Start from one corner and work your way around the perimeter of the phone, ensuring that all the clips and latches engage smoothly to hold the cover securely.
3. Confirm Secure Attachment: After reattaching the back cover, verify that it is securely fastened to the phone by gently pressing along the edges to check for any areas of potential detachment. A properly attached back cover should sit flush against the phone’s frame, with no gaps or unevenness along the seam.
4. Power On the Phone: Once the back cover is securely reattached, power on your Samsung phone to confirm that it functions as expected. Check for any signs of misalignment or unusual gaps around the edges of the cover, ensuring that the phone’s external appearance remains intact.
By following these steps, you can confidently put the back cover back on your Samsung phone, completing the process of retrieving the stuck SIM card and ensuring that the phone is restored to its original state. With the back cover securely in place, you can continue using your Samsung phone without any lingering concerns related to the SIM card retrieval process.