
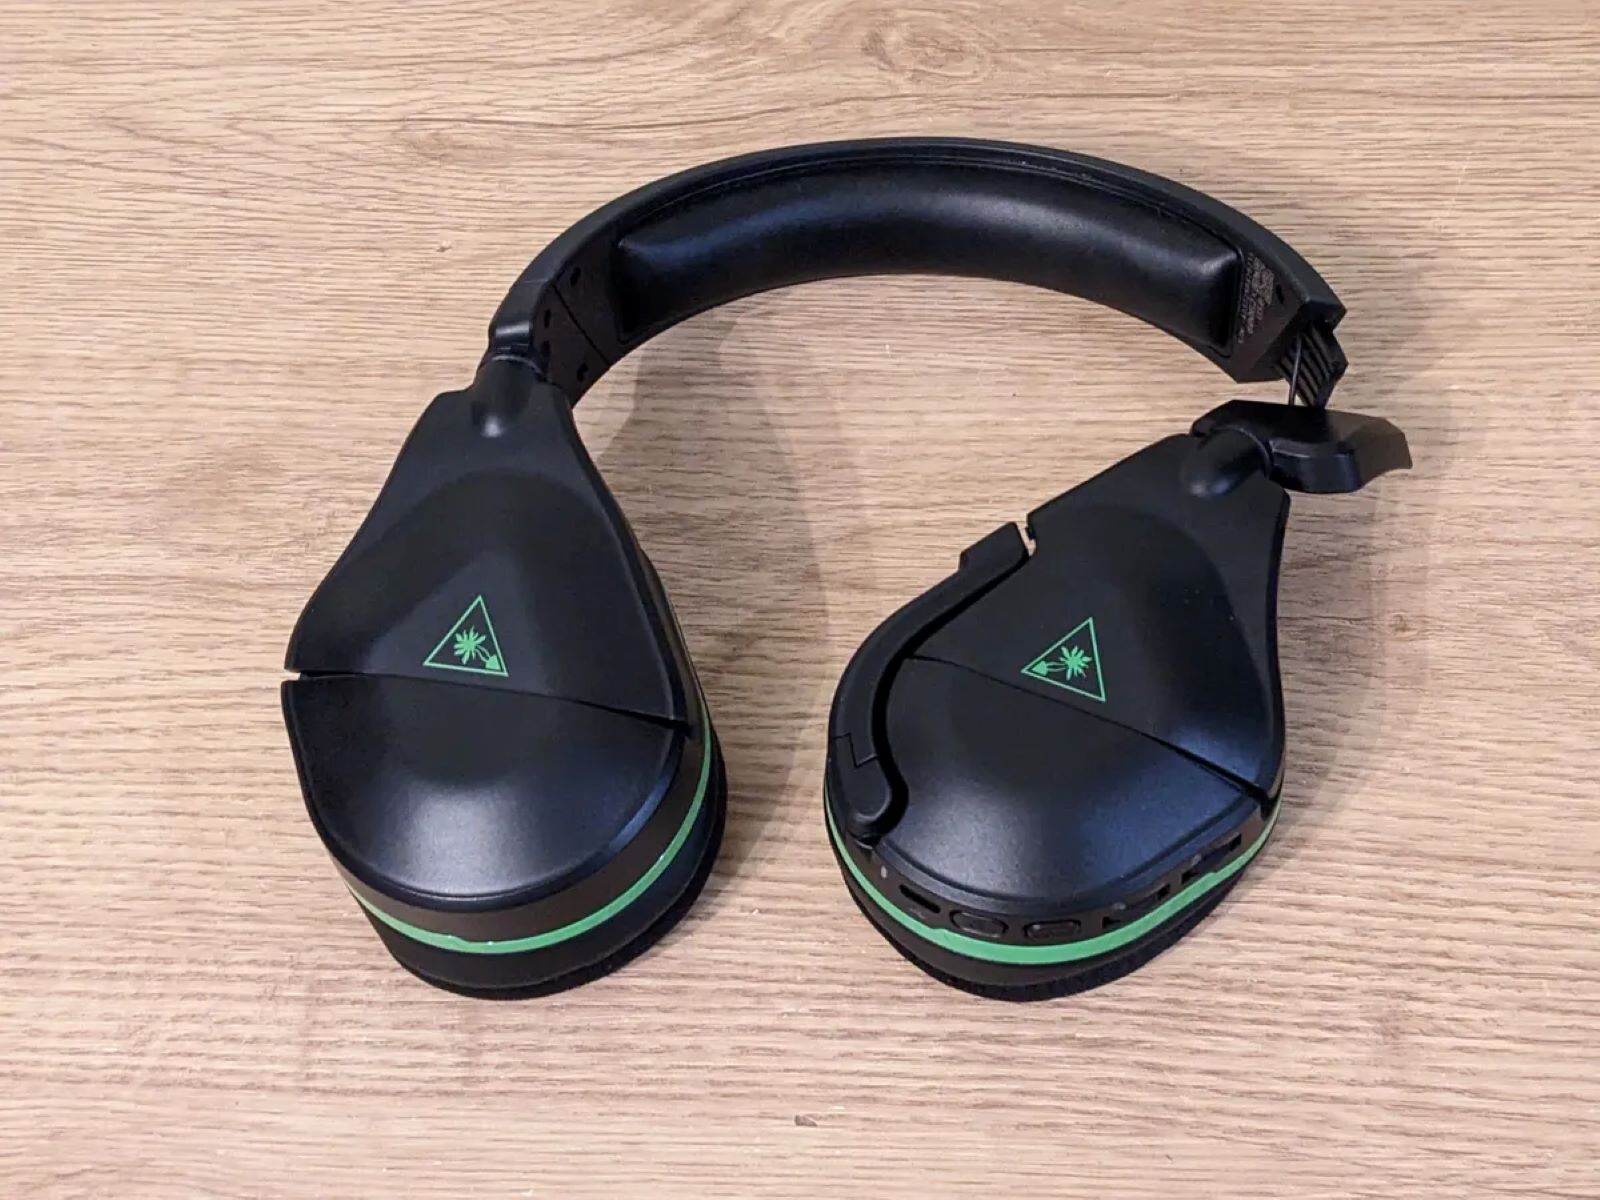
Checking Connections
Before diving into more advanced troubleshooting steps, it’s essential to ensure that the basic connections of your Turtle Beach headset are secure and properly configured. Here’s a step-by-step guide to checking the connections:
- Verify the Headset Connection: Start by confirming that the headset is correctly plugged into the appropriate audio jack on your device. Whether it’s a gaming console, PC, or mobile device, a loose or incorrect connection can lead to audio issues.
- Inspect the Cable: Examine the headset cable for any signs of damage, such as fraying or kinks. A damaged cable can result in intermittent audio problems or complete audio loss.
- Check the USB Connection: If your Turtle Beach headset utilizes a USB connection for power or audio, ensure that the USB cable is securely plugged into the appropriate port. It’s important to use a functioning USB port to avoid power-related issues.
- Test Alternate Devices: To rule out device-specific problems, try connecting the headset to a different device. This can help determine whether the issue lies with the headset or the original device.
By meticulously examining and confirming the integrity of these connections, you can preemptively address common issues that may impede the functionality of your Turtle Beach headset.
Power Cycling the Headset
When encountering performance issues with your Turtle Beach headset, power cycling is a fundamental troubleshooting step that can effectively resolve various issues. Here’s how to perform a power cycle on your headset:
- Turn Off the Headset: Begin by switching off the headset and disconnecting it from the power source, whether it’s a console, PC, or USB power supply.
- Remove the Battery (If Applicable): For headsets equipped with a removable battery, carefully remove the battery to initiate a complete power cycle.
- Wait for a Few Minutes: Allow the headset to remain disconnected for at least 1-2 minutes. This waiting period ensures that any residual power is fully dissipated.
- Reconnect and Power On: After the waiting period, reconnect the headset to the power source and power it on. Ensure that all connections are secure and that the power source is functioning optimally.
- Test the Headset: Once the headset is powered on, test it with audio output to determine if the power cycle has resolved the performance issue.
Power cycling the headset effectively resets its internal components, potentially resolving software glitches or temporary malfunctions. It serves as a simple yet impactful method to address common performance hiccups.
Updating Firmware
Keeping the firmware of your Turtle Beach headset up to date is crucial for ensuring optimal performance and compatibility with various devices. Firmware updates often include bug fixes, feature enhancements, and improved stability. Here’s a guide to updating the firmware of your Turtle Beach headset:
- Visit the Turtle Beach Website: Navigate to the official Turtle Beach website and locate the support or downloads section. Here, you can search for the specific model of your headset to find available firmware updates.
- Download the Firmware Update: Once you’ve identified the appropriate firmware update for your headset, download the update file to your computer. Ensure that you’re downloading the correct firmware version to avoid compatibility issues.
- Connect the Headset: Using the recommended method specified in the firmware update instructions, connect your Turtle Beach headset to your computer. This may involve using a USB cable or a wireless adapter, depending on the headset model.
- Run the Firmware Update Utility: Execute the firmware update utility provided by Turtle Beach. Follow the on-screen instructions to initiate the firmware update process. It’s crucial to avoid interrupting the update or disconnecting the headset during this process.
- Verify the Update: After the firmware update is complete, verify that the headset is functioning as expected. Test the audio output and microphone to ensure that the update has been successfully applied.
By regularly updating the firmware of your Turtle Beach headset, you can benefit from improved performance, enhanced features, and compatibility with the latest devices and software. It’s an essential maintenance practice to maximize the longevity and functionality of your headset.
Resetting the Headset
When encountering persistent issues with your Turtle Beach headset, performing a reset can often resolve software glitches and restore the device to its default settings. Here’s a step-by-step guide to resetting your Turtle Beach headset:
- Power Off the Headset: Ensure that the headset is powered off before proceeding with the reset. Disconnect it from any power sources and devices to prevent interference during the reset process.
- Locate the Reset Button: Depending on the model of your Turtle Beach headset, there may be a dedicated reset button or a specific button combination to initiate the reset process. Refer to the headset’s user manual or the manufacturer’s website for precise instructions.
- Perform the Reset: Using a small tool such as a paperclip or a pen, press and hold the reset button for the specified duration as outlined in the instructions. If the reset involves a button combination, follow the precise sequence to trigger the reset.
- Observe the LED Indicators: During the reset process, the headset’s LED indicators may flash or change color to indicate that the reset is in progress. Continue holding the reset button until the indicators confirm that the reset has been initiated.
- Test the Headset: After the reset is complete, power on the headset and test its functionality. Verify that the audio output, microphone, and any additional features are functioning as expected.
Resetting your Turtle Beach headset can effectively address software-related issues, restoring it to a stable and functional state. It serves as a valuable troubleshooting step to resolve persistent performance concerns.
Testing the Headset
After performing the necessary troubleshooting steps, it’s crucial to thoroughly test your Turtle Beach headset to ensure that the issues have been resolved. Here’s a comprehensive approach to testing the functionality of your headset:
- Audio Playback Test: Play various types of audio content, including music, in-game audio, and video clips, to assess the headset’s audio output. Pay attention to the clarity, volume, and balance of the audio.
- Microphone Test: Utilize the headset’s microphone to record audio or engage in voice communication. Verify that the microphone is capturing clear and intelligible sound without distortion or background noise.
- Comfort and Fit Check: Wear the headset for an extended period to evaluate its comfort and fit. Ensure that it remains securely in place without causing discomfort or pressure points.
- Compatibility Test: Connect the headset to various devices, such as gaming consoles, PCs, and mobile devices, to confirm its compatibility and seamless functionality across different platforms.
- Feature Validation: If your headset includes additional features such as surround sound, customizable audio presets, or advanced controls, thoroughly test and validate these features to ensure their proper operation.
By conducting a comprehensive testing process, you can confirm that the performance issues have been effectively addressed and that your Turtle Beach headset is functioning optimally. This step is crucial for validating the success of the troubleshooting measures and ensuring a seamless user experience.