
Understanding Glance on Redmi
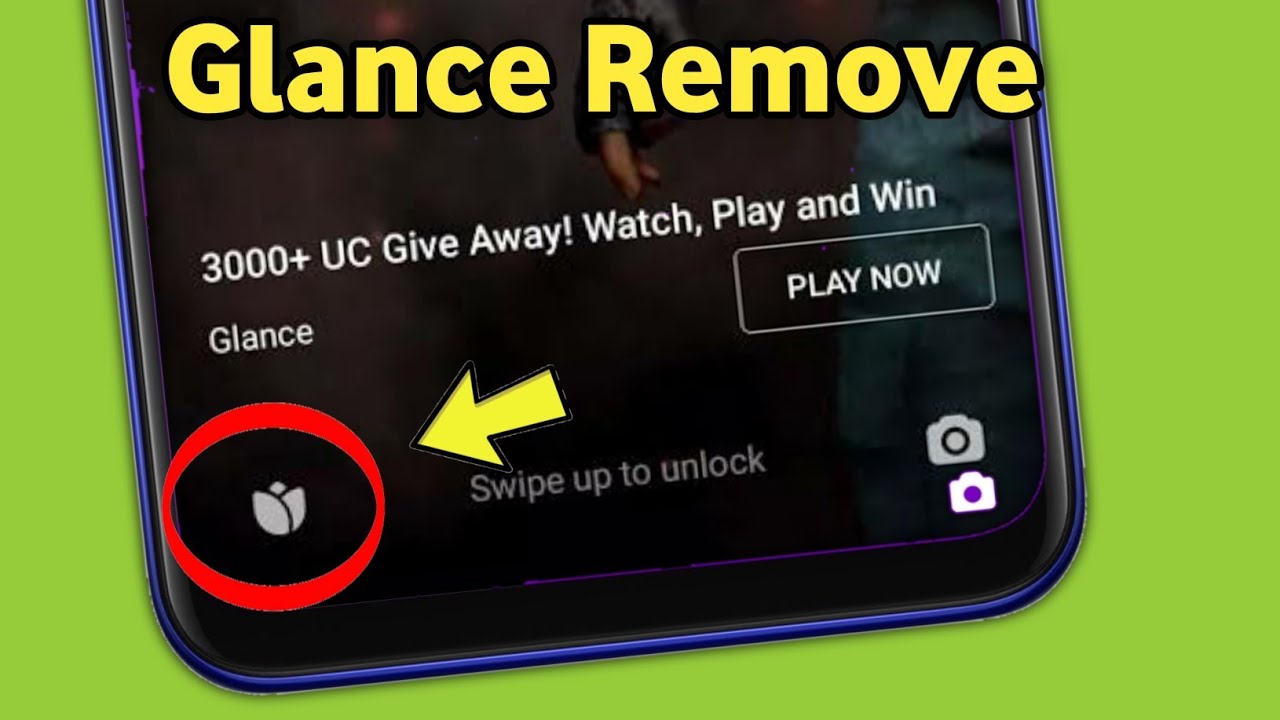
Glance is a feature found on Redmi devices that provides users with a quick and convenient way to access information and updates without unlocking the phone. It offers a glimpse of essential details such as the time, weather, notifications, and more directly on the lock screen, allowing users to stay informed at a glance.
The Glance feature is designed to enhance user experience by providing timely information at a glance, eliminating the need to unlock the device to check for updates or notifications. This can be particularly useful for individuals who are constantly on the move and need to stay updated without the hassle of unlocking their phones repeatedly.
While Glance offers undeniable convenience, some users may prefer to disable this feature for various reasons. Whether it's to minimize distractions, conserve battery life, or simply personalize the lock screen, the ability to disable Glance provides users with the flexibility to tailor their Redmi device to their specific preferences.
Understanding the functionality and purpose of Glance on Redmi devices is crucial for users who wish to customize their lock screen experience. By gaining insight into how Glance operates and its benefits, users can make informed decisions regarding whether to keep or disable this feature based on their individual needs and preferences.
Step 1: Accessing the Settings Menu
Accessing the Settings menu is the first step towards customizing your Redmi device and managing its features. To begin, unlock your device and navigate to the home screen. Look for the "Settings" app, which is typically represented by a gear icon. This app serves as the control center for various aspects of your Redmi device, allowing you to adjust settings, manage preferences, and customize the overall user experience.
Upon locating the "Settings" app, tap on it to open the menu. Once inside, you will be greeted by a plethora of options, ranging from network and connectivity settings to display and sound preferences. The Settings menu is designed to provide users with comprehensive control over their devices, empowering them to tailor their devices to suit their unique needs and preferences.
As you explore the Settings menu, you will encounter various categories and submenus, each dedicated to specific aspects of your device. These may include "Wireless & networks," "Sound & vibration," "Display," "Battery & performance," "Apps," "Security," and more. Navigating through these categories allows you to delve into the intricacies of your device's settings, enabling you to make adjustments that align with your usage patterns and requirements.
The Settings menu is a central hub for managing and customizing your Redmi device, offering a wide array of options to cater to diverse user preferences. Whether you aim to modify display settings, configure app permissions, adjust sound preferences, or delve into advanced device configurations, the Settings menu provides the necessary tools and controls to facilitate a personalized and optimized user experience.
In essence, accessing the Settings menu is the gateway to unlocking the full potential of your Redmi device. By familiarizing yourself with this fundamental step, you can gain the confidence and knowledge needed to navigate through the various settings and make informed decisions about customizing your device to suit your individual preferences and requirements.
Step 2: Finding the Glance Feature
Upon accessing the Settings menu on your Redmi device, the next step is to locate the Glance feature settings. To embark on this exploration, navigate through the various categories and submenus within the Settings menu until you find the specific option related to the Glance feature.
-
Navigate to the "Lock screen & password" Section: Within the Settings menu, look for the category related to the lock screen and password settings. This section is where you can manage and customize various aspects of your device's lock screen, including the Glance feature.
-
Explore "Lock screen preferences": Once inside the lock screen and password settings, delve into the "Lock screen preferences" or a similar submenu. This is where you are likely to find the option to enable or disable the Glance feature on your Redmi device.
-
Locate "Glance" or "Lock screen widgets": As you navigate through the lock screen preferences, keep an eye out for specific references to "Glance" or "Lock screen widgets." These labels may vary slightly depending on the Redmi device model and software version, but they generally indicate the section where the Glance feature settings can be found.
-
Access the Glance settings: Once you have located the relevant section, tap on the "Glance" or "Lock screen widgets" option to access the specific settings related to the Glance feature. Within this interface, you should be able to enable or disable the Glance feature according to your preferences.
-
Customize Glance settings (if applicable): Depending on your Redmi device model and software version, you may encounter additional customization options within the Glance settings. These may include the ability to select the types of information displayed on the lock screen, adjust the frequency of updates, or personalize the appearance of the Glance feature.
By following these steps and navigating through the Settings menu of your Redmi device, you can successfully locate the Glance feature settings and proceed to manage its configuration based on your preferences. This process empowers you to take control of the lock screen experience, allowing you to tailor it to suit your individual needs and usage patterns.
Step 3: Disabling Glance
Disabling the Glance feature on your Redmi device involves a straightforward process that grants you the flexibility to customize your lock screen experience. Once you have located the Glance settings within the Settings menu, you can proceed to disable this feature based on your preferences.
To begin, navigate to the specific Glance settings within the lock screen preferences or a similar submenu in the Settings menu. Upon accessing the Glance settings, you should encounter an option to enable or disable the Glance feature. This pivotal setting allows you to control whether the Glance feature is active on your device's lock screen.
To disable Glance, simply toggle the corresponding switch, button, or checkbox to the "off" position. This action effectively deactivates the Glance feature, preventing it from displaying information and updates on your lock screen. By disabling Glance, you can create a more personalized lock screen environment that aligns with your individual preferences and usage patterns.
The ability to disable Glance empowers you to tailor your Redmi device to suit your specific needs, whether you prefer a minimalist lock screen interface or seek to minimize distractions during periods of focused work or relaxation. Disabling Glance also offers the potential benefit of conserving battery life by reducing the frequency of lock screen updates and interactions.
Furthermore, the process of disabling Glance is entirely reversible, allowing you to re-enable this feature at any time should your preferences or requirements change. This flexibility underscores the user-centric design of Redmi devices, providing users with the autonomy to customize their devices according to evolving needs and preferences.
By following the simple steps to disable Glance on your Redmi device, you can take control of your lock screen experience and curate it to reflect your unique style and preferences. This level of customization enhances the overall user experience, ensuring that your Redmi device seamlessly aligns with your individual requirements and usage habits.
Step 4: Confirming the Removal of Glance
Once you have disabled the Glance feature on your Redmi device, it is essential to confirm that the removal has been successfully executed. This confirmation process ensures that the changes you have made to the lock screen settings have taken effect, providing you with the assurance that the Glance feature is no longer active on your device's lock screen.
To confirm the removal of Glance, begin by locking your device and observing the lock screen interface. With Glance disabled, you should no longer see the quick informational updates and notifications that were previously displayed on the lock screen. Instead, the lock screen should present a clean and uninterrupted view, devoid of any dynamic content provided by the Glance feature.
Additionally, you can test the removal of Glance by leaving your device locked for a period of time and returning to check the lock screen. Without the Glance feature enabled, there should be no automatic updates or changes to the lock screen interface during this period. This absence of dynamic content reaffirms that the Glance feature has been successfully removed from your device's lock screen.
Furthermore, you can verify the removal of Glance by attempting to access the specific Glance settings within the Settings menu once again. Upon revisiting the lock screen preferences or the relevant submenu, you should observe that the option to disable Glance remains in the off position, indicating that the feature is no longer active on your device.
It is important to note that the confirmation of Glance removal serves as a final validation of your customization efforts, ensuring that your Redmi device reflects your desired lock screen experience. By confirming the successful removal of Glance, you can proceed with confidence, knowing that your device's lock screen aligns with your individual preferences and usage patterns.
In essence, the process of confirming the removal of Glance provides you with the reassurance that your customization actions have been effectively implemented, allowing you to enjoy a tailored lock screen experience that enhances your overall interaction with your Redmi device.