
What is a Master Slide?
A master slide is a fundamental component of PowerPoint presentations that allows you to create a template with a consistent layout, formatting, and design elements. It serves as the blueprint or foundation for all the slides in your presentation. By creating and utilizing master slides effectively, you can ensure a cohesive and professional look throughout your presentation.
The master slide acts as a parent slide, controlling the overall design and formatting of the presentation. It serves as a template for other slides and allows you to define the layout, background, fonts, colors, and placeholders for content. By making changes to the master slide, you can apply those changes to all corresponding slides in your presentation, saving you time and effort.
When you open PowerPoint, the default master slide is automatically applied to every new slide you create. This default master slide usually includes a title placeholder at the top and a content placeholder below it. However, you can create and customize your own master slides to suit your specific needs and preferences.
The master slide is especially useful when creating presentations with multiple slides and complex content. It ensures consistency in design, preventing the need to manually format each individual slide. Additionally, it helps maintain the visual continuity of a presentation, making it more visually appealing and professional.
By using master slides, you can easily apply changes to the entire presentation at once. For example, if you decide to change the background color or font style, you can do so on the master slide, and those changes will be reflected across all slides using that master slide. This feature is particularly helpful when you need to make global changes to the design and formatting of your presentation.
Overall, mastering the use of master slides in PowerPoint allows you to create visually consistent and professional presentations while saving time and effort in the process. Whether you are creating a simple presentation or a complex multi-slide deck, utilizing master slides is an essential skill that can greatly enhance the overall look and feel of your PowerPoint presentations.
Benefits of Using Master Slides
Using master slides in PowerPoint offers numerous advantages that can greatly simplify the process of creating and editing presentations. Here are some key benefits of using master slides:
- Consistency: One of the primary benefits of using master slides is the ability to maintain a consistent design throughout your presentation. By defining the layout, formatting, and design elements on the master slide, you ensure that all the slides in your presentation have a cohesive and professional look.
- Time-saving: With master slides, you can make changes to the overall design of your presentation in one place and have those changes automatically reflected in all corresponding slides. This eliminates the need to manually modify each slide, saving you time and effort.
- Efficiency: By utilizing master slides, you can create presentations with multiple slides more efficiently. You can focus on content creation instead of spending excessive time on formatting and design. This streamlines the process and allows you to deliver your presentation in a timely manner.
- Flexibility: Master slides offer flexibility in content placement and formatting. You can customize placeholders for titles, subtitles, images, and other content based on the specific requirements of your presentation. This enables you to adapt the master slide to different presentation themes and styles.
- Uniformity: In addition to consistent design, master slides also ensure consistent font styles, colors, and other formatting elements throughout your presentation. This creates a visually cohesive and professional appearance, enhancing the overall impact of your message.
- Easy Editing: If you need to make changes to your presentation, such as updating the company logo or modifying the background color, you can simply edit the master slide. This change will automatically apply to all slides that are based on that master slide, simplifying the editing process.
These are just a few of the benefits of using master slides in PowerPoint. By taking advantage of this powerful feature, you can save time, maintain consistency, and create visually stunning presentations that effectively communicate your message to your audience.
How to Create a Master Slide
Creating a master slide in PowerPoint is a straightforward process that involves a few simple steps. Follow the steps below to create your own master slide:
- Open PowerPoint: Launch PowerPoint on your computer and open the presentation where you want to create a master slide.
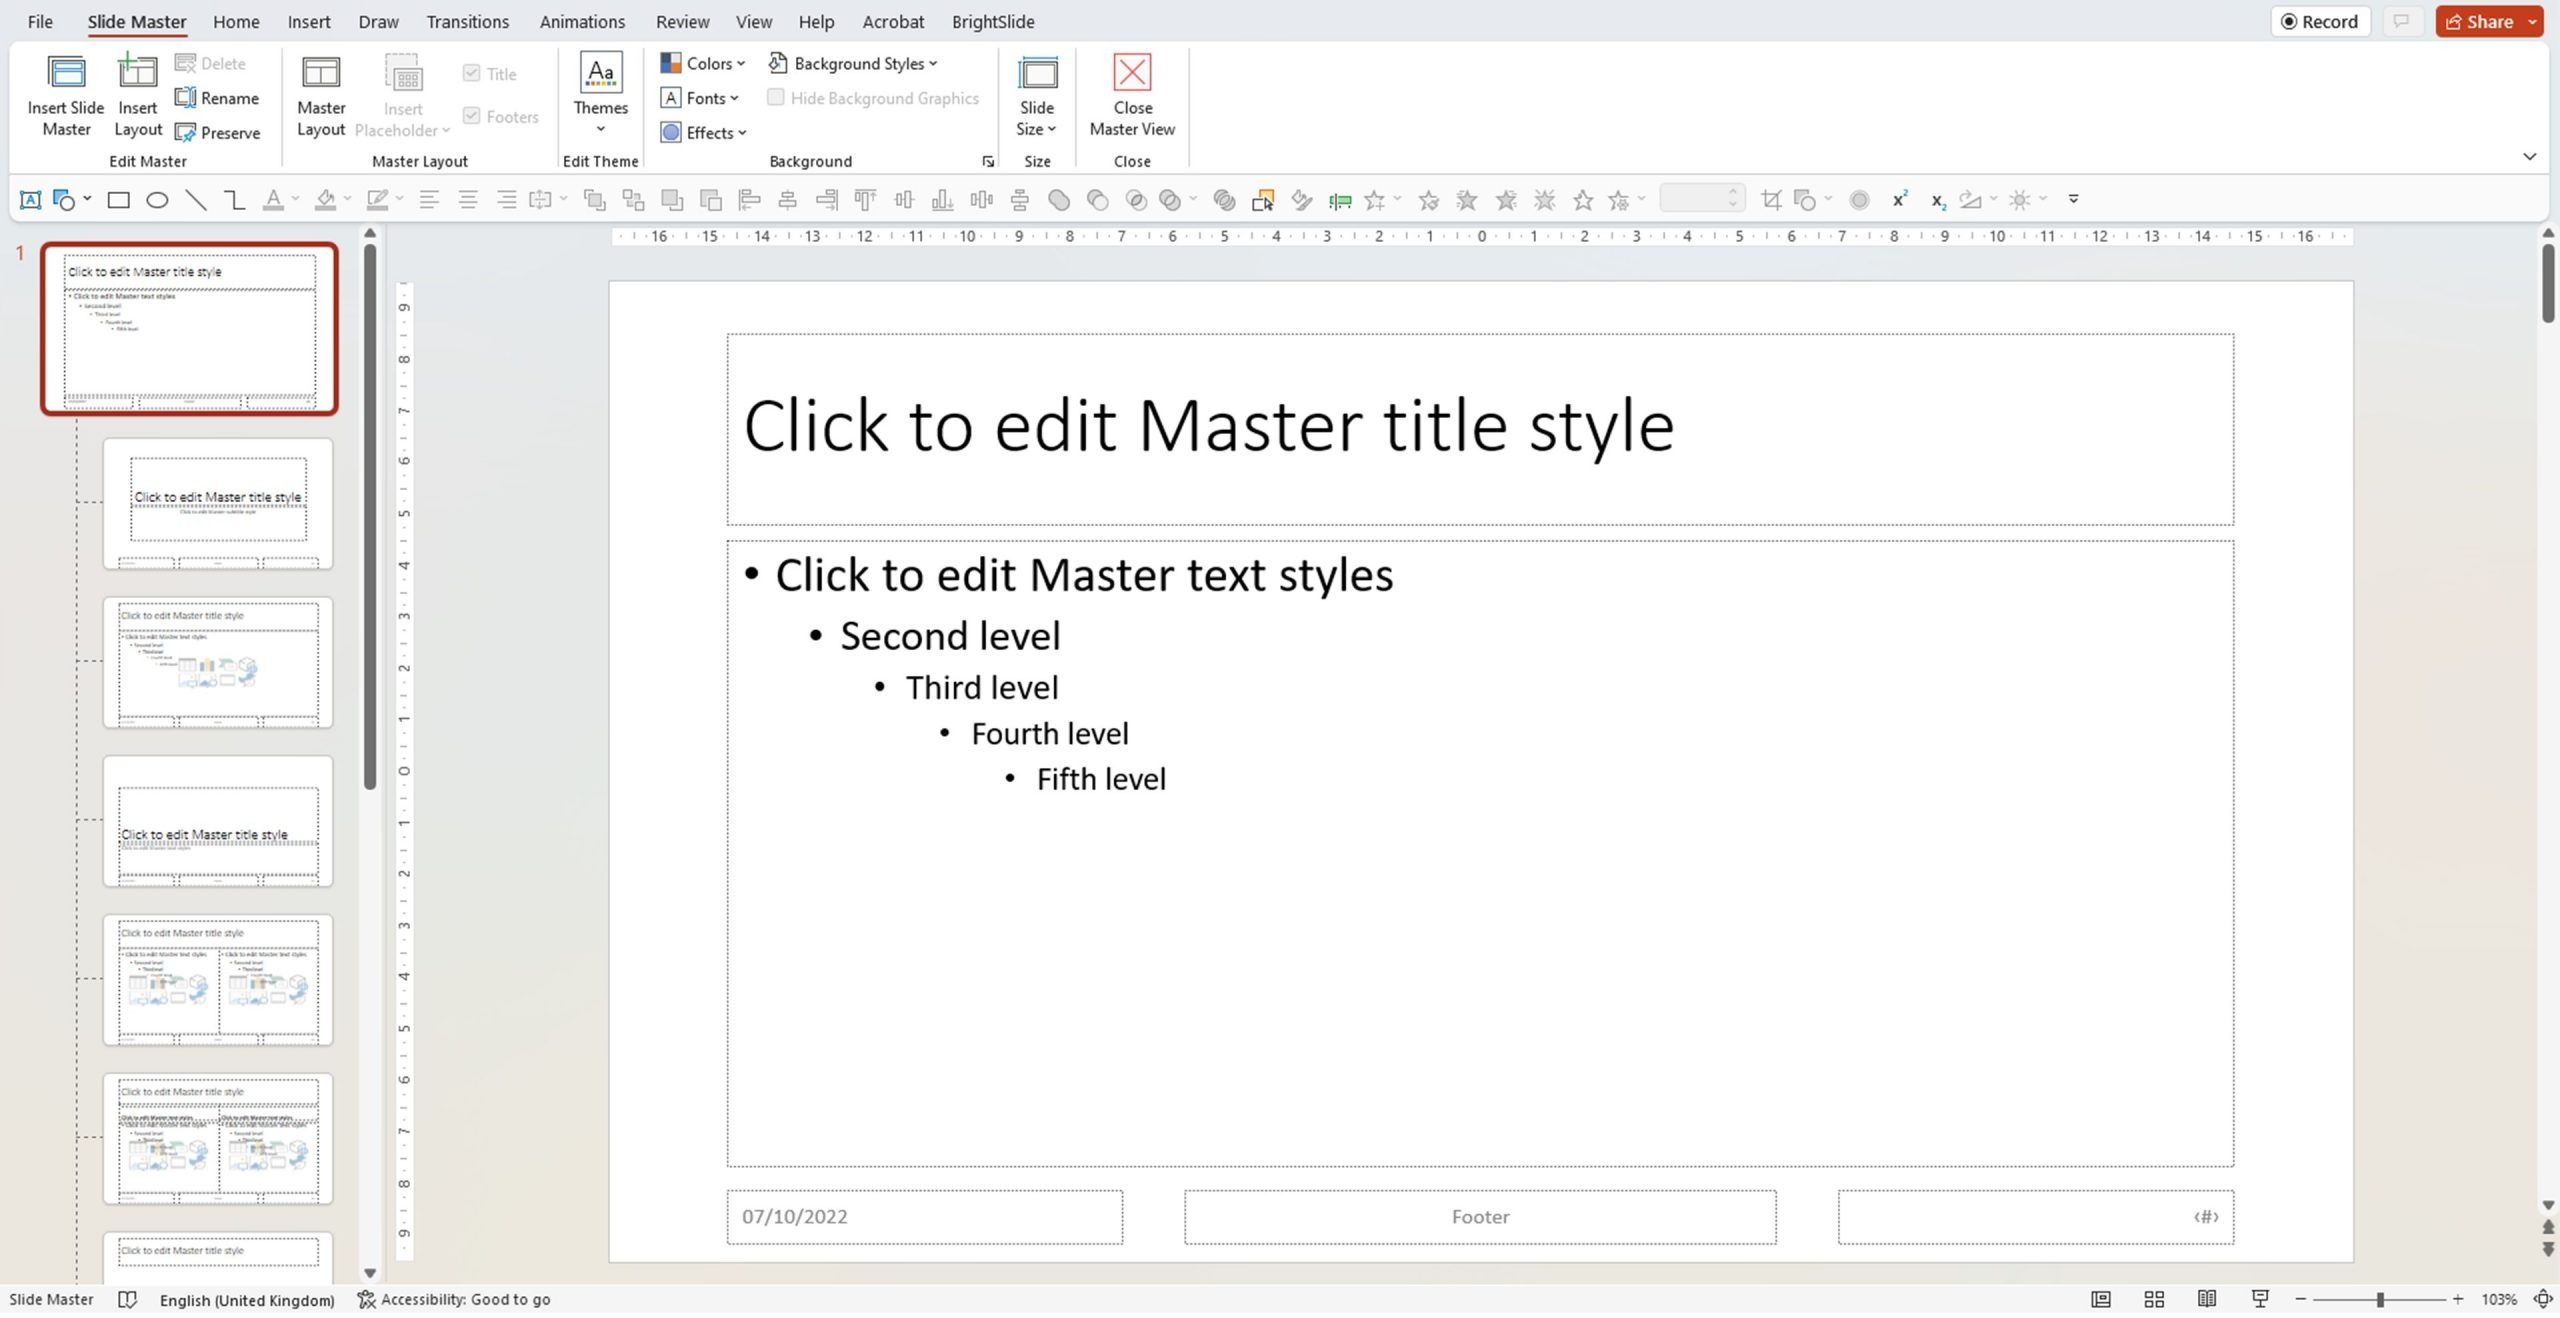
- Access Slide Master view: Go to the View tab in the PowerPoint ribbon and click on the Slide Master option. This will open the Slide Master view, displaying the master slide at the top and a list of slide layouts on the left.
- Customize the master slide: In the Slide Master view, you can now customize the master slide according to your preferences. This includes modifying the background, adding placeholders for text, images, or other content, and adjusting the font styles and colors.
- Modify slide layouts: Apart from the master slide, you can also customize individual slide layouts by selecting them from the list on the left. This allows you to have different layouts for title slides, content slides, and other specific slides in your presentation.
- Add placeholders: To add content placeholders to your master slide or slide layouts, go to the Insert tab in the PowerPoint ribbon and choose the desired type of placeholder, such as text, picture, or table. Drag and drop the placeholder to the desired position on the slide.
- Apply changes: Once you have made the necessary customizations to the master slide, click on the Close Master View button in the Slide Master tab. This will take you back to the normal editing view, where you can see the changes applied to your slides.
By following these steps, you can easily create a master slide in PowerPoint and customize it to suit your presentation needs. Remember to save your presentation to apply the changes permanently and to have access to the custom master slide for future use.
Modifying a Master Slide
Modifying a master slide in PowerPoint allows you to make changes to the overall design and formatting of your presentation. Here are the steps to modify a master slide:
- Access Slide Master view: Open your PowerPoint presentation and go to the View tab in the ribbon. Click on the Slide Master option to enter the Slide Master view.
- Select the master slide: In the Slide Master view, you will see the master slide at the top. Click on it to select it for modification.
- Make desired changes: Once the master slide is selected, you can make various changes to its layout, background, font styles, and placeholders. You can, for example, add or remove placeholders, resize or reposition them, adjust the background color or image, modify font styles, or apply specific formatting to text and objects.
- Apply changes to layouts: If you want the changes to be applied to specific slide layouts, select the desired layout from the list on the left and make further modifications as needed.
- Preview and fine-tune: To see how your changes affect the rest of the presentation, navigate through the slide thumbnails in the Slide Master view. This will give you a preview of how the modified master slide will look on different slides.
- Exit Slide Master view: Once you are satisfied with the modifications, click on the Close Master View button in the Slide Master tab. This will take you back to the normal editing view, and the changes made to the master slide will be applied to your presentation.
Modifying a master slide gives you the flexibility to customize the design and formatting of your entire presentation. By leveraging this feature, you can create a cohesive and visually appealing presentation that aligns with your specific requirements and preferences.
Applying a Master Slide to Existing Slides
Applying a master slide to existing slides in PowerPoint allows you to seamlessly update the design and layout of your entire presentation. Here’s how you can apply a master slide to your existing slides:
- Open your presentation: Launch PowerPoint and open the presentation that you want to apply the master slide to.
- Access Slide Master view: Go to the View tab in the ribbon and click on the Slide Master option. This will open the Slide Master view, displaying the master slide and slide layouts on the left.
- Select the desired master slide: In the Slide Master view, choose the master slide that you want to apply to your existing slides. Click on it to select it.
- Apply the master slide: With the master slide selected, you can apply it to your existing slides in two ways:
- Apply to all: To apply the master slide to all slides in your presentation, simply click on the “Apply to All” button in the Slide Master tab. This will replace the design and layout of all your slides with the selected master slide.
- Selective application: If you only want to apply the master slide to specific slides, go back to the normal editing view (not the Slide Master view) and select the slides that you want to update. Then, go to the Home tab, click on the “Layout” button, and choose the desired layout based on the master slide you selected. This will apply the design and layout of the master slide to the selected slides only.
- Customize individual slides: Even after applying the master slide, you can still customize individual slides as needed. This allows you to make specific changes to certain slides while maintaining the overall design and layout of the master slide for the rest of your presentation.
- Exit Slide Master view: Once you have applied the master slide to your existing slides, you can return to the normal editing view by clicking on the Close Master View button in the Slide Master tab. Any changes made to the master slide will be reflected on the applicable slides, and you can continue editing or presenting your updated presentation.
By applying a master slide to your existing slides, you can easily update the design and layout of your entire presentation. This ensures consistency and saves time by eliminating the need to manually modify each individual slide.
Adding Objects and Layouts to a Master Slide
Adding objects and layouts to a master slide in PowerPoint allows you to create a customized template that meets your specific presentation needs. Here’s how you can add objects and layouts to a master slide:
- Access Slide Master view: Open your PowerPoint presentation and navigate to the View tab in the ribbon. Click on the Slide Master option to enter the Slide Master view.
- Select the master slide: In the Slide Master view, choose the master slide to which you want to add objects and layouts. Click on it to select it.
- Add objects: To add objects such as text boxes, shapes, images, or other elements to the master slide, go to the Insert tab in the ribbon. Select the type of object you want to add, and then click and drag on the master slide to create the object. Customize its properties, such as size, position, and formatting, as desired.
- Create layouts: In addition to individual objects, you can also create custom layouts on the master slide. To do this, go to the Layouts group in the Slide Master tab and click on the “Insert Layout” button. This will add a new layout to the master slide. Customize the layout by adding, resizing, or repositioning objects within it.
- Modify existing layouts: If you want to modify existing layouts, simply select the layout from the list on the left side of the Slide Master view and make the desired changes to the objects within that layout.
- Preview the changes: To see how the objects and layouts you added to the master slide will appear on actual slides, navigate through the slide thumbnails in the Slide Master view. This allows you to visualize the impact of the changes on your entire presentation.
- Exit Slide Master view: Once you are satisfied with the objects and layouts added to the master slide, click on the Close Master View button in the Slide Master tab. This will take you back to the normal editing view, where you can see your changes applied to the master slide and layouts.
By adding objects and layouts to a master slide, you can establish a consistent design and structure for your presentation. This allows you to easily create new slides based on the master slide template and saves you time by eliminating the need to recreate common elements on each individual slide.
Customizing Fonts and Colors in a Master Slide
Customizing fonts and colors in a master slide is a key aspect of creating a cohesive and visually appealing presentation. By customizing these elements, you can ensure consistency throughout your slides. Here’s how you can customize fonts and colors in a master slide:
- Access Slide Master view: Open your PowerPoint presentation and navigate to the View tab in the ribbon. Click on the Slide Master option to enter the Slide Master view.
- Select the master slide: In the Slide Master view, choose the master slide that you want to customize the fonts and colors for. Click on it to select it.
- Modify font styles: To customize the font styles, go to the Home tab in the ribbon. Choose the desired font face, size, color, and other formatting options. Apply these changes to the text placeholders on the master slide to set the font styles for all slides using that master slide.
- Change color scheme: To modify the colors used in the master slide, go to the Design tab in the ribbon. In the Variants group, click on the drop-down arrow and select Colors. Choose a predefined color scheme or click on “Customize Colors” to create your own color scheme. Apply the color changes to the various elements on the master slide to establish the color palette for all slides using that master slide.
- Preview the changes: To see how the customized fonts and colors will appear on actual slides, navigate through the slide thumbnails in the Slide Master view. This allows you to visualize the impact of the changes on your entire presentation.
- Exit Slide Master view: Once you are satisfied with the font and color customization on the master slide, click on the Close Master View button in the Slide Master tab. This will take you back to the normal editing view, where you can see the font and color changes applied to the master slide and its corresponding layouts.
By customizing fonts and colors in a master slide, you can maintain a consistent and professional look across your presentation. Whether it’s using a specific font style to reflect your brand identity or selecting a color scheme that complements your content, these customizations help create a visually cohesive and engaging presentation.
Controlling Slide Numbering and Footer in a Master Slide
Controlling slide numbering and footer elements in a master slide allows you to manage the consistent display of information across your presentation slides. By customizing these settings, you can include relevant details and present a professional look throughout your presentation. Here’s how you can control slide numbering and footer in a master slide:
- Access Slide Master view: Open your PowerPoint presentation and go to the View tab in the ribbon. Click on the Slide Master option to enter the Slide Master view.
- Select the master slide: In the Slide Master view, select the master slide where you want to control slide numbering and add a footer. Click on it to choose it for customization.
- Add slide numbering: To include slide numbers on your slides, go to the Insert tab in the ribbon, click on the “Slide Number” button, and choose the desired location for the slide numbers. This will automatically add slide numbers to all slides using the selected master slide, helping your audience keep track of the presentation’s progress.
- Add a footer: To add a footer to your slides, return to the Slide Master tab and click on the “Footer” button. In the dialog box that appears, enter the desired text for the footer, such as the presentation title, date, or your name. Apply the changes to the master slide, and the footer will appear on all slides using that master slide.
- Customize the footer: After adding the footer, you can further customize its appearance. Go to the Home tab in the ribbon and modify the font, size, color, and alignment of the footer text to suit your design preferences.
- Preview the changes: To see how the slide numbering and footer will appear on actual slides, navigate through the slide thumbnails in the Slide Master view. This allows you to ensure that the information is correctly positioned and suits the overall design of your presentation.
- Exit Slide Master view: Once you are satisfied with the slide numbering and footer customization, click on the Close Master View button in the Slide Master tab. This will take you back to the normal editing view, where you can see the slide numbering and footer applied to the master slide and its corresponding layouts.
By controlling slide numbering and footer elements in a master slide, you can maintain a consistent and professional look throughout your presentation. This ensures that important information, such as slide numbers and relevant details in the footer, are consistently displayed across all slides, providing a cohesive experience for your audience.
Using Multiple Master Slides in a Presentation
Using multiple master slides in a presentation allows you to incorporate different designs, layouts, and formatting styles within the same slideshow. This can be particularly useful when you have distinct sections or themes in your presentation. Here’s how you can utilize multiple master slides in your presentation:
- Access Slide Master view: Open your PowerPoint presentation and navigate to the View tab in the ribbon. Click on the Slide Master option to enter the Slide Master view.
- Add a new master slide: In the Slide Master view, go to the Slide Master tab and click on the “Insert Slide Master” button. This will create a new master slide that you can customize separately from the existing one.
- Customize the new master slide: Select the newly added master slide and customize it by modifying the layout, background, fonts, colors, and other design elements. This allows you to tailor this master slide to a specific section or theme of your presentation.
- Apply the new master slide: To apply the new master slide to specific slides, go back to the normal editing view (not the Slide Master view) and select the slides to which you want to apply the new master slide. Go to the Home tab, click on the “Layout” button, and choose the layout associated with the new master slide. This will apply the design and layout of the new master slide to the selected slides.
- Switch between master slides: To switch between different master slides in your presentation, you can use the “Layout” button within the Home tab. Select the desired layout associated with a specific master slide to update the design and formatting of the selected slide or slides.
- Customize individual slides: After applying a master slide, you can still customize individual slides as needed to add or modify content, adjust layouts, or make other fine-tuned adjustments. This allows you to maintain consistency while accommodating specific content requirements.
- Preview the changes: To see how the multiple master slides are applied to your presentation, navigate through the slide thumbnails in the normal editing view. This allows you to visualize the different designs and ensure that each section or theme has a distinct and cohesive look.
- Exit Slide Master view: Once you are satisfied with the use of multiple master slides, click on the Close Master View button in the Slide Master tab. This will take you back to the normal editing view, where you can continue working on your presentation with the applied master slides.
By using multiple master slides, you can add visual variety and maintain consistency in your presentation, catering to different sections, themes, or styles. This allows you to create a dynamic and engaging slideshow that captures your audience’s attention throughout.
Saving and Sharing a Master Slide Template
Saving and sharing a master slide template in PowerPoint is essential when you want to reuse a customized design for future presentations or share it with others. Here are the steps to save and share a master slide template:
- Access Slide Master view: Open your PowerPoint presentation and go to the View tab in the ribbon. Click on the Slide Master option to enter the Slide Master view.
- Customize the master slide: Select the master slide and make all the desired modifications to the layout, background, fonts, colors, and other design elements. Ensure that you have set up the master slide according to your preferences.
- Save the template: To save the master slide as a template, go to the File tab in the ribbon and select the “Save As” option. Choose the location where you want to save the template file, enter a name for the template, and select “PowerPoint Template (*.potx)” as the file format. Click on the Save button to save the master slide template on your computer.
- Share the template: To share the master slide template with others, you can simply distribute the saved template file (with the .potx extension). You can share it via email, cloud storage platforms, or any other preferred method of file sharing. Ensure that the recipients have access to PowerPoint so they can utilize the template in their own presentations.
- Apply the template: To apply the master slide template to a new or existing presentation, open PowerPoint and create a new presentation or open the existing one. Go to the Design tab in the ribbon and click on the “Browse” button in the rightmost section. Locate and select the saved master slide template (.potx file). This will apply the design, layouts, and formatting of the template to your presentation.
- Customize as needed: After applying the master slide template, you can further customize individual slides, add content, or make any necessary adjustments based on the specific requirements of your presentation. This allows you to maintain the consistency and visual appeal of the template while tailoring it to your content.
- Save the final presentation: Once you have customized the presentation based on the master slide template, remember to save the final presentation separately. This ensures that any future changes or modifications are saved in the appropriate file format.
By saving and sharing a master slide template, you can easily reuse a customized design, maintaining consistency in your presentations and helping others benefit from your expertise in creating visually appealing slides.
