
Choosing the Right Smart Bracelet for You
When it comes to selecting the perfect smart bracelet, it's essential to consider your personal preferences, lifestyle, and desired features. With the myriad of options available in the market, finding the ideal smart bracelet can be an exciting yet overwhelming experience. Here are some key factors to keep in mind to ensure that you choose a smart bracelet that aligns with your needs:
1. Purpose and Features
Before making a purchase, contemplate the primary purpose of the smart bracelet. Are you primarily interested in tracking your fitness activities, monitoring your health metrics, receiving notifications, or a combination of these features? Identifying your specific needs will help narrow down the options and guide you towards a device that caters to your lifestyle.
2. Design and Comfort
Consider the design and comfort of the smart bracelet. Do you prefer a sleek and minimalist design, or are you drawn to a more robust and sporty look? Additionally, assess the comfort of the bracelet, especially if you intend to wear it throughout the day. A comfortable fit is crucial for ensuring that you'll be inclined to consistently utilize the device.
3. Compatibility
Check the compatibility of the smart bracelet with your smartphone and operating system. Ensure that the bracelet is compatible with the device you currently use to guarantee seamless connectivity and functionality.
4. Battery Life
Evaluate the battery life of the smart bracelet. Depending on your usage patterns and preferences, you may prioritize devices with extended battery life or those that offer rapid charging capabilities.
5. Budget
Establish a budget for your smart bracelet purchase. Determine the features that are non-negotiable for you and find a device that strikes the right balance between functionality and cost.
6. Reviews and Recommendations
Research and read reviews from reputable sources or seek recommendations from friends or online communities. Real-world experiences and insights can provide valuable guidance in making an informed decision.
By carefully considering these factors, you can confidently select a smart bracelet that seamlessly integrates into your daily routine, empowering you to make the most of its features and functionalities.
Unboxing and Setting Up Your Smart Bracelet
Upon receiving your new smart bracelet, the excitement of unboxing and setting it up can be a thrilling experience. Follow these simple steps to ensure a smooth and hassle-free initiation into the world of smart wearables:
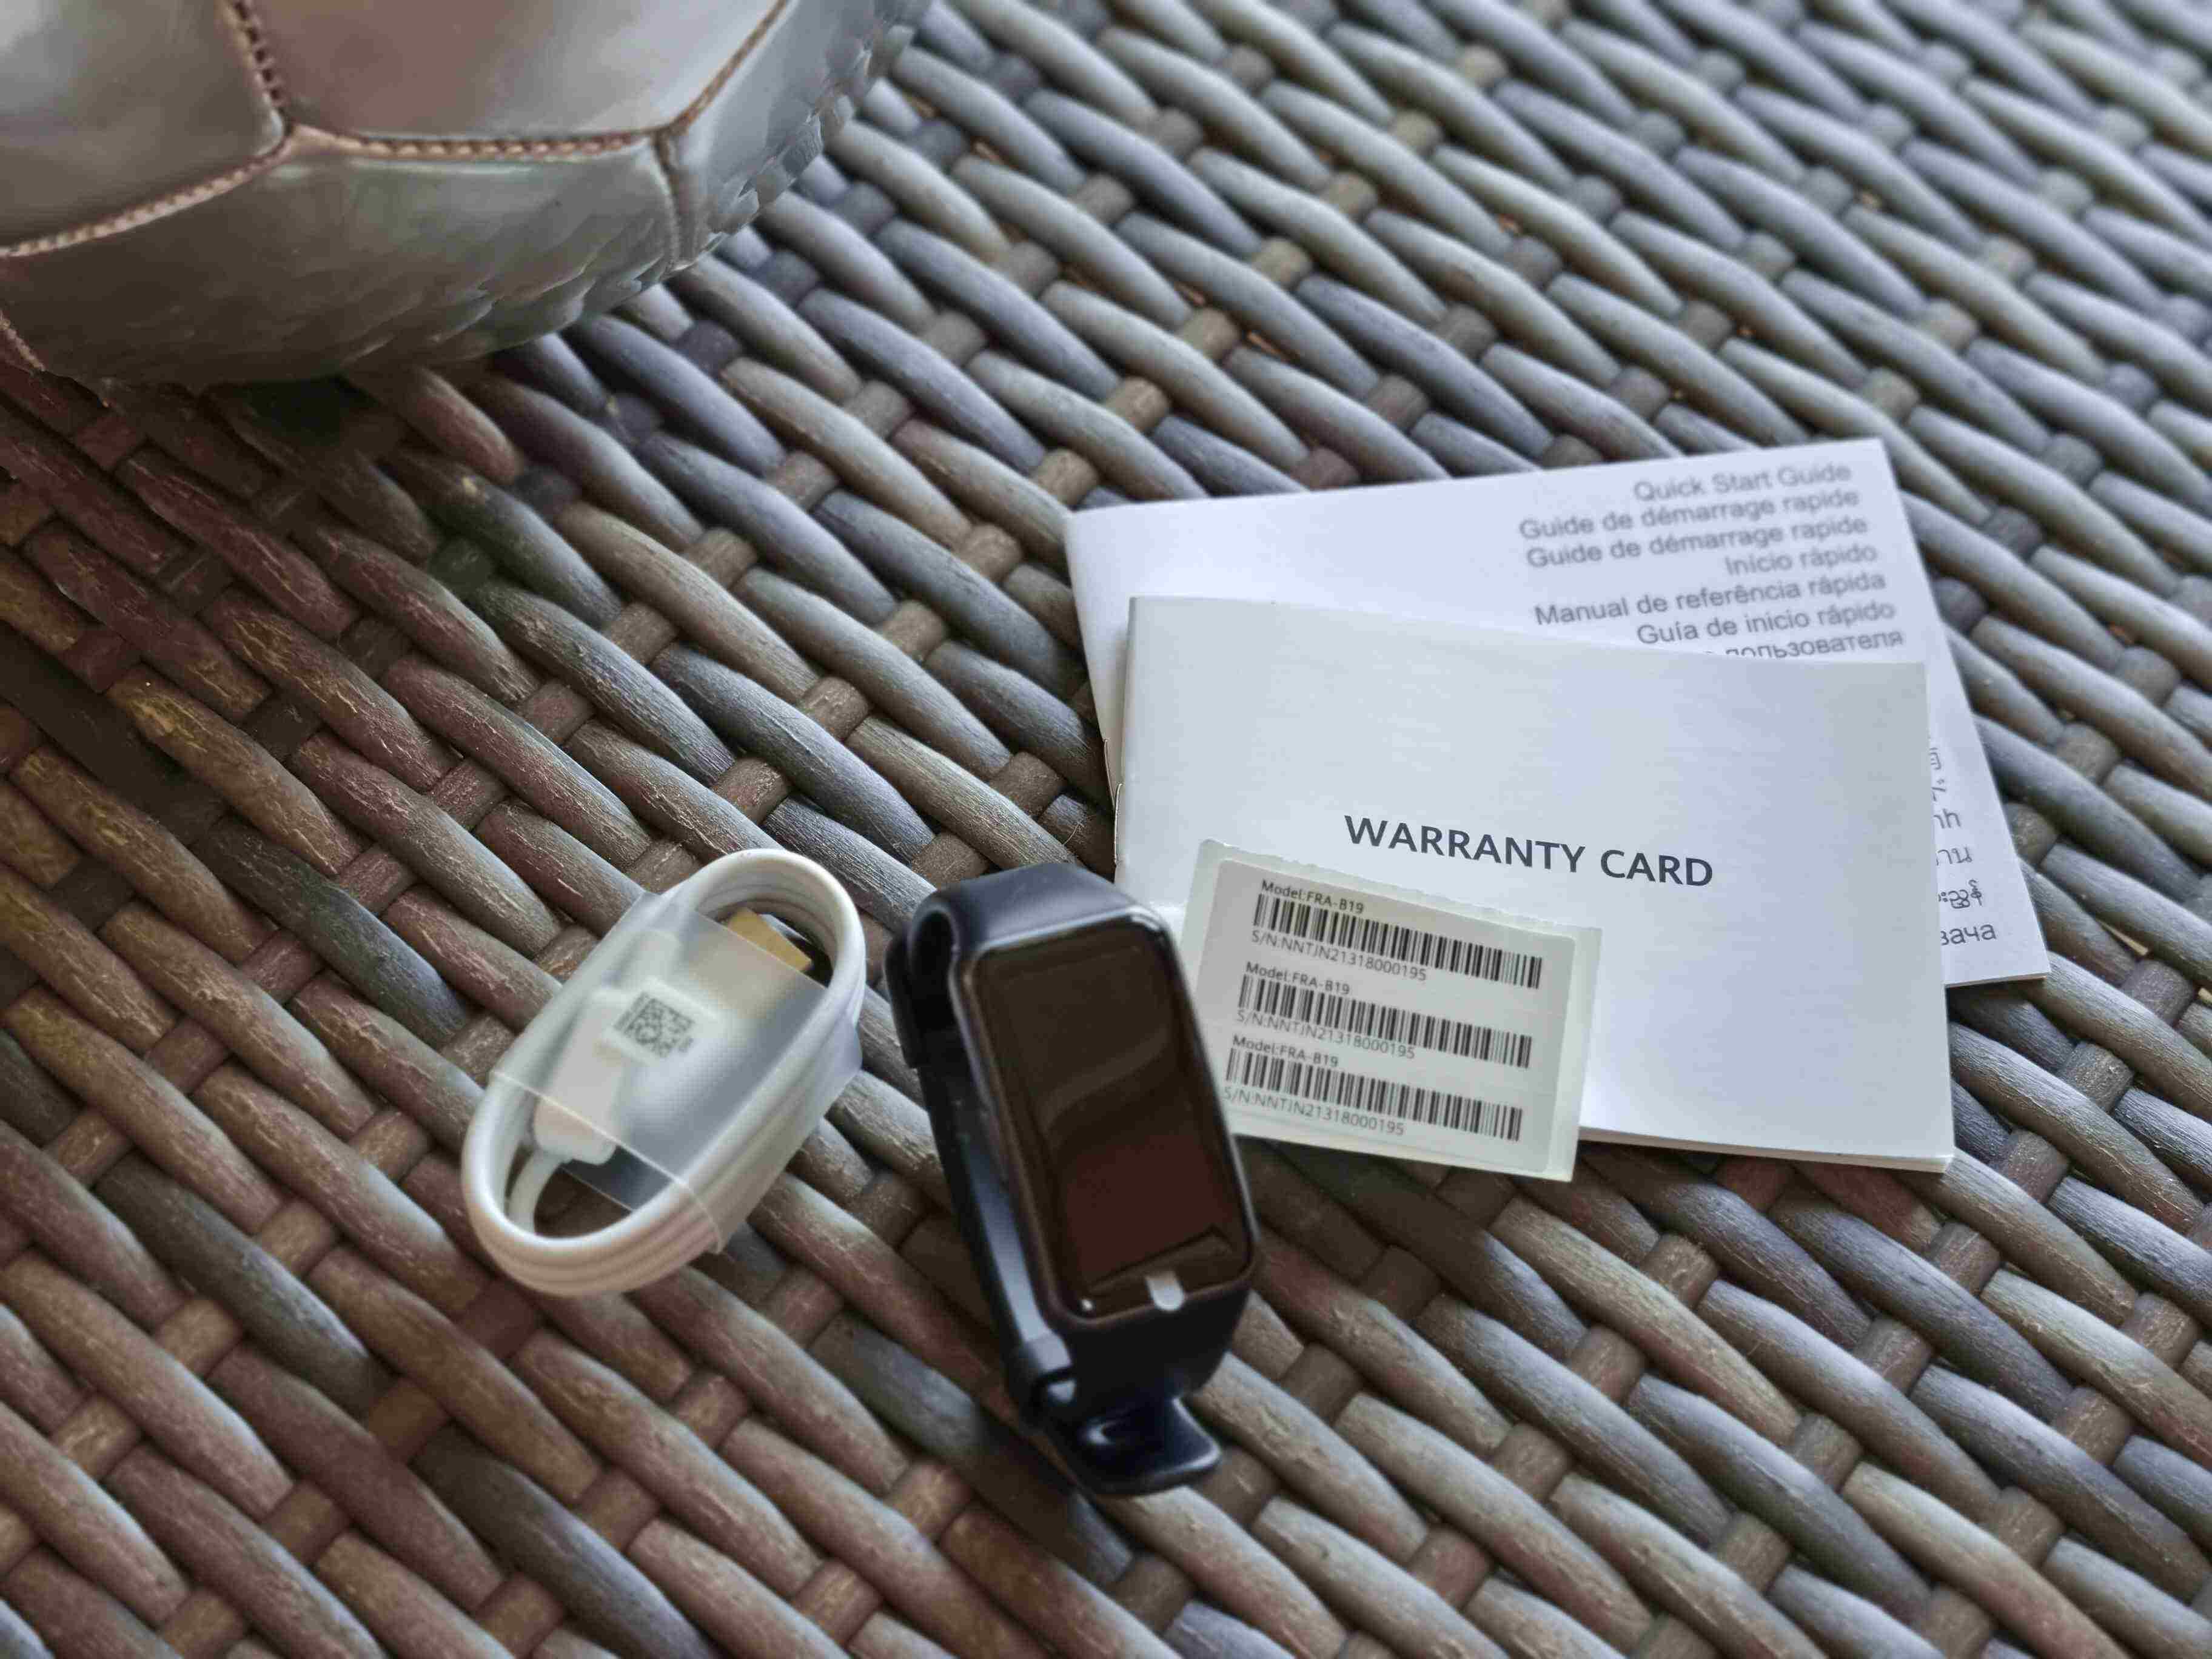
1. Unboxing
Begin by carefully unboxing your smart bracelet. Take a moment to appreciate its design and the components included in the package. Typically, you will find the smart bracelet, a charging cable, and a user manual. Ensure that all the components are in good condition before proceeding.
2. Reading the User Manual
Before diving into the setup process, take some time to read the user manual provided with the smart bracelet. Familiarize yourself with the various buttons, ports, and features of the device. Understanding the functionalities and capabilities of your smart bracelet will enable you to maximize its potential.
3. Powering On the Smart Bracelet
Once you are acquainted with the basic features, power on your smart bracelet by pressing the designated button or following the instructions specified in the user manual. The device may require initial charging, so ensure that it has sufficient battery before proceeding with the setup.
4. Pairing with Your Smartphone
Most smart bracelets require pairing with a smartphone to unlock their full range of features. Download the corresponding app for your smart bracelet from the App Store or Google Play Store. Follow the app’s instructions to pair your smart bracelet with your smartphone via Bluetooth.
5. Personalizing Settings
Once paired, personalize the settings of your smart bracelet through the companion app. This may include setting up your user profile, configuring notifications, and customizing display preferences to align with your preferences and requirements.
6. Exploring Basic Functionalities
Take the time to explore the basic functionalities of your smart bracelet, such as navigating the interface, accessing different modes (e.g., fitness tracking, heart rate monitoring), and familiarizing yourself with the touch controls or buttons.
7. Setting Up Additional Features
Depending on the model, you may have access to additional features such as sleep tracking, sedentary reminders, and music control. Configure these features according to your preferences to enhance your overall experience with the smart bracelet.
By following these steps, you can seamlessly unbox and set up your smart bracelet, laying the foundation for a rewarding and personalized smart wearable experience.
Charging Your Smart Bracelet
Ensuring that your smart bracelet is adequately charged is essential for uninterrupted usage and optimal functionality. Here’s a simple guide to effectively charge your smart bracelet:
1. Understanding the Charging Mechanism
Before initiating the charging process, familiarize yourself with the charging mechanism of your smart bracelet. Most smart bracelets feature a proprietary charging cable or a built-in USB connector. Refer to the user manual or the manufacturer’s guidelines to identify the specific charging port and method for your device.
2. Connecting the Charging Cable
Locate the charging port on your smart bracelet and connect the corresponding end of the charging cable securely. Ensure that the connection is firm to facilitate uninterrupted charging. If the smart bracelet features a magnetic charging connector, align it properly with the device for a secure attachment.
3. Power Source
Once the charging cable is connected to your smart bracelet, plug the other end into a reliable power source. This can be a USB port on your computer, a USB wall adapter, or a portable power bank. Avoid using fast chargers or high-voltage outlets that may not be compatible with your smart bracelet’s charging specifications.
4. Monitoring the Charging Progress
Upon connecting the charging cable, the smart bracelet’s display or indicator lights may provide visual cues indicating that the device is charging. Some models display a battery icon or a charging animation to signify the ongoing charging process. Periodically check the device to monitor the progress and ensure that the battery level is increasing.
5. Ensuring Complete Charging
Allow your smart bracelet to charge until the battery reaches its full capacity. Depending on the model and the current battery level, this may take anywhere from 1 to 2 hours. Once fully charged, disconnect the charging cable from the device to prevent overcharging and preserve the battery’s longevity.
6. Best Practices
Adhering to best practices such as avoiding extreme temperatures during charging, using the provided charging cable, and refraining from overcharging can contribute to the longevity and performance of your smart bracelet’s battery.
By following these guidelines, you can effectively charge your smart bracelet, ensuring that it remains powered and ready to accompany you throughout your daily activities.
Pairing Your Smart Bracelet with Your Smartphone
Pairing your smart bracelet with your smartphone is a pivotal step that unlocks a myriad of features and functionalities, enabling seamless integration between the two devices. Follow these straightforward steps to establish a successful connection:
1. Download the Companion App
Begin by downloading the dedicated companion app for your smart bracelet from the App Store or Google Play Store. Ensure that you are installing the official app provided by the manufacturer to guarantee compatibility and access to the latest updates and features.
2. Enable Bluetooth
On your smartphone, navigate to the settings and ensure that Bluetooth is enabled. This is essential for initiating the pairing process and facilitating communication between your smart bracelet and smartphone.
3. Open the App and Initiate Pairing
Launch the companion app on your smartphone and follow the on-screen instructions to initiate the pairing process. This typically involves creating a user profile, granting necessary permissions, and selecting the option to pair a new device.
4. Locate and Select Your Smart Bracelet
Once the app prompts you to pair a new device, ensure that your smart bracelet is powered on and in close proximity to your smartphone. The app should detect the smart bracelet and display it as an available device for pairing. Select your smart bracelet from the list to commence the pairing process.
5. Confirm Pairing Code or Notification
Depending on the smart bracelet model, you may be required to confirm a pairing code displayed on both the smartphone and the smart bracelet, or you may receive a notification on your smartphone to authorize the pairing. Follow the specified steps to complete the pairing process.
6. Await Confirmation
Upon successful pairing, the companion app should display a confirmation message or indicator, signifying that your smart bracelet is now connected to your smartphone. At this point, you can explore the various features and settings within the app to customize your smart bracelet according to your preferences.
7. Test Connectivity
Verify the connectivity between your smart bracelet and smartphone by accessing features such as notifications, call alerts, and remote controls, if applicable. This ensures that the pairing process was successful and that the devices are communicating effectively.
By following these steps, you can seamlessly pair your smart bracelet with your smartphone, enabling a cohesive and interconnected experience that enhances the utility of your smart wearable.
Understanding the Display and Features
Upon familiarizing yourself with the physical aspects of your smart bracelet, it’s essential to delve into understanding its display and features. This knowledge empowers you to make the most of the device’s capabilities and enhances your overall user experience. Here’s a comprehensive guide to comprehending the display and features of your smart bracelet:
1. Display Interface
Take a moment to explore the display interface of your smart bracelet. Depending on the model, the display may be touch-sensitive or operated through physical buttons. Familiarize yourself with the navigation and interaction methods to effortlessly access different features and functionalities.
2. Navigating Menus and Modes
Understand how to navigate through the menus and modes of your smart bracelet. This may include accessing fitness tracking modes, heart rate monitoring, sleep data, and other integrated features. Pay attention to any gestures or button combinations required to switch between different modes.
3. Display Readouts
Interpret the various readouts and indicators displayed on the screen. This may encompass battery status, time, date, fitness metrics, notifications, and other relevant information. Understanding these readouts enables you to stay informed and utilize the data to monitor your activities and health.
4. Touch Controls or Button Functions
If your smart bracelet features touch controls or physical buttons, familiarize yourself with their respective functions. These controls may allow you to navigate the interface, activate specific features, or initiate actions such as pausing a workout session or dismissing notifications.
5. Customization Options
Explore any customization options available for the display, such as adjusting brightness levels, choosing different watch faces, or configuring the layout of information displayed on the screen. Personalizing the display enhances the visual appeal and utility of your smart bracelet.
6. Integrated Features
Identify and understand the integrated features of your smart bracelet, such as heart rate monitoring, step tracking, sleep analysis, and sedentary reminders. Gain insights into how these features function and how the data collected can contribute to your overall well-being and fitness goals.
7. Firmware Updates
Stay informed about firmware updates for your smart bracelet. Manufacturers often release updates to introduce new features, enhance existing functionalities, and address any performance or security improvements. Regularly updating the firmware ensures that your smart bracelet remains optimized and secure.
By comprehensively understanding the display and features of your smart bracelet, you can harness its full potential, stay informed about your health and activities, and personalize the device to align with your preferences and requirements.
Setting Up Notifications and Alarms
Configuring notifications and alarms on your smart bracelet enhances its utility by keeping you informed and organized throughout the day. Whether it’s receiving important alerts or setting reminders, leveraging these features optimizes the functionality of your smart wearable. Here’s a comprehensive guide to setting up notifications and alarms on your smart bracelet:
1. Notification Preferences
Access the companion app for your smart bracelet to customize notification preferences. Determine which apps and types of notifications you want to receive on your smart bracelet, such as calls, messages, emails, and app alerts. Tailoring these preferences ensures that you stay informed without being overwhelmed by unnecessary notifications.
2. Call and Message Alerts
Configure call and message alerts to receive notifications directly on your smart bracelet. Familiarize yourself with the notification indicators and methods for acknowledging or dismissing incoming calls and messages without needing to access your smartphone.
3. App Integration
Explore the integration of third-party apps with your smart bracelet. Certain apps may offer enhanced features when paired with your smart wearable, allowing you to receive specialized notifications and alerts relevant to your interests or activities.
4. Customizing Vibration and Alerts
Customize the vibration patterns and alerts for different types of notifications. This enables you to distinguish between various alerts based on their importance or urgency, enhancing your responsiveness to incoming notifications.
5. Setting Alarms
Utilize the alarm feature on your smart bracelet to set reminders for important events, tasks, or activities. Configure the alarm settings through the companion app, specifying the time, frequency, and any recurring alarms to suit your daily routine.
6. Sedentary Reminders
If your smart bracelet offers sedentary reminders, activate and customize this feature to receive prompts to move and stretch if you’ve been inactive for a prolonged period. Sedentary reminders promote healthy habits and discourage prolonged periods of inactivity.
7. Do Not Disturb Mode
Explore the option to activate a do not disturb mode on your smart bracelet, allowing you to temporarily silence notifications and alerts during specific periods, such as meetings, workouts, or sleep, while still retaining essential notifications.
By effectively setting up notifications and alarms on your smart bracelet, you can streamline your daily interactions, stay informed, and manage your time efficiently, all from the convenience of your wrist.
Customizing Your Smart Bracelet
Personalizing the settings and appearance of your smart bracelet not only enhances its visual appeal but also tailors the device to suit your preferences and lifestyle. By customizing various aspects of your smart bracelet, you can create a personalized and tailored user experience. Here’s a comprehensive guide to customizing your smart bracelet:
1. Watch Faces
Many smart bracelets offer the option to customize the watch face, allowing you to select from a range of designs and styles. Choose a watch face that resonates with your taste and provides quick access to essential information such as time, date, and fitness metrics.
2. Display Settings
Explore the display settings of your smart bracelet to adjust brightness levels, screen timeout duration, and display orientation. Adapting these settings to your preferences ensures optimal visibility and usability, especially in varying lighting conditions.
3. Activity Goals and Metrics
Set personalized activity goals and metrics based on your fitness aspirations. Tailor step count targets, active minutes, and calorie burn goals to align with your individual fitness journey, motivating you to achieve and surpass your objectives.
4. Notification Preferences
Refine your notification preferences to receive alerts that are pertinent to your daily activities and interests. Customize the types of notifications, vibration patterns, and priority levels to ensure that you stay informed without unnecessary distractions.
5. Quick Access Shortcuts
If your smart bracelet supports quick access shortcuts, configure these shortcuts to conveniently access specific features or functionalities with minimal effort. This may include shortcuts for activating workout modes, checking heart rate, or controlling music playback.
6. Language and Units
Adjust the language settings and units of measurement to align with your linguistic and regional preferences. This ensures that the information displayed on your smart bracelet is presented in a format that is familiar and comprehensible to you.
7. Firmware and Software Updates
Regularly check for firmware and software updates for your smart bracelet. Manufacturers often release updates to introduce new customization options, enhance existing features, and address any performance optimizations or security enhancements.
By delving into the customization options of your smart bracelet, you can curate a tailored user experience that reflects your individuality, preferences, and requirements, elevating the overall functionality and appeal of the device.
Tracking Your Fitness and Health Data
Your smart bracelet serves as a valuable tool for monitoring and analyzing your fitness and health data, providing insights that empower you to make informed decisions about your well-being. By leveraging the tracking capabilities of your smart bracelet, you can gain a comprehensive understanding of your physical activities and vital health metrics. Here’s a comprehensive guide to effectively track your fitness and health data:
1. Activity Tracking
Utilize the activity tracking feature of your smart bracelet to monitor your daily movements, including steps taken, distance traveled, and active minutes. This data offers a holistic view of your physical activity levels, encouraging you to stay active and achieve your fitness goals.
2. Heart Rate Monitoring
Take advantage of the heart rate monitoring functionality to track your heart rate throughout the day and during physical activities. Understanding your heart rate patterns can provide insights into your cardiovascular health and the intensity of your workouts, enabling you to optimize your exercise routines.
3. Sleep Analysis
Engage with the sleep analysis feature to gain visibility into your sleep patterns and quality. By tracking your sleep duration and the various stages of sleep, such as deep and REM sleep, you can make adjustments to improve your sleep hygiene and overall well-being.
4. Calorie Expenditure
Monitor your calorie expenditure and energy balance through the smart bracelet’s tracking capabilities. By understanding the calories burned during physical activities and throughout the day, you can align your nutrition and fitness efforts to support your health and weight management goals.
5. Sedentary Reminders
Take advantage of sedentary reminders to combat prolonged periods of inactivity. These prompts encourage you to move and stretch, minimizing the negative impact of extended sitting and promoting a more active and health-conscious lifestyle.
6. Health Trends and Patterns
Review the data trends and patterns captured by your smart bracelet over time. Identifying fluctuations in your activity levels, heart rate, and sleep quality can offer valuable insights into your overall health and well-being, enabling you to make proactive adjustments as needed.
7. Integration with Health Apps
If your smart bracelet integrates with health and fitness apps, leverage this connectivity to synchronize your fitness and health data with comprehensive health platforms. This integration provides a holistic view of your well-being and facilitates seamless management of your health metrics.
By actively tracking your fitness and health data with your smart bracelet, you can gain a deeper understanding of your physical well-being, identify areas for improvement, and make informed choices that contribute to a healthier and more active lifestyle.
Troubleshooting Common Issues
While smart bracelets offer a multitude of benefits, encountering occasional issues is not uncommon. Understanding how to troubleshoot common problems can help you swiftly address any challenges and ensure that your smart bracelet continues to function optimally. Here are some effective troubleshooting steps for common smart bracelet issues:
1. Connectivity Problems
If you encounter connectivity issues between your smart bracelet and smartphone, start by ensuring that Bluetooth is enabled on your smartphone and that the devices are within close proximity. Attempt to re-establish the connection by unpairing and repairing the devices through the companion app.
2. Battery Drain
If you notice excessive battery drain on your smart bracelet, verify that unnecessary features such as continuous heart rate monitoring or excessive notifications are not contributing to the rapid depletion. Adjust the settings to optimize battery usage and consider disabling features that are not essential.
3. Unresponsive Touch Controls
If the touch controls on your smart bracelet become unresponsive, ensure that the screen is clean and free from any obstructions or moisture. If the issue persists, perform a reset on the device by following the instructions provided in the user manual or through the companion app.
4. Syncing Errors
If you encounter difficulties syncing your smart bracelet with the companion app or encountering data synchronization errors, attempt to restart both the smart bracelet and the smartphone. Additionally, check for any pending firmware updates for your smart bracelet that may address syncing issues.
5. Inaccurate Sensor Readings
If the sensor readings, such as heart rate or step count, appear inaccurate, ensure that the smart bracelet is worn correctly and positioned snugly on your wrist. Clean the sensors and the underside of the device to remove any dirt or residue that may affect sensor accuracy.
6. Software Glitches
If you experience software glitches or unresponsive behavior, consider performing a software reset on your smart bracelet. This often resolves temporary software issues and restores the device to a functional state. Refer to the user manual for instructions on performing a reset.
7. Contacting Customer Support
If troubleshooting on your own does not resolve the issues, reach out to the customer support provided by the manufacturer. They can offer additional guidance, troubleshooting steps, or initiate a warranty claim if the issues persist.
By applying these troubleshooting strategies, you can effectively address common issues that may arise with your smart bracelet, ensuring that it remains a reliable and indispensable companion in your daily activities.
Tips for Maximizing Battery Life
Maximizing the battery life of your smart bracelet is essential for ensuring uninterrupted usage and reducing the frequency of recharging. By implementing effective battery-saving strategies, you can extend the operational duration of your smart bracelet and optimize its overall performance. Here are valuable tips for maximizing the battery life of your smart bracelet:
1. Adjust Display Brightness
Dimming the display brightness of your smart bracelet can significantly conserve battery power. Opt for a lower brightness setting that remains visible in various lighting conditions while minimizing power consumption.
2. Manage Notification Frequency
Customize your notification settings to reduce the frequency of incoming alerts and vibrations. Limiting unnecessary notifications can help conserve battery life by minimizing the device’s active engagement for non-critical alerts.
3. Disable Unused Features
If your smart bracelet offers a range of features that you do not regularly utilize, consider disabling these functions to reduce battery drain. This may include continuous heart rate monitoring, automatic activity tracking, or gesture-based controls.
4. Optimize Connectivity
When not actively using features that require connectivity, such as call alerts or music control, consider disabling Bluetooth on your smart bracelet. This conserves power by reducing the energy expended for maintaining a constant connection with your smartphone.
5. Regular Software Updates
Ensure that your smart bracelet’s firmware and companion app are regularly updated. Manufacturers often release updates that include battery optimization enhancements and performance improvements, contributing to prolonged battery life.
6. Enable Power-Saving Modes
If your smart bracelet offers power-saving modes, such as an energy-saving or low-power mode, activate these settings when the device is not in active use. These modes typically restrict non-essential functions to conserve battery power.
7. Proper Charging Practices
Adhere to proper charging practices by using the provided charging cable and avoiding overcharging. Follow the manufacturer’s guidelines for charging duration and avoid using high-voltage chargers that may adversely impact the battery.
8. Opt for Manual Syncing
Instead of enabling continuous automatic syncing with the companion app, opt for manual syncing at specific intervals. This reduces the frequency of data transfers, conserving battery power while still maintaining data synchronization.
9. Temperature Considerations
Avoid exposing your smart bracelet to extreme temperatures, as both high heat and freezing cold can negatively impact battery performance. Store and use the device within the recommended temperature range for optimal battery life.
10. Utilize Battery-Saving Widgets
If your smart bracelet supports customizable widgets, incorporate battery-saving widgets that provide quick access to essential features while minimizing power consumption. These widgets often offer shortcuts to key functions without fully activating the device.
By implementing these battery-saving tips, you can effectively extend the operational duration of your smart bracelet, ensuring prolonged usage between charges and optimizing the device’s overall battery performance.