
Checking the Battery Level
Before powering on your new iPhone 13 Mini, it's essential to ensure that the battery has an adequate charge. This simple yet crucial step can prevent interruptions during the setup process and allow you to start using your device without delay.
To check the battery level on your iPhone 13 Mini, follow these steps:
-
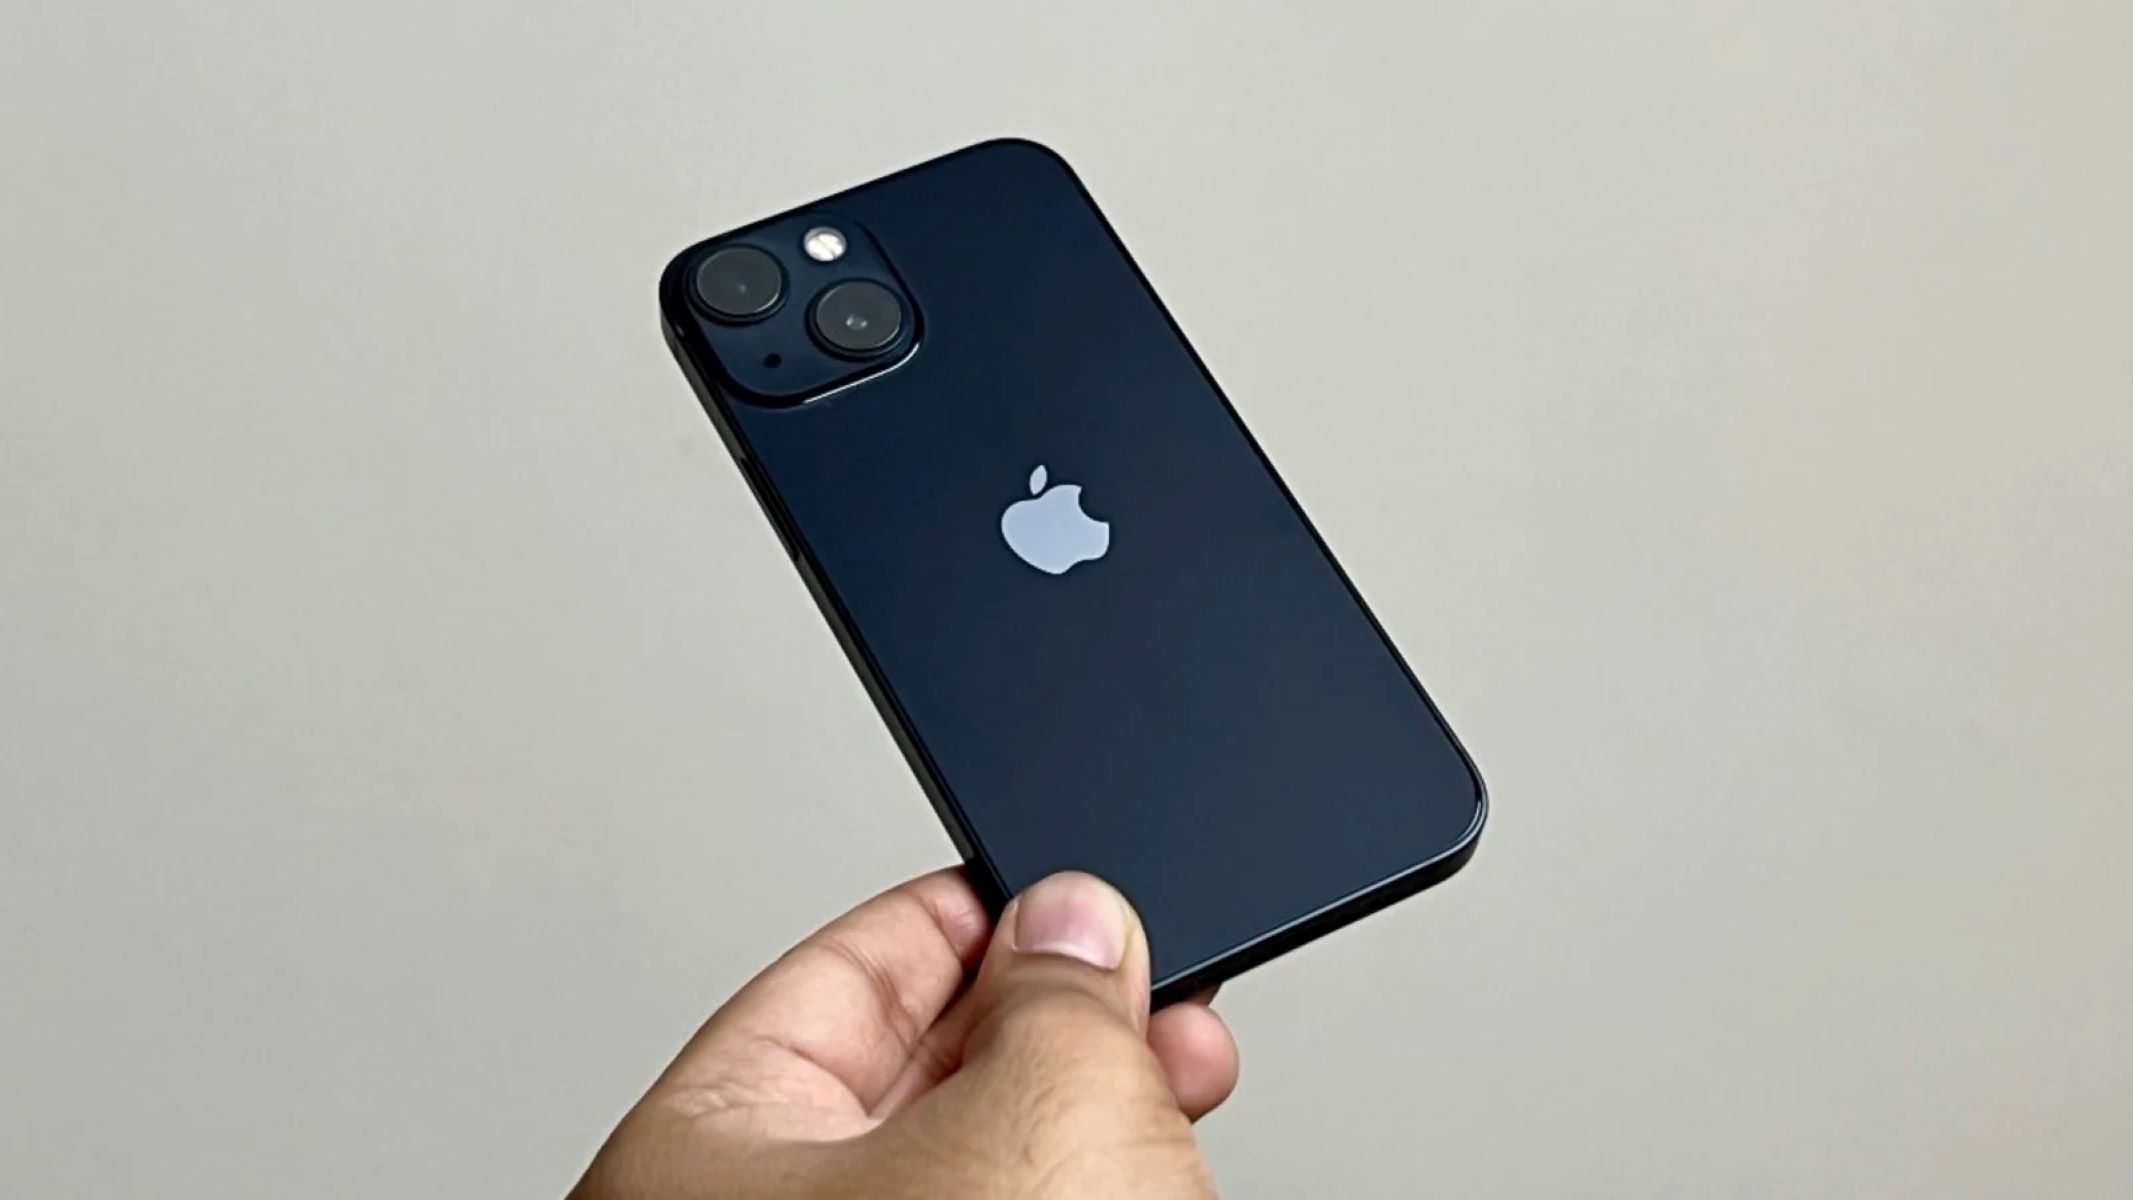
Unboxing: When unboxing your iPhone 13 Mini, the first thing you'll notice is the sleek and compact design. As you carefully remove the device from its packaging, take a moment to appreciate its lightweight and portable form factor.
-
Power Button: Located on the right side of the device, the power button is easily accessible and serves as the key to unlocking the potential of your new iPhone. Press and hold the power button for a few seconds to power on the device.
-
Hello Screen: Upon powering on the iPhone 13 Mini, you'll be greeted by the iconic "Hello" screen, signaling the beginning of the setup process. At this stage, it's important to ensure that the battery has sufficient charge to complete the setup without interruption.
-
Battery Indicator: The battery indicator, displayed as a percentage, provides a quick and convenient way to assess the current charge level of your iPhone 13 Mini. This information is prominently displayed on the screen, allowing you to gauge the remaining battery life at a glance.
-
Charging: If the battery level is low, it's advisable to connect your iPhone 13 Mini to a power source using the included Lightning cable and power adapter. This will not only ensure that the device has ample charge for the setup process but also familiarize you with the charging mechanism of the device.
By following these steps, you can confidently assess the battery level of your iPhone 13 Mini and take the necessary steps to ensure a seamless and uninterrupted setup experience. With a fully charged battery, you'll be ready to embark on the exciting journey of exploring the features and capabilities of your new device.
Remember, a well-charged battery sets the stage for a smooth and enjoyable experience with your iPhone 13 Mini, allowing you to make the most of its impressive functionality and innovative features from the moment you power it on.
Powering On the iPhone 13 Mini
Unboxing the iPhone 13 Mini is an experience in itself. As you carefully remove the device from its packaging, the sleek and compact design immediately captures your attention. The lightweight and portable form factor make it a delight to hold, setting the stage for the exciting journey ahead.
Located on the right side of the device, the power button beckons to be pressed. With a simple yet deliberate action, you press and hold the power button for a few seconds. As the device comes to life, the vibrant display illuminates, signaling the beginning of your iPhone 13 Mini experience.
The "Hello" screen greets you, a familiar and inviting message that marks the commencement of the setup process. It's at this moment that you realize the significance of ensuring that the battery has sufficient charge to complete the setup without interruption.
Glancing at the battery indicator, displayed as a percentage, provides a quick and convenient way to assess the current charge level of your iPhone 13 Mini. This information is prominently displayed on the screen, allowing you to gauge the remaining battery life at a glance.
If the battery level is low, it's advisable to connect your iPhone 13 Mini to a power source using the included Lightning cable and power adapter. This not only ensures that the device has ample charge for the setup process but also familiarizes you with the charging mechanism of the device.
As the device charges, you eagerly anticipate the moment when it reaches a sufficient battery level. The excitement builds as you envision the seamless setup process that awaits, knowing that a well-charged battery sets the stage for a smooth and enjoyable experience with your iPhone 13 Mini.
With the battery sufficiently charged, you power on the device once again, ready to embark on the next steps of the setup process. The vibrant display and intuitive interface beckon you to explore the features and functionalities that await your command.
In that moment, as the iPhone 13 Mini powers on and the possibilities unfold, you realize that this is more than just a device – it's a gateway to a world of connectivity, creativity, and endless possibilities. It's the beginning of a journey filled with discovery and innovation, and it all starts with the simple yet profound act of powering on your iPhone 13 Mini.
Setting Up Face ID or Passcode
Upon powering on your iPhone 13 Mini, one of the crucial steps in the setup process is establishing a secure method of authentication. This ensures that only authorized users can access the device, safeguarding your personal information and providing peace of mind. The two primary options for authentication are Face ID and a passcode, each offering a seamless yet robust approach to device security.
Setting Up Face ID
Face ID, a cutting-edge facial recognition technology, offers a convenient and secure way to unlock your iPhone 13 Mini and authenticate various actions. To set up Face ID:
-
Navigate to Settings: Access the "Settings" app on your iPhone 13 Mini, where you'll find a range of customizable options to personalize your device.
-
Face ID & Passcode: Within the Settings menu, select "Face ID & Passcode" to initiate the setup process. You may be prompted to enter your device passcode as an additional security measure.
-
Enroll Your Face: Follow the on-screen instructions to enroll your face with Face ID. This involves positioning your face within the designated frame and allowing the device to capture a detailed facial map.
-
Complete the Process: Once the initial face enrollment is complete, you'll be prompted to perform a second scan to enhance the accuracy and reliability of Face ID.
-
Confirmation: After successfully enrolling your face, Face ID is now ready to use. You can test its functionality by locking the device and then unlocking it using only your face.
Setting Up a Passcode
Alternatively, you may choose to set up a passcode as your preferred method of authentication. A passcode serves as a traditional yet effective means of securing your device and can be customized to align with your security preferences.
-
Access Settings: Within the "Settings" app, navigate to "Face ID & Passcode" to manage your device's security settings.
-
Create a Passcode: Select "Turn Passcode On" and follow the prompts to create a unique passcode. You can choose between a six-digit numeric code or a custom alphanumeric code for added security.
-
Confirm the Passcode: Once you've entered your desired passcode, the system will prompt you to confirm it, ensuring accuracy and preventing inadvertent errors.
-
Additional Options: In this section, you can explore additional passcode settings, such as enabling "Erase Data" to automatically erase all data on the device after ten failed passcode attempts, further enhancing security.
By setting up Face ID or a passcode, you establish a robust layer of security for your iPhone 13 Mini, ensuring that your personal information remains protected. Whether you opt for the futuristic convenience of Face ID or the familiarity of a passcode, your choice reflects the commitment to safeguarding your digital identity and maintaining the integrity of your device.
Configuring Language and Region
Configuring the language and region settings on your new iPhone 13 Mini is a pivotal step that not only personalizes your device but also ensures a seamless and tailored user experience. By selecting your preferred language and region, you set the stage for effortless communication, accurate location-based services, and a user interface that resonates with your cultural context.
Upon powering on your iPhone 13 Mini for the first time, you are greeted with the initial setup screen, prompting you to select your preferred language. This foundational choice lays the groundwork for the entire user interface, ensuring that all system prompts, menus, and interactions are presented in a language that you are comfortable and familiar with. Whether it's English, Spanish, French, Mandarin, or any of the numerous supported languages, the ability to customize this aspect reflects the device's commitment to inclusivity and accessibility.
Once you've chosen your preferred language, the next step involves selecting your region. This selection not only influences the language and date formats but also plays a crucial role in tailoring location-based services and regional content recommendations. Whether you're in the bustling streets of New York City, the serene landscapes of rural Japan, or the vibrant neighborhoods of Paris, configuring the region ensures that your iPhone 13 Mini aligns with the cultural and geographical nuances that define your daily experiences.
The seamless integration of language and region settings extends beyond mere customization, transcending into the realm of user empowerment. By embracing linguistic diversity and acknowledging the rich tapestry of global cultures, the iPhone 13 Mini becomes a conduit for meaningful connections, bridging language barriers and celebrating the unique identities of its users.
Furthermore, the regional configuration extends its influence to location-based services, such as maps, weather updates, and local recommendations. Whether you're seeking directions to a nearby landmark, checking the weather forecast for your current location, or discovering local points of interest, the region setting ensures that the information presented is relevant and tailored to your specific geographic context.
In essence, configuring the language and region settings on your iPhone 13 Mini is more than a mere customization process – it's a testament to the device's commitment to inclusivity, personalization, and user-centric design. By embracing the diverse linguistic and cultural landscapes of its users, the iPhone 13 Mini transcends the boundaries of a mere device, becoming a companion that resonates with the individuality and experiences of each user.
Connecting to Wi-Fi or Cellular Network
Upon unboxing your iPhone 13 Mini and powering it on, the next pivotal step in the setup process is establishing a connection to a Wi-Fi network or a cellular network. This fundamental connectivity not only enables access to the internet and essential online services but also forms the backbone of seamless communication, app downloads, and software updates.
Connecting to Wi-Fi
-
Accessing Settings: After powering on your iPhone 13 Mini, navigate to the "Settings" app, where you'll find a range of configurable options to personalize your device.
-
Wi-Fi Settings: Within the Settings menu, select "Wi-Fi" to initiate the process of connecting to a wireless network. The device will display a list of available Wi-Fi networks in your vicinity.
-
Selecting a Network: From the list of available networks, choose your preferred Wi-Fi network and enter the password if required. Once the correct credentials are entered, the device will establish a secure connection to the selected network.
-
Confirmation: Upon successful connection, the Wi-Fi icon will appear in the status bar, indicating that your iPhone 13 Mini is now connected to the selected Wi-Fi network. This connection not only provides access to the internet but also facilitates faster data transfer and software updates.
Connecting to a Cellular Network
-
Accessing Cellular Settings: In the "Settings" app, navigate to "Cellular" to manage your device's cellular network settings.
-
Enabling Cellular Data: If you have a cellular data plan, ensure that the "Cellular Data" option is enabled. This allows your iPhone 13 Mini to connect to the cellular network and access mobile data services.
-
Roaming and Additional Options: Within the Cellular settings, you can explore additional options such as data roaming, which enables data usage while traveling internationally, and cellular plan management.
-
Signal Strength and Carrier Information: Upon successful connection to a cellular network, the device will display the signal strength and carrier information, providing you with essential details about your network connectivity.
By establishing a connection to a Wi-Fi network or a cellular network, you empower your iPhone 13 Mini to unleash its full potential, enabling seamless access to online content, communication platforms, and a myriad of digital services. Whether you're browsing the web, streaming media, or staying connected with friends and family, the robust connectivity options of the iPhone 13 Mini ensure that you're always just a tap away from the digital world.
Restoring from iCloud or iTunes Backup
Restoring from an iCloud or iTunes backup is a pivotal step in the setup process of your iPhone 13 Mini, especially if you are transitioning from a previous device or seeking to preserve your existing data and settings. Whether you rely on the seamless cloud-based functionality of iCloud or the familiarity of iTunes backups, the restoration process ensures a smooth and effortless transition to your new device.
Restoring from iCloud Backup
If you've previously backed up your data to iCloud, the restoration process is remarkably straightforward, allowing you to seamlessly transfer your apps, photos, settings, and other essential content to your iPhone 13 Mini. Here's how to initiate the restoration from an iCloud backup:
-
Initial Setup: During the initial setup of your iPhone 13 Mini, you'll encounter the "Apps & Data" screen, where you'll be prompted to select "Restore from iCloud Backup."
-
Sign in to iCloud: Upon selecting the iCloud backup option, you'll be prompted to sign in to your iCloud account using your Apple ID and password.
-
Select Backup: After signing in, you'll have the opportunity to choose from a list of available iCloud backups. Select the most relevant backup based on the date and size of the backup file.
-
Restoration Process: The device will commence the restoration process, retrieving your selected backup from iCloud and applying it to your iPhone 13 Mini. This process may take some time, depending on the size of the backup and the speed of your internet connection.
-
Completion: Once the restoration is complete, your iPhone 13 Mini will reboot, and you'll be able to access your apps, photos, and settings from the selected iCloud backup.
Restoring from iTunes Backup
If you've opted to back up your previous device using iTunes, the restoration process involves connecting your iPhone 13 Mini to a computer and utilizing the iTunes software to transfer your data and settings. Here's how to restore from an iTunes backup:
-
Connect to Computer: Using a Lightning cable, connect your iPhone 13 Mini to a computer with the latest version of iTunes installed.
-
Trust This Computer: If prompted, trust the computer on your iPhone 13 Mini to establish a secure connection.
-
Select Device: In iTunes, select your iPhone 13 Mini when it appears in the software.
-
Restore Backup: Within the device summary screen, select "Restore Backup" and choose the most relevant backup from the list of available iTunes backups.
-
Restoration Process: iTunes will initiate the restoration process, transferring the selected backup to your iPhone 13 Mini. Ensure that the device remains connected to the computer throughout the restoration process.
-
Completion: Once the restoration is complete, your iPhone 13 Mini will reboot, and you'll have access to your apps, photos, and settings from the selected iTunes backup.
By restoring from an iCloud or iTunes backup, you seamlessly transition to your new iPhone 13 Mini, preserving your valuable data and settings while embracing the innovative features and capabilities of your device. This process ensures continuity and familiarity, allowing you to pick up where you left off and embark on new experiences with the confidence of a seamless transition.