
Properly Fitting Your Plantronics Headset
Ensuring that your Plantronics headset fits properly is crucial for comfort and optimal performance. A well-fitted headset not only enhances your communication experience but also reduces the risk of discomfort during prolonged usage.
Here are the steps to properly fit your Plantronics headset:
- Adjust the Headband: Start by adjusting the headband to fit securely over your head. The headband should rest comfortably on the top of your head without feeling too tight or too loose. If the headband is adjustable, modify it to achieve a snug yet comfortable fit.
- Position the Earpiece: Next, position the earpiece over your ear. It should rest gently against your ear without applying excessive pressure. Ensure that the earpiece creates a seal to optimize sound quality and minimize external distractions.
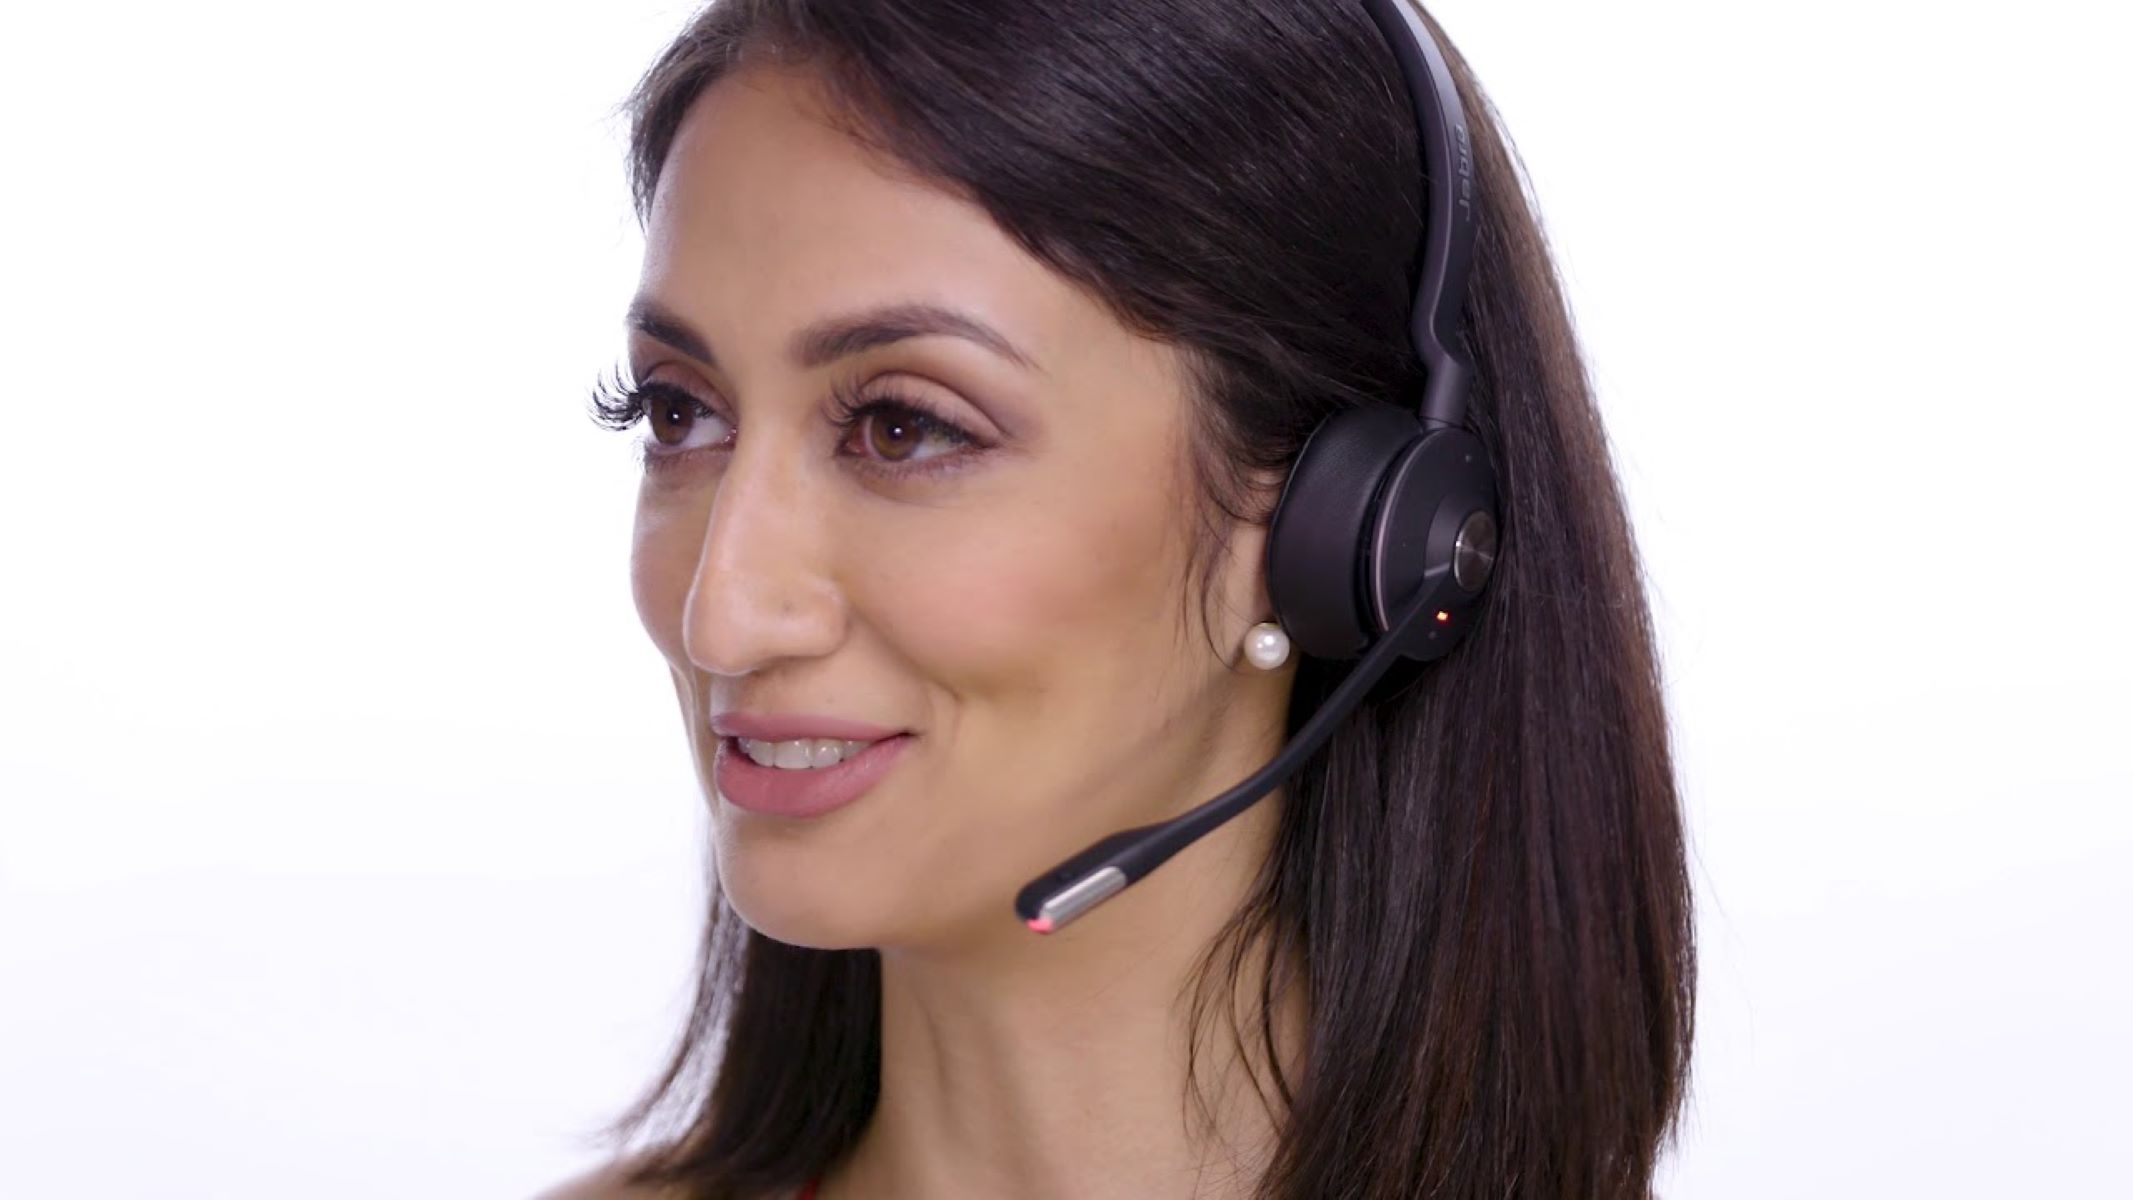
- Secure the Boom: If your Plantronics headset features a boom microphone, position it close to your mouth. The ideal placement is approximately one finger’s width from the corner of your mouth. This proximity facilitates clear and concise communication while minimizing background noise.
Once you have adjusted the headband, earpiece, and microphone boom, perform a quick movement test to ensure that the headset remains securely in place. Tilt your head from side to side and nod gently to confirm that the headset stays in position without causing discomfort or slipping.
Remember, a properly fitted Plantronics headset not only enhances your communication but also reduces the likelihood of experiencing discomfort during extended wear. Take the time to adjust the headset to fit your unique preferences and enjoy uninterrupted conversations with clarity and comfort.
Adjusting the Microphone for Optimal Performance
Proper microphone adjustment is essential for ensuring clear and effective communication while using your Plantronics headset. By optimizing the microphone position and settings, you can significantly enhance the quality of your voice transmission and minimize background noise, resulting in improved overall performance.
Follow these steps to adjust the microphone for optimal performance:
- Position the Microphone: Begin by positioning the microphone boom close to your mouth. The ideal distance is typically one finger’s width from the corner of your mouth. This proximity ensures that your voice is captured clearly while reducing the pickup of ambient noise.
- Check the Mic Placement: Verify that the microphone is correctly aligned with your mouth. It should be angled towards the corner of your mouth to capture your voice accurately without causing discomfort or obstruction.
- Test the Microphone: Speak at a normal volume and conduct a test call or recording to assess the microphone’s performance. Listen for clarity and ensure that your voice is transmitted without distortion or excessive background noise.
- Adjust Microphone Sensitivity: If your Plantronics headset offers microphone sensitivity settings, adjust them to suit your environment and speaking style. Lower sensitivity can reduce background noise pickup, while higher sensitivity may be suitable for quieter surroundings.
Regularly evaluating and adjusting the microphone settings based on your specific needs and environment can significantly enhance the performance of your Plantronics headset. By following these guidelines, you can ensure that your voice is accurately captured and transmitted, leading to clear and effective communication in various situations.
Understanding and Using the Control Buttons
Mastering the control buttons on your Plantronics headset is pivotal for harnessing its full potential and enjoying a seamless user experience. These buttons empower you to manage calls, adjust volume, and access additional features, providing convenience and control at your fingertips.
Here’s a guide to understanding and using the control buttons on your Plantronics headset:
- Answer/End Call Button: This multifunctional button allows you to answer incoming calls and end active calls with a single press. Familiarize yourself with its location and function to effortlessly manage your calls.
- Volume Controls: Most Plantronics headsets are equipped with volume buttons or a volume control wheel. Use these to adjust the listening volume according to your preferences, ensuring optimal audio clarity during calls and media playback.
- Mute Button: The mute button enables you to temporarily disable the microphone during a call. This feature is invaluable when you need to converse privately or address external sounds without transmitting them to the caller.
- Additional Functions: Depending on the model, your Plantronics headset may offer additional buttons for features such as call transfer, voice command activation, and media playback control. Refer to the user manual to explore and utilize these functions effectively.
Familiarizing yourself with the location and functionality of each control button empowers you to navigate calls and adjust settings effortlessly, enhancing your overall communication experience. Regularly practicing with the control buttons will help you become proficient in their usage, allowing you to manage calls and audio with ease.
Pairing Your Plantronics Headset with Multiple Devices
Pairing your Plantronics headset with multiple devices offers the flexibility to seamlessly switch between various gadgets, such as smartphones, tablets, and computers, without the hassle of repetitive pairing processes. This convenience allows you to stay connected across your devices and maximize the utility of your headset.
Follow these steps to pair your Plantronics headset with multiple devices:
- Enter Pairing Mode: Activate the pairing mode on your Plantronics headset. This typically involves pressing and holding the designated pairing button or following the specific pairing instructions outlined in the user manual.
- Access Device Settings: On the device you wish to pair with your headset, navigate to the Bluetooth settings. Locate the option to add a new Bluetooth device or initiate a new pairing process.
- Select and Pair: From the list of available devices, choose your Plantronics headset. Follow the on-screen prompts to complete the pairing process, ensuring that the connection is established successfully.
- Repeat for Additional Devices: If you intend to pair your headset with multiple devices, repeat the pairing process for each device, ensuring that the headset is recognized and connected seamlessly.
Once your Plantronics headset is successfully paired with multiple devices, you can effortlessly switch between them based on your preferences and requirements. This versatility allows you to seamlessly transition from a phone call on your smartphone to a video conference on your computer, all while using the same headset without the need for repeated pairing.
By following these pairing guidelines and leveraging the multi-device connectivity feature of your Plantronics headset, you can enjoy a connected and efficient communication experience across your various devices.
Maintaining and Cleaning Your Plantronics Headset
Regular maintenance and cleaning are essential to preserve the functionality and hygiene of your Plantronics headset. By implementing proper care practices, you can extend the lifespan of your device and ensure a consistently high-quality audio experience.
Consider the following maintenance and cleaning tips for your Plantronics headset:
- Wipe Down the Headset: Use a soft, dry cloth to gently wipe down the surfaces of your headset, including the headband, ear cushions, and microphone boom. This helps remove dust, dirt, and smudges, maintaining a clean and presentable appearance.
- Clean the Ear Cushions: If your headset features removable ear cushions, periodically clean them with a mild soap solution and allow them to air dry completely before reattaching them to the headset. This process helps eliminate sweat and oil buildup, promoting comfort and hygiene.
- Inspect the Cables: Regularly inspect the cables and connectors for any signs of wear or damage. If you notice fraying or exposed wires, consider replacing the cables to prevent potential audio issues and ensure safe usage.
- Store Properly: When not in use, store your Plantronics headset in a clean and dry environment. Avoid exposing it to extreme temperatures, moisture, or direct sunlight, as these conditions can affect the device’s performance and longevity.
By incorporating these maintenance practices into your routine, you can uphold the condition of your Plantronics headset and optimize its performance for an extended period. Regular cleaning and care not only preserve the physical integrity of the headset but also contribute to a hygienic and comfortable user experience.
Troubleshooting Common Issues with Your Plantronics Headset
Encountering occasional challenges with your Plantronics headset is not uncommon, but with the right troubleshooting techniques, you can swiftly address and resolve these issues, restoring the optimal functionality of your device.
Consider the following troubleshooting tips for common issues with your Plantronics headset:
- Audio Distortion: If you experience audio distortion or poor sound quality, check the headset’s connections and ensure that the audio source is functioning correctly. Additionally, adjust the headset’s volume and microphone settings to mitigate any potential audio issues.
- Intermittent Connectivity: In cases of intermittent connectivity or pairing difficulties, try resetting the headset and re-pairing it with your devices. Ensure that the devices’ Bluetooth settings are enabled and functioning properly, and consider updating the headset’s firmware if applicable.
- Battery Drain: If you notice rapid battery drain, verify that the headset is fully charged and consider replacing the battery if it no longer holds a sufficient charge. Additionally, optimize the headset’s power management settings to conserve battery life during usage.
- Mic Sensitivity Issues: When experiencing microphone sensitivity issues, adjust the microphone settings on the headset and the connected devices. Ensure that the microphone boom is positioned correctly and that there are no obstructions or debris affecting its performance.
- Audio Playback Problems: If encountering challenges with audio playback, such as one-sided audio or imbalanced sound, inspect the headset’s audio ports and connections for any debris or damage. Test the headset with alternative audio sources to identify the source of the issue.
By applying these troubleshooting strategies, you can effectively address common issues that may arise with your Plantronics headset, allowing you to swiftly resolve technical challenges and resume seamless communication and audio experiences.