
What is Apple SOS?
Apple SOS is a powerful emergency feature available on iPhones that allows users to quickly summon help and contact emergency services in times of crisis. This feature was introduced to ensure the safety and well-being of iPhone users, providing them with a convenient and reliable way to request assistance when faced with emergencies.
When activated, Apple SOS on iPhone can connect you directly to emergency services, notify your emergency contacts of your location, and display essential medical information through the Medical ID feature. It is an essential tool that can save lives and bring peace of mind to iPhone users and their loved ones.
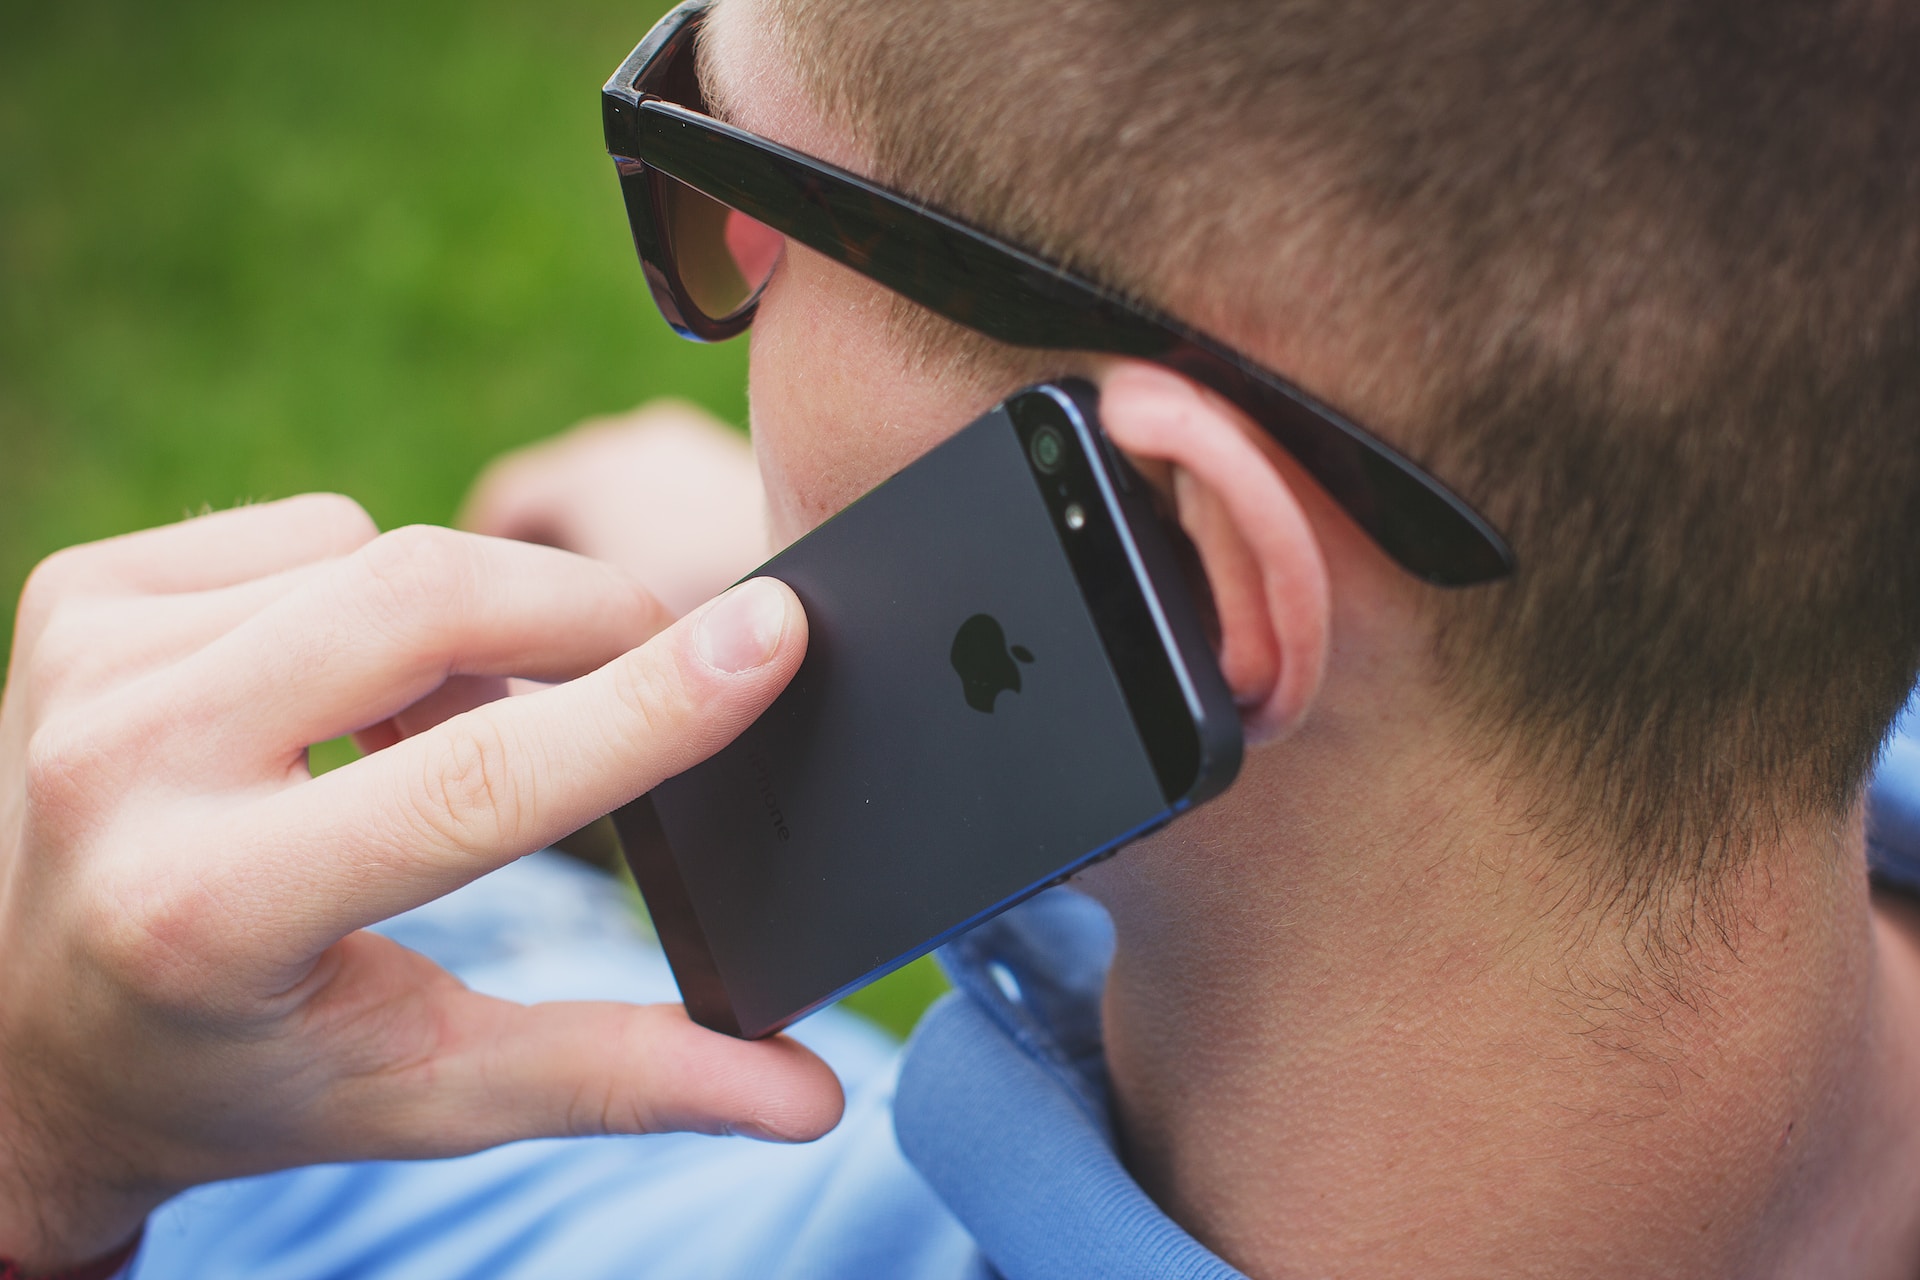
One key aspect of Apple SOS is the ability to make an emergency call with just a few quick taps, bypassing the need to unlock your iPhone and navigate through multiple screens. This feature is especially valuable in urgent situations where every second counts.
Furthermore, Apple SOS utilizes various technologies, such as GPS, Wi-Fi, and cellular networks, to determine and share your precise location with emergency services. This helps facilitate a faster response and ensures that help reaches you as quickly as possible, no matter where you are.
It’s important to note that Apple SOS is designed to be discreet, allowing users to discreetly reach out for help without drawing attention to themselves. This can be particularly helpful in situations where you may feel threatened or unsafe.
Overall, Apple SOS is a crucial tool that empowers iPhone users to be prepared for emergencies. By understanding how to activate and use this feature, you can take advantage of the safety and security it provides, knowing that help is just a few taps away.
How to Activate Apple SOS on iPhone
Activating Apple SOS on your iPhone is a simple process that ensures quick access to emergency services when needed. Follow these steps to enable Apple SOS:
- Open the Settings app on your iPhone.
- Scroll down and tap on “Emergency SOS.”
- Toggle the “Call with Side Button” switch to enable it. This allows you to initiate an emergency call by pressing the side button rapidly five times.
- Below the “Call with Side Button” option, you’ll find the “Auto Call” feature. When enabled, this feature will automatically dial emergency services after a specified countdown finishes. Toggle the switch to enable or disable this option according to your preference.
- If desired, you can also enable the “Also Works with 5 Clicks” option. This allows you to activate Apple SOS by pressing the side button rapidly five times, even when the “Call with Side Button” switch is disabled.
Once you have completed these steps, Apple SOS will be ready to use on your iPhone. It’s important to familiarize yourself with the process and practice activating Apple SOS before an emergency situation arises.
Remember to exercise caution when enabling the Auto Call feature. Accidental activation of emergency services can create unnecessary disruptions. Be mindful of this when deciding whether to enable or disable this option.
Additionally, it’s essential to note that the steps to activate Apple SOS may vary slightly depending on your iPhone model and the iOS version you are running. It’s recommended to check your specific device’s manual or the Apple website for the most accurate and up-to-date instructions.
How to Make an Emergency Call Using Apple SOS
When faced with an emergency situation, being able to quickly make a call for help can be crucial. With Apple SOS on your iPhone, initiating an emergency call is a streamlined process. Here’s how to make an emergency call using Apple SOS:
- Press the side button on your iPhone rapidly five times. This action will trigger Apple SOS.
- A slider will appear on your screen with options to power off your device, make an emergency call, or access your Medical ID. Slide the Emergency SOS slider to the right.
- Your iPhone will automatically dial the local emergency services number, such as 911 in the United States. Keep in mind that the specific emergency services number may vary depending on your location. The call will connect automatically without requiring you to manually dial the number.
- Once connected, clearly and calmly explain the nature of the emergency to the operator and provide any necessary information they request. Stay on the line until the operator advises you to disconnect.
It is important to note that Apple SOS also notifies your designated emergency contacts of your current location when an emergency call is made. This allows your trusted contacts to be aware of the situation and provide support.
In situations where you may be unable to speak, such as if you are hiding or have impaired speech, it’s important to remember that emergency services can still trace the location of your call. It’s recommended to follow any instructions provided by the operator and use any available means to communicate the nature of the emergency.
By understanding and practicing the process of making an emergency call using Apple SOS, you can ensure that you’re prepared to act swiftly and effectively in times of need.
Emergency Contacts and Medical ID
Aside from contacting emergency services, Apple SOS also allows you to designate emergency contacts and provides access to your Medical ID, ensuring that essential information is readily available to assist first responders. Here’s how to set up emergency contacts and configure your Medical ID:
- Open the Health app on your iPhone. If you can’t locate it, simply swipe down on your home screen and use the search bar to find it.
- Tap on the “Medical ID” tab located at the bottom right of the screen.
- Select “Edit” to modify your Medical ID.
- Scroll down to the “Emergency Contacts” section. Tap on the “+” symbol to add a contact.
- Choose a contact from your phone’s contact list and assign their relationship to you (e.g., parent, spouse, friend).
- If desired, you can add multiple emergency contacts by tapping the “+” symbol again and following the same process.
- After adding your emergency contacts, ensure their information is accurate and up to date.
- Additionally, you can provide relevant medical information by filling out the various fields in the Medical Details section. Include details such as allergies, medical conditions, and medications you are currently taking.
- Remember to tap on “Done” to save your changes.
In case of an emergency, first responders can access your Medical ID even if your device is locked. This information can provide crucial insights into your medical history, allergies, and other essential details that can influence the course of treatment.
It’s worth noting that your emergency contacts will receive a notification with your current location when you use Apple SOS to make an emergency call. This allows them to know that you have activated Apple SOS and are potentially in a critical situation.
Regularly review and update your emergency contact list and Medical ID to ensure that the information remains accurate. Keeping this information up to date can make a significant difference in emergency situations.
How to Disable Apple SOS on iPhone
If you no longer wish to have Apple SOS activated on your iPhone or want to temporarily disable it, you can easily make the necessary adjustments. Here’s how to disable Apple SOS:
- Open the Settings app on your iPhone.
- Scroll down and tap on “Emergency SOS.”
- Disable the “Call with Side Button” switch by toggling it off. This prevents accidental activation of Apple SOS when you press the side button rapidly five times.
- If you had previously enabled the “Auto Call” feature, toggle it off as well. This stops your iPhone from automatically dialing emergency services after the countdown finishes.
- If you have enabled the “Also Works with 5 Clicks” option, toggle it off to ensure that Apple SOS is completely disabled.
Once you have completed these steps, Apple SOS will be disabled on your iPhone. It’s important to remember that you can re-enable it at any time by following the same process and toggling the appropriate switches back on.
Disabling Apple SOS can be useful in situations where you want to avoid accidental emergency calls or when traveling to areas where the emergency services number may be different. However, it’s recommended to keep Apple SOS enabled to ensure you have access to emergency services when needed.
In addition to disabling Apple SOS, it’s a good practice to protect your iPhone with a passcode or biometric authentication. Doing so prevents unauthorized users from potentially activating Apple SOS without your knowledge or consent.
Always consider your personal circumstances and preferences when deciding whether to enable or disable Apple SOS on your iPhone.
Limitations and Considerations for Using Apple SOS
While Apple SOS is a valuable feature that enhances your safety and peace of mind, it is essential to be aware of its limitations and consider certain factors when using it. Here are some important limitations and considerations to keep in mind:
1. Network Availability: Apple SOS relies on cellular networks, Wi-Fi, and GPS to function. In areas with poor network coverage or when your iPhone has no signal, Apple SOS may not be able to connect to emergency services or transmit your location accurately. It’s important to have realistic expectations of the feature’s performance based on your location.
2. Accidental Activation: The ability to activate Apple SOS by pressing the side button rapidly five times is designed to be deliberate. However, it’s important to exercise caution to prevent accidental activations, especially if you frequently handle your iPhone in a way that may trigger this feature unintentionally. Be mindful of this possibility to avoid unnecessary emergency calls.
3. Battery Life: Activating Apple SOS for an emergency call, particularly with the Auto Call feature enabled, may consume more battery power. It’s important to regularly monitor and manage your iPhone’s battery to ensure that it is adequately charged when needed. Consider using portable chargers or battery-saving techniques to extend your iPhone’s battery life in case of emergencies.
4. Location Accuracy: While Apple SOS attempts to provide accurate location data to emergency services, there may be instances where the data is not precise or may not be available at all. Factors such as tall buildings, dense urban environments, or interference can impact the accuracy of GPS location. It’s crucial to communicate your location verbally to emergency operators to ensure they can locate you effectively.
5. Language and Legal Considerations: Apple SOS may have language limitations when it comes to calling emergency services in a different country or region. Familiarize yourself with the local emergency service numbers and consider language barriers that may affect effective communication during an emergency. Additionally, be aware of any legal restrictions or regulations that pertain to using Apple SOS in your specific geographic area.
6. Practice and Preparedness: While Apple SOS provides a convenient way to call for help, it’s important to practice using it and be aware of alternative methods to contact emergency services. In some situations, it may be more appropriate to directly dial the local emergency services number rather than relying solely on Apple SOS. Stay informed about emergency protocols and procedures in your area to ensure you can respond effectively in different scenarios.
By understanding these limitations and considering these factors, you can use Apple SOS responsibly and be prepared for emergencies, maximizing the effectiveness of this vital feature on your iPhone.
FAQ about Apple SOS on iPhone
Here are some frequently asked questions about Apple SOS on iPhone:
Q: Can I use Apple SOS on any iPhone model?
A: Yes, Apple SOS is available on all iPhone models running iOS 11 or later.
Q: Is Apple SOS available in all countries?
A: Apple SOS is available in most countries, but the specific emergency services number may vary. It’s recommended to check with your local authorities or Apple’s official website for information specific to your region.
Q: Will Apple SOS work if I have a disabled iPhone?
A: No, Apple SOS requires access to your iPhone’s lock screen. If your iPhone is disabled or inaccessible, you may need to use an alternative method to contact emergency services.
Q: Can Apple SOS be activated without an internet connection?
A: Apple SOS uses a combination of cellular networks, Wi-Fi, and GPS to function. While an active internet connection is not required, availability may impact the accuracy of location data and the ability to reach emergency services.
Q: Can I customize the emergency services number used by Apple SOS?
A: No, Apple SOS automatically dials the default emergency services number for your country or region. However, you can manually dial a different emergency services number from the Phone app if needed.
Q: Can I use Apple SOS to contact non-emergency services?
A: Apple SOS is specifically designed to contact emergency services. For non-emergency situations, it’s recommended to use the appropriate phone numbers or contact methods for the relevant services.
Q: Can I add international emergency contacts to Apple SOS?
A: Yes, you can add international contacts as your emergency contacts within the Health app. Ensure you have their correct phone numbers and country codes when saving their contact details.
Q: Can I test Apple SOS without actually making an emergency call?
A: Yes, you can test Apple SOS without making an actual emergency call by initiating the process and then canceling it when the slider appears. This allows you to familiarize yourself with the steps while avoiding unintended emergency calls.
Remember to refer to your iPhone’s manual or Apple’s official website for detailed instructions and the most up-to-date information about using Apple SOS on your specific device model.