
Checking the SIM Card Slot
Before inserting a SIM card into your Moto G Power, it's crucial to ensure that you have the correct SIM card size and that the device is powered off. The first step is to identify the location of the SIM card slot on your device. The Moto G Power features a dedicated slot for the SIM card, which is typically located on the side of the device.
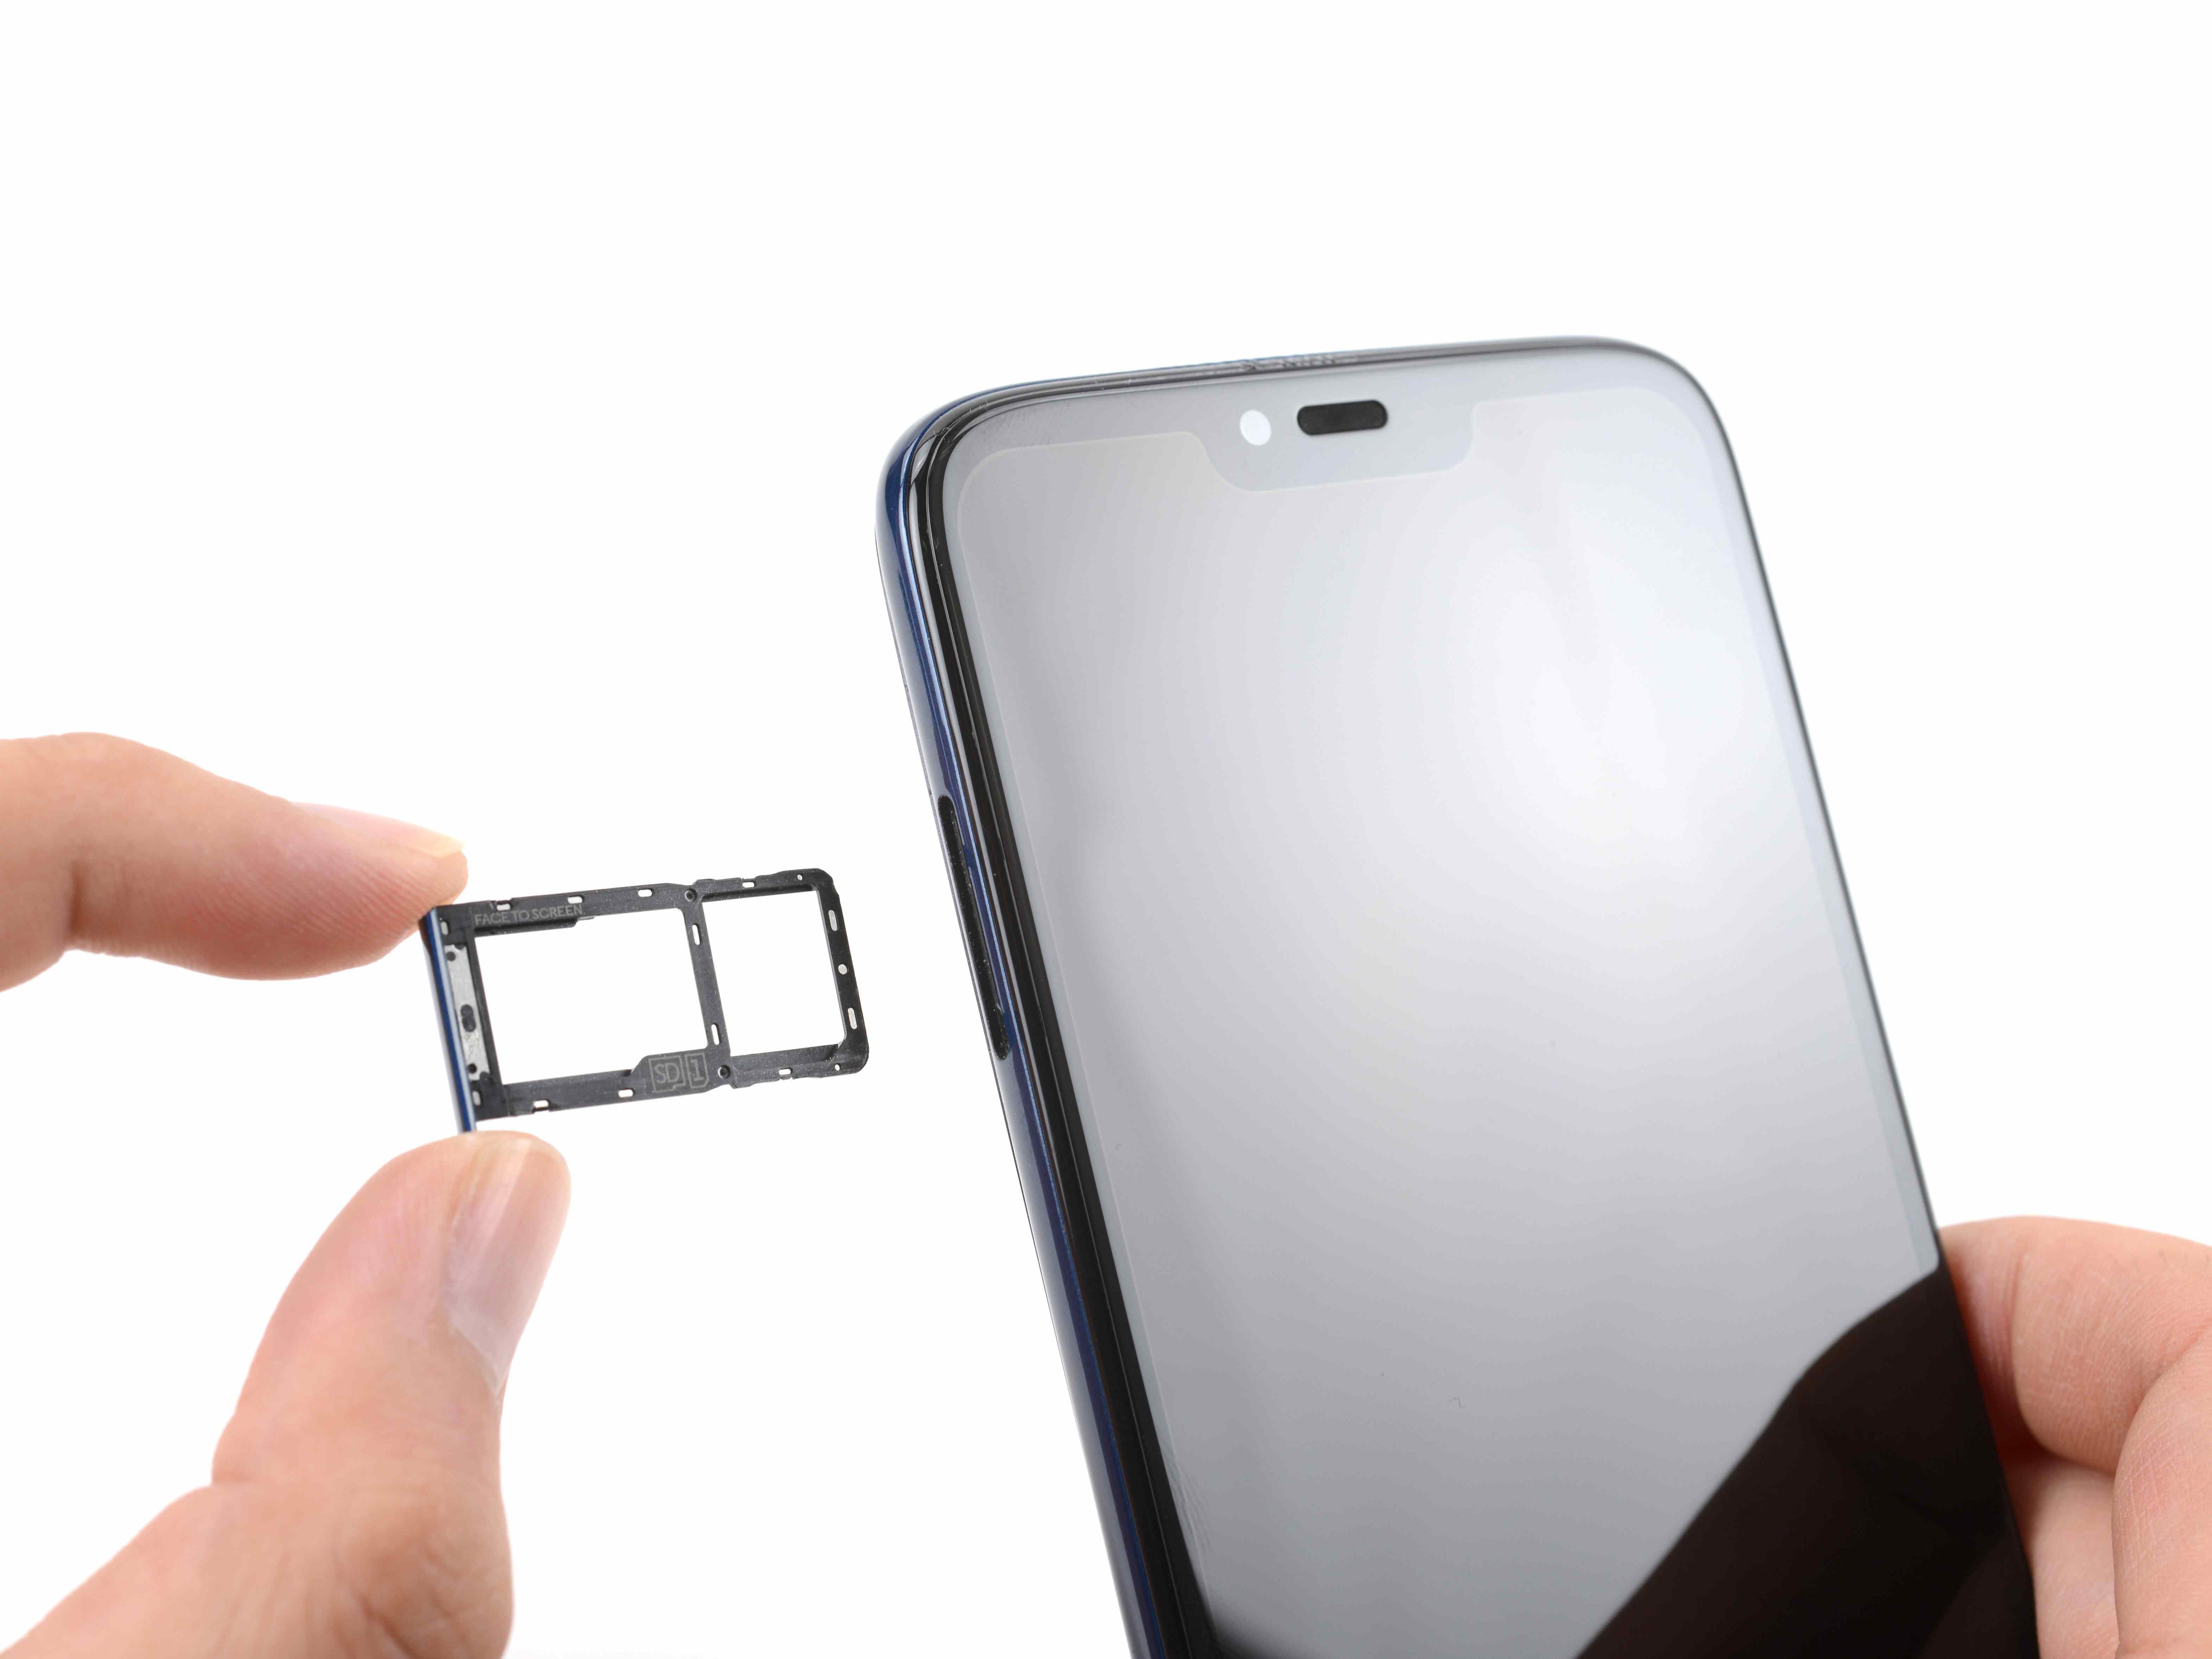
To locate the SIM card slot, gently examine the sides of the phone until you find a small pinhole or a tray with a tiny ejector hole. This is where the SIM card tray is housed. The Moto G Power uses a nano-SIM card, which is the smallest SIM card size available. It's important to note that attempting to insert a larger SIM card, such as a micro-SIM or standard SIM, into the slot can cause damage to the device and the SIM card.
Once you have located the SIM card slot and verified the correct SIM card size, you are ready to proceed with the next steps of inserting the SIM card into your Moto G Power. This initial check ensures that you are well-prepared and have the necessary information to successfully insert the SIM card without encountering any issues.
By taking the time to check the SIM card slot and confirm the compatibility of the SIM card size, you can avoid potential complications and ensure a smooth and hassle-free process when inserting the SIM card into your Moto G Power. This simple yet essential step sets the stage for a successful SIM card installation, allowing you to seamlessly activate your device and enjoy its full functionality.
Powering Off the Moto G Power
Powering off your Moto G Power is a fundamental step before inserting or removing the SIM card. This process ensures the safety of the device and prevents any potential damage to the SIM card or the phone itself. To power off the Moto G Power, follow these simple steps:
-
Locate the Power Button: The power button is typically located on the right-hand side of the device. It is often distinguished by its texture or a small icon indicating its function. Once located, ensure that the device's screen is active and unlocked.
-
Press and Hold the Power Button: Press and hold the power button until the power off menu appears on the screen. This menu provides options to power off the device, restart it, or enter emergency mode.
-
Select "Power Off": Tap the "Power Off" option on the screen. This initiates the shutdown process, prompting the device to power down safely.
-
Wait for the Device to Power Off: Allow the Moto G Power to complete the power down sequence. You may notice the screen turning off, indicating that the device is successfully powering down.
-
Verify the Device is Off: After the screen has turned off, ensure that the device is completely powered down by pressing the power button briefly. If the device does not respond and the screen remains inactive, it indicates that the Moto G Power has been successfully powered off.
By following these steps, you can safely power off your Moto G Power, preparing it for the next stage of inserting or removing the SIM card. This simple yet crucial process ensures that the device is in a safe state for handling the SIM card and prevents any potential issues that may arise from manipulating the SIM card while the device is powered on. Additionally, powering off the device aligns with best practices for handling electronic devices, promoting the longevity and optimal performance of the Moto G Power.
Ensuring that the device is powered off before proceeding with the SIM card manipulation is a proactive measure that safeguards both the device and the SIM card, contributing to a seamless and trouble-free experience when managing the SIM card in your Moto G Power.
Locating the SIM Card Tray
Locating the SIM card tray on your Moto G Power is a crucial step in the process of inserting or replacing the SIM card. The SIM card tray is the designated compartment where the SIM card is securely placed within the device. To locate the SIM card tray on your Moto G Power, follow these steps:
-
Examine the Device Edges: Begin by gently examining the edges of your Moto G Power. The SIM card tray is typically located on one of the sides of the device. It may be situated on the left or right side, depending on the specific model of the Moto G Power. Look for a small pinhole or a tray with a tiny ejector hole, which indicates the presence of the SIM card tray.
-
Use the Ejector Tool: The Moto G Power comes with a specialized SIM card ejector tool, which is designed to safely and easily remove the SIM card tray. This tool is often included in the device's packaging. If you have the ejector tool, locate it and keep it ready for use. If the tool is not readily available, a small paperclip can be used as an alternative for ejecting the SIM card tray.
-
Refer to the User Manual: If you encounter difficulty locating the SIM card tray, refer to the user manual provided with your Moto G Power. The user manual contains detailed illustrations and instructions that can assist you in identifying the exact location of the SIM card tray on your specific device model.
-
Avoid Applying Excessive Force: When attempting to locate the SIM card tray, it's important to handle the device with care and avoid applying excessive force. The SIM card tray is designed to be easily accessible, and forcing it open can lead to damage. Gently explore the edges of the device until you locate the SIM card tray without exerting unnecessary pressure.
By following these steps, you can successfully locate the SIM card tray on your Moto G Power. This essential preparation sets the stage for the subsequent steps of inserting the SIM card, ensuring that you are well-informed and equipped to proceed with confidence. The process of locating the SIM card tray is a foundational aspect of managing the SIM card in your Moto G Power, contributing to a smooth and efficient experience when handling the device's connectivity features.
Inserting the SIM Card
Once you have located the SIM card tray on your Moto G Power, you are ready to proceed with the crucial step of inserting the SIM card. Follow these detailed steps to ensure a seamless and successful insertion process:
-
Prepare the SIM Card: Before inserting the SIM card, ensure that it is compatible with the Moto G Power's nano-SIM card slot. The SIM card features a unique shape with one corner angled or notched to align correctly within the tray. Verify that the SIM card is oriented correctly to match the shape of the tray, as attempting to insert the SIM card in the wrong orientation can lead to potential damage.
-
Eject the SIM Card Tray: Use the provided SIM card ejector tool or a small paperclip to gently press into the ejector hole on the SIM card tray. Applying light pressure will cause the tray to partially protrude from the device, allowing you to grasp and fully remove it from the Moto G Power.
-
Position the SIM Card: Once the SIM card tray is accessible, carefully place the SIM card onto the tray, ensuring that it aligns with the designated area and the notched corner matches the orientation of the tray. Take care to position the SIM card securely within the tray, as any misalignment can hinder the insertion process and potentially damage the SIM card or the device.
-
Reinsert the SIM Card Tray: After placing the SIM card onto the tray, gently slide the tray back into the SIM card slot on the Moto G Power. Apply light and even pressure to ensure that the tray smoothly reseats into the device, securing the SIM card in place. Take care to avoid forcing the tray, as it should slide back into position with minimal resistance.
-
Verify the Secure Fit: Once the SIM card tray is fully inserted, verify that it sits flush with the device's edge, indicating that the SIM card is securely positioned within the Moto G Power. This visual confirmation ensures that the SIM card is properly installed and ready for activation.
By following these detailed steps, you can confidently insert the SIM card into your Moto G Power, setting the stage for seamless connectivity and communication capabilities. This essential process ensures that the SIM card is securely and correctly positioned within the device, allowing you to fully utilize the Moto G Power's features and functionalities.
Powering On the Moto G Power
Powering on your Moto G Power is the next crucial step after successfully inserting the SIM card. This process initiates the device's boot sequence, allowing it to become fully operational and ready for use. To power on the Moto G Power, follow these straightforward steps:
-
Press and Hold the Power Button: Located on the right-hand side of the device, the power button is easily accessible. Press and hold the power button until you observe the device's screen lighting up and displaying the Moto G Power logo. This action triggers the device to power on and commence its startup process.
-
Wait for the Boot Sequence: After pressing the power button, allow the Moto G Power to complete its boot sequence. During this time, the device undergoes internal processes to initialize its operating system and prepare for user interaction. You may notice the screen transitioning from displaying the manufacturer's logo to the device's home screen or lock screen.
-
Enter the Device Passcode (if applicable): If your Moto G Power is secured with a passcode, pattern, or biometric authentication, such as a fingerprint or facial recognition, you will be prompted to enter or authenticate with the security measure. This ensures that only authorized users can access the device's features and personal data.
-
Observe the Home Screen: Once the boot sequence is complete and any necessary security measures are addressed, the Moto G Power's home screen or lock screen will become visible. This indicates that the device has successfully powered on and is ready for use.
By following these steps, you can effectively power on your Moto G Power, bringing the device to an operational state and enabling you to access its functionalities. This simple yet pivotal process sets the stage for utilizing the device's features, including making calls, sending messages, accessing apps, and enjoying the full range of capabilities offered by the Moto G Power.
Ensuring that the device is powered on after inserting the SIM card is a fundamental aspect of activating and utilizing the Moto G Power. This seamless transition from the SIM card insertion to powering on the device contributes to a smooth and efficient experience, allowing you to harness the full potential of your Moto G Power for communication, productivity, and entertainment.
Verifying the SIM Card Status
After successfully inserting the SIM card and powering on your Moto G Power, it is essential to verify the SIM card status to ensure that the device recognizes the newly inserted SIM card and is ready for use. Verifying the SIM card status involves confirming that the device detects the SIM card, displays the network signal, and enables access to cellular services. This critical step ensures that the SIM card is functioning correctly within the Moto G Power, allowing you to seamlessly connect with cellular networks and utilize voice, messaging, and data services.
To verify the SIM card status on your Moto G Power, follow these steps:
-
Check Network Signal: Look for the network signal indicator on the device's screen, typically displayed as signal bars or a network icon. The presence of the network signal indicates that the Moto G Power has successfully recognized the SIM card and established connectivity with the cellular network. A strong signal strength signifies optimal network reception, ensuring reliable communication capabilities.
-
Make a Test Call: Initiate a test call to verify that the Moto G Power can successfully connect to the cellular network and place calls. Dial a known phone number or contact and ensure that the call connects without any issues. The ability to make and receive calls confirms that the SIM card is operational and that the device's telephony features are functioning as expected.
-
Send a Test Message: Send a test message, such as a text or multimedia message, to another device to confirm that the Moto G Power can transmit and receive messages over the cellular network. The successful sending and receiving of messages validate the device's messaging capabilities, indicating that the SIM card is fully functional for text-based communication.
-
Access Mobile Data: Verify that the Moto G Power can access mobile data services by opening a web browser or an app that requires internet connectivity. Attempt to load a webpage or access online content to ensure that the device can connect to the internet via the cellular network. The ability to access mobile data signifies that the SIM card enables data services, allowing you to browse the web, use online apps, and stay connected while on the go.
By following these verification steps, you can confirm that the SIM card status on your Moto G Power is optimal, ensuring that the device is fully equipped to deliver seamless connectivity and communication capabilities. Verifying the SIM card status is a critical aspect of the activation process, providing assurance that the SIM card is recognized and operational within the Moto G Power, empowering you to stay connected and engaged with the world around you.