
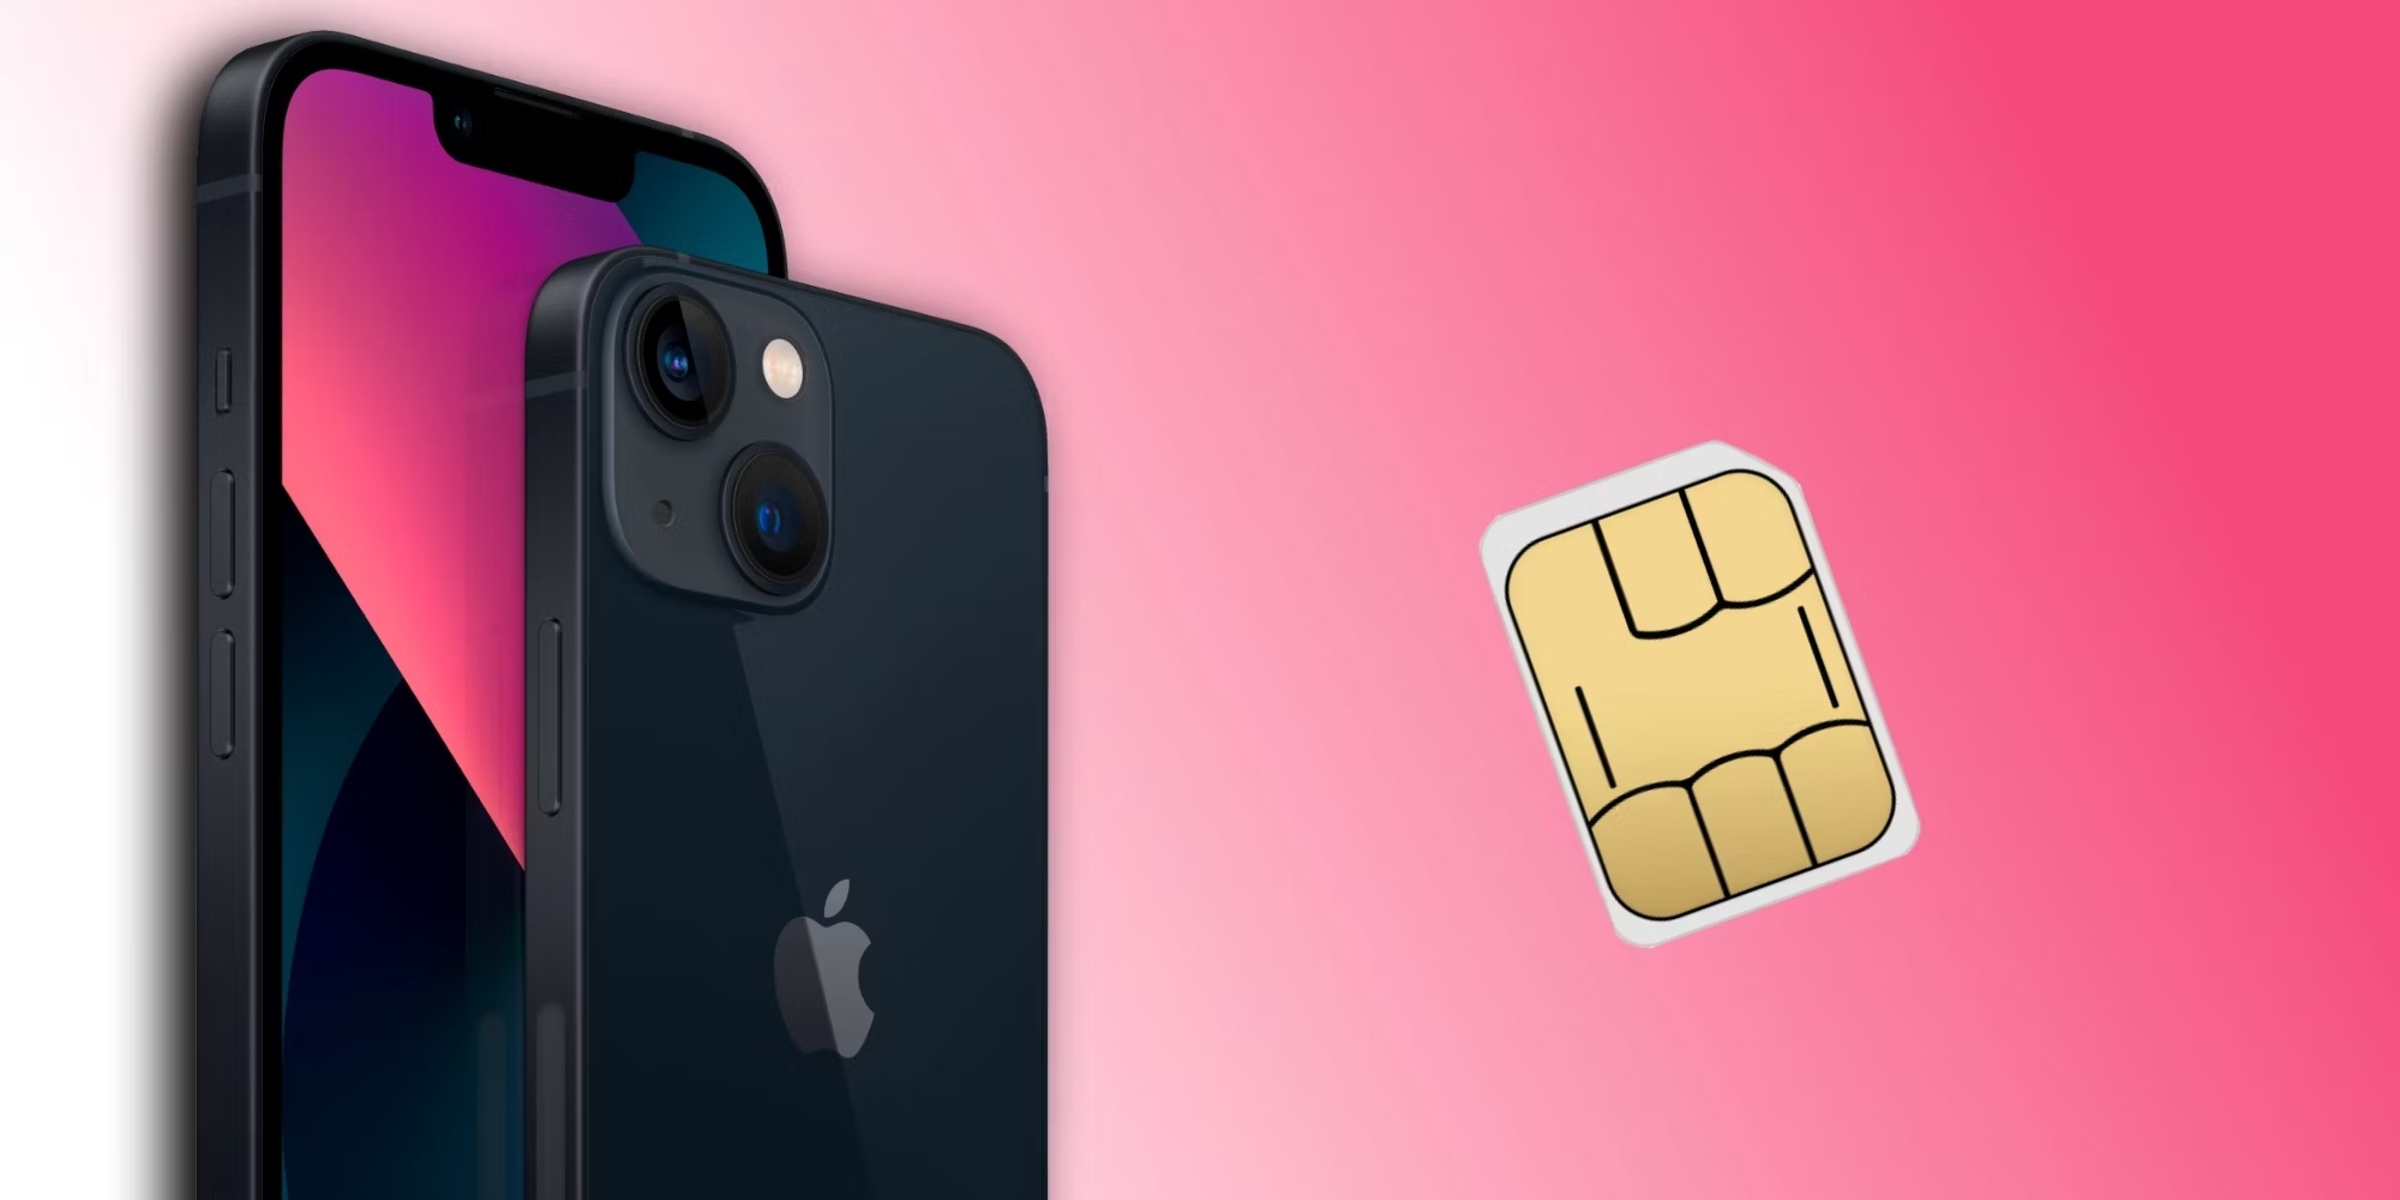
Checking SIM Card Compatibility
Before inserting a SIM card into your iPhone 13, it's crucial to ensure that the SIM card is compatible with the device. The iPhone 13 supports nano-SIM cards, which are the smallest SIM card size available. It's important to verify that your SIM card is a nano-SIM to avoid any issues during the insertion process.
To check the compatibility of your SIM card, you can refer to the documentation provided by your mobile service provider. This documentation typically includes details about the type of SIM card required for specific devices. Alternatively, you can directly contact your service provider's customer support to confirm the compatibility of your SIM card with the iPhone 13.
Another method to verify SIM card compatibility is to examine the physical size of the SIM card. Nano-SIM cards are significantly smaller than their predecessors, the micro-SIM and standard SIM cards. By comparing the size of your SIM card to the dimensions of a nano-SIM, which measures 12.3mm by 8.8mm, you can determine if it is compatible with the iPhone 13.
Additionally, if you are obtaining a new SIM card, ensure that it is specifically designated as a nano-SIM. When acquiring a SIM card from a mobile service provider, it's advisable to request a nano-SIM to guarantee compatibility with the iPhone 13.
Verifying the compatibility of your SIM card with the iPhone 13 is an essential initial step to ensure a smooth and successful insertion process. By confirming that your SIM card is a nano-SIM and is designated for use with the iPhone 13, you can proceed with confidence to the next steps of inserting the SIM card into your device.
Powering Off the iPhone 13
Powering off your iPhone 13 is a fundamental step before inserting or removing the SIM card. This process ensures the safety of your device and prevents any potential damage to the SIM card or the iPhone itself. To power off the iPhone 13, follow these simple steps:
-
Press and hold the Side button and either the Volume Up or Volume Down button simultaneously. This action will prompt the power off slider to appear on the screen.
-
Slide the power off slider from left to right using your finger. As you do this, the iPhone 13 will begin the shutdown process.
-
Wait for the device to power off completely. You can verify that the iPhone 13 is turned off by ensuring that the screen is blank and unresponsive to touch.
It's important to note that properly powering off your iPhone 13 before handling the SIM card helps to prevent any potential damage to the card or the device. By following these steps, you can safely prepare your iPhone 13 for the next stage of the SIM card insertion process.
Ensuring that your iPhone 13 is powered off before proceeding with the SIM card insertion is a crucial precautionary measure. This simple yet essential step helps to safeguard the integrity of both the device and the SIM card, ensuring a smooth and trouble-free experience when inserting or removing the SIM card from your iPhone 13.
Locating the SIM Card Tray
The SIM card tray on the iPhone 13 is a vital component that facilitates the insertion and removal of the SIM card. To locate the SIM card tray, you will need to identify the specific location on the device where it is situated. The SIM card tray on the iPhone 13 is strategically positioned to ensure easy access while maintaining the sleek and seamless design of the device.
To begin the process of locating the SIM card tray, you should first ensure that your iPhone 13 is powered off. Once the device is powered off, you can proceed to identify the SIM card tray's precise location. The SIM card tray on the iPhone 13 is typically located on the right-hand side of the device, adjacent to the device's exterior frame.
Upon locating the SIM card tray, you will notice a small pinhole or slot adjacent to the tray. This pinhole serves as the access point for the SIM card ejection tool, which is provided with the iPhone 13. The presence of this pinhole indicates the proximity of the SIM card tray and provides a visual cue to assist in its location.
The SIM card tray on the iPhone 13 is designed to blend seamlessly with the device's aesthetics, featuring a discreet and refined appearance. Its positioning on the right-hand side of the device ensures convenient access while maintaining the overall symmetry and balance of the iPhone 13's design.
By familiarizing yourself with the location of the SIM card tray on the iPhone 13, you can effectively prepare for the subsequent steps of ejecting the tray and inserting the SIM card. Understanding the precise location of the SIM card tray is essential for a smooth and efficient SIM card insertion process, enabling you to proceed with confidence and precision.
In summary, the SIM card tray on the iPhone 13 is situated on the right-hand side of the device, featuring a subtle and unobtrusive design that harmonizes with the overall aesthetics of the iPhone 13. Familiarizing yourself with the location of the SIM card tray is a fundamental aspect of preparing for the subsequent steps of the SIM card insertion process, ensuring a seamless and hassle-free experience when handling the SIM card on your iPhone 13.
Ejecting the SIM Card Tray
Ejecting the SIM card tray from your iPhone 13 is a crucial step that precedes the actual insertion of the SIM card. This process allows for the safe and efficient placement of the SIM card into the device. To eject the SIM card tray from your iPhone 13, follow these detailed steps:
-
Locate the SIM Card Tray: As mentioned earlier, the SIM card tray is typically positioned on the right-hand side of the iPhone 13. It is important to ensure that the device is powered off before proceeding with the next steps.
-
Retrieve the SIM Card Ejection Tool: The iPhone 13 is accompanied by a SIM card ejection tool, which is specifically designed to facilitate the removal of the SIM card tray. This tool is typically included in the packaging of the iPhone 13. If the ejection tool is not readily available, a small paperclip can be used as an alternative.
-
Insert the Ejection Tool: Take the SIM card ejection tool and insert it into the small pinhole located adjacent to the SIM card tray. Apply gentle pressure to ensure that the ejection tool is fully inserted into the pinhole.
-
Apply Pressure to Eject the Tray: Once the ejection tool is securely inserted, exert a small amount of pressure to initiate the ejection process. This action will cause the SIM card tray to protrude slightly from the device, allowing for easy removal.
-
Carefully Remove the Tray: With the SIM card tray partially ejected, carefully pull it out from the iPhone 13. Exercise caution to prevent any damage to the tray or the device during this process.
-
Set the Tray Aside: Once the SIM card tray has been removed, set it aside in a safe and easily accessible location. This will ensure that the tray is readily available for the subsequent step of inserting the SIM card.
Ejecting the SIM card tray from your iPhone 13 is a straightforward yet essential procedure that sets the stage for the seamless insertion of the SIM card. By following these detailed steps, you can effectively prepare the device for the next phase of the process, ensuring a smooth and trouble-free experience when handling the SIM card on your iPhone 13.
Inserting the SIM Card
After successfully ejecting the SIM card tray from your iPhone 13, the next step is to insert the SIM card into the tray. This process requires precision and care to ensure that the SIM card is securely placed within the designated slot. Follow these detailed steps to effectively insert the SIM card into your iPhone 13:
-
Prepare the SIM Card: Before inserting the SIM card, ensure that it is positioned correctly. The SIM card features a distinctive shape with one corner angled or notched. This design corresponds to the SIM card tray, allowing for proper alignment during insertion. Orient the SIM card so that it aligns with the shape of the tray, ensuring a seamless fit.
-
Position the SIM Card Tray: Retrieve the SIM card tray that was previously ejected from the iPhone 13. Hold the tray securely, ensuring that it remains stable and level to facilitate the insertion of the SIM card.
-
Place the SIM Card: Carefully position the SIM card onto the designated area within the SIM card tray. Align the notched corner of the SIM card with the corresponding notch within the tray, ensuring a precise fit. Gently press the SIM card into place, allowing it to rest securely within the tray.
-
Verify the Alignment: After placing the SIM card into the tray, visually inspect the alignment to confirm that the card is positioned correctly. Ensure that the SIM card sits flush within the tray and that it aligns seamlessly with the tray's contours.
-
Reinsert the Tray: With the SIM card securely in place, carefully reinsert the SIM card tray back into the iPhone 13. Ensure that the tray slides smoothly into the device, maintaining a level and stable orientation throughout the process.
-
Complete the Insertion: Once the SIM card tray is fully inserted, apply gentle pressure to ensure that it is securely seated within the device. Verify that the tray is flush with the exterior of the iPhone 13, indicating a successful insertion.
By following these detailed steps, you can effectively insert the SIM card into your iPhone 13 with precision and confidence. Ensuring the proper alignment and secure placement of the SIM card within the tray is essential for seamless functionality and optimal performance. With the SIM card successfully inserted, you are now ready to proceed with the final steps of powering on your iPhone 13 and activating the SIM card for use.
Reinserting the SIM Card Tray
After successfully inserting the SIM card into the designated slot within the SIM card tray, the next crucial step is to reinsert the tray back into your iPhone 13. This process ensures that the SIM card is securely housed within the device, allowing for seamless functionality and connectivity. Follow these detailed steps to effectively reinsert the SIM card tray into your iPhone 13:
-
Position the SIM Card Tray: Hold the SIM card tray securely, ensuring that it is oriented correctly for reinsertion into the device. The tray should be aligned in a manner that allows for smooth and effortless placement back into the iPhone 13.
-
Align the Tray with the Device: With the iPhone 13 powered off, carefully align the SIM card tray with the corresponding slot on the device. Ensure that the tray is positioned accurately, maintaining a level and stable orientation for seamless reinsertion.
-
Gently Insert the Tray: Slowly and steadily insert the SIM card tray back into the iPhone 13, ensuring that it glides smoothly into place. Exercise caution to prevent any resistance or misalignment during the reinsertion process.
-
Verify Secure Placement: Once the SIM card tray is fully inserted, visually inspect the device to confirm that the tray is securely seated. Ensure that the tray sits flush with the exterior of the iPhone 13, indicating a successful reinsertion.
-
Power On the iPhone 13: After reinserting the SIM card tray, proceed to power on your iPhone 13 by pressing and holding the Side button until the Apple logo appears on the screen. This action initiates the device startup process, allowing for the activation of the SIM card and the resumption of normal functionality.
By following these detailed steps, you can effectively reinsert the SIM card tray into your iPhone 13 with precision and confidence. Ensuring the secure placement and alignment of the tray within the device is essential for the seamless integration of the SIM card, enabling you to proceed with the final steps of powering on your iPhone 13 and activating the SIM card for immediate use.
Powering On the iPhone 13
After successfully completing the process of inserting the SIM card and reinserting the SIM card tray into your iPhone 13, the final step involves powering on the device. This pivotal action initiates the startup process, allowing the iPhone 13 to become fully operational and ready for use. Follow these detailed steps to power on your iPhone 13 and activate the SIM card for immediate functionality.
-
Press and Hold the Side Button: Located on the right-hand side of the iPhone 13, the Side button serves as the primary control for powering on the device. To initiate the startup process, press and hold the Side button until the Apple logo appears on the screen. This action signals that the iPhone 13 is powering on and preparing for activation.
-
Wait for the Startup Sequence: As the Apple logo becomes visible, allow the iPhone 13 to complete the startup sequence. During this process, the device undergoes internal checks and configurations to ensure optimal functionality. It is essential to allow the iPhone 13 sufficient time to complete the startup sequence before proceeding to the next steps.
-
Enter the SIM Card PIN (if applicable): If your SIM card is secured with a PIN, the iPhone 13 will prompt you to enter the PIN code to unlock the SIM card. This step is crucial for activating the SIM card and enabling cellular connectivity on the device. Enter the designated PIN code using the on-screen keypad to unlock the SIM card and establish connectivity.
-
Verify Cellular Connectivity: Once the SIM card PIN has been entered, verify that the iPhone 13 successfully establishes cellular connectivity. Check the device's signal strength indicator to ensure that it detects the network and displays the appropriate signal bars. This confirmation indicates that the SIM card is activated and the iPhone 13 is ready for use.
-
Access Device Functions: With the iPhone 13 powered on and the SIM card activated, proceed to access the device's functions and features. Navigate through the home screen, open applications, and explore the various capabilities of the iPhone 13. This step allows you to verify that the device is fully operational and that the SIM card is seamlessly integrated for immediate use.
By following these detailed steps, you can effectively power on your iPhone 13 and activate the SIM card, ensuring that the device is fully operational and ready for immediate use. The successful completion of the powering on process signifies the seamless integration of the SIM card and the readiness of the iPhone 13 for cellular connectivity and functionality.