
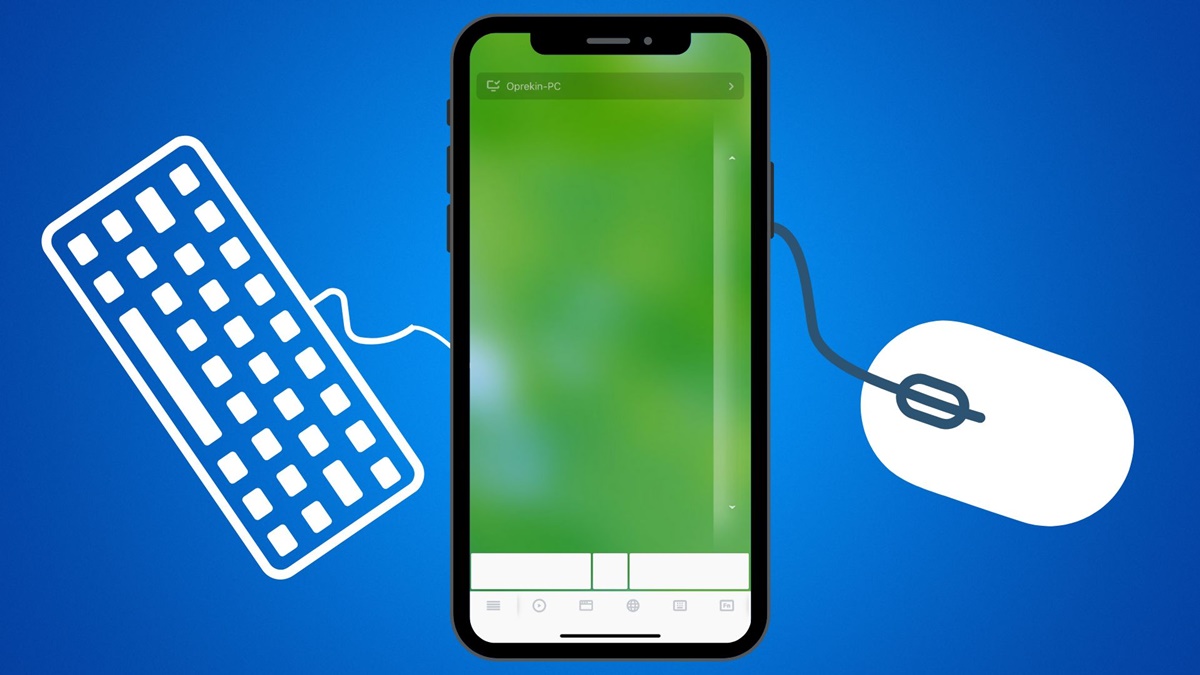
Installing a Wi-Fi Mouse App on Your Phone
Using your phone as a Wi-Fi mouse can be a convenient way to control your computer from a distance. To get started, you’ll need to install a Wi-Fi mouse app on your phone. Follow these steps to find and install the app:
- Open the app store on your phone. Depending on your device, this might be the App Store for iOS or Google Play Store for Android.
- Search for “Wi-Fi mouse” in the app store’s search bar.
- Several options will appear in the search results. Look for an app with good ratings and positive reviews. Popular options include Remote Mouse, Unified Remote, and Mobile Mouse.
- Tap on the app you prefer to install it.
- Wait for the app to download and install on your phone. This process may take a few moments, depending on your internet connection speed.
Once the app is installed on your phone, you’re ready to move on to the next step of connecting your phone to the same Wi-Fi network as your computer.
Remember to check the compatibility of the Wi-Fi mouse app with your specific phone model and operating system before downloading. Some apps may have additional features or require certain permissions, so be sure to review the app’s description and user reviews for more information.
Connecting Your Phone to the Same Wi-Fi Network as Your Computer
In order for your phone to function as a Wi-Fi mouse for your computer, both devices need to be connected to the same Wi-Fi network. Follow the steps below to ensure they are properly connected:
- Make sure your computer is connected to a Wi-Fi network. If it isn’t, open your computer’s Wi-Fi settings and connect to a network.
- On your phone, open the Wi-Fi settings. This is typically found in the settings menu or in the notification shade.
- Tap on the Wi-Fi network that your computer is connected to. If you’re unsure which network it is, you can check the network name on your computer.
- Enter the Wi-Fi password, if prompted. This is the same password you used to connect your computer to the Wi-Fi network.
- Wait for your phone to connect to the Wi-Fi network. Once connected, you should see the Wi-Fi icon in your phone’s status bar.
It’s important to ensure that both your phone and computer are connected to the same network, as they need to communicate with each other over Wi-Fi for the Wi-Fi mouse function to work effectively. If your devices are on different networks, you won’t be able to establish a connection.
Some Wi-Fi mouse apps may also provide an alternative method for connecting your phone to your computer, such as using Bluetooth. In such cases, follow the app’s instructions for pairing your devices using Bluetooth instead of Wi-Fi.
Once your phone is connected to the same Wi-Fi network as your computer, you can proceed to enable the Wi-Fi mouse function in the app settings.
Enabling Wi-Fi Mouse in the App Settings
After installing the Wi-Fi mouse app on your phone and ensuring that it is connected to the same Wi-Fi network as your computer, you need to enable the Wi-Fi mouse function in the app settings. Here’s how you can do that:
- Open the Wi-Fi mouse app on your phone. The app’s icon should be listed on your phone’s home screen or app drawer.
- Navigate to the settings menu within the app. This is usually represented by an icon with three vertical dots or accessed through a hamburger menu.
- In the settings menu, look for an option related to Wi-Fi mouse or connectivity. This option may be labeled differently depending on the app you are using.
- Tap on the Wi-Fi mouse or connectivity option to access its settings.
- Within the Wi-Fi mouse settings, toggle the function on or enable it by tapping the switch. This will activate the Wi-Fi mouse feature and allow your phone to function as a mouse for your computer.
- Some apps may offer additional customization options such as adjusting pointer sensitivity or enabling gesture controls. Explore the settings to optimize the Wi-Fi mouse experience according to your preferences.
Once you have enabled the Wi-Fi mouse function in the app settings, you are ready to set up the Wi-Fi mouse app on your computer.
Note: The specific steps to enable Wi-Fi mouse in the app settings may vary slightly depending on the app you are using. If you are unsure, refer to the app’s documentation or help section for detailed instructions.
Setting Up the Wi-Fi Mouse App on Your Computer
In order to use your phone as a Wi-Fi mouse for your computer, you need to set up the Wi-Fi mouse app on your computer. The process may vary slightly depending on the app you are using, but the general steps are as follows:
- Open your computer’s web browser.
- Visit the official website of the Wi-Fi mouse app you installed on your phone. Look for a download link or section for the computer version of the app.
- Download the appropriate version of the Wi-Fi mouse app for your computer’s operating system. Most apps will have versions available for Windows and macOS.
- Once the download is complete, locate the installer file on your computer and run it.
- Follow the on-screen instructions to install the Wi-Fi mouse app on your computer. This usually involves accepting the terms of use, choosing an installation location, and completing the installation process.
- Once the installation is complete, open the Wi-Fi mouse app on your computer.
- Make sure your computer and phone are connected to the same Wi-Fi network.
- In the Wi-Fi mouse app on your computer, you may need to input a pairing code or scan a QR code to establish a connection between your phone and the computer. Follow the prompts within the app to pair your devices.
- Once the pairing is successful, you should see a confirmation message or indication that your phone is now connected and functioning as a Wi-Fi mouse for your computer.
Now that you have set up the Wi-Fi mouse app on your computer and paired it with your phone, you are ready to start using your phone as a mouse.
Remember to refer to the app’s documentation or support resources if you encounter any issues during the setup process. Each app may have different steps or requirements, so it’s essential to follow the specific instructions provided by the app you are using.
Pairing Your Phone with Your Computer
After setting up the Wi-Fi mouse app on your computer, the next step is to pair your phone with your computer. This process establishes a connection between the two devices, allowing your phone to function as a Wi-Fi mouse. Here’s how you can pair your phone with your computer:
- Open the Wi-Fi mouse app on your phone.
- In the app, navigate to the connection or pairing section. This may be found in the settings menu or as a separate tab.
- Within the connection or pairing section, select the option to connect or pair with a computer.
- The app will usually provide you with a pairing code or a QR code.
- On your computer, ensure that the Wi-Fi mouse app is open and running.
- Look for an option to connect or pair your phone in the app’s interface.
- If there is a pairing code, enter it into the relevant field in the app on your computer. If there is a QR code, use your phone’s camera to scan the code.
- Wait for the app to establish the connection between your phone and computer. Once the pairing is successful, you will receive a notification or see a confirmation message.
The exact steps and prompts for pairing your phone with your computer may vary depending on the Wi-Fi mouse app you are using. It’s important to carefully follow the instructions provided by the app to ensure a successful pairing process.
If you encounter any difficulties during the pairing process, make sure both your phone and computer are connected to the same Wi-Fi network, and double-check that you have followed all the necessary steps in the app on both devices.
Once your phone is successfully paired with your computer, you can proceed to customize the mouse settings according to your preferences.
Customizing the Mouse Settings
Once you have paired your phone with your computer using the Wi-Fi mouse app, you may want to customize the mouse settings to enhance your user experience. Each app will offer different customization options, but here are some common settings you can expect to find:
- Pointer sensitivity: Adjust the sensitivity of the mouse pointer on your phone’s screen. You can make it more responsive or less sensitive based on your preference.
- Scrolling speed: Control the speed at which you can scroll through documents and web pages using your phone as a mouse. Increase or decrease the scrolling speed to match your needs.
- Button customization: Some apps allow you to customize the functionality of the mouse buttons. You can assign different actions or shortcuts to the left and right buttons, or even add additional customized buttons for specific tasks.
- Gesture controls: Explore if your chosen app supports gesture controls, which can enable you to perform various actions by swiping or tapping on the screen of your phone.
- Keyboard integration: Certain apps offer keyboard integration, allowing you to type on your computer through your phone. Check if this feature is available and customize any keyboard settings as needed.
- Theme and appearance: Personalize the appearance of the Wi-Fi mouse app on your phone by selecting different themes or color schemes.
- Additional features: Depending on the app you are using, there may be additional features available for customization, such as controlling media playback, accessing shortcuts, or using a virtual numpad.
To access and modify these settings, open the Wi-Fi mouse app on your phone, navigate to the settings menu, and look for options related to mouse settings, customization, or preferences. Experiment with different settings to find the configuration that suits your preferences and makes using your phone as a Wi-Fi mouse a seamless and efficient experience.
Remember, not all Wi-Fi mouse apps offer the same level of customization. Some apps may have limited settings, while others may offer a wide range of customization options. Explore the settings of your chosen app to see what options are available and make adjustments accordingly.
Once you have customized the mouse settings to your liking, you can begin using your phone as a mouse for your computer.
Using Your Phone as a Mouse
Now that your phone is connected to your computer and you have customized the mouse settings, you can start using your phone as a Wi-Fi mouse. Here’s how to navigate and control your computer using your phone:
- Launch the Wi-Fi mouse app on your phone.
- Ensure that both your phone and computer are connected to the same Wi-Fi network.
- On your phone’s screen, you will see a virtual trackpad or touchpad. Use your finger to move the cursor on your computer’s screen. The movement of your finger on the phone will correspond to the movement of the mouse pointer on your computer.
- To click or tap, simply tap on the touchpad area. This will simulate a left-click on your computer. To perform a right-click, tap with two fingers or find the corresponding button in the app.
- Drag and drop files or windows by tapping and holding on the touchpad, then moving your finger. This will allow you to rearrange files or move windows around on your computer.
- Use pinch-to-zoom gestures to zoom in or out on documents, images, or webpages. Spread two fingers apart to zoom in and pinch them together to zoom out, just like you would on a touchscreen device.
- If your app supports gesture controls, you may be able to perform various actions by swiping or tapping in specific patterns. Familiarize yourself with these gestures to unlock additional functionality.
- For typing, you can use the virtual keyboard on your phone’s screen or an integrated keyboard feature within the Wi-Fi mouse app. This allows you to input text directly on your computer using your phone.
- Explore any additional features offered by the app, such as media playback controls, volume adjustments, or accessing shortcuts.
With your phone functioning as a Wi-Fi mouse, you can now navigate your computer, control applications, and perform various tasks from a distance. Whether you’re giving a presentation, watching a movie, or simply working from another part of the room, using your phone as a Wi-Fi mouse provides a convenient and wireless way to interact with your computer.
Remember to continuously ensure that your phone and computer remain connected to the same Wi-Fi network to maintain the functionality of the Wi-Fi mouse app.
Additional Features and Tips for Using Wi-Fi Mouse
Using your phone as a Wi-Fi mouse offers more than just cursor control. Many Wi-Fi mouse apps come with additional features that can enhance your experience and productivity. Here are some additional features and tips to consider when using a Wi-Fi mouse:
- Remote keyboard: Aside from acting as a mouse, some apps also provide a full remote keyboard on your phone’s screen. This allows you to conveniently type or enter text on your computer without needing a physical keyboard.
- Screenshot and screen recording: Some Wi-Fi mouse apps have built-in features for capturing screenshots or recording your computer’s screen. This can be useful for creating tutorials, capturing important information, or sharing your screen with others.
- System shortcuts: Explore the app’s settings or documentation to see if it offers system shortcuts. These shortcuts can help you perform common actions like opening the task manager, locking your computer, adjusting volume, or shutting down.
- Media controls: If you regularly use your computer for media playback, check if the app supports media controls. This allows you to seamlessly play, pause, skip tracks, or adjust the volume directly from your phone.
- Compatibility with different operating systems: Some Wi-Fi mouse apps are versatile and can work with various operating systems, including Windows, macOS, and Linux. If you use multiple devices with different operating systems, check if the app supports all of them.
- Battery management: To avoid draining your phone’s battery, consider adjusting the app’s settings to optimize power consumption. Some apps offer power-saving options or allow you to adjust the screen brightness or timeout settings on your phone while it’s being used as a Wi-Fi mouse.
- Explore third-party plugins or extensions: Some Wi-Fi mouse apps offer additional functionality through plugins or extensions. These can range from advanced gestures to specific integration with other applications. Check if there are any plugins available that align with your needs.
Remember to regularly update the Wi-Fi mouse app on both your phone and computer to ensure you have access to the latest features and improvements. Additionally, familiarize yourself with the app’s documentation or support resources to maximize its potential and troubleshoot any issues you may encounter.
Using your phone as a Wi-Fi mouse can provide you with greater flexibility and convenience in controlling your computer. Explore the various features and customization options offered by the app you choose, and experiment with different settings to find the setup that works best for you.