
How to Set Up and Activate the Sling TV DVR
Setting up and activating the Sling TV DVR is a simple process that allows you to record your favorite shows and movies for later viewing. Follow the steps below to get started:
- Ensure that you have a Sling TV subscription that includes DVR capabilities. Not all subscription plans offer this feature, so check with your provider if you are unsure.
- Access your Sling TV account through the Sling TV website or mobile app using your login credentials.
- Navigate to the DVR section of your account settings. This is typically found in the “Manage Account” or “Settings” menu.
- Verify that your DVR storage is available and sufficient for your recording needs. Depending on your subscription plan, you may have a limited amount of storage space.
- If you need to upgrade your DVR storage, follow the prompts or contact Sling TV customer support for assistance.
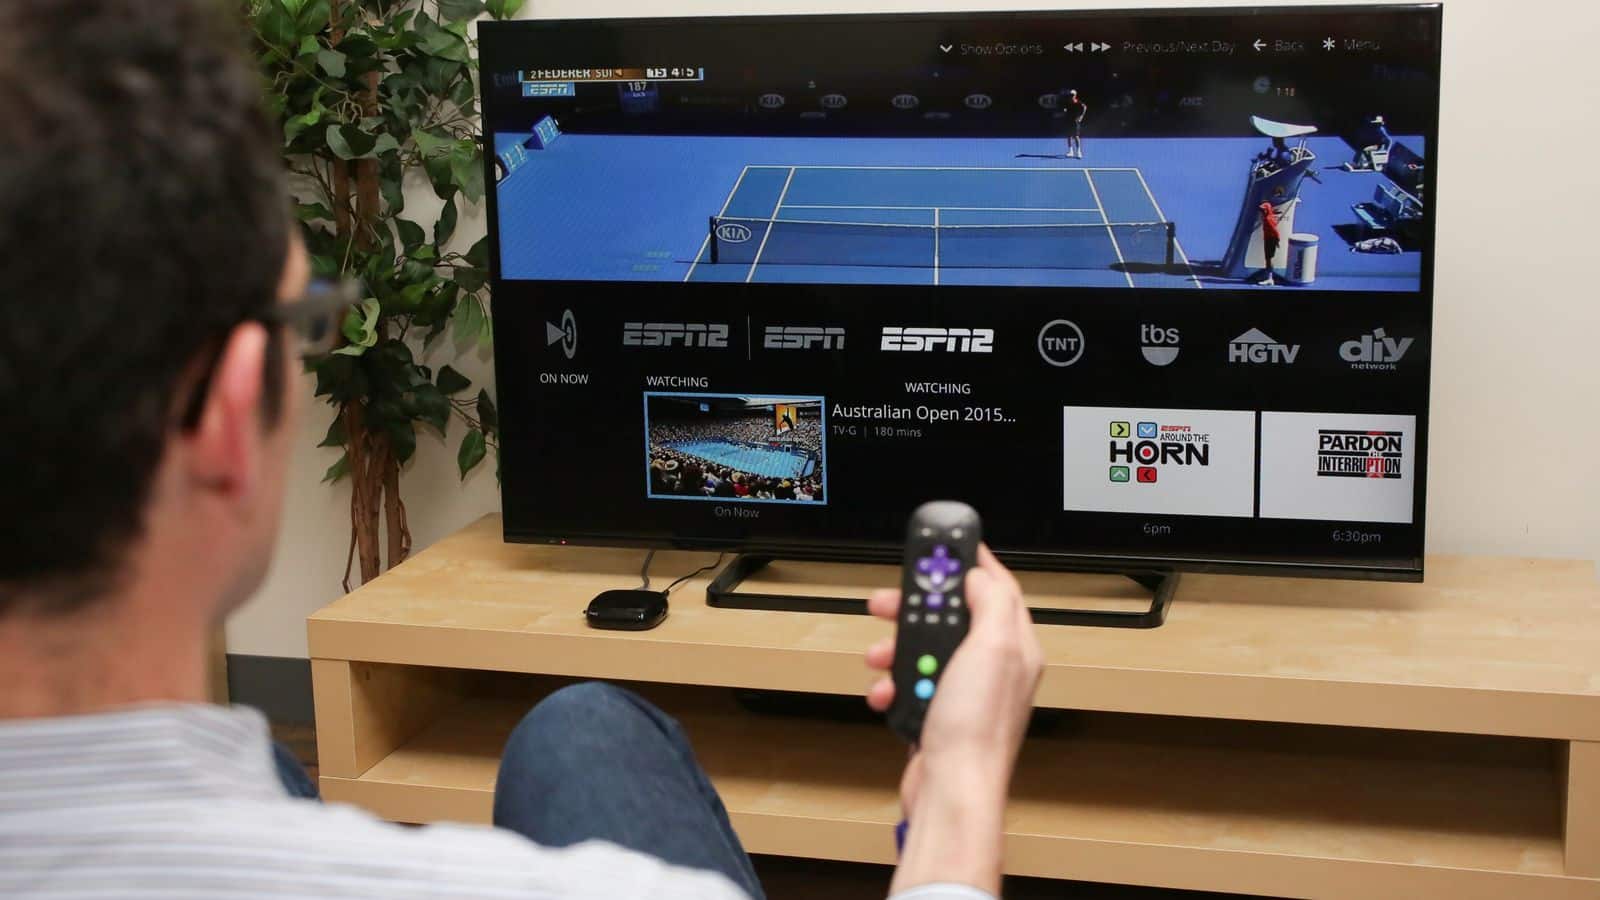
- Connect an external storage device, such as a USB hard drive, to your streaming device or smart TV. Make sure the device is compatible with the Sling TV app.
- Once connected, go back to the DVR settings and select the option to format the external storage device for use with Sling TV. This will erase any existing data on the device, so make sure to back up any important files beforehand.
- Once the formatting is complete, you can start recording your favorite shows and movies. Simply find the content you want to record in the Sling TV app, and select the record option. You can schedule one-time or recurring recordings.
- It may take a few moments for the Sling TV DVR to process and save your recordings. You can check the status and manage your recordings in the DVR section of your account settings.
- Once your recordings are saved, you can access them at any time for playback through the Sling TV app or website.
By following these steps, you can easily set up and activate the Sling TV DVR, giving you the flexibility to watch your favorite programs on your own schedule. Enjoy the convenience and freedom of the Sling TV DVR!
How to Access and Navigate the Sling TV DVR
Once you have set up and activated the Sling TV DVR, accessing and navigating your recorded content is a breeze. Follow these simple steps to make the most of your DVR experience:
- Launch the Sling TV app or access the Sling TV website on your preferred device.
- Log in to your Sling TV account using your credentials.
- Locate the DVR section within the Sling TV app or website. This is usually found in the main menu or sidebar.
- Once in the DVR section, you will see a list of your recorded shows and movies. This list may be organized by date, title, or other options available.
- To access a specific recording, simply click or tap on the desired show or movie. This will open the playback interface for that particular recording.
- Within the playback interface, you will find various controls to navigate through the recording. These controls typically include options to play, pause, rewind, fast-forward, and adjust the volume.
- If you want to watch a recording from the beginning, select the “Start Over” or “Rewind to Start” option. This will bring you back to the beginning of the recording.
- If you need to skip ahead or jump to a specific point in the recording, use the timeline or scrubber bar at the bottom of the playback interface. Drag the slider to the desired time or chapter marker.
- Should you wish to fast-forward through commercials or unwanted parts of the recording, use the fast-forward button or skip ahead in increments.
- When you have finished watching a recording, exit the playback interface and return to the DVR section to select another show or movie.
- Remember to manage your DVR storage regularly to ensure you have enough space for new recordings. You can delete unwanted recordings to free up space for future recordings.
By following these steps, you can easily access and navigate the Sling TV DVR interface, allowing you to enjoy your favorite shows and movies at your convenience. Take control of your viewing experience and make the most of your Sling TV DVR!
Managing Recordings on the Sling TV DVR
Managing your recordings on the Sling TV DVR is essential to ensure that your favorite shows and movies are organized and easily accessible. Here are some key steps to effectively manage your recordings:
- To view all your recorded content, navigate to the DVR section within the Sling TV app or website.
- Once in the DVR section, you will find a list of your recorded shows and movies, organized by date or other options.
- To delete a recording, hover over or long-press the desired show or movie. A delete option will appear. Select it to remove the recording from your DVR storage.
- If you want to keep a recording indefinitely, mark it as “protected” to prevent accidental deletion. This option is usually available when you hover over or long-press a recording.
- If you have a large number of recordings, you can use the search or filter function to quickly find specific shows or movies. Look for a search bar or filter icon within the DVR section.
- Consider creating folders or playlists to organize your recordings based on genres, favorites, or other categories. Some DVR interfaces may allow you to create custom folders or playlists for easy access to specific content.
- When managing your recordings, always keep an eye on your DVR storage capacity. If you’re running out of space, delete unwanted or watched recordings to make room for new ones.
- If you accidentally delete a recording, don’t panic. Most DVR systems have a recycle bin or a recently deleted section where you can recover recordings within a certain time frame. Check your DVR settings or support documentation for instructions on recovering deleted content.
- Regularly check for updates to the Sling TV app or website. Sometimes, new features or improvements to the DVR management interface are introduced with software updates. Stay up to date to make the most of your DVR experience.
By following these steps, you can effectively manage your recordings on the Sling TV DVR, ensuring that your favorite content is well-organized and easily accessible. Take control of your DVR storage and make the most of your Sling TV viewing experience!
How to Schedule and Edit Recordings on the Sling TV DVR
The Sling TV DVR allows you to schedule and edit recordings, giving you the flexibility to capture your favorite shows and movies. Follow these steps to schedule and edit recordings on the Sling TV DVR:
- Navigate to the Sling TV app or website and access the DVR section.
- Within the DVR section, you will find options to schedule new recordings. Look for a “Schedule” or “Record” button.
- Search for the desired show or movie you want to record. You can use the search bar or browse through the available content.
- Select the show or movie you wish to record. A record button or option will be available. Click or tap on it to schedule the recording.
- If the show or movie is part of a series, you can choose to record only the current episode or all future episodes. Set your preferences accordingly.
- Double-check the scheduled recording in the DVR section to ensure that it has been successfully added. Look for the upcoming recordings list or a scheduled recordings tab.
- If you need to edit or modify a scheduled recording, go to the DVR section and find the recording you want to change.
- For editing options, look for an “Edit” or “Modify” button. This will allow you to adjust the start time, end time, or other recording parameters.
- If you want to cancel a scheduled recording, find the recording in the DVR section and locate the cancel or delete option. Select it to remove the recording from your schedule.
- Remember that some DVR interfaces offer advanced recording options, such as extending the recording time or automatically adding extra time to account for show delays. Explore your DVR settings to customize your recording experience.
By following these steps, you can easily schedule and edit recordings on the Sling TV DVR, ensuring that you don’t miss any of your favorite shows or movies. Take advantage of the flexibility and convenience that the Sling TV DVR provides!
Using the Sling TV DVR Playback Controls
Once you have recorded your favorite shows and movies on the Sling TV DVR, you can enjoy them at your convenience using the playback controls. Here’s how to make the most of the playback controls:
- Launch the Sling TV app or access the Sling TV website.
- Navigate to the DVR section and select the recorded show or movie you want to watch.
- In the playback interface, you will find various controls to enhance your viewing experience. These controls typically include play, pause, rewind, fast-forward, and volume adjustment.
- To start watching a recording, click or tap the play button. The recording will begin from where you left off or from the beginning if it’s your first time viewing.
- If you need to pause the playback, simply click or tap the pause button. This will temporarily stop the video, allowing you to resume at the same point later.
- To rewind or go back to a previous section of the recording, use the rewind button. The speed at which the video rewinds may vary, so experiment with the controls to find the desired pace.
- If you want to skip ahead or fast-forward through parts of the recording, use the fast-forward button. Similar to rewinding, the speed at which the video skips may vary, allowing you to find the optimal pace.
- To adjust the volume, locate the volume control slider or buttons on the playback interface. Drag the slider or click the buttons to increase or decrease the volume level.
- Some DVR interfaces may offer additional features, such as slow-motion playback or frame-by-frame navigation. Explore the playback controls and settings to discover these advanced options.
By using the playback controls on the Sling TV DVR, you can customize your viewing experience and enjoy your recorded content at your own pace. Whether you want to pause, rewind, fast-forward, or adjust the volume, the playback controls offer flexibility and convenience. Sit back, relax, and immerse yourself in your favorite shows and movies!
How to Delete Recordings on the Sling TV DVR
Managing your recorded content on the Sling TV DVR includes the ability to delete unwanted shows and movies. Follow these steps to easily delete recordings and free up space on your DVR:
- Start by accessing the DVR section within the Sling TV app or website.
- Once in the DVR section, you will see a list of your recorded shows and movies.
- To delete a recording, find the show or movie you want to remove from your DVR.
- Hover over or long-press the recording. A delete option will appear, usually in the form of a trash bin icon or a delete button. Select it.
- You may be prompted to confirm the deletion. Review the message and click or tap “Yes” or “Confirm” to proceed with deleting the recording.
- After confirming, the recording will be permanently removed from your DVR storage. Make sure to double-check your selection before confirming the deletion.
- If you accidentally delete a recording, don’t worry. Some DVR interfaces provide a recycling bin or a recently deleted section where you can recover deleted content within a certain time frame. Check your DVR settings or support documentation for instructions on how to recover deleted recordings.
- Keep in mind that deleting a recording will free up space on your DVR and make room for new recordings. It’s crucial to regularly manage your recorded content to prevent your DVR from reaching its storage limit.
- If you have protected recordings that you don’t want to accidentally delete, ensure that you mark them as “protected” to prevent their removal.
By following these steps, you can easily delete recordings on the Sling TV DVR, freeing up space for new content and ensuring that your DVR remains organized and clutter-free. Take control of your recorded content and keep your DVR storage optimized!
Troubleshooting Common Issues with the Sling TV DVR
While the Sling TV DVR is generally reliable, you may encounter occasional issues that can disrupt your viewing experience. Here are some common problems and troubleshooting steps to help you resolve them:
- If you are unable to access the DVR section or your recorded content is not appearing, ensure that you have an active Sling TV subscription with DVR capabilities. If your subscription doesn’t include DVR, consider upgrading your plan.
- Check your internet connection. A stable and high-speed internet connection is necessary for smooth DVR functionality. Make sure you have a strong Wi-Fi or wired connection to your streaming device or smart TV.
- If your DVR storage is full, you won’t be able to record new content. Delete unwanted recordings to free up space for new additions. Regularly manage your recorded content to avoid reaching the storage limit.
- If your recordings are buffering or experiencing playback issues, try closing and reopening the Sling TV app or website. Restart your streaming device or smart TV to refresh the system.
- Ensure that your Sling TV app or website is up to date. Check for any available updates and install them to benefit from bug fixes and performance improvements that may address DVR-related issues.
- If you are experiencing playback errors or freezing during recordings, try clearing the cache of the Sling TV app or website. Consult the support documentation for your specific device to learn how to clear the app cache.
- If scheduled recordings are not being captured properly, double-check the start and end times of your recordings. In some cases, delays or programming changes may cause recordings to start or end earlier or later than expected.
- If you are encountering persistent problems with the Sling TV DVR, contact Sling TV customer support for assistance. They can provide further troubleshooting steps or address any technical issues specific to your account or device.
- Consider using a different device or web browser to access the Sling TV DVR. Sometimes, compatibility issues can arise, and switching to an alternative option can resolve the problem.
By following these troubleshooting steps, you can overcome common issues with the Sling TV DVR and enjoy uninterrupted access to your favorite recorded content. Stay informed, keep your system up to date, and reach out to customer support when needed for a seamless DVR experience.