
Overview of Chrome Extension Permissions
Chrome extensions are powerful tools that enhance the functionality of the Chrome browser. They can provide added features, improve productivity, and customize the browsing experience. However, it is essential to understand that these extensions may require certain permissions to access different resources on your device.
Permissions are actions or information that extensions can request to perform specific tasks. Chrome extension permissions can include accessing your browsing data, managing downloads, modifying website content, capturing screenshots, and more. These permissions are crucial for extensions to function correctly and deliver their intended features.
When installing an extension, you will be prompted to grant specific permissions based on the extension’s requirements. It is essential to review these permissions carefully before granting them as they directly relate to your privacy and security.
Chrome offers a transparent and user-friendly approach to managing extension permissions. It allows users to control and customize which permissions extensions can access. This level of control ensures that users have the flexibility to tailor their browsing experience and maintain their privacy.
It’s important to be cautious when granting permissions to extensions. Always consider the credibility and reputation of the extension developer before giving access to sensitive information or resources. Be mindful of the permissions being requested and assess whether they are necessary for the extension’s functionality.
In the following sections, we will explore how to access, view, edit, and manage permissions for Chrome extensions. We will also discuss specific permissions related to camera and microphone access, location access, storage access, and managing notifications. By understanding these aspects, you can make informed decisions about the permissions you grant to your Chrome extensions.
Accessing Chrome Extension Permissions
Accessing and managing extension permissions in Chrome is a straightforward process. Let’s take a look at how you can access the permissions for your installed Chrome extensions.
To begin, open your Chrome browser and click on the three vertical dots in the top-right corner to open the menu. From the menu, select “More tools,” then “Extensions.”
Alternatively, you can directly access the extensions page by typing “chrome://extensions” in the address bar and pressing Enter. This will take you to the extensions management page.
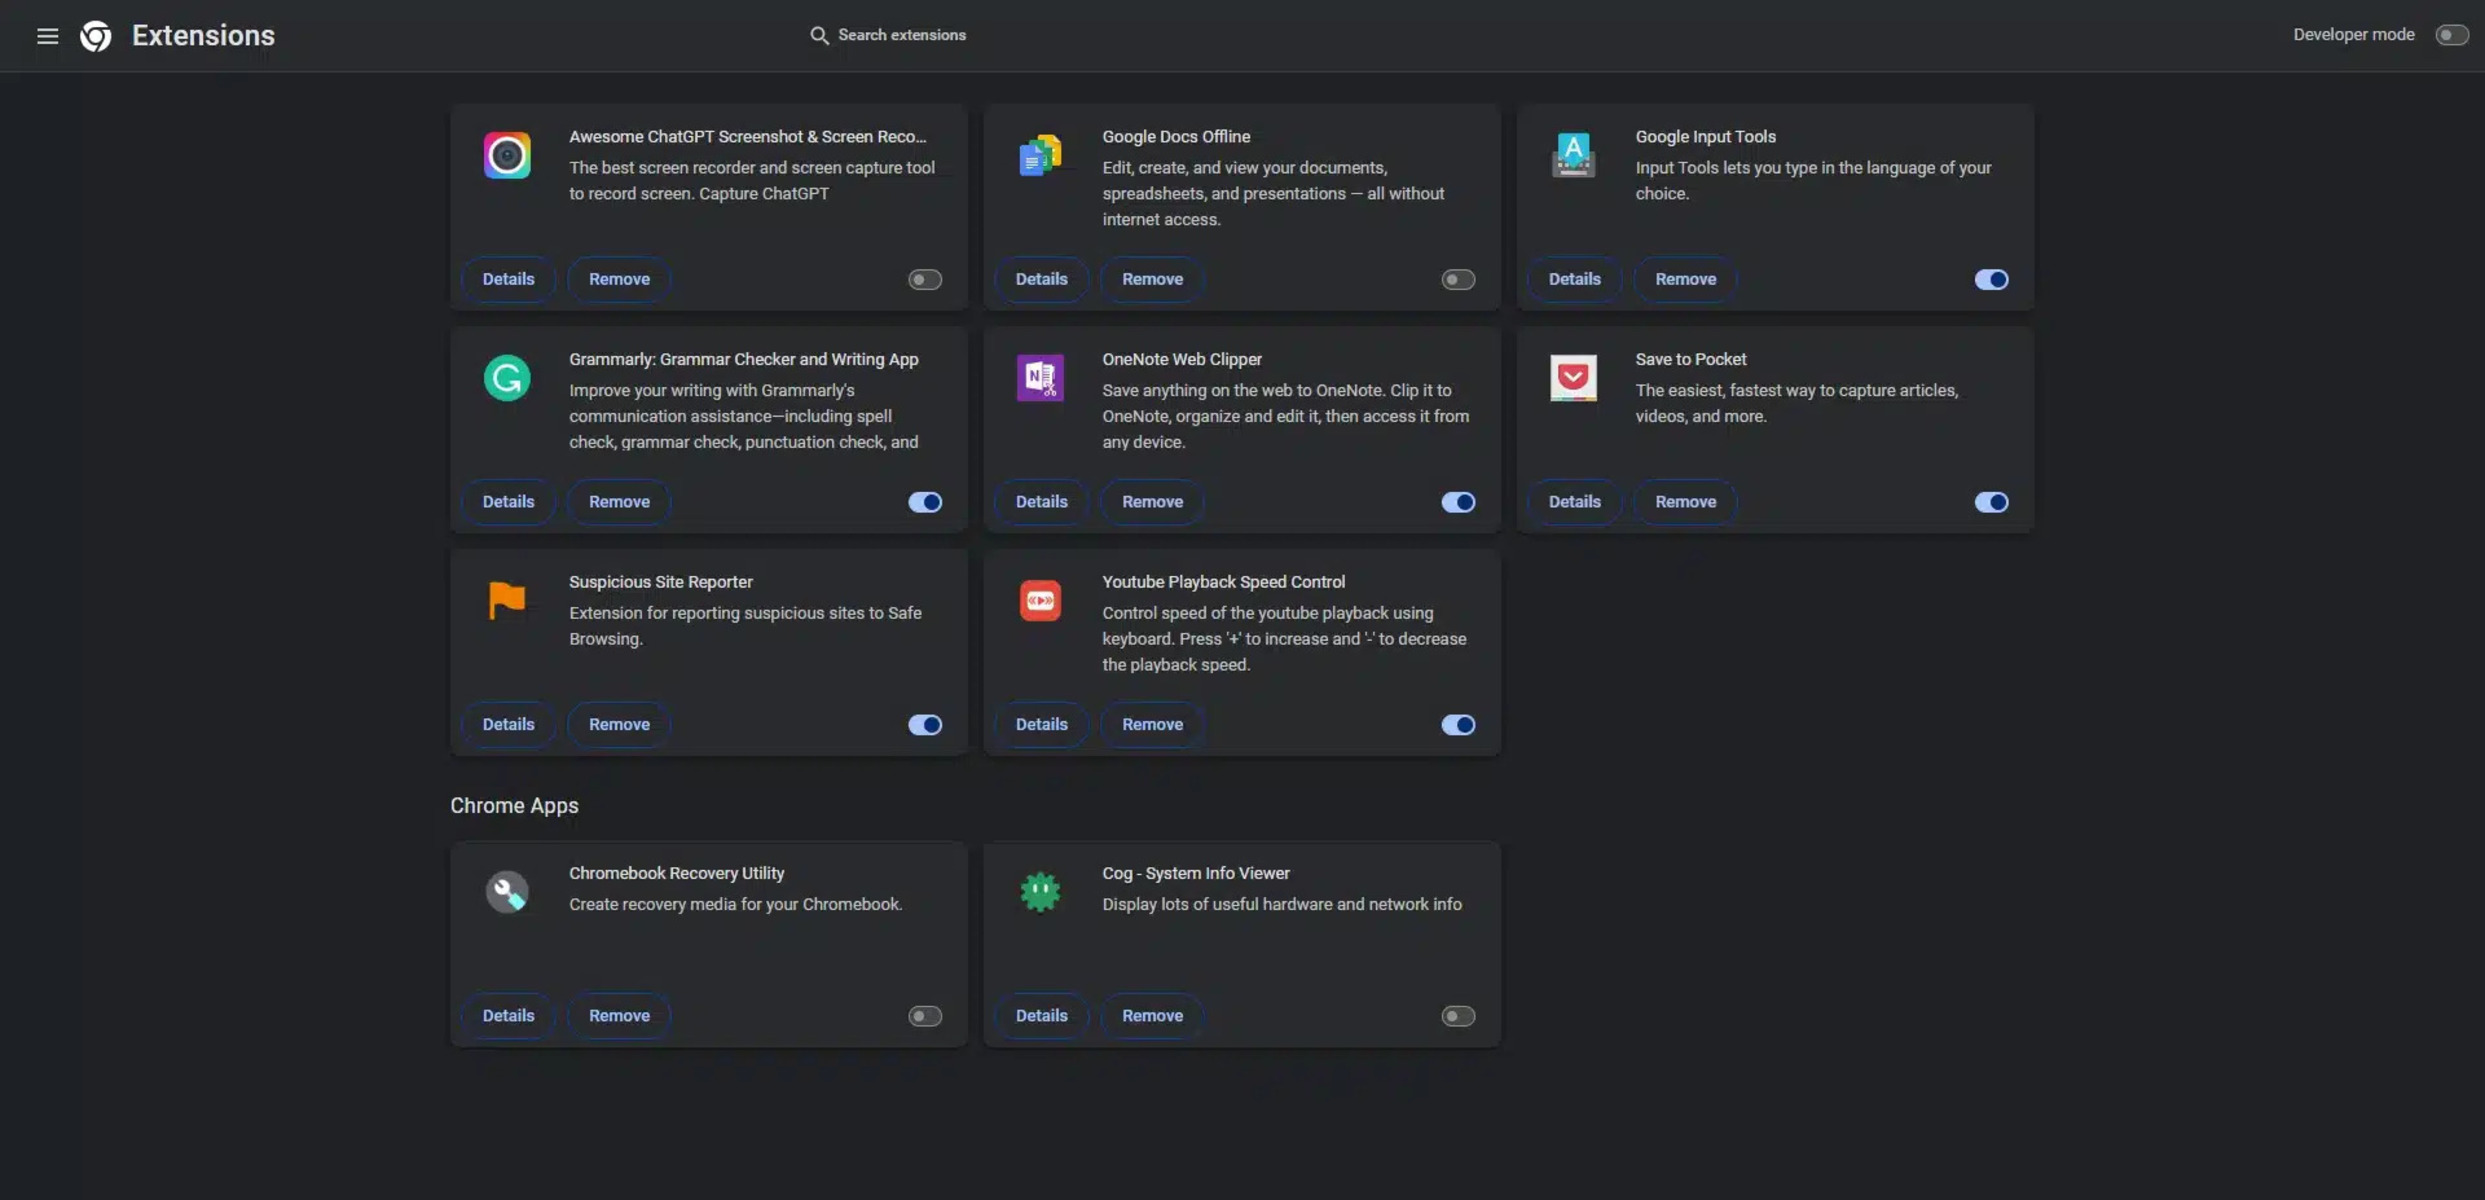
On the extensions page, you will find a list of all the extensions installed in your browser. Each extension will have a distinctive icon and a toggle switch, indicating whether it is enabled or disabled.
To access the permissions for a specific extension, locate the extension you want to manage and click on the “Details” button beneath its icon. This will open the extension’s dedicated page, where you can view and modify its permissions.
On the extension’s details page, scroll down until you find the “Permissions” section. Here, you will see a list of the permissions the extension has requested and been granted. Each permission will have a toggle switch next to it, allowing you to enable or disable that particular permission.
By default, Chrome organizes the permissions into different categories such as Site access, Data, and Notifications. This categorization makes it easier to navigate and understand the various permissions requested by an extension.
To modify a permission, simply toggle the switch to enable or disable it. Keep in mind that disabling certain permissions may affect the functionality or features provided by the extension. Exercise caution when modifying permissions to ensure the extension can still perform its intended tasks.
If you want to remove an extension entirely, you can click on the “Remove” button located next to the “Details” button on the extension’s page. Confirm the removal when prompted, and the extension will be uninstalled from your browser along with its associated permissions.
With easy access to extension permissions in Chrome, you have the ability to review and manage the permissions granted to each extension on your browser. This enables you to maintain control over your privacy and security while enjoying the benefits of Chrome extensions.
Viewing and Editing Extension Permissions in Chrome
Chrome provides a user-friendly interface for viewing and editing extension permissions. This allows you to have full control over the resources and information that your extensions can access. Let’s explore how you can easily view and modify extension permissions in Chrome.
To begin, open your Chrome browser and click on the three vertical dots in the top-right corner to open the menu. From the menu, select “More tools,” and then choose “Extensions.”
Alternatively, you can directly access the extensions page by typing “chrome://extensions” in the address bar and pressing Enter.
On the extensions page, you will see a list of your installed extensions. Locate the extension for which you want to view or edit permissions.
Underneath the extension’s name and description, you will find an “Details” button. Click on it to open the extension’s details page.
On the extension details page, scroll down until you find the “Permissions” section. Here, you will find a list of permissions that the extension has requested and been granted.
To view the details of a specific permission, click on the arrow next to the permission’s name. This will expand the permission and display additional information about its purpose and scope.
If you want to edit the permissions for the extension, you can do so by toggling the switches next to each permission. Enabling a permission will allow the extension to access that particular resource or perform that specific action.
On the other hand, disabling a permission will restrict the extension from accessing that resource or performing that action.
It’s important to note that modifying permissions may affect the functionality of the extension. Make sure to review the impact of disabling a permission before making any changes.
If you want to remove an extension entirely, you can click on the “Remove” button located next to the “Details” button on the extension’s page. Confirm the removal when prompted, and the extension will be uninstalled from your browser along with its associated permissions.
By easily viewing and editing extension permissions in Chrome, you have the power to protect your privacy and customize your browsing experience. Take advantage of this feature to ensure that your extensions only have access to the resources that you are comfortable sharing.
Controlling Camera and Microphone Access for Extensions
Camera and microphone access is a sensitive permission that some extensions may require to provide specific functionalities. Chrome allows you to have fine-grained control over which extensions have access to your camera and microphone. Let’s explore how you can control and manage these permissions.
To begin, open your Chrome browser and click on the three vertical dots in the top-right corner to open the menu. From the menu, select “Settings.”
In the settings menu, scroll down and click on the “Privacy and Security” tab.
Under the “Privacy and Security” tab, click on “Site Settings.”
Scroll down and locate the “Permissions” section. Here, you will find various permissions, including camera and microphone.
Click on “Camera” or “Microphone” to access the respective permission settings.
In the camera or microphone settings, you will see a list of sites and extensions that have been granted access to these resources.
To revoke camera or microphone access from a specific extension, simply click on the entry corresponding to that extension and select “Block” from the drop-down menu.
This action will prevent the extension from accessing your camera or microphone when using Chrome.
If you want to allow camera or microphone access for a specific site or extension, you can click on the entry and select “Allow” from the drop-down menu.
By default, Chrome blocks camera and microphone access for all sites and extensions. This ensures that your privacy is protected unless you explicitly grant access.
Additionally, whenever an extension requests camera or microphone access, Chrome will display a permission prompt. You can choose to either grant or deny the permission on a case-by-case basis.
These settings provide you with the ability to control which extensions can access your camera and microphone. Take advantage of them to safeguard your privacy and only allow access to trusted and necessary extensions.
Managing Location Access for Extensions
Location access is a permission that some extensions may require to provide location-based features or services. Chrome allows you to manage and control which extensions have access to your location information. Here’s how you can manage location access for extensions in Chrome.
To begin, open your Chrome browser and click on the three vertical dots in the top-right corner to open the menu. From the menu, select “Settings.”
In the settings menu, scroll down and click on the “Privacy and Security” tab.
Under the “Privacy and Security” tab, click on “Site Settings.”
Scroll down and locate the “Permissions” section. Here, you will find various permissions, including “Location.”
Click on “Location” to access the location permission settings.
In the location settings, you will see a list of sites and extensions that have been granted access to your location information.
To revoke location access from a specific extension, simply click on the entry corresponding to that extension and select “Block” from the drop-down menu. This will prevent the extension from accessing your location when using Chrome.
If you want to allow location access for a specific site or extension, you can click on the entry and select “Allow” from the drop-down menu.
By default, Chrome blocks location access for all sites and extensions to protect your privacy. Only trusted and necessary extensions should be granted access to your location.
It’s important to review the permissions requested by extensions carefully. Consider the credibility and necessity of the extension before granting location access.
Furthermore, Chrome may display a permission prompt whenever an extension requests location access. You can choose to either grant or deny the permission on a case-by-case basis.
By managing location access for extensions, you have control over your privacy and can safeguard your location information. Ensure you only grant access to extensions that genuinely require location data for their intended functionality.
Controlling Storage Access for Extensions
Storage access is a permission that allows extensions to store data on your device or access existing data. Managing and controlling storage access for extensions is essential to protect your data and maintain your privacy. Here’s how you can control storage access for extensions in Chrome.
To begin, open your Chrome browser and click on the three vertical dots in the top-right corner to open the menu. From the menu, select “Settings.”
In the settings menu, scroll down and click on the “Privacy and Security” tab.
Under the “Privacy and Security” tab, click on “Site Settings.”
Scroll down and locate the “Permissions” section. Here, you will find various permissions, including “Storage.”
Click on “Storage” to access the storage permission settings.
In the storage settings, you will see a list of sites and extensions that have been granted storage access.
To revoke storage access from a specific extension, simply click on the entry corresponding to that extension and select “Block” from the drop-down menu. This will restrict the extension from storing or accessing data on your device.
If you want to allow storage access for a specific site or extension, you can click on the entry and select “Allow” from the drop-down menu.
By default, Chrome allows storage access for all sites and extensions unless you manually modify the settings. It’s important to review and consider the necessity of granting storage access to each extension.
Be cautious when granting storage access to extensions from untrusted sources or those that don’t require the functionality. Limiting storage access helps protect your data and reduces the risk of unauthorized access or data breaches.
Remember that modifying storage access may affect the functionality or features provided by the extension. Make sure to review the impact of blocking storage access before making any changes.
By controlling storage access for extensions, you can protect your data and safeguard your privacy. Make informed decisions about which extensions should have access to your device storage based on their credibility, necessity, and the level of trust you have in them.
Managing Notifications for Extensions
Notifications from extensions can be helpful for staying updated with important information or reminders. However, managing them effectively ensures that you only receive notifications that are relevant to you. Here’s how you can manage notifications for extensions in Chrome.
To begin, open your Chrome browser and click on the three vertical dots in the top-right corner to open the menu. From the menu, select “Settings.”
In the settings menu, scroll down and click on the “Privacy and Security” tab.
Under the “Privacy and Security” tab, click on “Site Settings.”
Scroll down and locate the “Permissions” section. Here, you will find various permissions, including “Notifications.”
Click on “Notifications” to access the notification permission settings.
In the notification settings, you will see a list of sites and extensions that have been granted permission to display notifications.
If you want to block notifications from a specific extension, simply click on the entry corresponding to that extension and select “Block” from the drop-down menu. This will prevent the extension from showing notifications.
If you want to allow notifications from a specific site or extension, you can click on the entry and select “Allow” from the drop-down menu.
By default, Chrome allows notifications from all sites and extensions unless you manually modify the settings. It is important to review and consider the relevance and importance of each extension’s notifications before allowing them.
Chrome also provides additional options to customize how notifications are displayed. You can click on the “Manage exceptions” button within the notification settings to access a more detailed list of sites and extensions with notification permission, where you can further modify their notification behavior.
From this list, you can choose to block or allow notifications from specific sites or extensions by clicking on the corresponding drop-down menu options.
Managing notifications for extensions allows you to stay in control and prevent unnecessary or intrusive notifications. It’s important to strike a balance between receiving relevant information and avoiding notification overload.
Regularly review your notification settings and disable notifications from extensions or sites that no longer provide value or relevance. This will help optimize your browsing experience and keep your attention focused on the notifications that matter most to you.
Ensuring Privacy and Security when Granting Permissions to Extensions
When granting permissions to extensions in Chrome, it is crucial to prioritize your privacy and security. Understanding the risks and taking appropriate precautions can help safeguard your personal information. Here are some guidelines to ensure privacy and security when granting permissions to extensions.
1. Review Permissions: Before installing an extension, carefully review the permissions it requires. Consider whether the requested permissions align with the functionality the extension offers. Be cautious of extensions that request excessive or unnecessary permissions.
2. Verify Developer Credibility: Research the developer and check their reputation and credibility. Stick to extensions developed by trusted sources and avoid unfamiliar or suspicious developers. This reduces the risk of installing malicious or poorly designed extensions.
3. Read Reviews and Ratings: Read user reviews and ratings for the extension. This can provide insights into the experiences of other users and help determine if the extension is reliable and trustworthy.
4. Update Extensions Regularly: Keep your extensions up to date by installing updates as they become available. Developers often release updates to address security vulnerabilities and improve functionality. Regular updates ensure you have the latest security patches.
5. Remove Unnecessary Extensions: Periodically review your installed extensions and remove any that are no longer needed. Every extension increases your potential exposure to security risks, so it’s best to minimize the number of extensions installed.
6. Limit Permissions: Only grant the necessary permissions to extensions. Be cautious with sensitive permissions such as access to your camera, microphone, or location. Consider whether the extension genuinely requires these permissions to fulfill its intended purpose.
7. Use Trusted Sources: Download extensions only from the official Chrome Web Store or reputable sources. Avoid downloading extensions from third-party websites, as they may carry malware or compromise your security.
8. Stay Informed: Keep yourself updated on the latest security practices and news related to browser extensions. Being aware of potential risks and staying informed can help you make informed decisions when granting permissions.
9. Employ Security Software: Use a reputable antivirus or antimalware software to safeguard your system from potential threats. Regularly scan your computer for any potential security risks or malware.
By following these guidelines, you can ensure that the extensions you use are trustworthy and minimize the impact on your privacy and security. It’s essential to exercise caution and make informed decisions when granting permissions to extensions in Chrome.
Troubleshooting Extension Permission Issues
While managing extension permissions in Chrome, you may encounter certain issues or conflicts regarding the permissions granted to specific extensions. Here are some troubleshooting steps you can take to address extension permission issues:
1. Check Extension Permissions: Review the permissions granted to the extension in question. Ensure that the necessary permissions are enabled and relevant to the extension’s functionality.
2. Disable Conflicting Extensions: Some extensions may conflict with each other, causing permission issues. Temporarily disable other extensions to identify if any conflicts exist. Enable them one by one to pinpoint the extension causing the issue.
3. Clear Browser Cache: Clearing your browser cache can resolve permission issues caused by temporary data conflicts. Go to Chrome settings, select “Privacy and Security,” and click on “Clear browsing data.” Choose the option to clear cached images and files, then restart Chrome.
4. Update Chrome and Extensions: Ensure that you are using the latest version of Chrome and that your extensions are updated. Outdated versions can have compatibility issues with permissions. Go to Chrome settings, select “About Chrome,” and check for updates.
5. Disable Incognito Mode: Certain extensions may not function properly or have permission issues when used in incognito mode. Try disabling incognito mode and check if the extension permissions work correctly in the regular browsing mode.
6. Reset Extension Settings: If an extension is causing persistent permission issues, you can try resetting its settings. Go to Chrome settings, select “Extensions,” locate the troublesome extension, and click on “Reset” or “Options” to restore the default settings.
7. Remove and Reinstall Extension: If all else fails, consider removing the extension that is experiencing permission issues and reinstalling it. Remove the extension through the Chrome extensions page, then reinstall it from a trusted source.
8. Report the Issue: If you’ve exhausted all troubleshooting steps and the permission issues persist, you can report the issue to the extension developer or Chrome support. Provide details about the problem, including the steps to reproduce it and any error messages received.
Remember, troubleshooting extension permission issues may require a bit of trial and error. Be patient and persistent in identifying the cause of the problem and finding a solution that works.
By following these troubleshooting steps, you can address extension permission issues effectively and ensure that your Chrome extensions function as intended without any permission conflicts.