
Connecting the External Drive to Your Chromebook
Chromebooks are becoming increasingly popular for their simplicity and portability. While they have limited internal storage, you can easily expand your storage capacity by connecting an external drive. Whether it’s a USB flash drive or an external hard drive, here’s a step-by-step guide on how to connect an external drive to your Chromebook.
Firstly, ensure that your external drive is compatible with Chromebooks. Most commonly used external drives such as USB flash drives and external hard drives should work seamlessly. Once you’ve confirmed compatibility, follow these steps:
- Start by locating the USB port on your Chromebook. Depending on the model, it may have one or multiple USB ports situated either on the side or back of the device.
- Gently insert the USB end of your external drive into the USB port. Give it a firm push until it fits snugly into the port. Be cautious not to force it in or damage both the drive and the port.
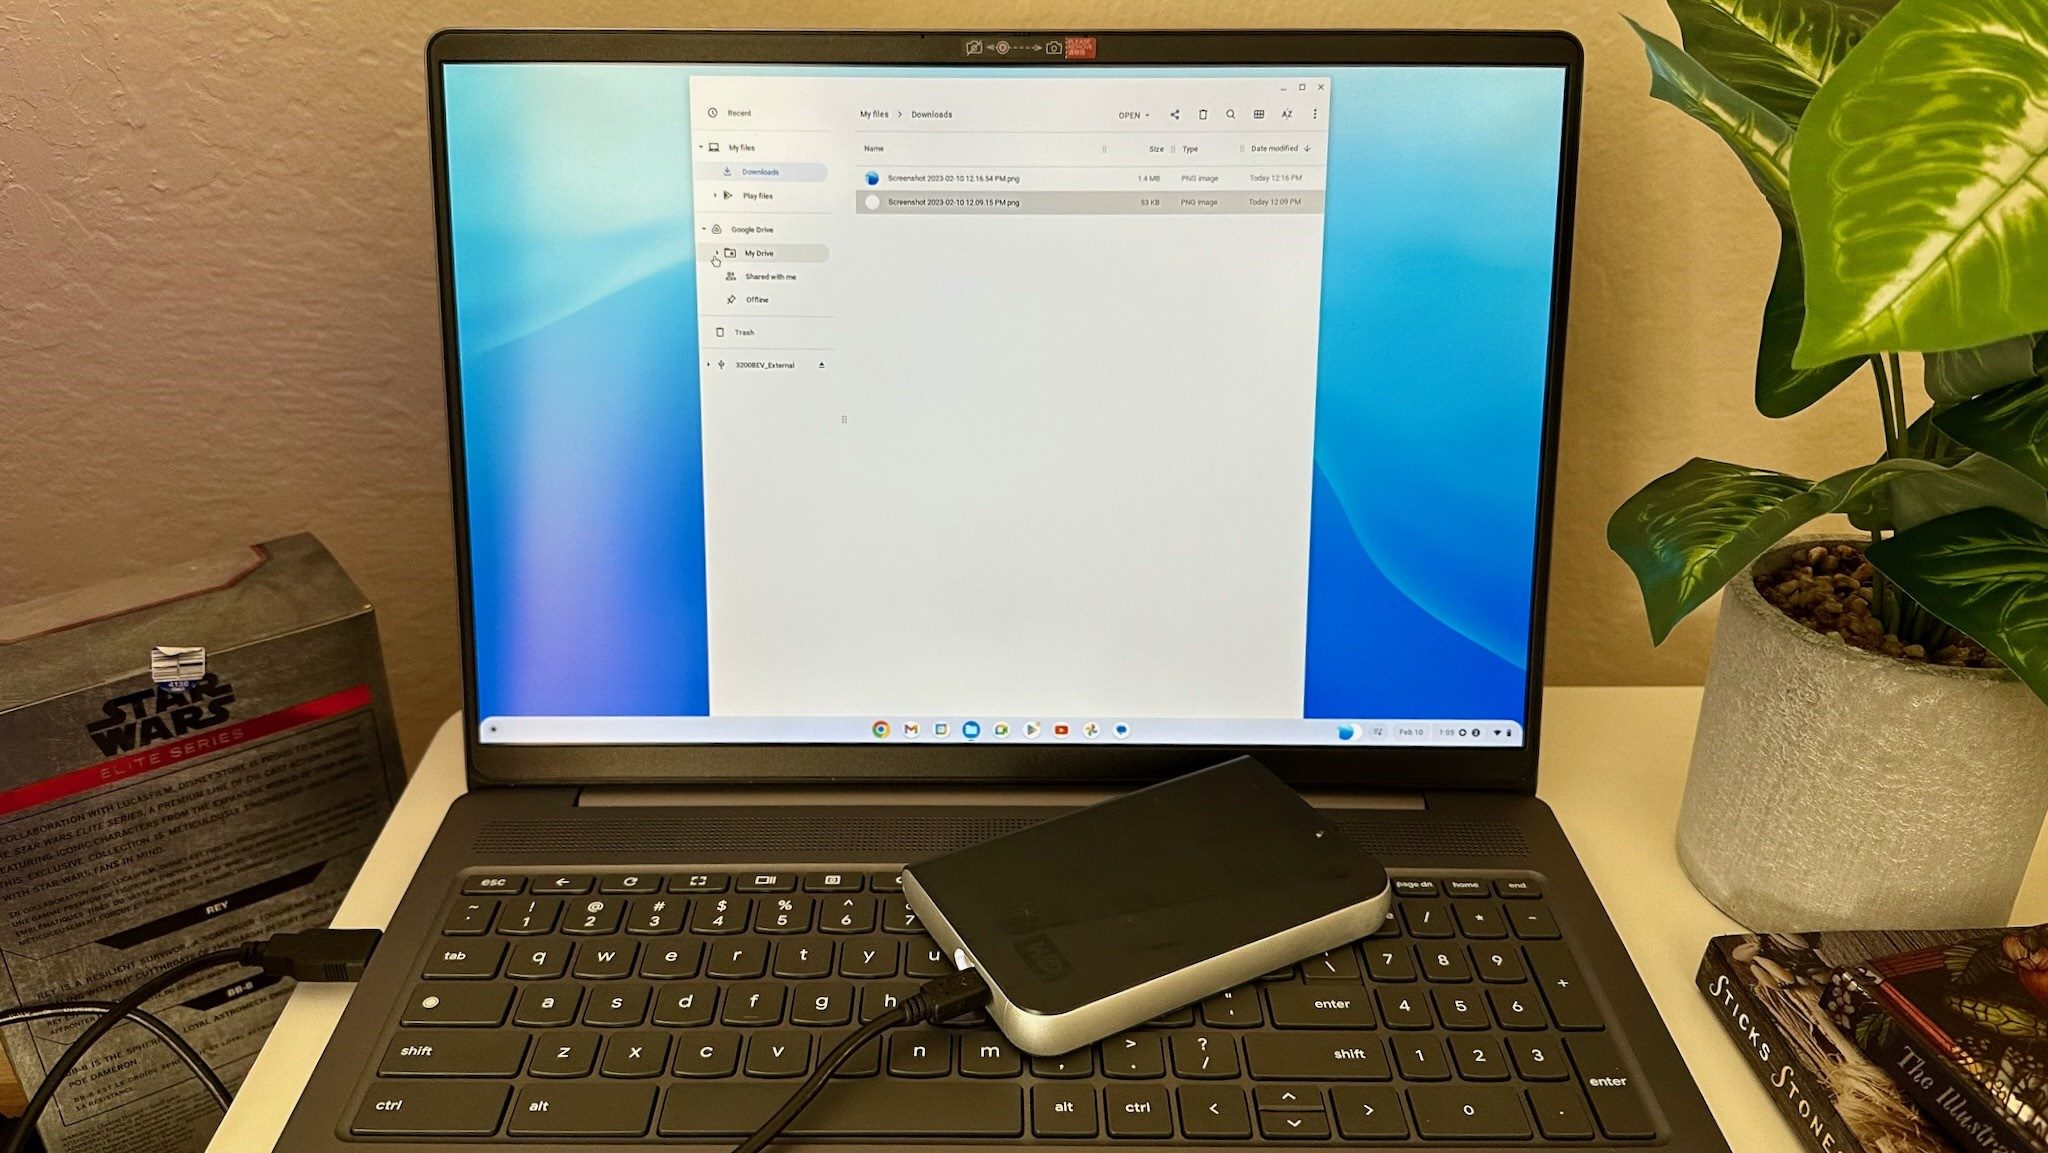
- Once connected, your Chromebook should detect the external drive automatically. You may receive a notification confirming the connection, or you can check for the drive’s icon in the Files app.
If your external drive requires a separate power source, ensure it’s properly connected and powered on. Some larger external hard drives may have their own power supply, while smaller ones like USB flash drives derive power from the Chromebook’s USB port.
Now that you’ve successfully connected your external drive, you can proceed to access its files and transfer data between the drive and your Chromebook. We’ll cover these topics in the following sections to help you make the most of your expanded storage space.
Accessing the Files on the External Drive
Once you’ve connected your external drive to your Chromebook, accessing the files on it is a straightforward process. Here’s how you can access and explore the files stored on your external drive:
- Click on the ‘Launcher’ icon located in the bottom left corner of your Chromebook’s screen. It looks like a circle with a white dot inside.
- Search for and open the ‘Files’ app from the list of available applications. The ‘Files’ app allows you to browse through the files and folders on your Chromebook, including the external drive.
- In the ‘Files’ app, you’ll see a list of all the available storage locations on the left-hand side. Look for the name or icon representing your external drive and click on it to access its contents.
- You can now navigate through the folders and files stored on your external drive, just like you would on your Chromebook’s internal storage.
- To open a file, simply double-click on it. This will launch the associated application, allowing you to view and work with the file.
It’s worth noting that some files might require specific applications to open or edit them. In such cases, make sure you have the necessary apps installed on your Chromebook to open files of various formats.
Also, keep in mind that accessing files on the external drive works similarly to accessing files on your Chromebook’s internal storage. This means that you can easily copy, delete, or move files between the external drive and your Chromebook using the ‘Files’ app.
Now that you know how to access the files on your external drive, let’s move on to transferring files between your Chromebook and the external drive.
Transferring Files Between Chromebook and External Drive
Transferring files between your Chromebook and external drive is a convenient way to manage your data and keep it accessible across devices. Here’s how you can easily transfer files between your Chromebook and the external drive:
- Open the ‘Files’ app on your Chromebook by clicking on the ‘Launcher’ icon and selecting ‘Files’ from the available applications.
- Navigate to the location of the file you want to transfer. This can be either on your Chromebook’s internal storage or the external drive.
- Select the file or files you want to transfer by clicking on them. You can select multiple files by holding down the ‘Ctrl’ key while clicking on each file.
- Once the files are selected, right-click on any of the selected files and choose the ‘Copy’ option from the context menu.
- Now, go to the desired location where you want to transfer the files. This can be a folder on the external drive or your Chromebook’s internal storage.
- Right-click on the destination folder and select ‘Paste’ from the context menu. This will transfer the selected files to the chosen location.
Alternatively, you can also drag and drop files between the ‘Files’ app windows of your Chromebook and the external drive. Simply select the files you want to transfer, drag them to the destination folder, and release the mouse button to initiate the transfer.
Keep in mind that the transfer speed may vary depending on the size of the files and the performance of the external drive. It’s advisable to avoid disconnecting the external drive during file transfers to prevent data corruption or loss.
By knowing how to transfer files between your Chromebook and external drive, you can easily back up important data, transfer media files, or share files with others. With this capability, you can make the most out of your expanded storage space and seamlessly manage your digital content.
Organizing and Managing Files on the External Drive
Keeping your files organized on the external drive is essential for easy access and efficient management. Here are some tips to help you effectively organize and manage your files on the external drive:
- Create Folders: To keep similar files together, create folders on the external drive. Right-click on the desired location and choose ‘New Folder’ from the context menu. Give the folder a meaningful name and drag and drop relevant files into it.
- Use Descriptive File Names: Give your files descriptive names to easily identify their content. Instead of generic names like ‘File1’ or ‘Document’, use names that reflect the content or purpose of the file.
- Sort and Categorize: Depending on your needs, you can sort files on the external drive by name, date modified, or file type. You can also categorize files into subfolders based on topics, projects, or any other relevant criteria.
- Utilize Labels or Tags: Some file systems support the use of labels or tags to further classify and identify files. Assigning labels or tags to files can make it easier to search and locate specific files later.
- Regularly Backup Files: It’s crucial to have backup copies of your important files on separate storage devices or cloud storage services. Consider regularly creating backups of your files on the external drive to avoid data loss in case of any unforeseen circumstances.
- Remove Unnecessary Files: Periodically review the contents of your external drive and delete any unnecessary files to free up space. This will ensure that you have enough storage for new files and improve the overall performance of the drive.
By following these organizational and management practices, you can maintain a well-structured and easy-to-navigate external drive. This will save you time and effort when searching for specific files and enhance your overall productivity when working with the external drive and your Chromebook.
Safely Ejecting the External Drive from Your Chromebook
Before disconnecting the external drive from your Chromebook, it’s important to ensure that you safely eject it to prevent data corruption or loss. Here’s how you can safely eject the external drive:
- If you have any open files or applications that are using the external drive, make sure to close them before ejecting the drive. This will prevent any data conflicts or errors during the ejection process.
- Locate the external drive in the ‘Files’ app on your Chromebook.
- Right-click on the external drive’s icon and select the ‘Eject’ option from the context menu.
- Wait for a few moments until you see a notification or confirmation message indicating that it’s safe to remove the external drive.
- Gently remove the external drive from the USB port of your Chromebook. Be careful not to pull or yank it out forcefully, as this can damage both the drive and the port.
It’s important to note that safely ejecting the external drive ensures that all data is written and saved properly before disconnecting it. This reduces the risk of data corruption and ensures the integrity of your files.
Although Chromebooks typically have mechanisms in place to protect data on external drives, it’s still best practice to follow the safe ejection process to minimize any potential risks.
By safely ejecting your external drive, you can maintain the reliability and longevity of both your drive and your Chromebook, ensuring that your files remain intact and accessible for future use.
Troubleshooting Common Issues with External Drive Usage on Chromebook
While using an external drive with your Chromebook is typically a smooth experience, you may occasionally encounter some common issues. Here are some troubleshooting steps to help you resolve these issues:
- Connection Issues: If your Chromebook doesn’t detect the external drive, make sure it’s properly connected to the USB port. Try unplugging and reconnecting the drive or try a different USB port on your Chromebook. Also, check if the drive is compatible with Chromebooks or if it requires additional drivers or software.
- File System Compatibility: Ensure that the file system of your external drive is compatible with Chrome OS. Chromebooks typically support FAT32, exFAT, and NTFS file systems. If your drive uses a different file system, you may need to reformat it to a compatible one through the ‘Files’ app or on another device.
- Security Warnings: Chromebooks may display security warnings when connecting an external drive that contains potentially harmful files. If you trust the contents of the drive, you can proceed with caution and follow the prompts to allow access or disable the warning in the settings.
- Slow Transfer Speed: If you experience slow transfer speeds, it could be due to various factors such as the USB port, the performance of the external drive, or the file sizes. Make sure you’re using a USB 3.0 port for faster data transfer and consider connecting the external drive to another device to check if the issue persists.
- Corrupted Files: If any files on your external drive become corrupted or unreadable, it could be due to a variety of reasons. Try accessing the files on another device to see if the issue is specific to your Chromebook. If necessary, you can attempt data recovery using specialized software or seek professional assistance.
If you’re still encountering issues with your external drive on your Chromebook, it’s recommended to check for any available system updates on your Chromebook and ensure you’re running the latest version of Chrome OS. You can also visit the Chromebook support website or contact the manufacturer for further assistance and guidance.
By troubleshooting common issues with external drive usage on your Chromebook, you can overcome any obstacles and enjoy a seamless and reliable experience with your expanded storage capacity.