
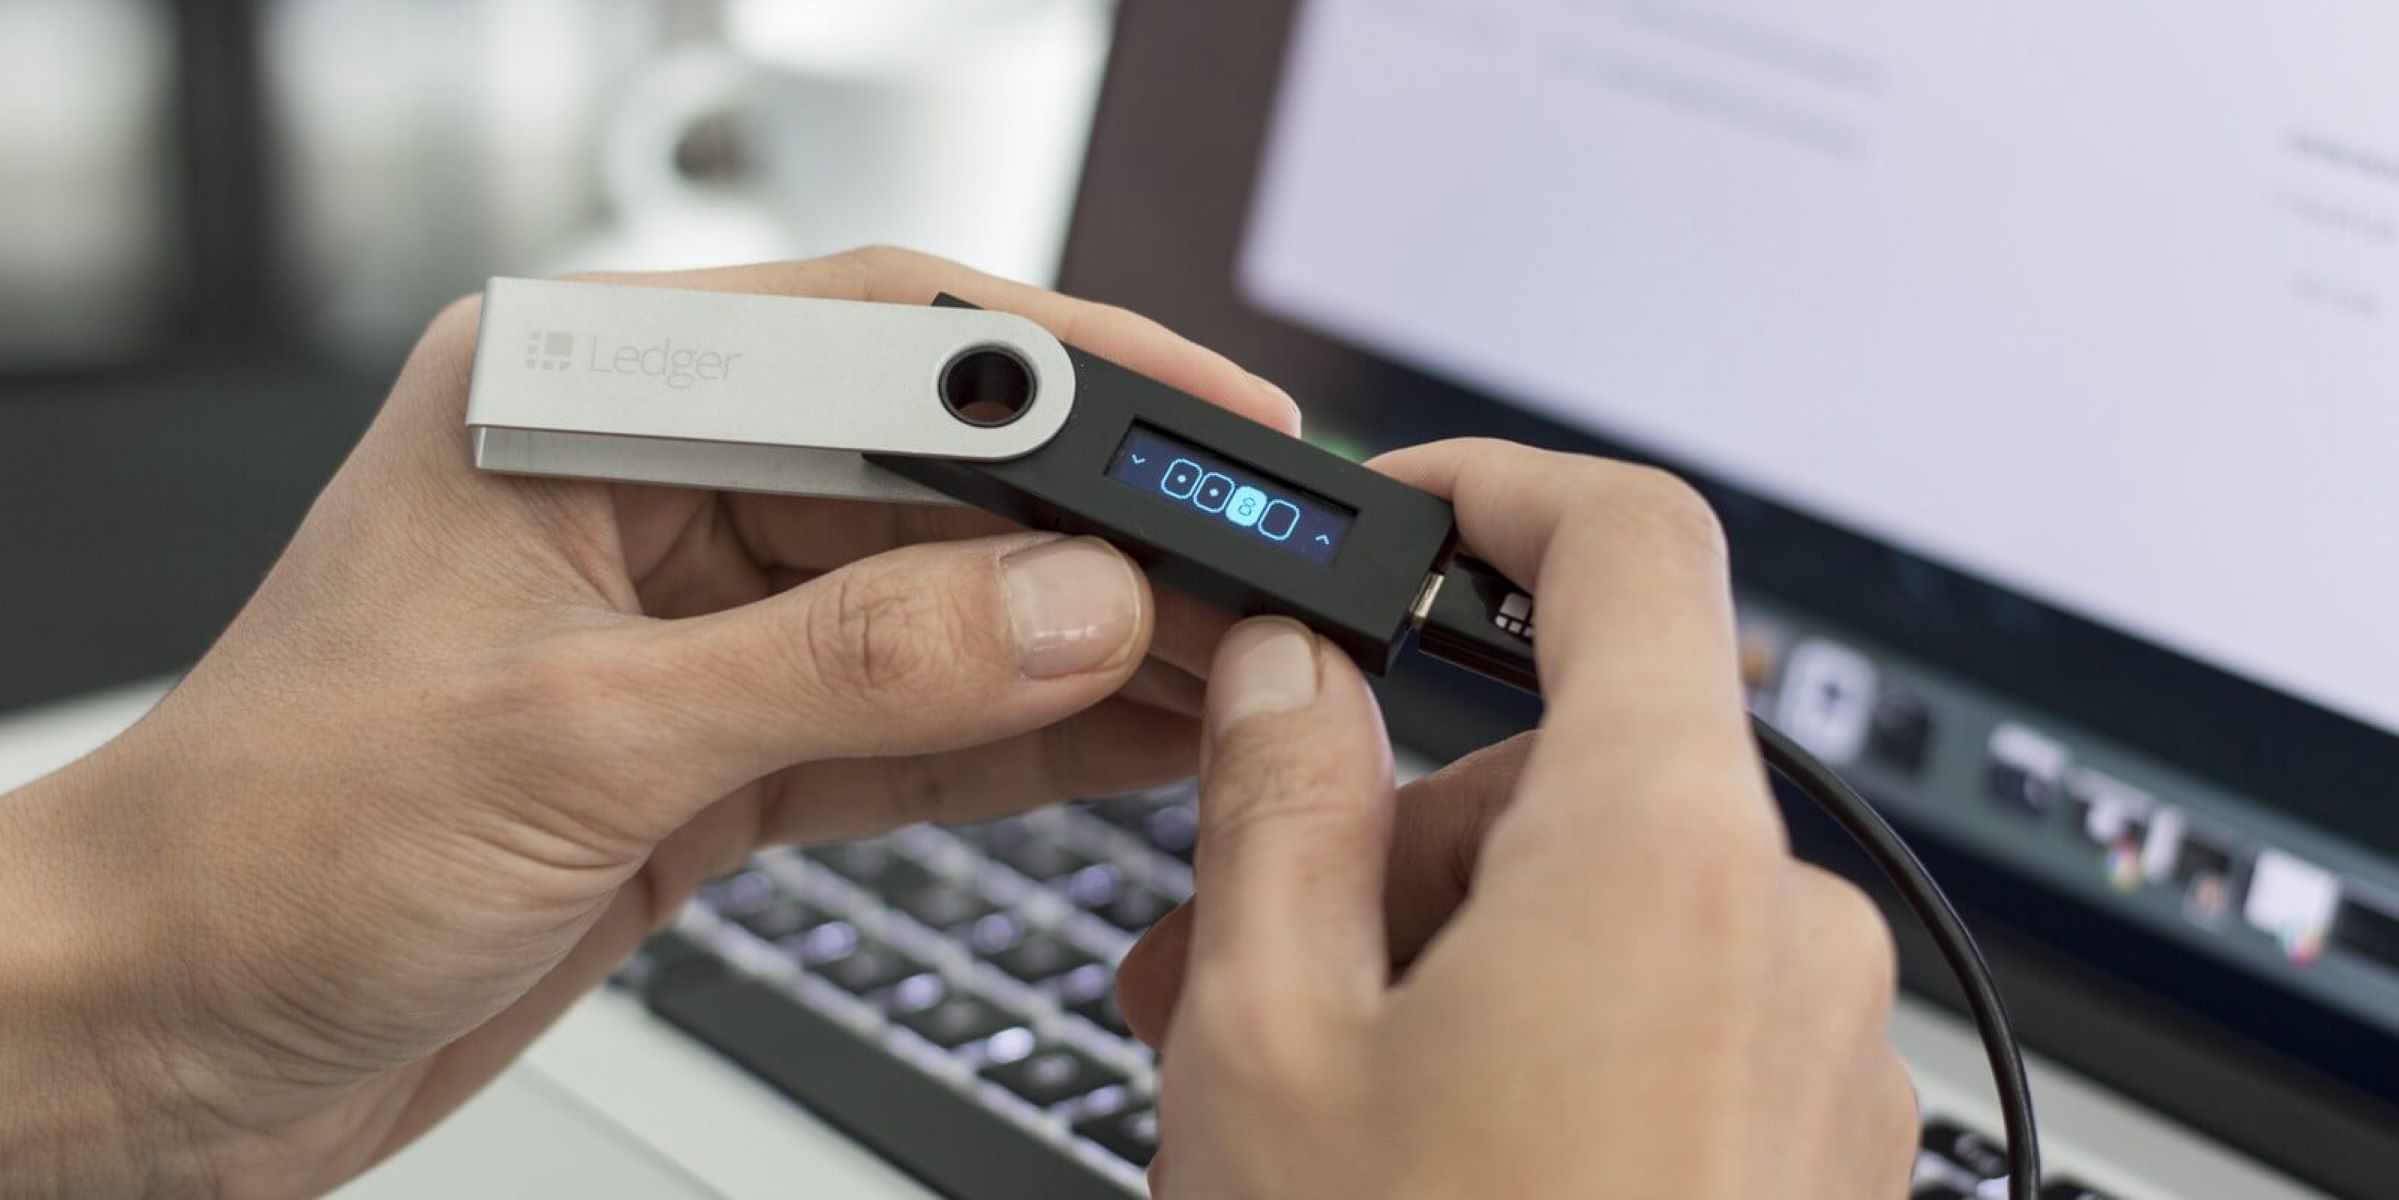
What is a Nano S Hardware Wallet?
A Nano S Hardware Wallet is a physical device that securely stores your cryptocurrencies. It is designed to provide an extra layer of security by keeping your private keys offline. This compact and portable device resembles a USB drive and offers a secure way to manage your digital assets.
Unlike software wallets, which are vulnerable to hacking and online attacks, a Nano S Hardware Wallet keeps your private keys stored securely offline, away from potential threats. This makes it an ideal solution for individuals concerned about the safety of their cryptocurrencies.
By using a Nano S Hardware Wallet, you have full control over your digital assets. It allows you to securely send and receive cryptocurrencies, manage multiple accounts, and even use it on a compromised computer without risking the safety of your funds. The device is equipped with a built-in display and physical buttons, which provides an intuitive interface for managing your crypto assets.
One of the key features of a Nano S Hardware Wallet is its support for a wide range of cryptocurrencies. It is compatible with popular cryptocurrencies like Bitcoin, Ethereum, Ripple, Litecoin, and many others. This makes it a versatile solution for cryptocurrency enthusiasts who hold multiple digital assets.
Overall, a Nano S Hardware Wallet offers peace of mind by providing a secure and convenient way to manage and safeguard your cryptocurrencies. With its offline storage and robust security features, you can confidently store and transact your digital assets knowing that they are protected from potential online threats.
Getting Started with the Nano S Hardware Wallet
Before you can start using your Nano S Hardware Wallet, there are a few steps you need to follow. Here’s a guide to help you get started:
- Unboxing: Begin by unboxing your Nano S Hardware Wallet. Inside the box, you will find the device, a USB cable, and a set of instructions.
- Connecting to your computer: Use the included USB cable to connect your Nano S Hardware Wallet to your computer.
- Setting up the device: Follow the on-screen instructions to set up your Nano S Hardware Wallet. This typically involves choosing a PIN code and confirming it.
- Creating a recovery phrase: During the setup process, you will be prompted to create a recovery phrase. This is a crucial step as it helps you restore your wallet in case your device is lost or damaged. Make sure to write down your recovery phrase and keep it in a safe place.
- Installing the wallet software: To manage your cryptocurrencies, you will need to install the appropriate wallet software on your computer. Most hardware wallets have a dedicated software that you can download from their official website.
- Initializing the wallet software: Open the wallet software and follow the instructions to initialize your Nano S Hardware Wallet. This entails connecting your device to the software and confirming the connection on the device itself.
- Firmware update: It’s essential to ensure that your Nano S Hardware Wallet has the latest firmware installed. Check for firmware updates regularly and follow the instructions to update your device if necessary.
- Adding cryptocurrencies: Once your Nano S Hardware Wallet is set up and connected to the wallet software, you can start adding cryptocurrencies to your wallet. Refer to the wallet software documentation for specific instructions on adding different cryptocurrencies.
With these steps completed, you are now ready to use your Nano S Hardware Wallet to securely manage your cryptocurrencies. Remember to always keep your device and recovery phrase in a safe and secure location to protect your assets.
Setting up the Nano S Hardware Wallet
Setting up your Nano S Hardware Wallet is an important step in ensuring the security of your cryptocurrencies. Follow these simple instructions to get started:
- Connect the device: Use the provided USB cable to connect your Nano S Hardware Wallet to your computer or mobile device.
- Power on the device: Press the button on the top of the device to power it on.
- Select a PIN code: You will be prompted to set a PIN code on the device’s screen. Choose a unique PIN code that is easy for you to remember but hard for others to guess.
- Confirm the PIN code: Enter the PIN code again to confirm it.
- Write down the recovery phrase: The Nano S Hardware Wallet will generate a 24-word recovery phrase. It’s crucial to write down this phrase and keep it in a safe place. This recovery phrase allows you to recover your wallet if your device is lost, stolen, or damaged.
- Verify the recovery phrase: After writing down the recovery phrase, the device will ask you to confirm it by entering specific words in the correct order. This ensures that you have accurately recorded the recovery phrase.
- Install the Ledger Live software: Ledger Live is the official software for managing your Nano S Hardware Wallet. Visit the official Ledger website and download the appropriate version of Ledger Live for your operating system.
- Pair your Nano S with Ledger Live: Open Ledger Live on your computer and follow the instructions to pair your Nano S Hardware Wallet with the software. This allows you to manage your cryptocurrencies and perform transactions securely.
Once you have completed these steps, your Nano S Hardware Wallet is now set up and ready to use. It’s important to keep your device and recovery phrase secure and never share them with anyone. Regularly update the Ledger Live software and firmware on your device to ensure the latest security features and bug fixes are in place. With proper setup and precautions, you can confidently store and manage your cryptocurrencies using your Nano S Hardware Wallet.
Creating a PIN for the Nano S Hardware Wallet
Setting up a PIN code is an important security measure for your Nano S Hardware Wallet. This PIN code acts as an additional layer of protection, ensuring that only you can access your cryptocurrencies. Here’s how you can create a PIN for your device:
- Connect your Nano S Hardware Wallet to your computer or mobile device using the provided USB cable.
- Power on the device by pressing the button on the top.
- On the device’s screen, you will be prompted to set up a PIN code. Use the buttons on the device to navigate through the options.
- Choose a PIN code that is unique and difficult for others to guess. Avoid using common or easily guessable combinations.
- Enter your chosen PIN code on the device’s screen, carefully navigating and selecting the numbers using the physical buttons.
- Confirm the PIN code by entering it again.
- Once the PIN code is confirmed, it will be set and activated on your Nano S Hardware Wallet.
It is crucial to choose a PIN code that you can remember but is not easily guessable. Avoid using birth dates, anniversaries, or simple number sequences. The PIN code acts as a barrier against unauthorized access to your Nano S Hardware Wallet and ensures that even if the device is lost or stolen, your cryptocurrencies remain secure.
Remember, it is essential to keep your PIN code confidential and not share it with anyone. If you suspect that someone may have gained unauthorized access to your PIN, it is advisable to change it immediately.
By creating a robust PIN code for your Nano S Hardware Wallet, you can have peace of mind knowing that your cryptocurrencies are protected by an additional layer of security.
Backing up Your Nano S Hardware Wallet
Backing up your Nano S Hardware Wallet is essential to ensure that you can recover your funds in case your device is lost, damaged, or stolen. Here are the steps to back up your wallet:
- Go to the settings of your Nano S Hardware Wallet and find the option to create a backup or recovery phrase.
- Follow the on-screen instructions to generate a unique recovery phrase. This recovery phrase consists of a series of 24 random words.
- Write down these words on a piece of paper in the exact order provided by the device. Make sure to write them clearly and legibly.
- Keep the recovery phrase in a safe and secure location, such as a locked drawer or a fireproof safe. It is recommended to make multiple copies and store them in different secure locations.
- Avoid storing the recovery phrase digitally as it increases the risk of it being compromised by hackers or malware.
- Never share or disclose your recovery phrase to anyone. Treat it with the same level of security as you would your private keys.
The recovery phrase is the key to accessing your funds in the event of a hardware failure or loss. With this backup, you can restore your wallet and regain access to your cryptocurrencies on a new device.
If your Nano S Hardware Wallet gets lost, stolen, or damaged, you can easily restore your wallet by following these steps:
- Obtain a new Nano S Hardware Wallet.
- Install the wallet software on your computer and connect the new device.
- Select the option to restore from a backup or recovery phrase.
- Enter your 24-word recovery phrase in the designated order.
- Follow the prompts to complete the restoration process.
By following these backup procedures and keeping your recovery phrase safe, you can ensure that your Nano S Hardware Wallet is protected and that your funds remain accessible even in unforeseen circumstances.
Using the Nano S Hardware Wallet with Supported Cryptocurrencies
The Nano S Hardware Wallet supports a wide range of cryptocurrencies, providing users with versatility and flexibility in managing their digital assets. Here’s how you can use the Nano S Hardware Wallet with supported cryptocurrencies:
- Install the wallet software on your computer and connect your Nano S Hardware Wallet.
- Open the wallet software and navigate to the section where you can add or manage cryptocurrencies.
- Choose the cryptocurrency you want to use with your Nano S Hardware Wallet.
- Follow the instructions displayed on the wallet software to add the selected cryptocurrency.
- Once added, you will see the balance of the cryptocurrency and have the ability to manage your transactions.
- To send or receive cryptocurrencies, use the wallet software to generate a unique address for the specific cryptocurrency.
- On the wallet software, enter the recipient’s address and the amount you want to send.
- Review the transaction details and confirm the transaction on your Nano S Hardware Wallet by verifying the information on the device’s screen.
- After confirming the transaction, it will be securely signed on the device and broadcasted to the blockchain network.
- For receiving cryptocurrencies, provide the generated address from your Nano S Hardware Wallet to the sender, who can then initiate the transaction.
It’s important to note that when using the Nano S Hardware Wallet, your private keys never leave the device. This significantly reduces the risk of your private keys being exposed to potential online threats or hacking attempts.
Supported cryptocurrencies may vary depending on the wallet software and firmware version of your Nano S Hardware Wallet. Make sure to regularly update the wallet software and firmware to access the latest features and additions to the supported cryptocurrencies list.
By using the Nano S Hardware Wallet with supported cryptocurrencies, you can enjoy the benefits of enhanced security, ease of use, and peace of mind in managing your digital assets.
Sending and Receiving Crypto with the Nano S Hardware Wallet
The Nano S Hardware Wallet provides a secure and reliable method for sending and receiving cryptocurrencies. Here’s how you can use your Nano S Hardware Wallet to perform these actions:
- Connect your Nano S Hardware Wallet to your computer or mobile device using the USB cable.
- Open the wallet software on your device and navigate to the section for sending or receiving cryptocurrencies.
- To send crypto, select the desired cryptocurrency and click on the “Send” or “Send Payment” button.
- Enter the recipient’s wallet address in the designated field. Make sure to double-check the address to avoid any errors or losses.
- Specify the amount of crypto you wish to send and review the transaction details.
- On your Nano S Hardware Wallet, carefully review the transaction details displayed on the device’s screen.
- If the details are correct, confirm the transaction by pressing the appropriate button on the device.
- After confirming, the Nano S Hardware Wallet will sign the transaction securely and broadcast it to the respective blockchain network.
- To receive crypto, provide your unique wallet address generated by the Nano S Hardware Wallet.
- Copy the generated wallet address from the wallet software and share it with the sender.
- The sender will initiate the transaction, and once completed, the crypto will be deposited into your Nano S Hardware Wallet.
It’s important to note that the private keys associated with your cryptocurrencies are stored securely on your Nano S Hardware Wallet. This ensures that your funds remain protected and inaccessible to potential hackers or online threats.
Always verify the transaction details on your Nano S Hardware Wallet’s screen before confirming any transaction. This provides an extra layer of security and prevents any unauthorized or erroneous transactions.
By using the Nano S Hardware Wallet to send and receive crypto, you can enjoy the convenience, security, and peace of mind in managing your digital assets.
Managing Multiple Cryptocurrencies on the Nano S Hardware Wallet
The Nano S Hardware Wallet offers the convenience of managing multiple cryptocurrencies securely in one device. Here’s how you can manage multiple cryptocurrencies on your Nano S Hardware Wallet:
- Ensure that you have the latest firmware and wallet software installed on your Nano S Hardware Wallet.
- Connect your Nano S Hardware Wallet to your computer or mobile device using the provided USB cable.
- Open the wallet software and navigate to the section for managing cryptocurrencies.
- Choose the option to add new cryptocurrencies or manage existing ones.
- From the list of supported cryptocurrencies, select the ones you want to manage on your Nano S Hardware Wallet. Follow the on-screen instructions to add them.
- Once added, you will see a list of your supported cryptocurrencies in the wallet software.
- To view the balance of each cryptocurrency, select the respective currency from the list.
- To perform transactions with a specific cryptocurrency, select the currency and choose the option to send or receive.
- Follow the usual steps for sending or receiving cryptocurrency as mentioned earlier, ensuring you select the correct currency.
- You can also manage multiple accounts for each cryptocurrency on your Nano S Hardware Wallet. This allows you to segregate and organize your holdings.
- Use the wallet software to create and manage additional accounts for each cryptocurrency.
- Switch between different accounts by selecting the desired account within the wallet software.
Managing multiple cryptocurrencies on the Nano S Hardware Wallet provides the advantage of consolidating your digital assets into one secure device. This eliminates the need to manage individual wallets for each cryptocurrency, streamlining your cryptocurrency management process.
Keep in mind that the available cryptocurrencies may vary depending on the wallet software and firmware version of your Nano S Hardware Wallet. Regularly update the wallet software and firmware to access the latest additions and enhancements to the supported cryptocurrencies list.
By efficiently managing multiple cryptocurrencies on your Nano S Hardware Wallet, you can have better control, security, and accessibility to your diverse digital asset portfolio.
Updating Firmware on the Nano S Hardware Wallet
Updating the firmware on your Nano S Hardware Wallet is crucial to ensure that you have the latest security features, bug fixes, and improvements. Here’s how you can update the firmware:
- Connect your Nano S Hardware Wallet to your computer using the provided USB cable.
- Ensure that you have the latest version of the wallet software installed on your computer.
- Open the wallet software and navigate to the settings or device management section.
- Check for firmware updates by selecting the appropriate option.
- If a firmware update is available, follow the instructions provided by the wallet software.
- The update process may take a few minutes. During the update, do not disconnect the Nano S Hardware Wallet.
- Once the update is complete, the wallet software will notify you. You can then safely disconnect your Nano S Hardware Wallet.
Updating the firmware on your Nano S Hardware Wallet is crucial for several reasons:
- Security: Firmware updates often contain security enhancements or fixes to address potential vulnerabilities. Keeping your firmware up to date ensures that your funds remain secure.
- Compatibility: Firmware updates may also include compatibility improvements, ensuring that your Nano S Hardware Wallet functions smoothly with the latest wallet software and supported cryptocurrencies.
- Performance: Firmware updates can improve the overall performance and user experience of your Nano S Hardware Wallet, providing faster transactions and smoother navigation.
It is recommended to regularly check for firmware updates and install them promptly. This ensures that your Nano S Hardware Wallet remains up to date with the latest developments in the cryptocurrency space and helps to safeguard your digital assets.
Always ensure that firmware updates come from official and trusted sources. Be cautious of fake or unauthorized updates that may compromise the security of your Nano S Hardware Wallet.
By keeping your Nano S Hardware Wallet’s firmware up to date, you can maximize its security, compatibility, and performance, allowing you to manage your cryptocurrencies with confidence.
Troubleshooting Common Issues with the Nano S Hardware Wallet
The Nano S Hardware Wallet is a reliable and secure device for managing your cryptocurrencies. However, like any technology, it can encounter occasional issues. Here are some common problems you might encounter with the Nano S Hardware Wallet and how to troubleshoot them:
- Connection Issues: If your Nano S Hardware Wallet is not connecting properly to the wallet software, try using a different USB cable or port. Ensure that you have the latest version of the wallet software installed on your computer.
- Device Not Recognized: If your Nano S Hardware Wallet is not being recognized by the wallet software, try restarting your computer and reconnecting the device. If the issue persists, try using a different computer or contact customer support for further assistance.
- Forgotten PIN: If you forget the PIN code for your Nano S Hardware Wallet, don’t panic. After three unsuccessful attempts, the device will display a message prompting you to reset the device. You can restore your wallet using the recovery phrase you previously generated.
- Display Issues: If the screen on your Nano S Hardware Wallet is not displaying properly, try adjusting the contrast settings or updating the firmware to the latest version. If the problem continues, contact customer support for further assistance.
- Missing/Hidden Accounts: If you are unable to see or access a specific account or cryptocurrency on your Nano S Hardware Wallet, make sure that you have added the account correctly in the wallet software. Sometimes, a firmware update or resynchronizing the account can resolve this issue.
- Transaction Errors: If you encounter errors while sending or receiving cryptocurrencies, double-check the recipient’s address or the amount entered. Ensure that you have a stable internet connection. If the error persists, contact customer support for guidance.
- Freezing or Unresponsiveness: If your Nano S Hardware Wallet freezes or becomes unresponsive, try disconnecting and reconnecting the device. If it still doesn’t resolve the issue, restart your computer and try again. If the problem persists, contact customer support for assistance.
If you encounter any other issues or have questions about your Nano S Hardware Wallet, refer to the official documentation or contact customer support for prompt assistance. They have the expertise to guide you through specific troubleshooting steps or provide further solutions for any problems you may encounter.
Remember to always keep your recovery phrase and private keys secure. These are the essential elements that allow you to recover your wallet and access your cryptocurrencies in case of any issues with the Nano S Hardware Wallet.
By troubleshooting common issues and seeking appropriate support when needed, you can ensure a smooth and secure experience with your Nano S Hardware Wallet.