
Check your iPod’s compatibility
Before updating your iPod’s operating system, it’s essential to confirm whether your device is compatible with the latest software version. Updating to an incompatible iOS version can result in performance issues or even render your iPod unusable.
To check your iPod’s compatibility, follow these steps:
- Find the model number of your iPod by going to the “Settings” app.
- Tap on “General,” then “About” to access the necessary information. You should see a field labeled “Model” or “Model Number.”
- Note down the model number and refer to Apple’s official website or support documentation to determine if your iPod is capable of running the latest iOS version.
Keep in mind that older iPod models may have limitations in terms of software updates. Apple tends to provide updates for newer iPod models while gradually phasing out support for older devices.
If your iPod is not compatible with the latest operating system, don’t worry! You can still enjoy many features and functions with the current software version. However, it’s worth considering an upgrade if you desire access to the latest features and security enhancements.
By ensuring your iPod’s compatibility before updating, you can avoid potential compatibility problems and make the most out of your device.
Ensure your iPod has enough storage
Before updating your iPod’s operating system, it’s crucial to ensure that your device has sufficient storage space. The update process requires free space to download and install the new software. Failing to allocate enough storage can cause the update to fail or disrupt the device’s performance.
Follow these steps to check your iPod’s available storage:
- Open the “Settings” app on your iPod.
- Tap on “General” and then “About.”
- Look for the “Available” or “Free” storage capacity. This indicates how much space is currently unused on your device.
If your available storage is limited, consider freeing up space before proceeding with the update. Here are a few ways to create additional storage:
- Delete unnecessary apps: Identify and remove apps that you no longer use or ones that consume a significant amount of space.
- Delete old files and media: Go through your photo albums, videos, and music library, and delete any files that are no longer needed.
- Offload apps: iOS has a feature that allows you to offload rarely used apps, which removes the app but retains its data. This frees up space while preserving the ability to reinstall the app later.
- Use cloud storage: Upload your photos, videos, and files to a cloud storage service like iCloud or Google Drive. This allows you to access them anytime while freeing up space on your device.
By ensuring sufficient storage space, you’ll facilitate a smooth update process and ensure optimal performance of your iPod after the update. Regularly assessing and managing your device’s storage can also help keep your iPod running smoothly in the future.
Update your iPod using iTunes (Windows)
If you’re using a Windows computer, updating your iPod’s operating system can be done through iTunes. Follow these steps to ensure a successful update:
- Connect your iPod to your computer using a USB cable. Make sure iTunes is installed and open on your computer.
- In iTunes, click on the device icon located in the top left corner of the window. This will open the summary page for your iPod.
- On the “Summary” tab, click on “Check for Update.” iTunes will now check for the latest available software version for your iPod.
- If an update is available, click on “Download and Update.” This will initiate the download and installation process. Make sure your computer has a stable internet connection to avoid any interruptions during the update.
- Follow the on-screen prompts and agree to any terms and conditions if asked. iTunes will begin downloading the update and automatically install it on your iPod.
- Keep your iPod connected to your computer until the update process is complete. Your device may restart multiple times during the update, which is normal.
- Once the update is finished, iTunes will display a notification indicating that your iPod has been successfully updated to the latest operating system version.
It’s important to note that the update process may take some time, depending on your internet connection speed and the size of the update. Avoid disconnecting your iPod or interrupting the update process to prevent any potential issues.
Updating your iPod using iTunes is a reliable method that ensures your device remains up-to-date with the latest features and security enhancements.
Update your iPod using Finder (Mac)
If you have a Mac computer, you can update your iPod’s operating system using Finder. Follow these steps to ensure a successful update:
- First, ensure that your Mac is running on the latest version of macOS. You can check for updates by clicking on the Apple menu in the top left corner of your screen and selecting “Software Update.”
- Connect your iPod to your Mac using a USB cable. Once connected, the Finder window should automatically open. If it doesn’t, click on the Finder icon in your dock or select “Go” from the top menu and choose “Utilities.” Then, double-click on “Finder” to open it manually.
- In the Finder window, you should see your iPod listed under the “Locations” section on the left sidebar. Click on your iPod to select it.
- On the top menu, click on “General” and then check the box next to “Show this iPod when on Wi-Fi.” This will allow your iPod to appear in Finder even when it’s not physically connected to your Mac.
- In the main Finder window, you will see an overview of your iPod. Look for the “General” tab and click on “Check for Update.”
- If a software update is available, click on “Download and Update.” This will initiate the download and installation process. Make sure your Mac is connected to the internet with a stable connection.
- Follow the on-screen prompts and agree to any terms and conditions if asked. Your Mac will now download the update from Apple’s servers and install it on your iPod.
- Keep your iPod connected to your Mac while the update is taking place. Your device may restart multiple times during the update process.
- Once the update is complete, you will receive a notification in Finder indicating that your iPod has been successfully updated to the latest operating system version.
Updating your iPod using Finder is a straightforward and convenient method for Mac users. It ensures that your device is running on the latest software version, providing you with access to new features and improved security.
Update your iPod wirelessly
If you prefer not to connect your iPod to a computer, you have the option to update your iPod’s operating system wirelessly. This allows you to update directly on your device without the need for additional hardware or software. Follow these steps to update your iPod wirelessly:
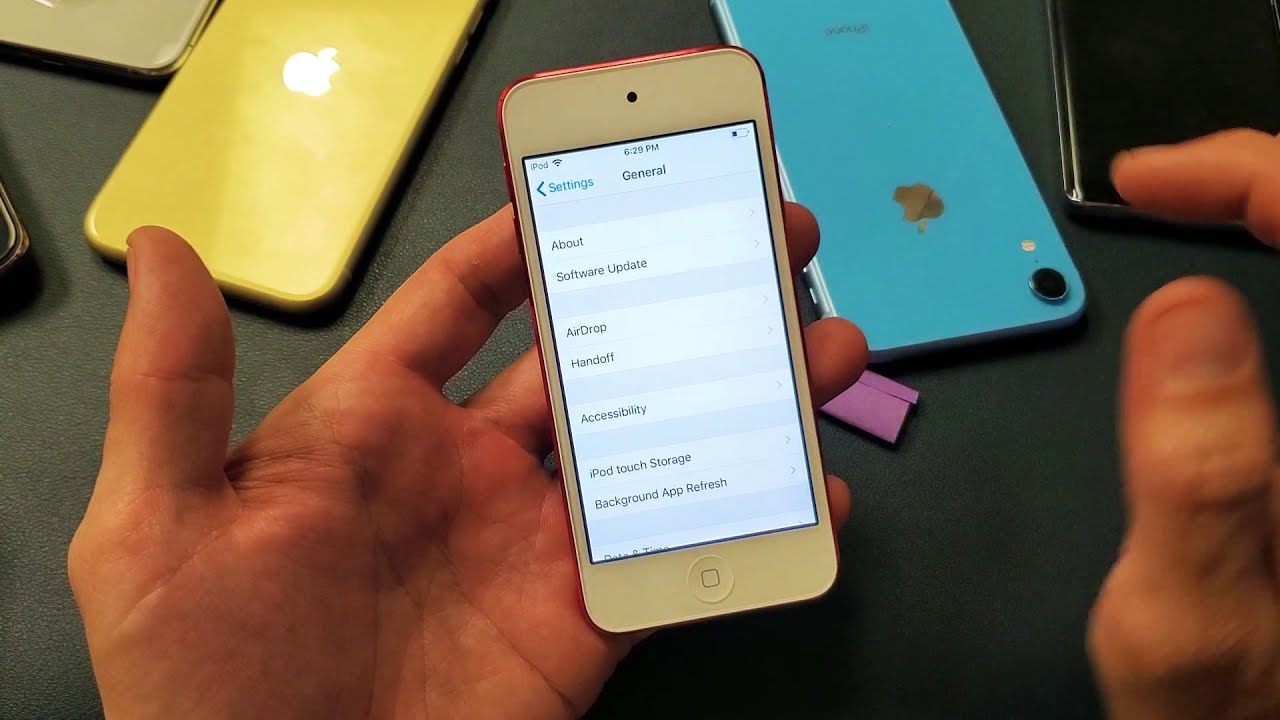
- Ensure that your iPod is connected to Wi-Fi. Go to the “Settings” app on your iPod and tap on “Wi-Fi.” Select a network and enter the password if prompted.
- In the “Settings” app, tap on “General” and then “Software Update.”
- Your iPod will check for available updates. If an update is available, tap on “Download and Install.”
- Ensure that your iPod has sufficient battery life or is connected to a power source. Updates require a significant amount of power, and if your device runs out of battery during the update process, it could cause issues.
- Tap on “Install” to start the update process. Your iPod will begin downloading the update and install it automatically.
- Keep your iPod connected to Wi-Fi and power while the update is in progress. Your device may restart multiple times during the update.
- Once the update is complete, your iPod will restart, and you will be prompted to enter your passcode (if applicable). You will then see a notification indicating that your iPod has been successfully updated.
Updating your iPod wirelessly is a convenient method as it allows you to update your device directly from your iPod without the need for external devices. However, please note that for larger updates, it might be advisable to connect your iPod to Wi-Fi and a power source to ensure a smooth and uninterrupted update process.
Troubleshooting common issues during the update process
While updating your iPod’s operating system can be a seamless process, you may encounter some common issues along the way. Understanding these issues and their potential solutions can help you troubleshoot problems that may arise during the update process. Here are a few common issues and troubleshooting steps:
- Insufficient storage: If you receive an error stating that there is not enough storage to download or install the update, you will need to free up some space on your iPod. Delete unused apps, remove large media files, or utilize cloud storage options to create more storage space.
- Slow or interrupted internet connection: A slow or interrupted internet connection can cause the update to take longer or fail. Ensure that you are connected to a stable and reliable Wi-Fi network during the update process.
- Software update not showing: If your iPod is not displaying any available software updates, ensure that your device is compatible with the latest iOS version. Older iPod models may no longer receive updates, or they may have reached their maximum supported software version.
- Error messages or failed update: If you encounter error messages or the update fails to complete, there are a few troubleshooting steps you can try:
- Restart your iPod and try the update process again.
- Ensure that you are running the latest version of iTunes or Finder on your computer.
- If using iTunes, try updating on a different computer if available.
- Reset your iPod by holding down the power button and the home button (for devices with a home button) or the power button and the volume down button (for devices without a home button) until the Apple logo appears. Then try the update again.
- Consult Apple’s support documentation or contact Apple Support directly for further assistance if the issue persists.
Remember to always back up your iPod before initiating any software updates to ensure that your data is protected. Additionally, if you encounter any unresolved issues or persistent problems, reach out to Apple Support for further guidance and assistance.
By being aware of common issues and their troubleshooting steps, you can resolve potential update problems and ensure that your iPod remains up-to-date with the latest operating system version.