
Check the Device Compatibility
Before you proceed with updating the MCU on your Ledger Nano S, it’s important to ensure that your device is compatible with the latest firmware. Ledger regularly releases updates to improve the functionality and security of their devices, so it’s essential to keep your device up to date.
To check the device compatibility, follow these steps:
- Connect your Ledger Nano S to your computer using the USB cable.
- Launch the Ledger Live application on your computer.
- In the Ledger Live app, click on the “Manager” tab located on the left-hand side of the screen.
- You will see a list of all the available apps and firmware updates. Look for the firmware update specifically designed for the MCU of your Ledger Nano S.
- Click on the firmware update to view the details and ensure that it is compatible with your device.
If the firmware update is compatible with your device, you can proceed to update the MCU on your Ledger Nano S. However, if it is not compatible, it means that your device is already running the latest version of the MCU firmware.
It is crucial to check the compatibility to ensure a smooth and successful firmware update. Attempting to install an incompatible firmware update can result in errors or malfunctions in your Ledger Nano S. Always verify that the update is specifically designed for your device before proceeding.
By ensuring compatibility, you can be confident that the firmware update will enhance the performance and security of your Ledger Nano S, providing you with a seamless and secure experience for managing your cryptocurrencies.
Connect the Ledger Nano S to Your Computer
In order to update the MCU on your Ledger Nano S, you first need to connect the device to your computer. Follow these steps to establish the connection:
- Locate the USB cable that came with your Ledger Nano S. It should have a USB-A connector on one end and a micro-USB connector on the other.
- Insert the micro-USB connector into the corresponding port on the Ledger Nano S.
- Plug the USB-A connector into an available USB port on your computer.
- Once connected, your Ledger Nano S will display a lock icon on the screen, indicating a successful connection.
It is important to use the original USB cable provided by Ledger to ensure a secure and reliable connection. Using other cables may result in connection issues or data transfer errors.
After connecting your Ledger Nano S to your computer, make sure to keep the device and cable in a stable position to avoid accidental disconnections during the firmware update process. Disconnecting the device prematurely may lead to errors and interruptions.
Establishing a secure connection between your Ledger Nano S and your computer is the first step towards updating the MCU firmware. This connection allows for the transfer of data and instructions, ensuring a smooth and successful update process.
Go to the Ledger Live Application
In order to update the MCU on your Ledger Nano S, you will need to use the Ledger Live application. Ledger Live is the official software provided by Ledger that allows you to manage your cryptocurrencies and perform various tasks on your Ledger devices.
Follow these steps to access the Ledger Live application and begin the firmware update process:
- If you haven’t already, download and install the Ledger Live application on your computer. You can find the latest version of Ledger Live on the official Ledger website.
- Once the installation is complete, launch the Ledger Live application.
- If you already have Ledger Live installed, make sure it is up to date by checking for updates in the application’s settings.
- Connect your Ledger Nano S to your computer using the USB cable as mentioned in the previous section.
- After connecting your Ledger Nano S, you may need to unlock the device by entering your PIN on the device screen.
- Once your Ledger Nano S is connected and unlocked, the Ledger Live application will automatically detect the device.
- On the main screen of the Ledger Live application, you will see various options and tabs. Look for the tab or option specifically related to firmware updates.
By accessing the Ledger Live application, you gain access to a user-friendly interface that simplifies the process of updating the MCU firmware on your Ledger Nano S. The application provides step-by-step instructions and ensures a safe and secure update process.
Choose the Firmware Update Option
After launching the Ledger Live application and connecting your Ledger Nano S to your computer, it’s time to select the firmware update option. This will initiate the process of updating the MCU firmware on your device. Follow these steps:
- In the Ledger Live application, navigate to the tab or option specifically related to firmware updates. It may be labeled as “Firmware Update” or something similar.
- Click on the firmware update option to proceed.
- The Ledger Live application will display a list of available firmware updates for your Ledger Nano S.
- Review the available firmware updates and select the one that corresponds to the MCU firmware update.
- Ensure that you are selecting the correct firmware update specifically designed for the MCU of your Ledger Nano S. Installing an incorrect firmware update can lead to issues and may compromise the security of your device.
- After selecting the appropriate firmware update, proceed to the next step as guided by the Ledger Live application.
It is important to note that the Ledger Live application will ensure the integrity and authenticity of the firmware update files. This helps to protect against potential security risks and ensures that you are installing a legitimate and secure update on your Ledger Nano S.
By choosing the firmware update option within the Ledger Live application, you are taking the necessary steps to keep your Ledger Nano S up to date with the latest MCU firmware, which is essential for optimal performance and security.
Follow the On-Screen Instructions
Once you have selected the appropriate firmware update for the MCU of your Ledger Nano S, the Ledger Live application will guide you through the rest of the update process with on-screen instructions. It is important to carefully follow these instructions to ensure a successful firmware update. Here’s what you need to do:
- The Ledger Live application will provide you with step-by-step instructions on how to proceed with the firmware update. These instructions may include specific actions to be taken on your Ledger Nano S device.
- Read each instruction carefully and make sure you understand them before proceeding.
- If necessary, the Ledger Live application may prompt you to confirm the MCU firmware update on your Ledger Nano S by using the device’s buttons or screen.
- Follow the on-screen prompts and perform any required actions on your Ledger Nano S as instructed.
- The firmware update process may involve the device restarting or displaying progress indicators on its screen. Be patient and allow the update to complete.
- During the process, it is important not to disconnect your Ledger Nano S from your computer or interrupt the update.
The on-screen instructions presented by the Ledger Live application are designed to ensure a smooth and secure firmware update process. By following these instructions closely, you minimize the risk of errors or complications that could potentially affect the functionality and security of your Ledger Nano S.
Remember to take your time and not rush through the update process. Careful attention to detail will help you successfully update the MCU firmware on your Ledger Nano S, providing you with an improved user experience and enhanced security.
Unplug and Reconnect the Ledger Nano S
After following the on-screen instructions and completing the MCU firmware update on your Ledger Nano S, it is important to unplug and then reconnect your device. This step helps ensure that the firmware update is properly applied and that your Ledger Nano S is ready for use. Follow these steps:
- Disconnect the USB cable that connects your Ledger Nano S to your computer, being careful not to force or damage the cable or device.
- Once disconnected, wait for a few seconds.
- Reconnect your Ledger Nano S to your computer using the same USB cable.
- Ensure that the connection is secure by checking that the lock icon is displayed on the device screen.
By unplugging and reconnecting your Ledger Nano S, you are allowing the device to reset and establish a fresh connection with your computer. This step helps ensure that the MCU firmware update is properly synchronized and that any changes made during the update process are fully applied.
It is important to wait a few seconds before reconnecting your Ledger Nano S to give it enough time to reset. Rushing this step may result in connection issues or incomplete firmware update installation.
Once you have successfully unplugged and reconnected your Ledger Nano S, you can proceed to the next step, which is verifying the firmware version to confirm that the MCU update was successful.
Unplugging and reconnecting your Ledger Nano S is a simple but vital step in the firmware update process. By ensuring a stable and secure connection, you can have peace of mind knowing that your device is ready for use with the updated firmware.
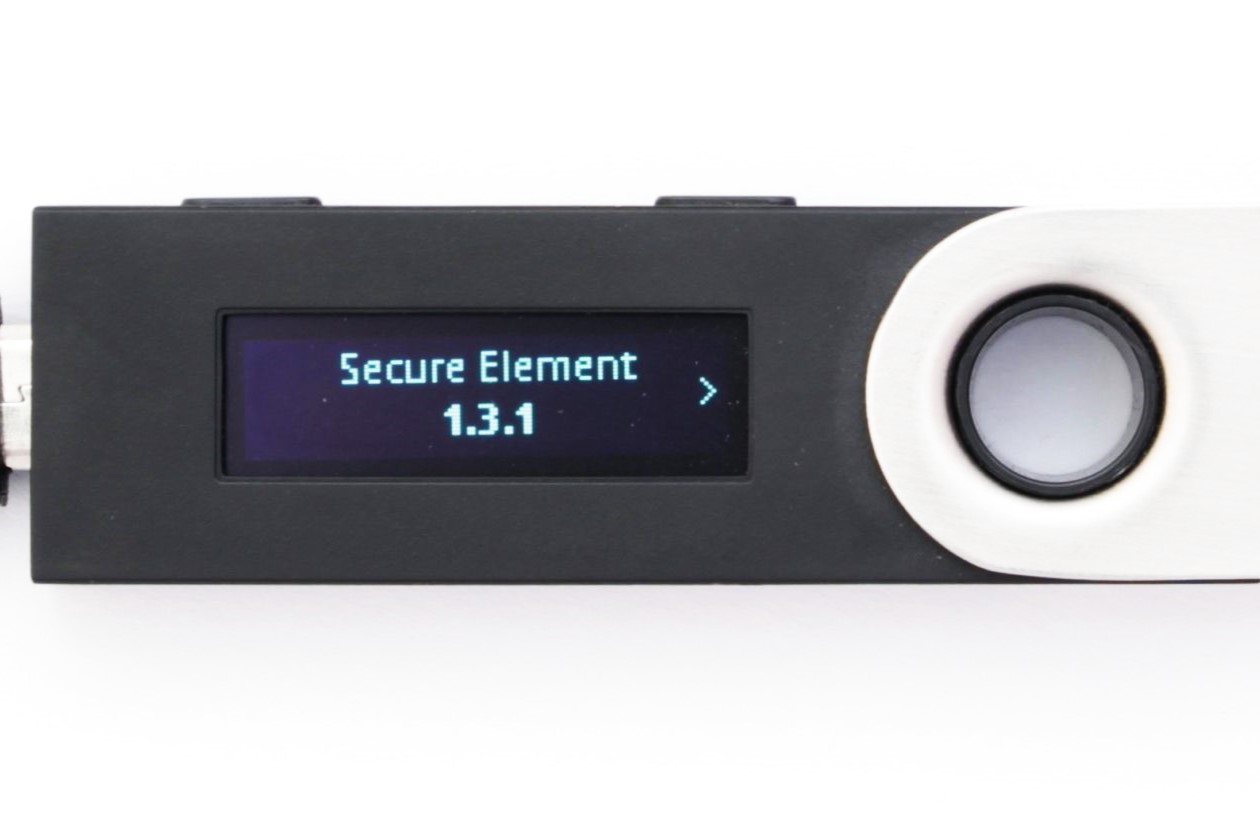
Verify the Firmware Version
Once you have completed the MCU firmware update on your Ledger Nano S and reconnected the device to your computer, it is important to verify the firmware version to ensure that the update was successful. Verifying the firmware version provides confirmation that your Ledger Nano S is running the latest MCU firmware. Follow these steps to verify the firmware version:
- Launch the Ledger Live application on your computer.
- Connect your Ledger Nano S to your computer using the USB cable as previously described.
- Unlock your Ledger Nano S by entering your PIN on the device screen.
- In the Ledger Live application, navigate to the tab or option that displays information about your connected Ledger Nano S.
- Look for the firmware version information, which should indicate the updated MCU firmware version.
- Compare the displayed firmware version to the latest firmware version available on the Ledger website or in the Ledger Live application.
If the displayed firmware version matches the latest version, congratulations! Your Ledger Nano S is now running the most up-to-date MCU firmware.
If the firmware version displayed does not match the latest version, it is possible that the firmware update was not successful. In such cases, it is recommended to repeat the firmware update process, ensuring that you carefully follow the instructions provided by the Ledger Live application.
Verifying the firmware version is essential to confirm the successful completion of the MCU firmware update on your Ledger Nano S. It provides peace of mind knowing that your device is equipped with the latest security features, bug fixes, and enhancements, ensuring optimal performance and protection for your digital assets.