
Why Unsubscribe from Android Apps
As your Android device becomes filled with various apps, you may find yourself subscribing to different services and subscriptions. While these subscriptions may initially seem useful or interesting, there may come a time when you no longer find value in them. In such cases, it’s important to know how to unsubscribe from Android apps to avoid unnecessary charges and clutter on your device.
Unsubscribing from Android apps offers several benefits. Firstly, it allows you to regain control over your monthly expenses by eliminating recurring charges for unused services. By canceling subscriptions you no longer need, you can free up valuable resources and allocate your money towards more important priorities. Additionally, reducing the number of active subscriptions on your device can declutter your app library, making it easier to find and access the apps you truly enjoy.
Another advantage of unsubscribing from apps is that it helps you maintain a streamlined and organized digital life. Constantly receiving notifications and updates from apps you no longer use can lead to unnecessary distractions and can slow down the performance of your device. By unsubscribing, you can regain control over your app notifications and streamline your mobile experience.
Furthermore, canceling unused app subscriptions can enhance your privacy and security. Each app subscription requires access to certain personal information and data, which may not be necessary or desirable in the long run. By unsubscribing, you reduce the exposure of your personal data and minimize potential security risks.
Lastly, by unsubscribing from unwanted app subscriptions, you become more mindful of your digital consumption. It encourages you to actively assess the value that different apps bring to your life, enabling you to prioritize and focus on the ones that truly enhance your daily routine.
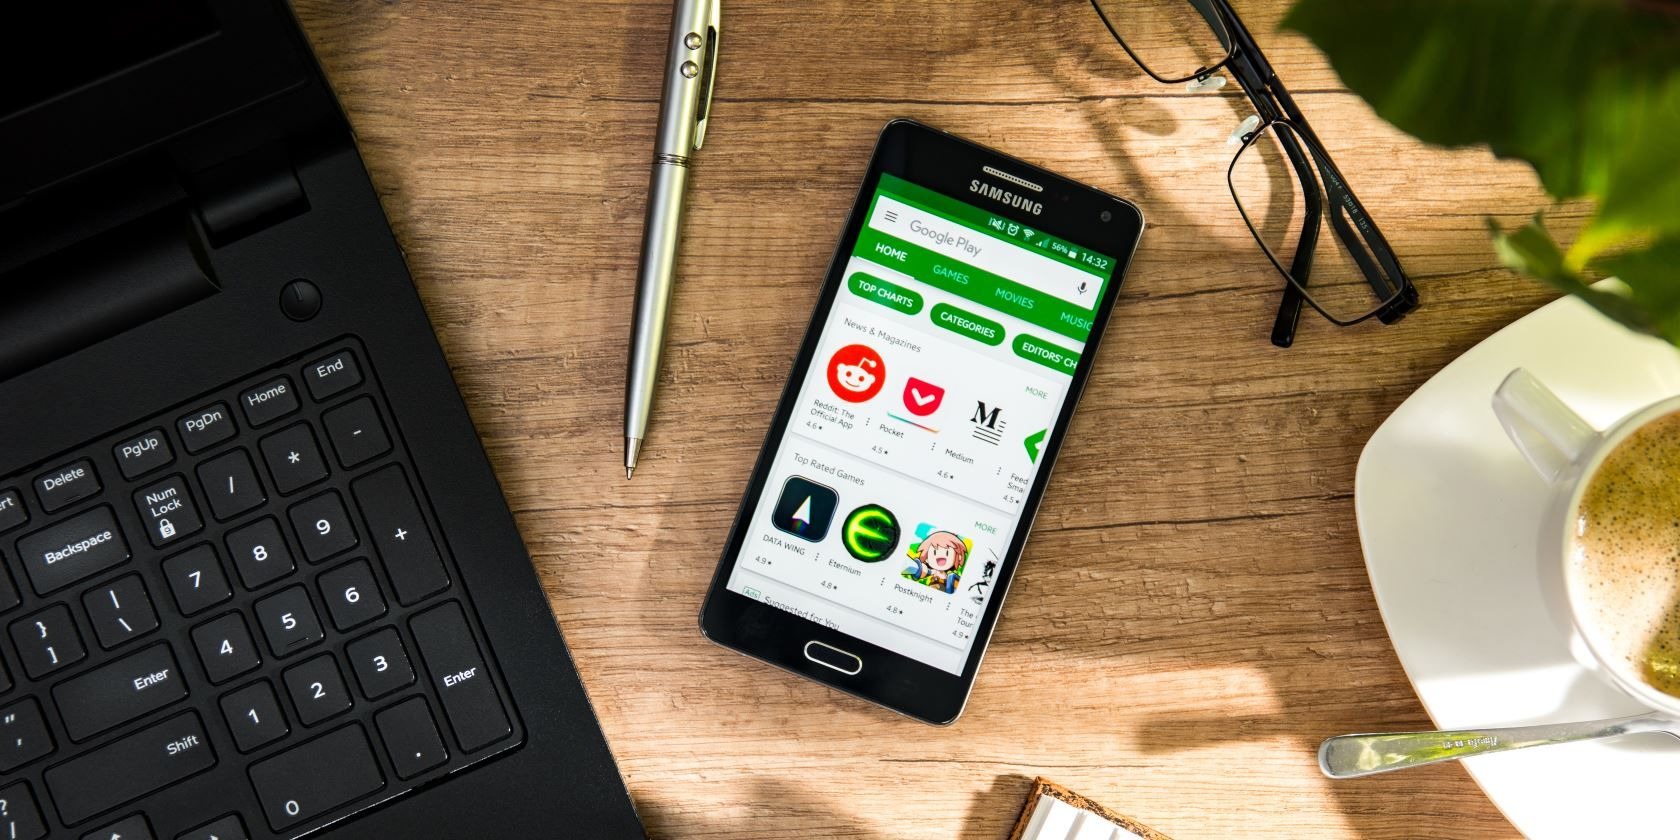
Step 1: Open the Google Play Store
Before you can unsubscribe from an app on your Android device, you need to open the Google Play Store. The Play Store is the central hub for all your app-related activities and is where you can manage your subscriptions.
To open the Google Play Store, follow these simple steps:
- Locate the Play Store icon on your home screen or in the app drawer. It is represented by a white shopping bag with a colorful play button.
- Tap on the icon to launch the Google Play Store.
- Once the Play Store is open, you will be greeted with the homepage displaying various app recommendations.
If you are unable to locate the Play Store icon on your home screen or in the app drawer, you can also access it by swiping down from the top of your screen to open the notification panel, then tapping on the “Settings” gear icon. From there, scroll down and select “Apps” or “Applications” and then locate and tap on “Google Play Store” to open it.
Note that the steps to open the Google Play Store may vary slightly depending on your Android device and the version of the operating system you are using. However, the general process remains the same for most devices.
Once you have successfully opened the Google Play Store, you can proceed to the next step to navigate to the subscriptions section where you can manage and unsubscribe from app subscriptions.
Step 2: Navigate to Subscriptions
After opening the Google Play Store, the next step in unsubscribing from an app on your Android device is to navigate to the subscriptions section. This is where you can view and manage all of your active app subscriptions.
To navigate to the subscriptions section in the Google Play Store, follow these steps:
- Tap on the three horizontal lines or “hamburger” icon located in the upper-left corner of the Play Store. This will open the main menu.
- From the menu, select the “Subscriptions” option.
- You will now be directed to the subscriptions page, where you will see a list of all your active app subscriptions.
Alternatively, you can swipe from the left edge of the screen towards the center to open the main menu, then tap on “Subscriptions” to access the subscriptions page directly. The method may vary slightly depending on the version of the Google Play Store app you have installed on your device.
On the subscriptions page, you can browse through your active subscriptions and manage them accordingly. Here, you can view the details of each subscription, including the name of the app, the subscription plan, and the billing cycle. You may also see options to cancel, change, or update your subscription preferences.
Keep in mind that if you have many active subscriptions, you might need to scroll through the subscriptions page to find the specific app subscription you want to cancel.
Now that you have successfully navigated to the subscriptions section, you’re ready to move on to the next step of selecting the app subscription you wish to cancel.
Step 3: Select the App Subscription to Cancel
Once you have reached the subscriptions section in the Google Play Store, you can now select the specific app subscription that you want to cancel. This step allows you to identify and choose the subscription you no longer wish to continue.
To select the app subscription for cancellation, follow these simple steps:
- Scroll through the list of active subscriptions until you find the app subscription you want to cancel. Take your time to locate the specific subscription, as the list may contain multiple entries.
- Tap on the app subscription to select it. This will open the details page where you can manage the subscription.
On the details page of the selected app subscription, you will find information such as the app’s name, the subscription plan, the renewal date, and the price. Additionally, you may also find options to customize your subscription settings or access related features offered by the app.
If you are unsure about which subscription to cancel, it might be helpful to review the details and consider whether the app is still providing value or fulfilling your needs. Evaluate if the features, content, or services offered by the app continue to be relevant and worth the recurring payment.
Once you have chosen the app subscription you want to cancel and have reviewed the relevant details, you are now prepared to proceed to the next step of canceling the selected subscription. This will officially terminate your subscription and prevent any further charges or renewals.
Step 4: Choose Cancel Subscription
After selecting the app subscription you wish to cancel in the Google Play Store, the next step is to choose the option to cancel the subscription. This is the crucial step that will initiate the cancellation process and stop any future billing for the chosen app subscription.
To choose the cancel subscription option, follow these steps:
- On the details page of the selected app subscription, locate and tap on the “Cancel Subscription” or “Cancel” button. This button is typically located below the subscription details or in a prominent position on the page.
- A confirmation prompt may appear, asking if you really want to cancel the subscription. Read the prompt carefully to ensure you understand the implications of canceling the subscription.
- To proceed with canceling the app subscription, tap on the “Confirm” or “Yes” button.
By choosing to cancel the subscription, you are notifying the app’s developer and the Google Play Store that you no longer wish to continue with the subscription. This action will prevent any further charges or renewals associated with the app from occurring.
It’s important to note that canceling the subscription does not immediately remove the app from your device or revoke access to any premium features or content that you may have been enjoying. You will still be able to use the app and enjoy its benefits until the end of the current billing period.
Once you have successfully chosen to cancel the app subscription, you’re one step closer to completing the cancellation process. The next step involves confirming the cancellation, which serves as an additional security measure to ensure that the cancellation is intentional.
Step 5: Confirm Cancellation
After selecting the option to cancel an app subscription in the Google Play Store, the final step is to confirm the cancellation. This step acts as a necessary safeguard to prevent accidental cancellations and ensures that the cancellation is intentional.
To confirm the cancellation of an app subscription, follow these simple steps:
- Once you have chosen to cancel the subscription, the Google Play Store may display a confirmation screen or prompt. This screen typically informs you that the subscription will be canceled and reminds you of the date until which you can continue using the app.
- Review the information provided on the confirmation screen to verify that you are canceling the correct subscription. Take this opportunity to ensure that you are aware of any potential consequences, such as losing access to premium features or content.
- If you are certain that you want to proceed with the cancellation, tap on the “Confirm” or “Yes” button, which finalizes the cancellation process.
Confirming the cancellation ensures that your decision to unsubscribe from the app subscription is registered and processed by the Google Play Store. It marks the official end of your subscription and will prevent any further charges for that specific subscription.
Keep in mind that the app subscription will remain active until the end of the current billing cycle. During this time, you can still enjoy the benefits and features of the app without any interruption. However, once the billing cycle expires, your subscription will no longer be renewed, and you will lose access to any premium features or content associated with the subscription.
After confirming the cancellation, it is advisable to keep track of your email inbox for any confirmation notifications or emails from the Google Play Store. These emails will serve as proof of your cancellation and provide information regarding the end date of your subscription.
By successfully confirming the cancellation of the app subscription, you have effectively completed the process of unsubscribing from the app on your Android device. The cancellation will take effect at the designated date, and you will no longer be billed for the subscription.
Step 6: Check Your Email for Confirmation
After canceling an app subscription in the Google Play Store, it is important to check your email for confirmation regarding the cancellation. The confirmation email serves as a record of your subscription cancellation and provides details regarding the end date of your subscription and any relevant information.
To check your email for confirmation of the app subscription cancellation, follow these steps:
- Open the email application or service that you use on your Android device, such as Gmail or the default Email app.
- Navigate to your inbox or the primary folder where you receive your emails.
- Look for an email from the Google Play Store with a subject line that may include keywords like “subscription cancellation,” “confirmation,” or the name of the app subscription you canceled.
- Open the email to read its contents and verify the details.
The confirmation email typically includes information such as the name of the app subscription, the cancellation date, and any additional instructions or reminders. It is important to review the email carefully to ensure it reflects your cancellation request accurately.
It is recommended to keep a copy of this email for your records. You can either star or mark the email as important, or move it to a dedicated folder for easier reference in the future if needed.
If you do not receive a confirmation email or are unable to locate it, check your spam or junk mail folders. Sometimes, emails from automated systems can be filtered as spam. If you still can’t find the confirmation email, you may want to contact the app developer or the Google Play Store support for further assistance.
By checking your email for confirmation, you can ensure that the subscription cancellation process has been successfully completed and that you have the necessary documentation to support your cancellation request.
Alternative Method: Unsubscribe Through the App
In addition to canceling an app subscription through the Google Play Store, some apps offer an alternative method for unsubscribing directly within the app itself. This method can be convenient if you prefer to manage your subscriptions directly within the app or if you are unable to find the subscription options in the Play Store.
To unsubscribe from an app through the app itself, follow these steps:
- Open the app on your Android device by tapping on its icon from the home screen or the app drawer.
- Once the app is open, look for the settings or account menu. This can usually be found by tapping on your profile picture, username, or a settings icon within the app.
- Within the settings or account menu, locate and tap on the subscription or billing section. This section is where you can manage your app subscriptions.
- Look for the specific subscription you want to cancel and tap on it to access the subscription details.
- Within the subscription details, you should see an option to cancel or unsubscribe. Tap on this option to initiate the cancellation process.
Depending on the app, you may be required to provide additional information or follow certain prompts to confirm the cancellation. Follow the instructions provided by the app to complete the cancellation process.
It is important to note that the steps to unsubscribe through the app may vary from app to app. Some apps may have a dedicated “Manage Subscriptions” section, while others may include the subscription options within the account or settings menu. If you are having trouble finding the subscription options within the app, consult the app’s support documentation or contact the app developer for guidance.
After successfully canceling the subscription through the app, make sure to check your email for any confirmation or follow-up instructions from the app developer. They may provide additional information or steps to ensure that the cancellation has been processed correctly.
Unsubscribing through the app provides a convenient and direct way to manage your subscriptions without leaving the app interface. It allows you to have more control over your subscriptions and ensures that you are aware of the cancellation process specific to that app.
Step 1: Open the App
To unsubscribe from an app directly through the app itself, the first step is to open the app on your Android device. Opening the app will allow you to access the necessary settings and subscription options within the app’s interface.
Follow these steps to open the app:
- Locate the app’s icon on your device’s home screen or in the app drawer. The icon will typically represent the app and may have a unique logo or design.
- Tap on the app’s icon to launch it.
Upon opening the app, you will be greeted with its main interface, which may include a login or registration screen if you haven’t already logged in. It’s important to note that you’ll need to sign in to your account if prompted in order to access the subscription and account settings within the app.
If you have previously signed in to the app and your device has saved your login credentials, you may be automatically logged in when you open the app.
Keep in mind that the steps to open an app may vary depending on your device’s operating system and the specific layout of your home screen or app drawer. However, the general process remains the same for most Android devices.
Now that you have successfully opened the app, you can proceed to the next step to look for the subscription settings within the app.
Step 2: Look for Subscription Setting
After opening the app on your Android device, the next step in unsubscribing directly through the app is to locate the subscription settings. The subscription settings menu is where you can find the options to manage and cancel your app subscriptions.
To look for the subscription settings within the app, follow these steps:
- Explore the app’s interface to find the settings or account menu. This menu is usually represented by an icon or text, such as “Settings,” “Account,” or a gear/cog symbol.
- Tap on the settings or account icon to open the respective menu.
- Within the settings or account menu, look for a section specifically related to subscriptions, billing, or account management.
- Tap on the subscription or billing section to access the subscription settings.
The location and label of the subscription settings may vary depending on the app and its user interface design. Some apps may have a dedicated “Manage Subscriptions” or “Billing” section, while others may integrate subscription settings within the general account menu.
If you are having trouble locating the subscription settings within the app, refer to the app’s documentation or support resources. You can also try performing a quick internet search with the app’s name and “unsubscribe” to find specific instructions tailored to that app.
Once you have successfully found the subscription settings within the app, you are ready to proceed to the next step of selecting the specific subscription you want to cancel.
Step 3: Select Cancel Subscription
Once you have located the subscription settings within the app, the next step is to select the option to cancel the subscription. This step allows you to initiate the cancellation process directly within the app and stop any future billing for the selected subscription.
To select the cancel subscription option, follow these simple steps:
- Within the subscription settings menu, locate the specific subscription you want to cancel. The list may display your active subscriptions, including their names, duration, and renewal dates.
- Tap on the subscription you wish to cancel. This will open the subscription details page where you can manage the specific subscription.
- Look for the option to cancel the subscription within the details page. The wording may vary depending on the app, but it is often labeled as “Cancel Subscription,” “Unsubscribe,” or similar.
- Tap on the cancel subscription option to proceed with the cancellation process.
After selecting the cancel subscription option, you may be prompted to provide additional verification, such as entering your account password or confirming your cancellation decision. Follow any prompts or instructions provided by the app to complete the cancellation process.
It’s essential to read any pop-up messages or confirmation dialogs carefully to ensure you understand the consequences of canceling the subscription. Pay attention to any notifications about the expiration date of your subscription or the availability of any unused benefits or features until the cancellation takes effect.
Keep in mind that canceling the subscription within the app will not immediately remove the app from your device. You will typically retain access to the app and any premium features until the end of the current billing period.
By successfully selecting the cancel subscription option, you have initiated the cancellation process directly within the app. The next step involves confirming the cancellation, which serves as an additional confirmation and protection against accidental cancellations.
Step 4: Confirm Cancellation
Once you have selected the option to cancel a subscription within the app, the next step is to confirm the cancellation. This confirmation step ensures that you are intentionally ending the subscription and that the cancellation process is initiated.
To confirm the cancellation within the app, follow these steps:
- After selecting the cancel subscription option, a confirmation screen or prompt may appear, depending on the app’s design.
- Read the confirmation message carefully to ensure that you understand the implications of canceling the subscription. Pay attention to any information provided, such as the expiration date of your subscription or the availability of any remaining benefits or features until the cancellation takes effect.
- If you are certain that you want to proceed with the cancellation, tap on the “Confirm” or “Yes” button.
Confirming the cancellation within the app serves as a final confirmation step to prevent accidental cancellations. It ensures that you have intentionally made the decision to unsubscribe and stops any future billing for the selected subscription.
It is important to note that the cancellation confirmation may be accompanied by additional steps or prompts, depending on the app’s design. Some apps may require you to enter your account password or provide additional verification to ensure the security of the cancellation process.
Once you have successfully confirmed the cancellation within the app, the subscription will be officially terminated, and no further charges or renewals will be incurred. However, it’s a good practice to keep track of any email confirmations or notifications from the app regarding the cancellation, as they serve as proof of the cancellation and provide important information about the end date of your subscription.
By confirming the cancellation within the app, you have completed the necessary steps to unsubscribe from the app directly through its interface. The next step involves checking your email for any confirmation or follow-up instructions from the app developer.
Step 5: Check Your Email for Confirmation
After canceling a subscription within the app, it is important to check your email for a confirmation regarding the cancellation. The confirmation email serves as a record of your subscription cancellation and provides important details regarding the end of your subscription and any related information.
To check your email for confirmation of the subscription cancellation, follow these steps:
- Open the email application or service that you use on your Android device, such as Gmail or the default Email app.
- Navigate to your inbox or the primary folder where you receive your emails.
- Look for an email from the app or the app developer with a subject line that may include keywords like “subscription cancellation,” “confirmation,” or the name of the app and subscription you canceled.
- Open the email to read its contents and verify the details.
The confirmation email typically includes information such as the name of the canceled subscription, the cancellation date, and any additional instructions or reminders. It is important to review the email carefully to ensure it reflects your cancellation accurately.
Make sure to keep a copy or save the confirmation email for your records. You can star or mark the email as important, or move it to a dedicated folder for easier reference in the future if needed.
If you do not see a confirmation email in your inbox, check your spam or junk mail folders as some automated emails can be filtered as spam. If you still cannot locate the confirmation email, contact the app developer or their customer support to confirm the status of your cancellation or request a copy of the confirmation email.
By checking your email for confirmation, you can ensure that the subscription cancellation process has been successfully initiated. The confirmation email serves as proof of your cancellation and provides important information regarding the end date of your subscription and any next steps, if applicable.
What to Do If You Can’t Find the App Subscription?
If you are unable to find the app subscription within the Google Play Store or the app itself, there are a few steps you can take to locate and manage your subscription:
- Double-check the Google Play Store: Confirm that you are signed in to the correct Google account and check the “Subscriptions” section in the Play Store again. Sometimes, subscriptions may be listed under a different Google account or with variations in the app’s name.
- Review your email receipts: Search your email inbox for any subscription confirmation emails or receipts from the app or the Google Play Store. These emails often contain information about your subscriptions, including the name of the app and details about the subscription plan and billing cycle.
- Contact the app developer: If you still can’t find the app subscription, consider reaching out to the app’s developer or support team for assistance. They may be able to provide guidance on how to locate and manage your subscription within the app or direct you to the appropriate resources.
- Check your bank or credit card statements: Review your bank or credit card statements for any recurring charges associated with the app subscription. This can help you identify the billing details of the subscription and potentially locate the subscription within the app or the Play Store.
- Google Account Payment Center: Visit the Google Account Payment Center online and navigate to the “Subscriptions & services” section. Here, you can view and manage all your active subscriptions across different apps and services associated with your Google account.
It’s important to note that while these steps can help you locate and manage your app subscription, there may be instances where the subscription is not managed through the Google Play Store or the app itself. In such cases, you may need to refer to the app’s documentation, visit their website, or contact their customer support for specific instructions on canceling the subscription.
Remember to keep track of any communication or documentation related to your subscription cancellation, such as confirmation emails, for future reference or proof of cancellation.
By following these steps and utilizing available resources, you can increase your chances of finding and managing your app subscription, even if it seems initially elusive or hard to locate.