
Checking Your Mic Settings
Before turning on the mic on your HTC Vive, it’s crucial to ensure that your mic settings are correctly configured. Follow these steps to check your mic settings:
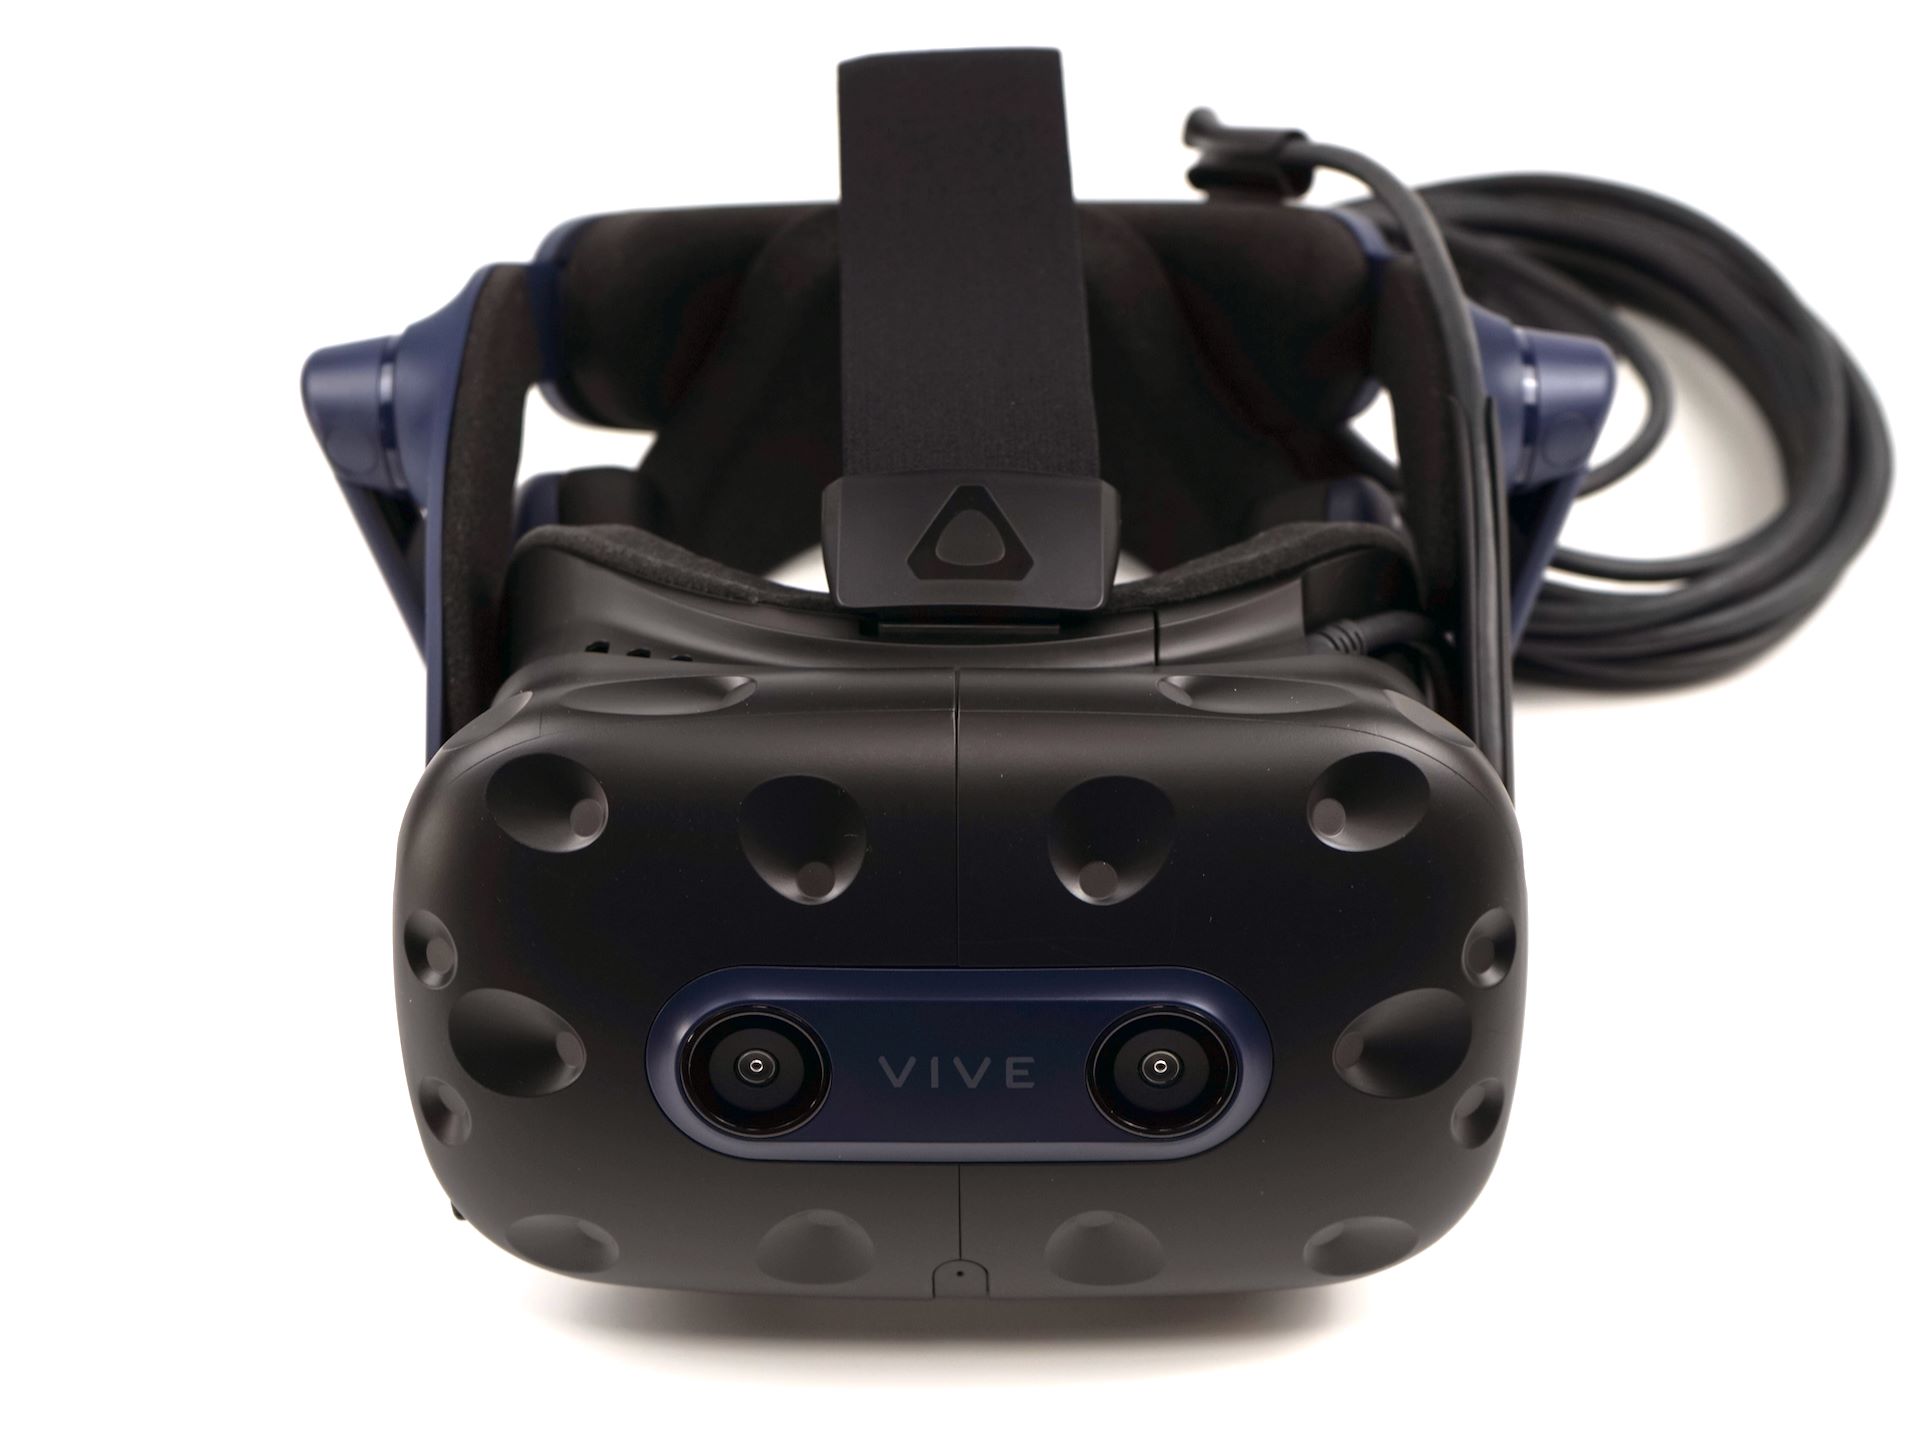
- 1. Connect your HTC Vive headset to your computer using the USB and HDMI cables.
- 2. Put on your headset and launch SteamVR by clicking on the SteamVR icon on your desktop or by launching it from the Steam library.
- 3. Once SteamVR is running, locate the SteamVR window on your computer screen or within the virtual reality environment.
- 4. Navigate to the SteamVR settings by clicking on the dropdown menu in the top left corner of the SteamVR window and selecting “Settings”.
- 5. In the settings menu, select the “Audio” tab.
- 6. Check that the correct microphone device is selected in the “Recording” section. If you have multiple microphones connected to your computer, ensure that the HTC Vive microphone is chosen as the default recording device.
- 7. Test your microphone by speaking into it and observing the indicator bars. If the bars move when you speak, it means that the mic is working correctly.
By following these steps, you can verify that your mic settings are properly configured. If you encounter any issues during this process, continue reading for troubleshooting steps or consult the HTC Vive support resources for further assistance.
Enabling Mic in SteamVR Settings
To enable the microphone on your HTC Vive headset, you need to make sure it is enabled within the SteamVR settings. Here’s how to do it:
- 1. With your HTC Vive headset connected and SteamVR running, locate the SteamVR window either on your computer screen or within the virtual reality environment.
- 2. Click on the dropdown menu in the top left corner of the SteamVR window and select “Settings”.
- 3. In the settings menu, choose the “Audio” tab.
- 4. Scroll down until you find the “Microphone” section.
- 5. Ensure that the “Enable” checkbox next to the microphone option is ticked.
Enabling the microphone in SteamVR settings allows the HTC Vive headset to use the microphone for in-game voice chat, VR experiences, and other applications. Make sure you have selected the desired microphone device in the “Recording” section, as explained in the previous section. Once enabled, you should be able to utilize the microphone features in your VR activities.
If the microphone is still not working after enabling it in the SteamVR settings, try adjusting the microphone volume in the Windows settings, as outlined in the next section.
Adjusting Mic Volume in Windows Settings
If the microphone volume on your HTC Vive headset is too low or too loud, you can adjust it in the Windows settings. Follow these steps to adjust the mic volume:
- 1. Right-click on the speaker icon in the system tray of the Windows taskbar and select “Open Sound settings”.
- 2. In the Sound settings window, scroll down to the “Input” section.
- 3. Locate the microphone device corresponding to your HTC Vive headset and click on it.
- 4. Click on the “Device properties” link to open the microphone properties.
- 5. In the microphone properties window, click on the “Levels” tab.
- 6. Adjust the microphone volume slider to increase or decrease the mic volume.
While adjusting the microphone volume, it’s recommended to perform a mic test by speaking into the microphone and observing the sound level indicator. This will help you find the optimal volume setting for clear audio capture.
Remember that the mic volume settings in Windows can affect the overall recording level of the headset microphone. You may need to make additional adjustments in-game or in applications that utilize the microphone to fine-tune the audio output.
If you’re still experiencing issues with the microphone volume or quality, consider updating the HTC Vive software to ensure compatibility and optimal performance, as explained in the next section.
Updating HTC Vive Software
Outdated software can sometimes cause issues with the HTC Vive microphone. To ensure compatibility and optimal performance, it’s essential to keep the HTC Vive software up to date. Here’s how you can update the software:
- 1. Launch the Steam client on your computer.
- 2. Click on the “Library” tab at the top of the Steam window.
- 3. Locate and right-click on “HTC Vive” in your Steam library.
- 4. Select “Properties” from the dropdown menu.
- 5. In the properties window, click on the “Updates” tab.
- 6. Ensure that the “Always keep this game up to date” checkbox is checked.
By enabling automatic updates for the HTC Vive software, you can ensure that you have the latest version installed on your system. This includes potential bug fixes, performance improvements, and compatibility updates, which can address microphone-related issues.
If you have enabled automatic updates and the software is still not updating, you can try restarting the Steam client or your computer. This can sometimes trigger the update process and install the latest version of the HTC Vive software.
Updating the HTC Vive software is an important step in troubleshooting mic issues. However, if you are still encountering problems with the microphone after updating the software, you may need to perform additional troubleshooting steps, which will be covered in the next section.
Troubleshooting Mic Issues
If you are still experiencing problems with the microphone on your HTC Vive headset, here are some troubleshooting steps you can take:
- 1. Check the physical connections: Ensure that the cables connecting your HTC Vive headset to your computer are securely plugged in. Also, check for any damage to the cables that may affect the microphone’s functionality.
- 2. Restart your HTC Vive headset: Sometimes, a simple restart can resolve microphone issues. Try restarting your HTC Vive headset by powering it off and then back on again.
- 3. Update audio drivers: Outdated or incorrect audio drivers can cause problems with the microphone. Visit the website of your computer or sound card manufacturer and download the latest audio drivers. Install them and restart your computer.
- 4. Reset SteamVR settings: If the microphone issues persist, resetting the SteamVR settings to their default values might help. Open the SteamVR settings, click on the “General” tab, and select the “Reset” button next to “Restore settings to default”.
- 5. Test the microphone on another device: Connect your HTC Vive headset to another computer or device to test if the microphone works properly. This can help determine if the issue is related to the headset or your computer settings.
- 6. Contact HTC Vive support: If you have exhausted all troubleshooting options and the microphone still doesn’t work, it is recommended to reach out to HTC Vive support for further assistance. They may be able to provide more specific guidance or offer a solution to your mic issues.
By following these troubleshooting steps, you can effectively identify and resolve microphone issues with your HTC Vive headset. Remember to document any changes or actions you have taken during the troubleshooting process, as this information may be helpful when seeking assistance from HTC Vive support.