Tools Needed
Before removing the Nest thermostat from the wall, you’ll need a few essential tools to ensure a smooth and hassle-free process. Here are the tools you’ll need:
- Flathead screwdriver: This tool will be necessary for removing the display and disconnecting the wiring.
- Needle-nose pliers: These pliers will help you easily detach the wires from the thermostat.
- Electrical tape: It’s always handy to have electrical tape to secure any exposed wires.
- Wall patching compound: This will be useful for patching up any holes or marks left on the wall after removing the thermostat.
- Sanding block: If there are any rough spots on the wall, a sanding block will help you smooth them out.
- Paint: If necessary, have matching paint on hand to touch up the wall once the thermostat is removed.
Having these tools ready before starting the removal process will save you time and ensure that you have everything you need to complete the job without any interruptions.
Step 1: Turn off the thermostat
Before beginning the process of removing your Nest thermostat from the wall, you’ll need to ensure that the device is turned off. Here’s how to do it:
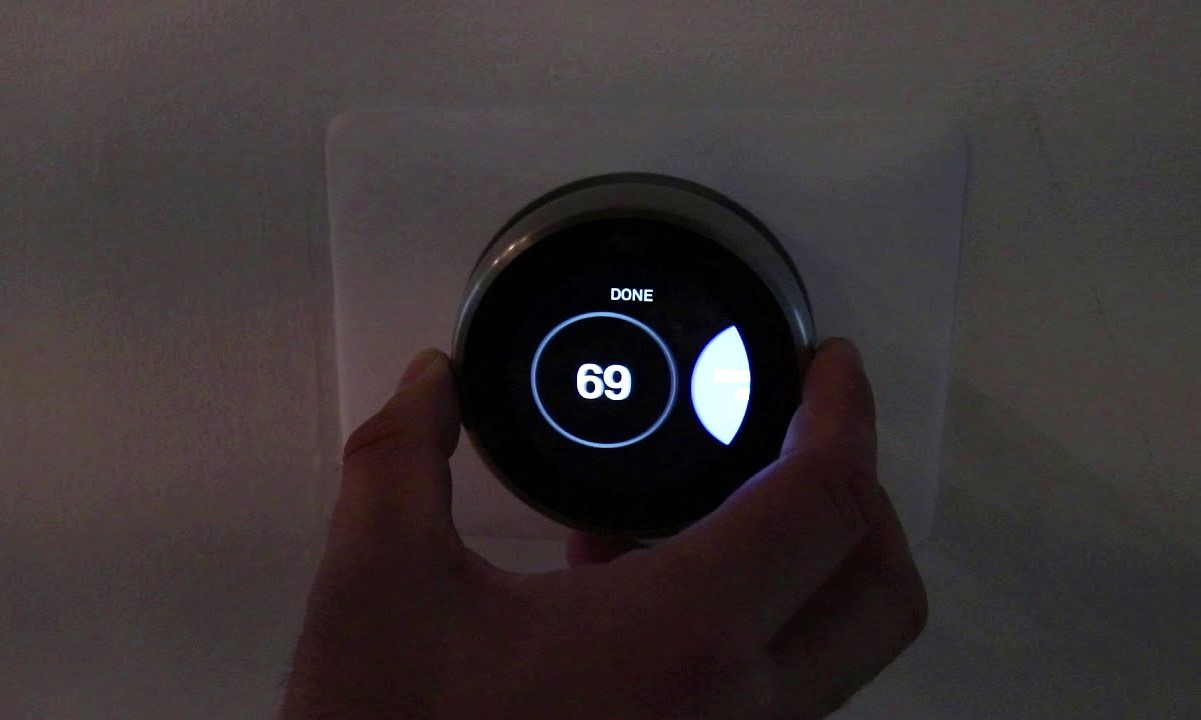
- Locate the thermostat on your wall and access the settings menu by pressing the display.
- Scroll to the settings gear icon and press it to enter the menu.
- Scroll down to the “Equipment” option and select it.
- Look for the “Fan” option and set it to “Off.”
- Next, select the “Thermostat” option and choose “Off” to completely shut down the device.
By turning off the thermostat, you are ensuring that no power is running to the device during the removal process. This step is crucial to prevent any electrical accidents or damage while handling the wires and components.
Step 2: Remove the display
Once the thermostat is turned off, the next step is to remove the display from the wall. Here’s how you can do it:
- Locate the small tab on the top of the display. Use a flathead screwdriver or your fingernail to gently pry the tab open.
- Once the tab is open, carefully remove the display from the mounting plate by pulling it straight out.
- Take note of any wires or connectors attached to the back of the display. If there are any, gently disconnect them by squeezing the connector and pulling it apart.
- Set the display aside in a safe place to avoid any damage or accidental drops.
Removing the display allows you to access the wiring connections behind it. Be sure to handle the display with care and avoid exerting excessive force to prevent any potential damage.
Step 3: Disconnect the wiring
With the display removed, you can now proceed to disconnect the wiring from the Nest thermostat. Follow these steps:
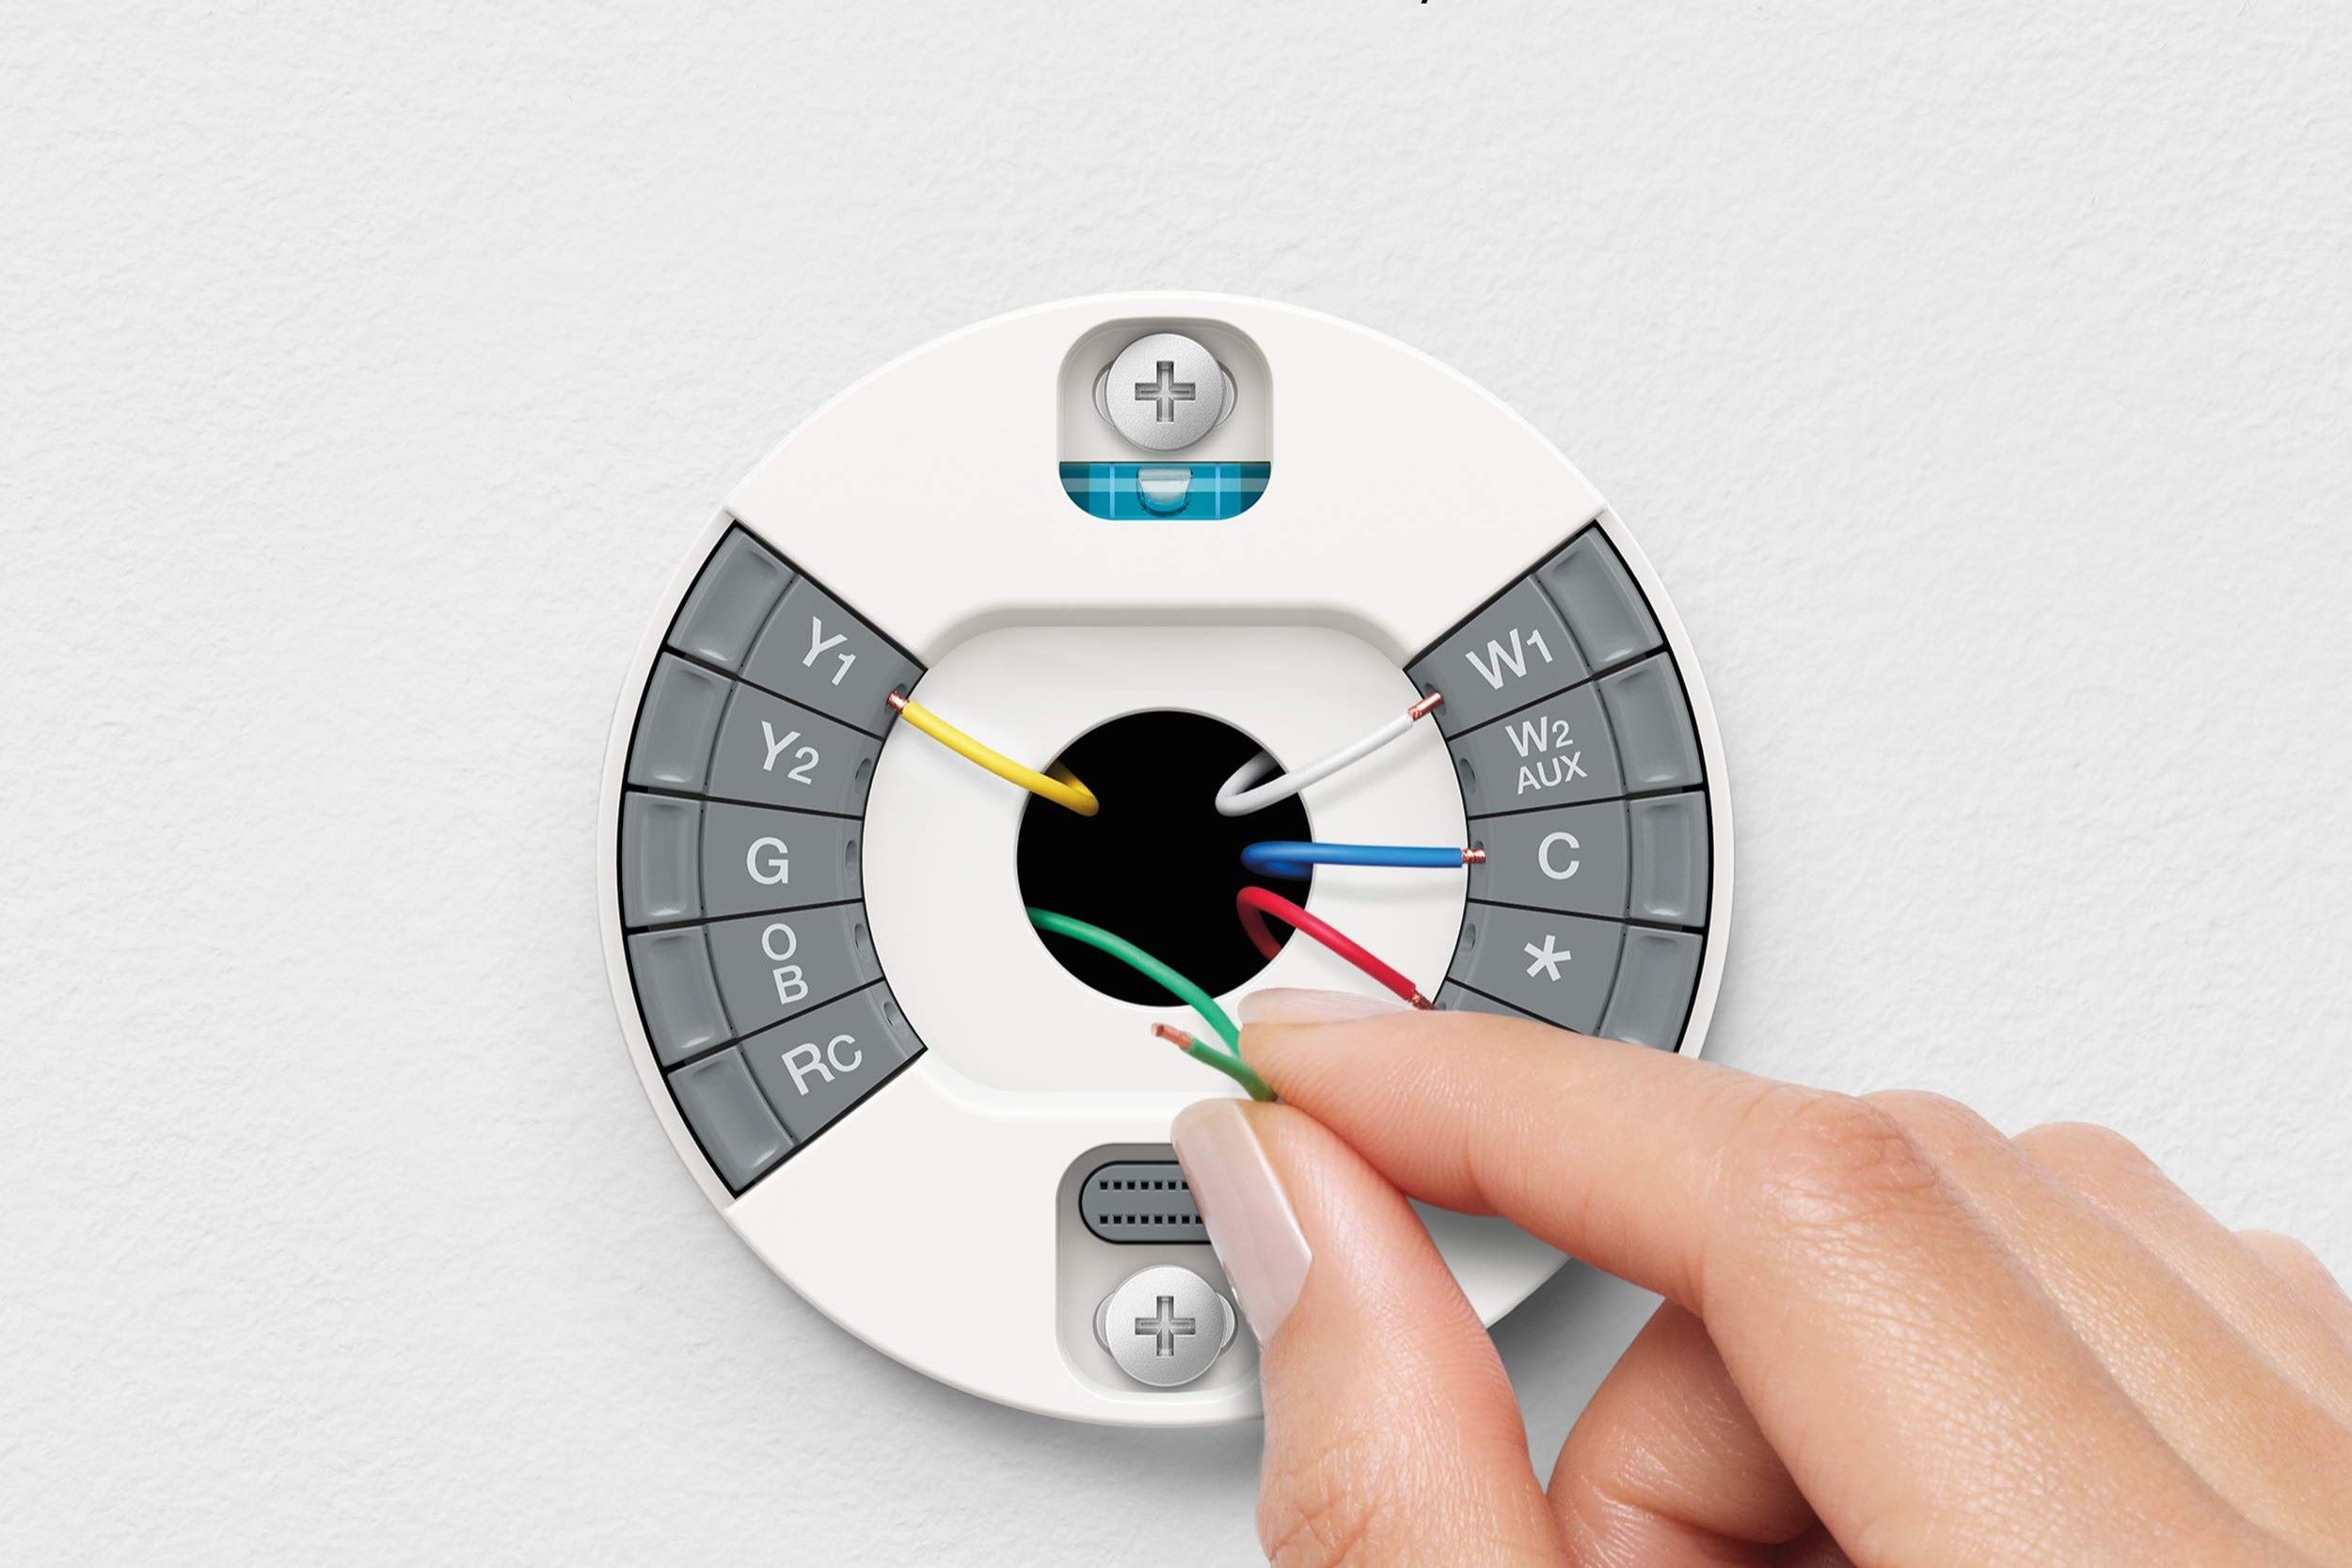
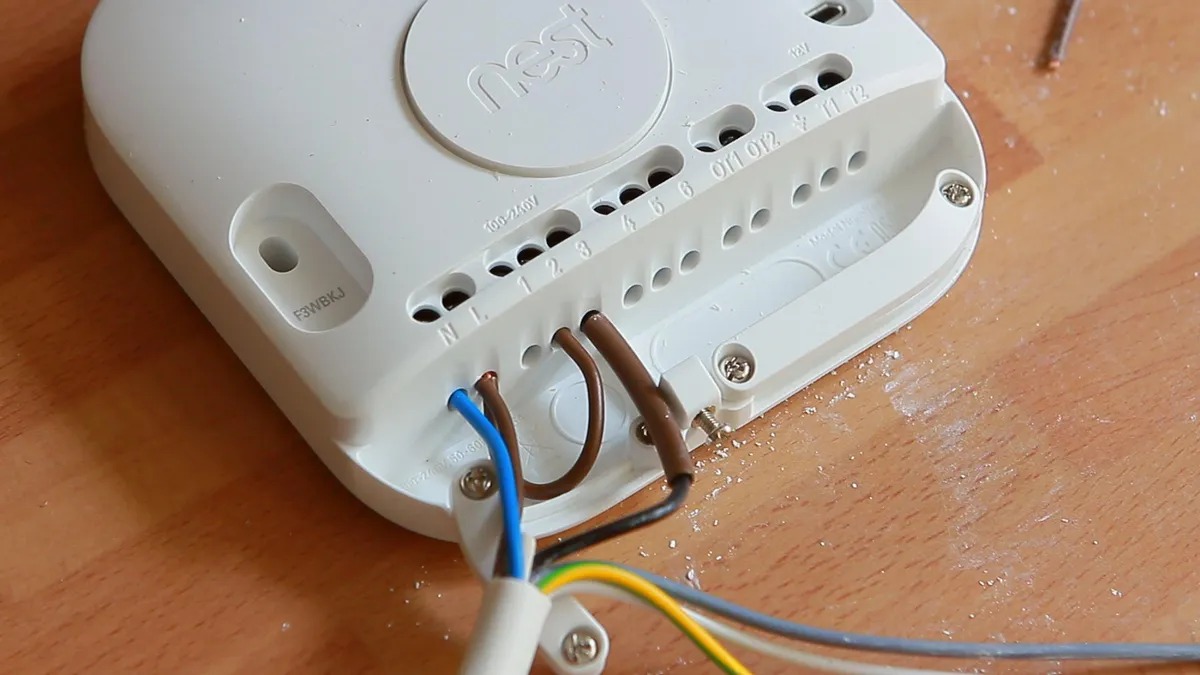
- Take a close look at the wiring connections on the mounting plate. Each wire is labeled with a letter, indicating its corresponding terminal (e.g., R, G, Y, W).
- Using a flathead screwdriver, loosen the screws securing each wire to its respective terminal.
- Carefully remove each wire from its terminal by gently pulling it out. If needed, you can use a pair of needle-nose pliers to remove stubborn wires.
- For better organization, it’s recommended to take a picture or make note of the wires and their corresponding terminals. This will help you remember the configuration when reinstalling the thermostat or when installing a new one.
- Once all the wires are disconnected, bundle them together and tape them securely with electrical tape. This will prevent the wires from falling back into the wall cavity during the next steps.
Ensure that you handle the wires with care and avoid pulling them forcefully, as they can be delicate. Take your time and pay attention to the labeling and organization of the wires to make the reinstallation process easier.
Step 4: Take off the mounting plate
Once the wiring is disconnected, you can proceed to remove the mounting plate from the wall. Follow these steps:
- Inspect the mounting plate and locate the screws holding it in place. Depending on your installation, there may be one or more screws securing the plate.
- Using a screwdriver, gently loosen and remove the screws from the plate.
- Once the screws are removed, carefully pull the mounting plate away from the wall.
- Take note of the location of any anchors or wall plugs used to secure the plate. These may need to be removed as well.
Removing the mounting plate will give you full access to the wall beneath it, allowing you to detach the base plate in the next step. Take care not to damage the wall or any surrounding surfaces during this process. If necessary, use a putty knife or scraper to help detach the plate.
Step 5: Detach the base plate from the wall
With the mounting plate removed, you can now proceed to detach the base plate from the wall. Follow these steps:
- Inspect the base plate and locate any screws or clips holding it in place.
- Using a screwdriver, loosen and remove any screws securing the base plate to the wall. If there are clips, carefully squeeze and release them to detach the plate.
- Once the base plate is free from the wall, gently pull it away and check for any remaining wires or cables.
- If there are any wires or cables still connected to the base plate, disconnect them following the same steps as in step 3.
Be cautious when removing the base plate to avoid damaging the wall or the thermostat itself. Take your time to ensure that all connections are properly disconnected before completely detaching the base plate from the wall.
Step 6: Patch up any holes or marks
After removing the Nest thermostat and its base plate from the wall, it’s time to patch up any holes or marks left behind. Follow these steps to restore the wall’s appearance:
- Inspect the wall for any screw holes, anchors, or marks left from the thermostat installation.
- If there are screw holes, fill them in with a wall patching compound. Use a putty knife to spread the compound evenly and level it with the wall surface.
- If there are any rough spots or uneven surfaces, use a sanding block to smooth them out.
- Once the patching compound has dried, inspect the repaired areas and apply another coat if needed.
- After the final coat has dried, give the wall a gentle sanding to ensure a seamless finish.
- If necessary, touch up the patched areas with matching paint to blend them in with the surrounding wall.
By patching up any holes or marks, you can restore the wall’s appearance and ensure a clean, finished look. Take your time during this step to achieve a professional finish that seamlessly matches the rest of the wall surface.
Step 7: Reinstall the thermostat (if necessary)
If you plan to re-install the Nest thermostat or replace it with a new one, follow these steps:
- Take the base plate and align it with the holes or marks left on the wall from the previous installation.
- Secure the base plate to the wall using screws or clips, making sure it is level and flush against the wall.
- Refer to your notes or the picture you took earlier to reconnect the wires to their corresponding terminals on the base plate. Ensure that each wire is securely tightened with the screw terminals.
- Reattach the display to the base plate by aligning it and pressing it until it snaps into place.
- Power on the thermostat by following the manufacturer’s instructions. This typically involves setting up the thermostat using the companion mobile app or through the thermostat itself.
- Once the thermostat is powered on, configure and program it according to your preferences for temperature settings and scheduling.
Reinstalling the thermostat involves reconnecting the wires, securing the base plate, and setting up the device. Take your time to ensure that everything is properly connected and functioning before using the thermostat again.