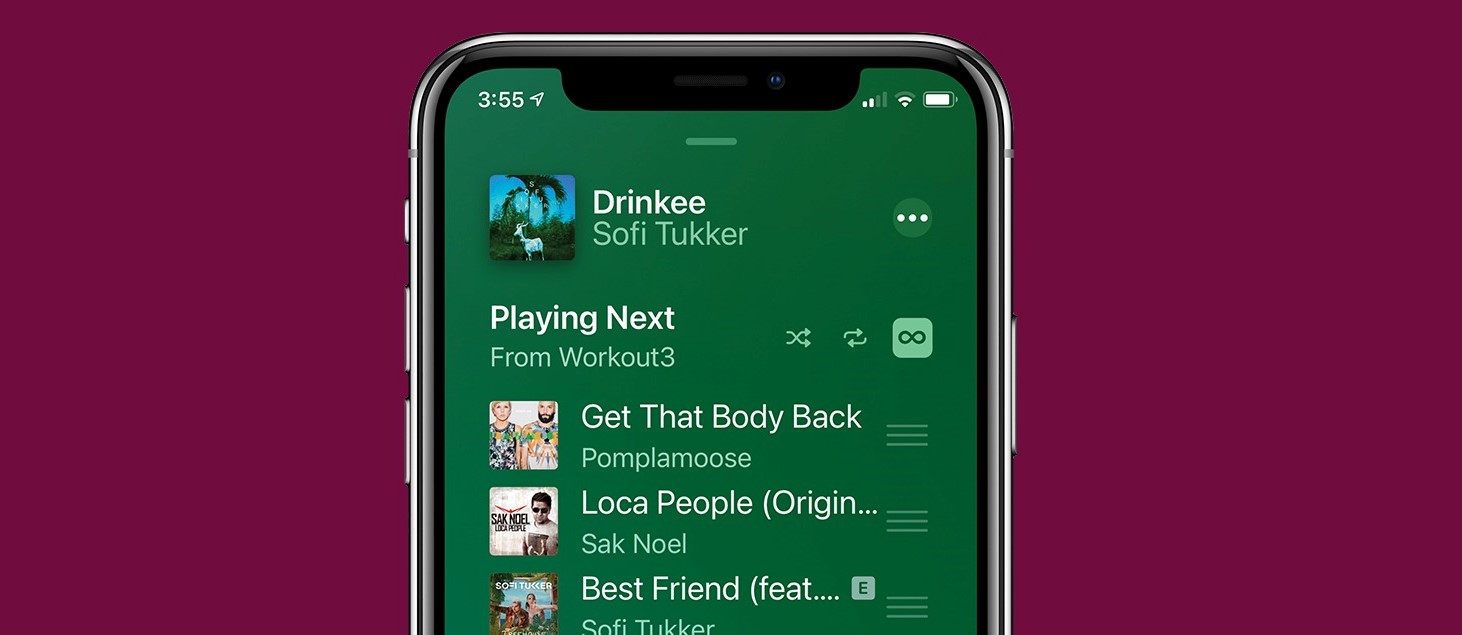
Disable Autoplay on iPhone or iPad
Autoplay can be an annoying feature, especially when you’re trying to control your music listening experience. Fortunately, you can easily disable autoplay on your iPhone or iPad by following these simple steps:
- Open the “Settings” app on your device and select “Music”.
- Scroll down to the “Playback” section and tap on “Autoplay”.
- You will see the option to disable autoplay. Toggle the switch to turn it off.
Alternatively, you can also disable autoplay within the Apple Music app itself:
- Launch the Apple Music app on your device.
- Tap on your profile picture or initials in the upper left corner to access your account settings.
- Select “Settings” and then tap on “Playback & Downloads”.
- Find the “Autoplay” section and toggle the switch to disable it.
Disabling autoplay on your iPhone or iPad will give you more control over your music listening experience. You won’t have to worry about songs automatically playing after the current one ends or when you connect to your car’s Bluetooth system.
Remember to apply these changes both in the system settings and within the Apple Music app itself for a consistent experience across all platforms.
By following these steps, you can easily prevent autoplay on your iPhone or iPad and enjoy your music without interruption.
Turn off Autoplay on Mac
If you’re using Apple Music on your Mac and want to stop songs from automatically playing, you can disable autoplay by following these steps:
- Open the Music app on your Mac.
- In the menu bar at the top of the screen, click on “Music” and select “Preferences”.
- Navigate to the “Playback” tab.
- Look for the “Autoplay” section and uncheck the box next to “Autoplay next song”.
By turning off autoplay on your Mac, you can have more control over your music playback. You won’t have to worry about songs automatically starting when your current track ends.
Additionally, if you want to disable autoplay only for specific playlists, you can follow these steps:
- Open the Music app and select the desired playlist.
- In the top-right corner of the window, click on the three-dot menu icon and select “Get Info”.
- Go to the “Options” tab.
- Look for the “Play” option and set it to “Stop” instead of “Autoplay”.
With these changes, the selected playlist won’t autoplay anymore, allowing you to manually choose the songs you want to play.
Remember to apply these adjustments in the Music app preferences and on a per-playlist basis if necessary to ensure consistent playback behavior.
By following these steps, you can easily turn off autoplay on your Mac and enjoy a more personalized music listening experience.
Disable Autoplay on Apple TV
If you find autoplay on Apple TV interrupting your viewing experience, you can easily disable this feature. Follow these steps to turn off autoplay on your Apple TV:
- From the home screen of your Apple TV, navigate to the “Settings” app.
- Select “Apps”.
- Scroll down and choose “TV”.
- Under the “Autoplay” section, toggle the switch to turn off autoplay.
By disabling autoplay on your Apple TV, you can regain control over your content and avoid unwanted episodes or videos starting automatically.
In addition to disabling autoplay, you can also adjust the settings for individual apps to prevent autoplay behavior. Here’s how:
- Launch the app for which you want to disable autoplay.
- Access the app’s settings or preferences within the app.
- Search for the autoplay option and toggle it off.
By adjusting the app settings, you can have more control over autoplay on a per-app basis, allowing you to tailor your viewing experience according to your preferences.
Remember to apply these changes both in the general Apple TV settings and within individual apps if you want to completely disable autoplay across all platforms.
With these steps, you can easily disable autoplay on your Apple TV and enjoy a more customized and uninterrupted viewing experience.
Adjust Autoplay Settings on Apple Watch
If you prefer to have more control over what plays automatically on your Apple Watch, you can adjust the autoplay settings. Follow these steps to customize autoplay on your Apple Watch:
- Open the “Watch” app on your paired iPhone.
- Scroll down and tap on “Music”.
- Under the “Playback” section, you will find the option to enable or disable autoplay.
- Toggle the switch to your desired setting.
By adjusting the autoplay settings on your Apple Watch, you can prevent songs from playing automatically when you start a workout or connect to Bluetooth headphones.
Additionally, you can also adjust autoplay settings for specific playlists:
- Open the “Watch” app on your iPhone.
- Scroll down and tap on “Music”.
- Select “Add Music…” and choose the playlist or album you want to sync to your Apple Watch.
- Once the playlist or album is added, tap on it and toggle off the switch next to “Autoplay”.
With these adjustments, the selected playlist or album won’t autoplay when you start a workout or connect to Bluetooth headphones.
Remember to apply these changes in the Music settings of the Watch app to ensure that the autoplay settings are updated on your Apple Watch.
By following these steps, you can easily adjust the autoplay settings on your Apple Watch and have better control over your music listening experience on the go.
Stop Autoplay on HomePod
If you own a HomePod and want to prevent it from automatically playing music, you can adjust the autoplay settings to regain control over your listening experience. Follow these steps to stop autoplay on your HomePod:
- Open the Home app on your iPhone or iPad.
- Tap on the HomePod icon to access its settings.
- Scroll down and select “Details”.
- Under “Playback” settings, toggle off the switch next to “Autoplay Music & Podcasts”.
By disabling autoplay on your HomePod, you can prevent unwanted music or podcasts from playing automatically when you interact with your device.
If you want to control autoplay for specific apps, such as Apple Music or a specific podcast app, you can do so from the Home app:
- Open the Home app and select the HomePod icon.
- Tap on “Details” and scroll down to find the “Apps” section.
- Select the app for which you want to disable autoplay.
- Toggle off the switch next to “Autoplay”.
By adjusting the autoplay settings for specific apps, you can have more control over what plays automatically on your HomePod.
Remember to apply these changes for your HomePod within the Home app to ensure that the autoplay settings are updated on your device.
By following these steps, you can easily stop autoplay on your HomePod and enjoy a more personalized and intentional listening experience.
How to Prevent Autoplay on CarPlay
If you’re using CarPlay and want to avoid songs or audio content from automatically playing when you connect your iPhone to your car, you can customize your settings to prevent autoplay. Follow these steps to prevent autoplay on CarPlay:
- Connect your iPhone to your CarPlay-enabled vehicle.
- Within the CarPlay interface, navigate to the “Settings” app.
- Look for the “Audio” or “Music” settings.
- Find the option to disable autoplay or enable a manual playback option.
By disabling autoplay on CarPlay, you can have more control over what plays when you connect your iPhone to your car. This gives you the freedom to choose the content you want to listen to without any surprises.
If you’re using specific music or audio apps with CarPlay, such as Apple Music or Spotify, you may also need to adjust the autoplay settings within those apps:
- Launch the app you want to customize within CarPlay (e.g., Apple Music).
- Go to the app’s settings or preferences.
- Search for the autoplay option and toggle it off.
By disabling autoplay settings within individual apps, you can maintain consistent autoplay preferences across your CarPlay experience.
Remember to apply these changes both in the CarPlay settings and within specific music or audio apps if you want to completely prevent autoplay on CarPlay.
By following these steps, you can easily prevent autoplay on CarPlay and enjoy a more tailored and controlleddriving experience.
Disable Autoplay on Android Devices
If you’re using an Android device and want to prevent videos or music from automatically playing, you can disable autoplay. Here’s how to disable autoplay on Android:
- Open the “Settings” app on your Android device.
- Scroll down and tap on “Apps” or “Apps & notifications”, depending on your device.
- Select the app for which you want to disable autoplay (e.g., YouTube, Spotify).
- Tap on “Autoplay”.
- Choose the option to disable autoplay or select “Never autoplay videos” or “Don’t automatically play music”.
By disabling autoplay settings on your Android device, you can have more control over what plays automatically on various apps.
Additionally, you can also adjust autoplay settings within specific apps:
- Launch the app you want to adjust the autoplay settings for (e.g., YouTube, Spotify).
- Go to the app’s settings or preferences.
- Look for the autoplay option and toggle it off or choose your preferred autoplay setting.
By adjusting the autoplay settings within individual apps, you can have more granular control over autoplay behavior depending on the apps you use.
Remember to go through the settings of each app and disable autoplay options to ensure consistent behavior across different apps on your Android device.
By following these steps, you can easily disable autoplay on your Android device and have a more personalized and intentional media playback experience.
Adjust Autoplay Settings on Windows PC or Web Browser
If you’re using a Windows PC or web browser and want to adjust the autoplay settings for videos or audio content, you can easily customize these settings. Follow these steps to adjust autoplay settings on your Windows PC or web browser:
- For Windows PC:
- Click on the “Start” button and select the “Settings” gear icon.
- Choose “Apps” and then select “Video Playback”.
- Under “Autoplay”, you will have the option to adjust the default autoplay behavior. You can choose from options like “Ask me every time”, “Always allow autoplay”, or “Limit autoplay to specific websites”.
- For Web Browsers:
- If you’re using Google Chrome, click on the three-dot menu icon in the top-right corner of the browser and select “Settings”. Scroll down to “Privacy and security”, then click on “Site Settings”. Look for “Media” or “Autoplay” settings to adjust autoplay preferences.
- If you’re using Mozilla Firefox, click on the three-line menu icon in the top-right corner, select “Options”, and navigate to the “Privacy & Security” tab. Look for the “Permissions” section, then click on “Settings” next to “Autoplay” to customize autoplay preferences.
- If you’re using Microsoft Edge, click on the three-dot menu icon in the top-right corner, select “Settings”, and scroll down to “Site permissions”. Click on “Media autoplay” to adjust autoplay settings.
By adjusting autoplay settings on your Windows PC or web browser, you can have more control over what plays automatically when browsing websites or watching online media.
Remember to apply these changes in the appropriate settings menu for your Windows PC or web browser to ensure that autoplay preferences are updated accordingly.
By following these steps, you can easily adjust autoplay settings on your Windows PC or web browser and have a more tailored and personalized media browsing experience.
Disable Autoplay on Sonos Speakers
If you own Sonos speakers and want to prevent music from automatically playing when you open the Sonos app or connect to your speakers, you can disable autoplay. Follow these steps to disable autoplay on your Sonos speakers:
- Open the Sonos app on your smartphone or tablet.
- Navigate to the “Settings” or “Preferences” section within the app.
- Look for the “Playback” or “Music Autoplay” settings.
- Toggle off the switch to disable autoplay.
By disabling autoplay on your Sonos speakers, you can have more control over when and what music plays in your home.
In addition to the global autoplay setting, you can also customize autoplay behavior for specific rooms or speakers:
- Open the Sonos app and select the desired room or speaker.
- Go to the room or speaker settings.
- Look for the autoplay options and deselect any options that enable autoplay.
By adjusting autoplay settings on a room-level or speaker-level basis, you can have complete control over the playback behavior in each area of your home.
Remember to apply these changes in the Sonos app on your smartphone or tablet to ensure that the autoplay settings are updated for your speakers.
By following these steps, you can easily disable autoplay on your Sonos speakers and have a more personalized and intentional music listening experience throughout your home.
Turn off Autoplay on Amazon Echo Devices
If you own an Amazon Echo device and want to stop music or audio content from automatically playing, you can disable autoplay. Here’s how to turn off autoplay on your Amazon Echo device:
- Open the Alexa app on your smartphone or tablet.
- Tap on the “Devices” tab, then select your Echo device.
- Scroll down and select “Music & Podcasts”.
- Look for the “Autoplay” setting and toggle it off.
By disabling autoplay on your Amazon Echo device, you can regain control over what plays automatically and avoid any surprises.
Additionally, you can also adjust autoplay settings within specific music or audio apps:
- Launch the app you want to adjust within the Alexa app (e.g., Amazon Music, Spotify).
- Go to the app’s settings or preferences.
- Look for the autoplay option and toggle it off or customize it according to your preferences.
By adjusting autoplay settings within individual apps, you can have more granular control over autoplay behavior on your Amazon Echo device.
Remember to apply these changes both in the Alexa app and within individual music or audio apps to ensure consistent autoplay settings across your Echo device.
By following these steps, you can easily turn off autoplay on your Amazon Echo device and have a more customized and intentional audio listening experience.
Prevent Autoplay on Google Nest Speakers
If you own a Google Nest speaker and want to prevent music or audio content from automatically playing, you can customize the autoplay settings. Here’s how to prevent autoplay on your Google Nest speakers:
- Open the Google Home app on your smartphone or tablet.
- Tap on the device card for your Google Nest speaker.
- Tap on the gear icon or select “Settings” in the top-right corner.
- Scroll down and select “Audio”.
- Look for the “Media Playback” section and toggle off the switch for autoplay.
By disabling autoplay on your Google Nest speaker, you can have more control over what plays automatically when interacting with your device.
Additionally, you can also adjust autoplay settings within specific music or audio apps:
- Launch the app you want to adjust within the Google Home app (e.g., YouTube Music, Spotify).
- Go to the app’s settings or preferences.
- Look for the autoplay option and toggle it off or customize it based on your preferences.
By adjusting autoplay settings within individual apps, you can have more granular control over autoplay behavior on your Google Nest speaker.
Remember to apply these changes both in the Google Home app and within each individual music or audio app to ensure consistent autoplay preferences across your Google Nest speaker.
By following these steps, you can easily prevent autoplay on your Google Nest speakers and have a more personalized and intentional audio listening experience.
Adjust Autoplay Settings on Smart TVs and Streaming Devices
If you have a smart TV or a streaming device and want to control autoplay settings for videos or audio content, you can customize these settings. Here’s how to adjust autoplay settings on your smart TV or streaming device:
- Open the settings menu on your smart TV or streaming device. The process may vary depending on the make and model of your device.
- Navigate to the “Playback” or “General” settings.
- Look for the autoplay options or settings.
- Choose the desired autoplay behavior, such as “Autoplay on”, “Autoplay off”, or “Ask before autoplay”.
By adjusting autoplay settings on your smart TV or streaming device, you can have more control over what plays automatically when streaming content.
Additionally, you can also adjust autoplay settings within specific streaming apps:
- Launch the streaming app you want to adjust on your smart TV or streaming device.
- Go to the app’s settings or preferences.
- Look for the autoplay options and select your preferred autoplay setting.
By adjusting autoplay settings within individual streaming apps, you can have more granular control over autoplay behavior while watching content.
Remember to apply these changes in the settings menu of your smart TV or streaming device as well as within each individual streaming app to ensure consistent autoplay preferences across your devices.
By following these steps, you can easily adjust autoplay settings on your smart TV or streaming device and have a more tailored and personalized viewing experience.