
Why Should You Share Your Google Calendar?
Sharing your Google Calendar with others can offer numerous benefits and enhance collaboration, organization, and communication in both personal and professional settings. Whether you are managing a team, planning events with friends and family, or coordinating schedules with colleagues, utilizing the sharing feature of Google Calendar can simplify the process and improve efficiency. In this section, we will explore the key reasons why you should consider sharing your Google Calendar.
1. Streamline Scheduling: By sharing your Google Calendar, you can easily coordinate with others by providing them access to view your schedule. This allows them to see your availability and find the best time to schedule meetings or appointments, eliminating the back-and-forth emails or phone calls typically involved in finding a suitable time slot.
2. Improved Collaboration: Sharing your Google Calendar enables effective collaboration among team members. It ensures everyone is aware of upcoming deadlines, meetings, and events, promoting better coordination and teamwork. With a shared calendar, team members can stay on the same page and avoid scheduling conflicts.
3. Increased Transparency: Sharing your calendar fosters transparency, especially in professional settings. Colleagues can see each other’s schedules, making it easier to plan meetings, allocate resources, and delegate tasks based on availability. This transparency enhances productivity and promotes a more cohesive work environment.
4. Efficient Event Planning: Sharing your Google Calendar simplifies event planning. If you’re organizing a group activity, such as a party or a team outing, you can create a separate calendar for the event and invite participants to view it. This ensures everyone is up to date with event details, such as the date, time, and location, and allows individuals to RSVP or suggest changes to the event.
5. Enhanced Personal Planning: Sharing your calendar with family and friends can facilitate personal planning. For example, if you’re coordinating family activities or organizing social events, having a shared calendar enables everyone to contribute to the planning process and stay informed about upcoming commitments. It’s a great way to ensure that everyone’s schedules align and to avoid conflicts in personal plans.
How to Share Your Google Calendar with Specific People
If you want to share your Google Calendar with specific individuals, follow these simple steps:
1. Open Google Calendar: Go to your Google Calendar by visiting calendar.google.com and sign in to your account if prompted.
2. Select the Calendar to Share: On the left side of the screen, you’ll see a list of calendars. Choose the calendar you want to share by clicking on its name.
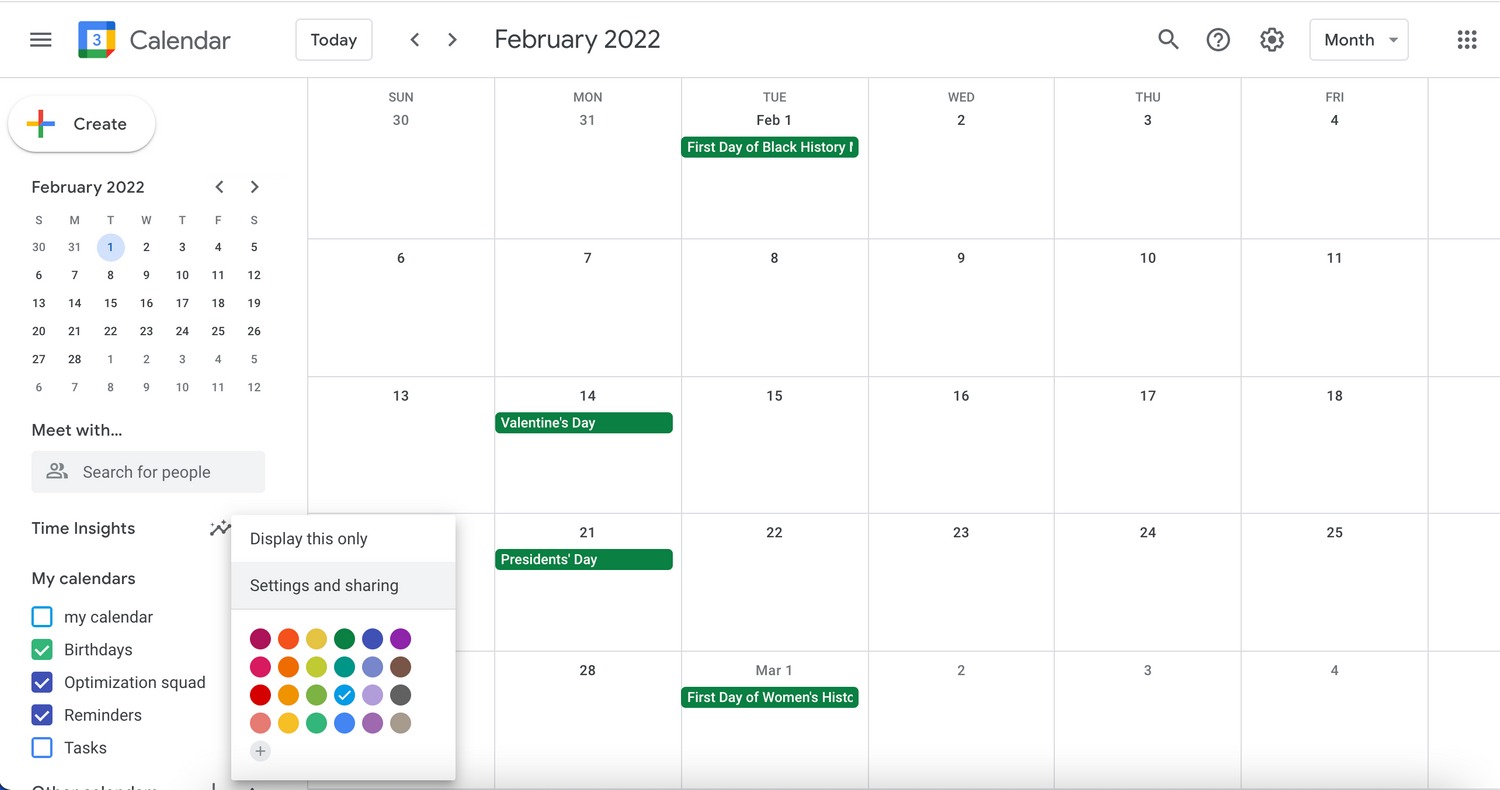
3. Access Calendar Settings: Click on the three vertical dots next to the calendar name and select “Settings and sharing.” This will open the settings page for the selected calendar.
4. Navigate to the “Share with specific people” section: Scroll down until you find the “Share with specific people” section on the settings page.
5. Add People: In the text box provided, enter the email addresses of the people you want to share the calendar with. As you type, Google Calendar will suggest contacts from your Gmail address book. You can also specify the level of access you want to grant them (see the next section for details on different permissions).
6. Set Permissions: By default, the individuals you share the calendar with will have “See only free/busy (hide details)” access. However, you can change this by clicking on the dropdown menu next to the person’s name and selecting the desired level of access. The available options include “Make changes and manage sharing,” “Make changes to events,” or “See all event details.”
7. Send Invitations: Once you’ve added the individuals and set their permissions, click on the “Send” button to send them an invitation to view the calendar. They will receive an email notification with a link to access the shared calendar.
8. Modify Sharing Settings: If you need to make changes to the sharing settings later on, simply return to the “Settings and sharing” page for the calendar and update the options as needed.
Remember to only share your calendar with trusted individuals and be mindful of the level of access you grant them. Regularly review and update your sharing settings to ensure that your calendar remains private and secure.
How to Share Your Google Calendar with Everyone
If you want to make your Google Calendar accessible to everyone, whether it’s for public events or simply to provide visibility into your schedule, you can easily share it with a wider audience by following these steps:
1. Open Google Calendar: Go to calendar.google.com and sign in to your account if needed.
2. Select the Calendar to Share: On the left side of the screen, click on the name of the calendar you want to share from your list of calendars.
3. Access Calendar Settings: Look for the three vertical dots next to the calendar name and click on them. Then, choose “Settings and sharing” from the dropdown menu. This will take you to the calendar’s settings page.
4. Navigate to the “Access permissions” section: Scroll down until you find the “Access permissions” section on the settings page.
5. Toggle on “Make available to public”: In the “Access permissions” section, you’ll see an option labeled “Make available to public.” Toggle the switch next to it to the “On” position. This will make your calendar visible to anyone with the link.
6. Copy the public link: After enabling the “Make available to public” option, a public link will be generated. Click on the “Copy link” button to copy the link to your clipboard.
7. Share the public link: You can now share the public link with others via email, social media, or any other preferred method. When recipients click on the link, they will be able to access your calendar and view the events.
It’s important to note that when you share your calendar with everyone, they will only be able to see the event details you have chosen to make public. Any private events or details will remain hidden. Additionally, while anyone with the link can view your calendar, they will not be able to modify or edit it.
Remember to consider the privacy implications of sharing your calendar with a global audience. If you have sensitive or confidential information in your calendar, it is advisable to keep it private or share it only with trusted individuals.
By sharing your calendar with everyone, you can make it easier for people to find information about your events or stay informed about your availability, without the need for individual invitations or permissions.
How to Grant Specific Permissions to People You Share Your Calendar With
When sharing your Google Calendar with specific individuals, you have the option to grant them different levels of permissions to control what they can do with the calendar. Setting specific permissions ensures that you maintain control over your schedule while allowing others to interact with and contribute to the calendar. Follow these steps to grant specific permissions:
1. Open Google Calendar: Go to calendar.google.com and sign in to your account if needed.
2. Select the Calendar to Share: From the list of calendars on the left side of the screen, click on the name of the calendar you want to share.
3. Access Calendar Settings: Look for the three vertical dots next to the calendar name and click on them. Then, choose “Settings and sharing” from the dropdown menu. This will take you to the calendar’s settings page.
4. Navigate to the “Share with specific people” section: Scroll down until you find the “Share with specific people” section on the settings page.
5. Add People: In the text box provided, enter the email addresses of the individuals you want to share the calendar with. As you type, Google Calendar may suggest contacts from your Gmail address book.
6. Set Permissions: By default, the individuals you share the calendar with have “See only free/busy (hide details)” access. However, you can modify this by clicking on the dropdown menu next to the person’s name and selecting the desired level of access.
Here are the different permission options you can choose from:
– See only free/busy (hide details): Users can only see when you are busy or available and cannot view any event details.
– See all event details: Users can view the complete details of all events in the calendar, including the event title, time, location, and description.
– Make changes to events: Users can create, modify, and delete events in the calendar. They can also invite other individuals to events and change event details.
– Make changes and manage sharing: Users have full control over the calendar and can make changes, manage sharing settings, and invite others to the calendar.
7. Send Invitations: After adding individuals and setting their permissions, click on the “Send” button to send them an invitation to view the calendar. They will receive an email notification with a link to access the shared calendar.
Remember to choose the permissions carefully based on the level of collaboration and trust required. Be mindful of granting higher permissions only to individuals you fully trust with managing and modifying your calendar.
Additionally, keep in mind that any changes made by those individuals will be reflected in the shared calendar and might impact your schedule as well. Regularly review the shared calendar and adjust the permissions if necessary to maintain control over your events and prevent unauthorized changes.
How to Stop Sharing Your Google Calendar
If you no longer want to share your Google Calendar with certain individuals or if you simply want to revoke access to your calendar altogether, you can easily stop sharing it. Follow these steps to stop sharing your Google Calendar:
1. Open Google Calendar: Go to calendar.google.com and sign in to your account if needed.
2. Select the Calendar to Stop Sharing: From the list of calendars on the left side of the screen, click on the name of the calendar you want to stop sharing.
3. Access Calendar Settings: Look for the three vertical dots next to the calendar name and click on them. Then, choose “Settings and sharing” from the dropdown menu. This will take you to the calendar’s settings page.
4. Navigate to the “Share with specific people” section: Scroll down until you find the “Share with specific people” section on the settings page.
5. Find the Individual to Stop Sharing With: Look for the person’s name or email address in the list of people you have shared the calendar with.
6. Remove the Individual: To stop sharing with that individual, click on the “X” icon next to their name. You will see a confirmation prompt asking if you want to remove their access to the calendar. Click on “Remove access” to confirm the action.
7. Repeat the Process as Needed: If you want to stop sharing your calendar with multiple individuals, repeat steps 5 and 6 for each person you wish to remove.
By completing these steps, you will effectively stop sharing your calendar with the specified individuals. They will no longer be able to view or interact with your calendar.
It’s important to note that if you had previously shared your calendar with the public by making it available to everyone with a link, simply stopping sharing with specific individuals will not revoke access for those who already have the link. To completely stop sharing with everyone, follow these additional steps:
8. Return to the “Access permissions” section: Scroll up on the settings page until you find the “Access permissions” section.
9. Toggle off “Make available to public”: Locate the “Make available to public” option and toggle the switch to the “Off” position. This will remove public access to your calendar.
Once you have completed all of these steps, your Google Calendar will be private once again, and no one will have access to it unless you choose to share it with them in the future. Remember to periodically review your sharing settings to ensure your calendar remains secure and you maintain control over who can view or interact with it.
Tips for Sharing Your Google Calendar Effectively
Sharing your Google Calendar can greatly enhance collaboration and communication in both personal and professional settings. To maximize the benefits of sharing your calendar, consider these helpful tips:
1. Specify Clear Availability: Ensure that your availability is accurately reflected in your calendar. This allows others to easily identify when you are free or busy and helps them schedule meetings or events accordingly.
2. Use Color-Coding: Assign different colors to different types of events or calendars. This visual differentiation makes it easier for others to quickly identify relevant events and understand your schedule at a glance.
3. Create Separate Calendars: If you have multiple projects, teams, or areas of responsibility, consider creating separate calendars for each. This allows you to share specific calendars with relevant individuals, ensuring that they only see the relevant events and not your entire calendar.
4. Set Reminders: Enable reminders for important events or meetings to ensure you don’t miss them. This is especially helpful when sharing your calendar with others who may need to be reminded of pending tasks or upcoming deadlines.
5. Grant Appropriate Permissions: When sharing with specific individuals, carefully consider the level of permissions you grant. Restrict more sensitive information to only those who need it, while providing broader access to shared and public events.
6. Regularly Update and Review: Keep your calendar up to date by adding events and making changes as necessary. Regularly review your shared calendar to ensure that the information remains accurate and relevant.
7. Communicate Changes: If you make any modifications to your calendar or if events are cancelled or rescheduled, make sure to communicate these changes proactively to the relevant individuals. This helps avoid confusion and keeps everyone on the same page.
8. Utilize Descriptive Event Titles: Use descriptive and meaningful titles for your events. This provides clarity to others and helps them understand the nature of the event without having to dig into the event details.
9. Schedule Buffer Time: Consider adding buffer time between back-to-back appointments or meetings. This allows for better time management and reduces the likelihood of scheduling conflicts or delays.
10. Make Use of Event Descriptions: Use the event description field to provide additional details, such as agendas, meeting links, or any specific instructions. This ensures that everyone has access to the necessary information for the event.
Remember, effective calendar sharing is based on mutual trust and communication. Be mindful of privacy concerns and only share sensitive information on a need-to-know basis. Regularly review your sharing settings to ensure they align with your preferences and requirements.