
Sign up for a Google Play Developer account
If you’re an Android app developer looking to share your app with users worldwide, signing up for a Google Play Developer account is essential. With a developer account, you can publish your app on the Google Play Store, reaching millions of Android users.
Here are the steps to sign up for a Google Play Developer account:
- Visit the Google Play Developer Console website.
- Click on the “Create account” button to start the sign-up process.
- Enter your email address and create a password for your developer account.
- Provide your developer information, including your country and name.
- Review and accept the terms and conditions of the Developer Distribution Agreement.
- Pay the one-time $25 registration fee using a valid payment method.
- Verify your account by following the instructions sent to your email.
Once your developer account is set up, you’ll have access to the Google Play Developer Console, where you can manage your app’s details, upload APK files, and monitor your app’s performance.
Remember, it may take a few hours for your account to be fully activated after the payment is processed. Also, note that the registration fee is non-refundable, so double-check your information before submitting the payment.
Having a Google Play Developer account opens up a world of opportunities for showcasing your app to a wide audience. So, take the first step and sign up for an account today to start sharing your Android app with the world!
Prepare your app for sharing
Before sharing your Android app with others, it’s important to ensure that it is properly prepared and ready for a seamless user experience. Here are some steps to follow when preparing your app for sharing:
- Test your app thoroughly: Before sharing your app, make sure to test it extensively to identify and fix any bugs or issues. This will help ensure that users have a positive experience with your app.
- Optimize app performance: Optimize your app’s performance by optimizing resource usage, reducing loading times, and optimizing battery usage. This will help provide a smooth and efficient experience for users.
- Localization: Consider localizing your app to reach a broader audience. Translate your app’s content into different languages to cater to users from different regions.
- App store optimization: Implement app store optimization techniques to improve your app’s visibility and discoverability in app stores. Use relevant keywords, compelling descriptions, and attractive visuals to attract potential users.
- Ensure app compatibility: Make sure that your app is compatible with different Android devices and versions. Test your app on various devices to ensure that it functions correctly across a range of screen sizes and resolutions.
- App permissions: Review the permissions required by your app and ensure that they are necessary for the app’s functionality. Minimize the number of permissions needed to build trust with users.
- App icon and branding: Design a visually appealing app icon and ensure that your app’s branding is consistent throughout. This will help users easily recognize your app.
- User interface and user experience: Pay attention to the user interface (UI) and user experience (UX) of your app. Ensure that the app is intuitive, user-friendly, and visually appealing.
By following these preparation steps, you can ensure that your app is ready to be shared with others. Remember that creating a high-quality app and providing a positive user experience is crucial to gaining and retaining users.
Generate an APK file
Once you have completed the necessary preparations for your Android app, the next step is to generate an APK (Android Package) file. This file contains all the necessary components of your app and can be installed on Android devices.
Here’s how you can generate an APK file:
- Open Android Studio: Android Studio is the official development environment for Android apps. Launch the software on your computer.
- Open your project: If your app project is already open, skip this step. Otherwise, navigate to File > Open and locate your app project on your computer.
- Build the project: In Android Studio, go to Build > Build Bundle(s) / APK(s) > Build APK(s). This will compile the code and generate an APK file for your app.
- Locate the generated APK file: After the build process is completed, Android Studio will display a notification indicating the location of the generated APK file. You can also find it by navigating to your app’s project folder > app > build > outputs > apk > debug.
It’s important to note that the generated APK file will be in “debug” mode by default. This means it can be installed on any Android device for testing purposes. However, if you plan on distributing your app to users, you may need to generate a signed APK file. A signed APK file is digitally signed with a private key to ensure its authenticity and integrity.
To generate a signed APK file, you will need to configure the signing process in Android Studio and obtain a private key. This process involves creating a keystore file and providing the necessary signing information. It is recommended to familiarize yourself with the official Android documentation for detailed instructions on generating a signed APK file.
Once you have generated an APK file, you can proceed to share your app with others via various methods, such as direct file sharing, email, cloud storage services, app sharing platforms, or even through the Google Play Store beta testing program.
Share the app via direct file sharing
One of the easiest ways to share your Android app with others is through direct file sharing. This method allows you to transfer the APK file directly from your device to another Android device. Here’s how you can share your app via direct file sharing:
- Locate the APK file: Find the generated APK file on your Android device. You can use a file manager app or navigate to the app’s project folder on your device.
- Enable app installations from unknown sources: Before sharing the APK file, ensure that the recipient has enabled installations from unknown sources in their device settings. This allows the installation of apps from sources other than the Google Play Store.
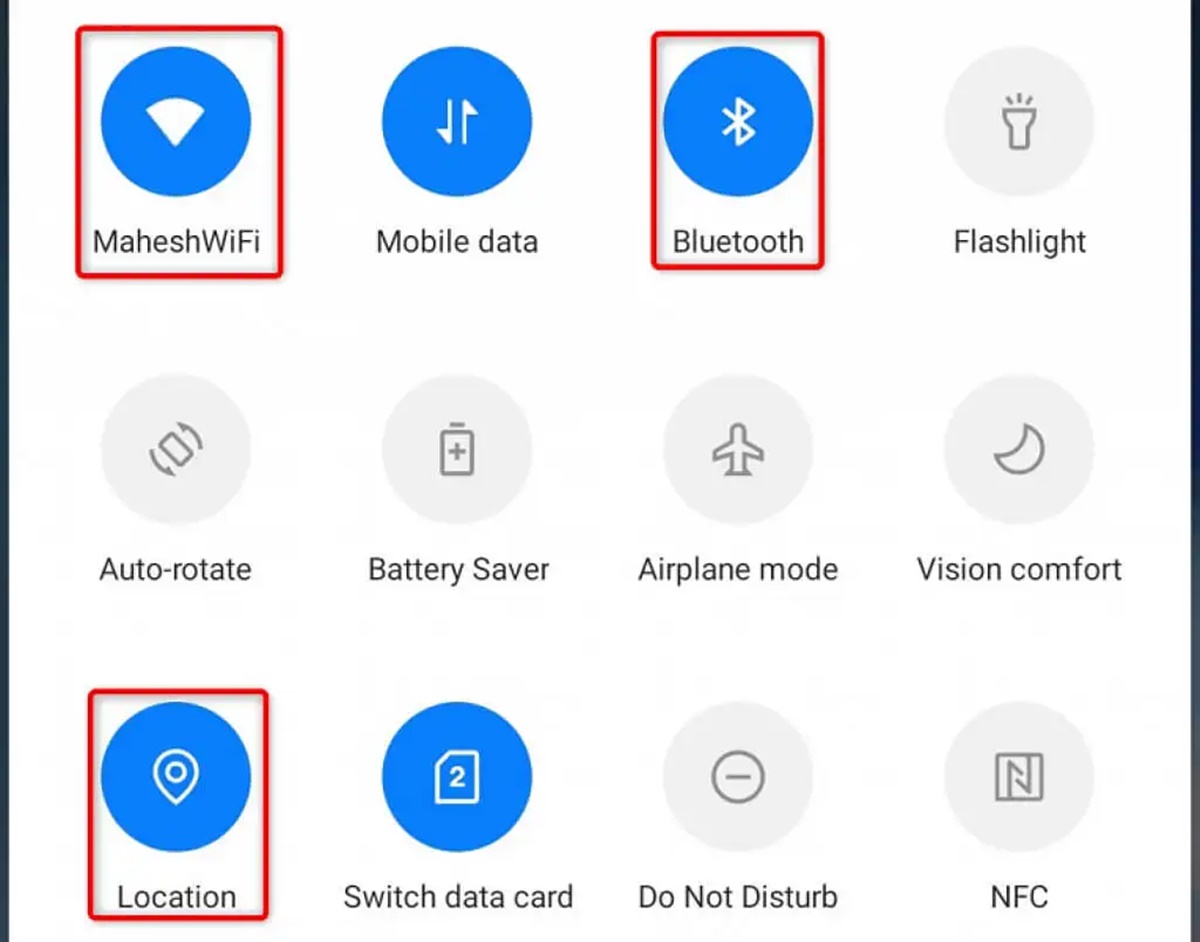
- Transfer the APK file: There are several methods to transfer the APK file to the recipient’s device. You can use Bluetooth, NFC, Wi-Fi Direct, or even a USB cable to transfer the file.
- Open the APK file on the recipient’s device: Once the APK file is transferred to the recipient’s device, they can use a file manager app to locate the file and tap on it to initiate the installation process.
- Follow the installation prompts: The recipient will be prompted to confirm the installation and grant any necessary permissions. Once completed, the app will be installed on their device.
Direct file sharing is a convenient method for sharing your app with friends, colleagues, or testers without requiring an internet connection. However, keep in mind that this method may not be suitable for distributing your app to a large number of users.
If you are looking to reach a wider audience, consider exploring other methods such as email, cloud storage services, or utilizing app sharing platforms to share your Android app effectively.
Share the app via email
Sharing your Android app via email is a popular method, especially when you want to distribute it to a specific group of recipients. Here’s how you can share your app via email:
- Prepare the APK file: Make sure that you have the APK file of your app ready to be shared. If the file is too large to attach directly to the email, you can consider compressing it into a zip file.
- Compose the email: Open your preferred email client or webmail platform and compose a new email. Provide a subject that clearly indicates the purpose of the email, such as “Check out my new Android app!”
- Attach the APK file: Click on the attachment or paperclip icon in your email composer and browse for the APK file on your computer. Attach the file to the email.
- Write a message: In the body of the email, provide a brief description of your app and any instructions that the recipients need to follow for installation. You can also include links to your app’s website, social media pages, or any other relevant information.
- Add recipients: Enter the email addresses of the recipients in the “To” field. You can also add recipients in the “CC” or “BCC” fields if necessary.
- Send the email: Review your email to ensure everything is correct and click the “Send” button to share your app with the recipients.
It’s important to note that some recipients may have email filters or security settings that prevent them from receiving or opening APK file attachments. In such cases, consider providing alternative download links or instructions for the recipients to access the APK file.
Sharing your app via email allows you to directly target specific individuals or groups who may be interested in testing or reviewing your app. It’s an effective method for personalized distribution and can help generate valuable feedback.
However, if you’re looking to reach a larger audience, exploring other methods like app sharing platforms or utilizing the Google Play Store for distribution may be more suitable.
Share the app via cloud storage services
Using cloud storage services is a convenient and efficient way to share your Android app with others. These services allow you to upload your APK file to the cloud and generate download links that can be easily shared. Here’s how you can share your app via cloud storage services:
- Choose a cloud storage service: There are several popular cloud storage services available, such as Google Drive, Dropbox, and OneDrive. Select the service that you are familiar with or prefer to use.
- Create an account (if necessary): If you don’t have an account with the selected cloud storage service, sign up for one. Most services offer free accounts with limited storage capacity.
- Upload your APK file: Once you have an account, navigate to the cloud storage service’s website or use their desktop or mobile app to upload your APK file. Follow the instructions provided by the service to complete the upload process.
- Generate a shareable link: After the upload is complete, the cloud storage service will typically generate a shareable link for your file. Copy the link provided.
- Share the download link: Compose an email, instant message, or any other form of communication that you plan to use to share your app. Paste the download link into your message and provide any necessary instructions for the recipient.
Cloud storage services offer a convenient way to distribute your app as the download links can be easily shared with a wide range of users. Recipients can simply click on the link to download the APK file onto their Android devices.
Remember to check the settings of the cloud storage service to ensure that the download link allows access to anyone with the link. You may also want to consider setting an expiration date for the link to ensure that it is only active for a specific period of time.
Sharing your app via cloud storage services offers flexibility and accessibility, allowing users to download and install your app at their convenience. It’s a popular method for distributing Android apps to a broader audience without requiring direct file transfers or email attachments.
Share the app via an app sharing platform
App sharing platforms provide a centralized location where Android app developers can share their apps with a broader audience. These platforms offer an easy and efficient way to distribute your app to users who are actively seeking new and interesting apps. Here’s how you can share your app via an app sharing platform:
- Research app sharing platforms: There are various app sharing platforms available, such as APKMirror, Aptoide, and Amazon Appstore. Investigate these platforms to determine which ones align with your app’s target audience and goals.
- Create an account: Sign up for an account on the chosen app sharing platform. Follow the registration process and provide the necessary information.
- Upload your app: Once you have an account, navigate to the platform’s developer dashboard or submission page. Follow the instructions provided to upload your app’s APK file, along with the required app information, screenshots, and descriptions.
- Review and publish: Review all the details of your app submission, ensuring that everything is accurate and in compliance with the platform’s guidelines. Once you are satisfied, submit your app for review and wait for it to be approved and published.
- Share the app store link: Once your app is published on the app sharing platform, it will be assigned a unique app store link. Share this link with your target audience through various channels such as social media, forums, or your website.
App sharing platforms offer several advantages. They provide a discoverability platform where users actively search for new apps, increasing your app’s visibility to a larger audience. Additionally, these platforms often have built-in mechanisms for user reviews and ratings, helping you gather valuable feedback and improve your app based on user experiences.
It’s important to note that each app sharing platform has its own set of guidelines and review processes. Ensure that you follow these guidelines when uploading your app to ensure a smooth submission and publication process.
By leveraging app sharing platforms, you can tap into a wider user base and gain exposure for your Android app. These platforms can be particularly beneficial for promoting your app to a targeted audience interested in discovering new apps.
Share the app via Google Play Store beta testing
Google Play Store offers a beta testing feature that allows you to share your Android app with a limited group of users for testing and feedback. This method is particularly useful for gathering valuable insights and identifying any issues before releasing your app to the general public. Here’s how you can share your app via Google Play Store beta testing:
- Prepare your app: Make sure your app is fully developed and ready for testing. Ensure that all necessary features are implemented and any major issues have been resolved.
- Upload your app: Sign in to your Google Play Developer Console and navigate to your app’s listing. Click on the “Beta testing” tab and select the appropriate beta testing method: open beta or closed beta.
- Open beta testing (optional): If you choose an open beta, anyone on the Google Play Store can join the beta test by becoming a tester. You can set the number of users you want to allow in the beta test.
- Closed beta testing: If you choose a closed beta, you have more control over who can access and test your app. You can invite specific users by email or use Google Groups to manage your testers.
- Set up testing tracks (optional): If you have different versions of your app (e.g., alpha, beta, production), you can set up different testing tracks to ensure a smoother testing process. This allows you to control how updates are delivered to your testers.
- Invite testers: Once you have configured your beta testing options, invite testers by sending them an email or providing them with the opt-in URL. Testers can then join the beta test and access the app on the Google Play Store.
- Gather feedback: Encourage your beta testers to provide feedback on their experience using your app. You can provide them with a feedback form or use Google Play Console’s built-in feedback feature to collect their comments and suggestions.
- Iterate and improve: Analyze the feedback received from beta testers and make necessary improvements to your app. It’s crucial to address any bugs, performance issues, or user experience concerns to ensure a successful app launch.
Google Play Store beta testing allows you to engage with a dedicated group of testers who can provide valuable insights and help you improve your app’s quality before releasing it to the wider audience. This method greatly enhances the chances of a successful app launch and minimizes the risk of negative user experiences.
Remember, it’s important to communicate with your beta testers, listen to their feedback, and actively address any issues or concerns raised. This collaborative approach will help you refine your app and deliver the best possible version to your users when it’s officially released on the Google Play Store.