
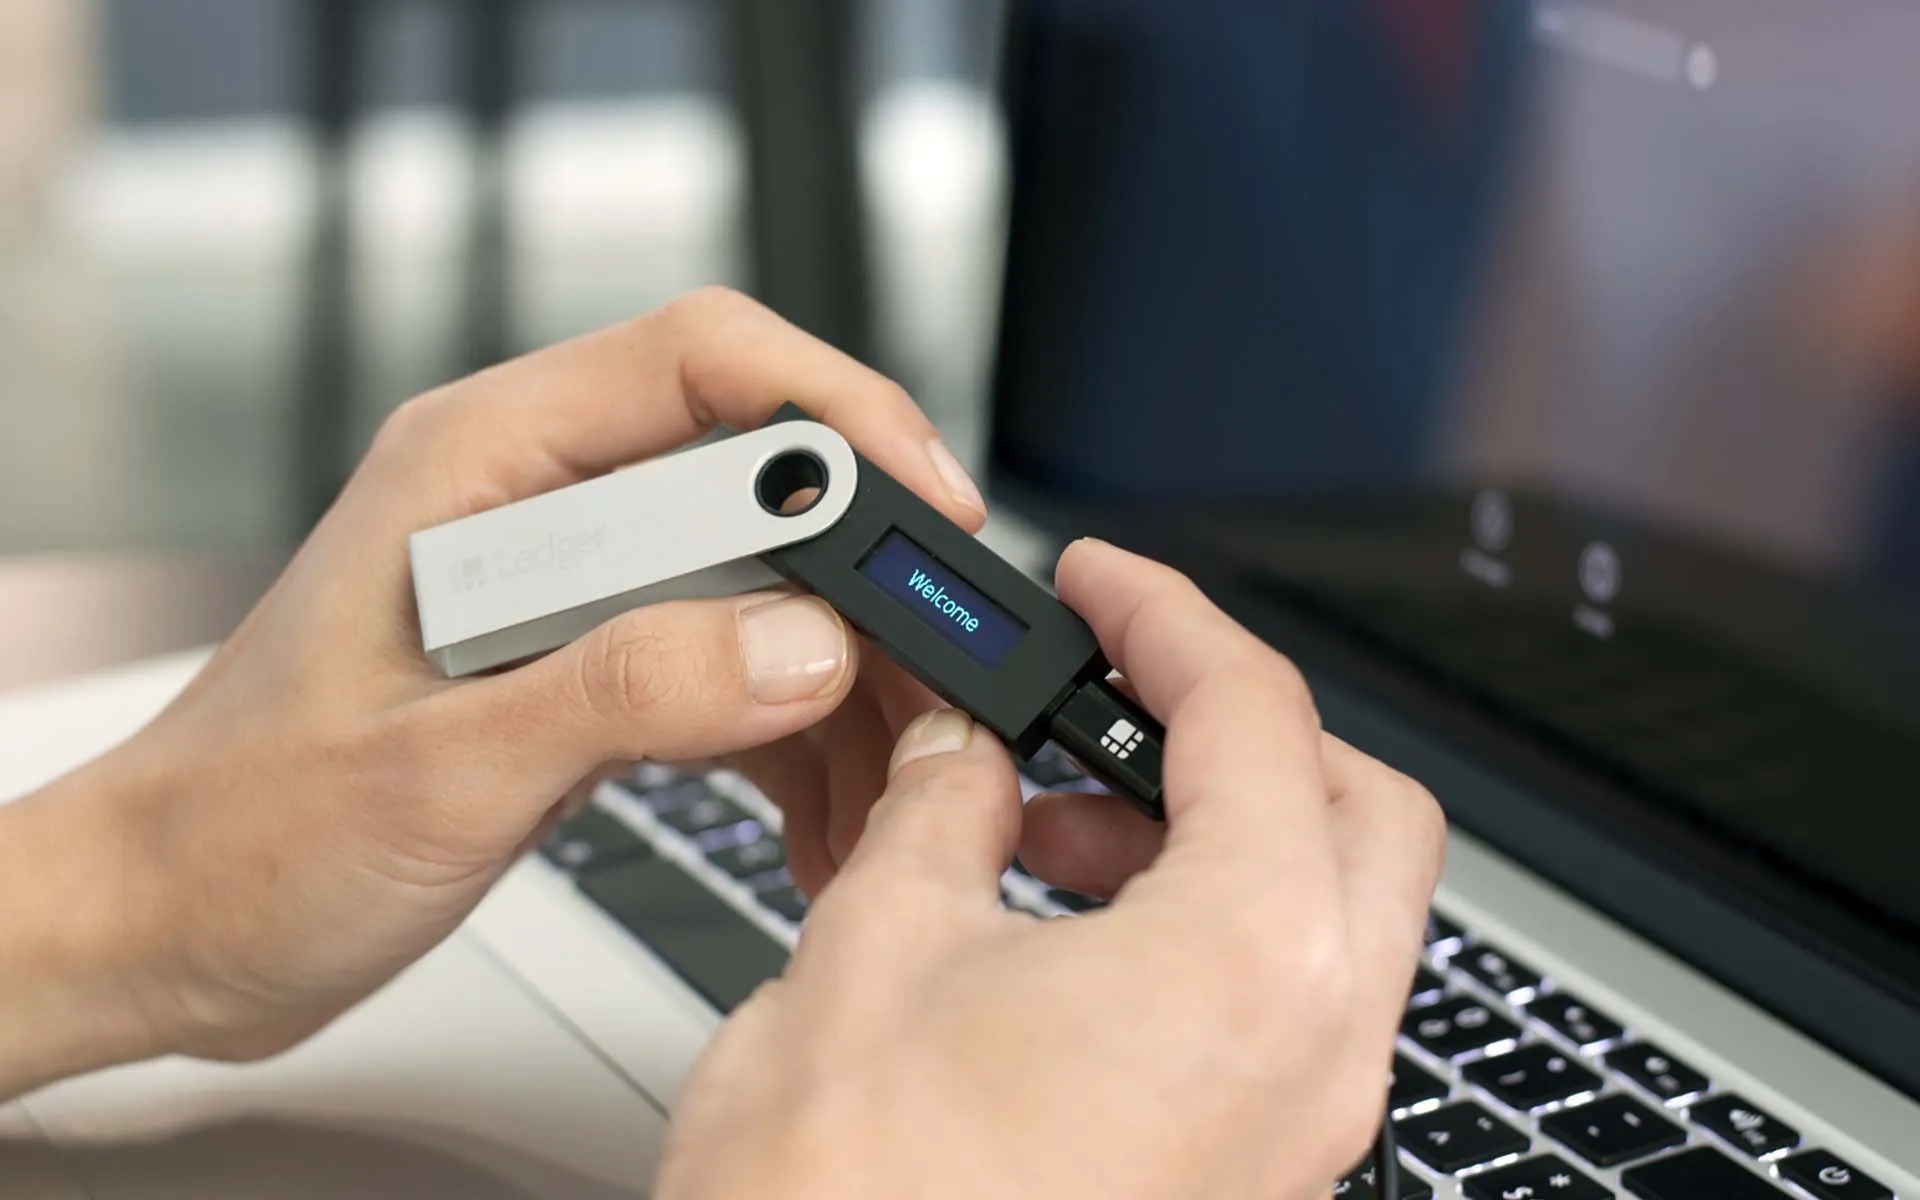
What is Ledger Nano S?
The Ledger Nano S is a hardware wallet that provides a secure and convenient way to store and manage your cryptocurrency assets. It is a compact device that resembles a USB stick, but its primary function is to safeguard your digital currencies by keeping them offline and out of reach from potential threats such as hackers and malware.
Unlike software wallets, which store your private keys on a connected device, the Ledger Nano S stores your private keys offline, providing an added layer of protection against online vulnerabilities. This ensures that your cryptocurrency holdings remain safe, even if your computer or mobile device is compromised.
The Ledger Nano S supports multiple cryptocurrencies, including Bitcoin, Ethereum, Ripple, and many others. This makes it a versatile solution for those who hold various types of digital assets. With its intuitive interface, the Ledger Nano S allows you to easily manage your cryptocurrencies and securely conduct transactions.
One of the key features of the Ledger Nano S is its built-in display. This display enables you to verify and confirm transaction details directly on the device, ensuring that you have complete control over your funds and minimizing the risk of potential errors or scams.
Additionally, the Ledger Nano S incorporates advanced security features, such as PIN protection and a backup system called the recovery phrase. The recovery phrase consists of 24 random words that you must record and keep in a safe place. In the event that your Ledger Nano S is lost, stolen, or damaged, you can use the recovery phrase to restore your cryptocurrency holdings on a new device.
The Ledger Nano S can be connected to your computer or mobile device via a USB cable, allowing you to access and manage your crypto-assets using the Ledger Live application. This user-friendly interface makes it easy to add new accounts, check balances, and make transactions with just a few clicks.
Getting Started with Ledger Nano S
If you’re new to the world of cryptocurrency and want to securely store your digital assets, the Ledger Nano S is an excellent choice. Follow these simple steps to get started with your Ledger Nano S:
- Unboxing and Checking Contents:
- Connecting Your Ledger Nano S:
- Setting Up Your Ledger Nano S:
- Installing Ledger Live Application:
- Adding and Managing Accounts:
- Updating Firmware and Applications:
- Securing Your Ledger Nano S:
- Making Transactions with Ledger Nano S:
- Troubleshooting Common Issues with Ledger Nano S:
Begin by unboxing your Ledger Nano S and ensuring that all the necessary components are included. In the package, you’ll find the Ledger Nano S device, a USB cable, a keychain, and a recovery sheet. Make sure everything is in good condition before proceeding.
Connect your Ledger Nano S to your computer by plugging one end of the USB cable into the device and the other end into a USB port on your computer. The device will power on automatically once connected.
Follow the on-screen instructions to set up your Ledger Nano S. You’ll be asked to choose a PIN code as an extra layer of security. Make sure to select a PIN code that is unique and not easily guessable.
Next, you’ll need to install the Ledger Live application on your computer. Visit the official Ledger website to download and install the application. Once installed, launch the application and follow the prompts to complete the setup process.
With the Ledger Live application open, you can now add and manage your cryptocurrency accounts. Select the “Add Account” option and choose the cryptocurrency you wish to add. Follow the steps to synchronize your Ledger Nano S with the corresponding cryptocurrency network.
It’s crucial to keep your Ledger Nano S’s firmware and applications up to date to ensure maximum security. Check for any available updates in the Ledger Live application and follow the instructions to install them.
Take the time to familiarize yourself with the additional security features of the Ledger Nano S. Enable the passphrase option and create a strong, unique passphrase to provide an extra layer of protection for your device and funds.
Once your Ledger Nano S is set up and synchronized with your desired cryptocurrency accounts, you can start making transactions securely. Use the Ledger Live application to send and receive cryptocurrencies, ensuring that you carefully verify the transaction details on your device’s screen before confirming.
If you encounter any issues or have questions while using your Ledger Nano S, refer to the official Ledger support documentation for guidance. They provide detailed instructions on common troubleshooting steps and solutions.
By following these steps, you’ll be well on your way to securely managing your cryptocurrency assets with the Ledger Nano S.
Step 1: Unboxing and Checking Contents
When you receive your Ledger Nano S, the first step is to unbox the package and ensure that all the necessary components are included. Follow these steps:
- Open the package:
- Inspect the device:
- Check the contents:
- The Ledger Nano S device: This small, sleek-looking device is your hardware wallet.
- A USB cable: This is used to connect the Ledger Nano S to your computer or mobile device.
- A keychain: This accessory allows you to attach your Ledger Nano S securely to your keyring for easy portability.
- A recovery sheet: This sheet contains a set of 24 recovery words that you must keep safe. It will be used to restore your accounts in case your device is lost or damaged.
- Ensure all components are present:
- Read the user manual:
Carefully remove the outer packaging of the Ledger Nano S. It is recommended to open it with caution to avoid any accidental damage to the device or its accessories.
Take a close look at the Ledger Nano S device. Ensure that there are no visible signs of damage or defects. Look for any dents, scratches, or loose parts that may affect its functionality.
Inside the package, you’ll find the following items:
Check that all the mentioned components are included in the package. If anything is missing or damaged, contact the Ledger support team for assistance.
It’s important to familiarize yourself with the user manual provided by Ledger. The manual will guide you through the setup and usage of your Ledger Nano S, ensuring you make the most of its features.
By carefully unboxing your Ledger Nano S and double-checking its contents, you can ensure that everything is intact and ready for the setup process. This step sets the foundation for safely storing and managing your cryptocurrencies.
Step 2: Connecting Your Ledger Nano S
To begin using your Ledger Nano S, you need to connect it to your computer or mobile device. Follow these steps to establish the connection:
- Locate a USB port:
- Attach the USB cable:
- Connect to your computer or mobile device:
- Power on your Ledger Nano S:
- Unlock your Ledger Nano S:
- Confirm connection on the device:
Find an available USB port on your computer or mobile device. Ensure that the port is in good condition and compatible with the USB cable that came with your Ledger Nano S.
Take one end of the USB cable and insert it into the corresponding port on your Ledger Nano S. It should fit securely, but be gentle to avoid any damage.
Insert the other end of the USB cable into the USB port of your computer or mobile device. Make sure the connection is firm.
Once the cable is connected, your Ledger Nano S will power on automatically. Look for the device screen to light up or display the Ledger logo. If nothing appears, press the side button to turn it on.
On the Ledger Nano S screen, you’ll be prompted to enter your PIN code. Use the device buttons to enter the PIN code you previously set up. Be cautious when entering the PIN, as each digit will be displayed as an asterisk (*) to keep it hidden from prying eyes.
Once the PIN code is entered correctly, your Ledger Nano S will confirm that it is connected to the computer or mobile device. It may display a message such as “Ready to connect” or “Connected.”
Now that your Ledger Nano S is successfully connected, you can proceed to the next steps in setting it up and managing your cryptocurrency accounts.
Step 3: Setting Up Your Ledger Nano S
After connecting your Ledger Nano S, it’s time to set it up and customize it to meet your specific needs. Follow these steps to get started:
- Choose a language:
- Create a new wallet:
- Choose a PIN code:
- Confirm your PIN code:
- Write down your recovery phrase:
- Confirm your recovery phrase:
- Complete the setup:
On the Ledger Nano S screen, you’ll be prompted to select a language. Use the device buttons to navigate through the available options and choose your preferred language.
Next, you’ll need to create a new wallet on your Ledger Nano S. Follow the instructions on the device screen to initiate the wallet creation process. Take note of any important information displayed, such as the wallet name or unique identifier.
For added security, you’ll be asked to set up a PIN code for your Ledger Nano S. Use the device buttons to enter a PIN code of your choice. Make sure it’s a unique and memorable code, as you’ll be required to enter it each time you access your wallet.
After entering the PIN code, you’ll be asked to confirm it. Re-enter the same PIN code to ensure accuracy.
Now, you’ll be presented with a 24-word recovery phrase on the device screen. Write down these words in the exact order they are displayed. It’s crucial to keep this recovery phrase safe and secure, as it can be used to restore your wallet in case of loss, theft, or damage to your Ledger Nano S.
After noting down the recovery phrase, the Ledger Nano S will ask you to confirm it. Re-enter the words in the same order to verify the accuracy of your backup.
Once you’ve confirmed your recovery phrase, your Ledger Nano S wallet setup is complete. The device will display a message indicating that the setup is finished. From there, you can proceed to install and configure the Ledger Live application to manage your accounts.
By following these steps, you’ll have successfully set up your Ledger Nano S and ensured the security of your wallet. It’s essential to remember your PIN code and keep your recovery phrase safe, as they are crucial in protecting your cryptocurrency assets.
Step 4: Installing Ledger Live Application
After setting up your Ledger Nano S, the next step is to install the Ledger Live application on your computer. Follow these steps to install the application:
- Visit the official Ledger website:
- Choose your operating system:
- Download the application:
- Run the installer:
- Launch Ledger Live:
- Create a Ledger Live account:
- Set up device connection:
- Configure accounts:
Open your preferred web browser and go to the official Ledger website at www.ledger.com. Navigate to the “Downloads” section of the website.
Select the appropriate version of the Ledger Live application for your operating system. Ledger Live is available for Windows, macOS, Linux, and even some mobile devices.
Click on the download link for your chosen operating system. The Ledger Live installer file will be downloaded to your computer or mobile device. Wait for the download to complete.
Locate the downloaded installer file and run it. Follow the on-screen instructions to install the Ledger Live application on your computer. Accept any necessary permissions or prompts during the installation process.
Once the installation is complete, you can launch the Ledger Live application. Look for the Ledger Live icon on your desktop or in your applications folder. Double-click on the icon to open the application.
When you first open Ledger Live, you’ll be prompted to create a new account. Follow the instructions to create your account, providing the necessary information. This account will serve as the main interface for managing your Ledger Nano S and its cryptocurrency accounts.
After creating your Ledger Live account, you’ll need to establish a connection between your Ledger Nano S and the application. Connect your Ledger Nano S to your computer using the USB cable, and the Ledger Live application will automatically detect it.
Once your Ledger Nano S is connected, you can start configuring your cryptocurrency accounts in the Ledger Live application. Follow the prompts to add the desired cryptocurrencies and set up corresponding accounts.
By following these steps, you’ll have successfully installed and set up the Ledger Live application, which will serve as your control center for managing your Ledger Nano S and its associated cryptocurrency accounts.
Step 5: Adding and Managing Accounts
Once you have installed the Ledger Live application and connected your Ledger Nano S, you can proceed to add and manage your cryptocurrency accounts. Follow these steps to add and manage your accounts:
- Launch the Ledger Live application:
- Enter your Ledger Live password:
- Click on “Add Account”:
- Select the cryptocurrency:
- Follow the prompts:
- Manage your accounts:
- Add more accounts:
- Update account information:
Open the Ledger Live application on your computer. Make sure your Ledger Nano S is connected to your computer via the USB cable.
If prompted, enter the password you set up during the Ledger Live account creation process. This step ensures the security of your accounts and wallet information.
In the Ledger Live application, locate and click on the “Add Account” button. This will initiate the process of adding a new cryptocurrency account to your Ledger Nano S.
In the “Add Account” screen, select the cryptocurrency you want to add from the list of supported coins. Ledger Nano S supports a wide range of cryptocurrencies, including Bitcoin, Ethereum, Ripple, and many more.
Follow the on-screen prompts to complete the process of adding the selected cryptocurrency account. This may involve confirming the account details on your Ledger Nano S device and verifying the account creation on the Ledger Live application.
Once your cryptocurrency accounts are added, you can easily manage them through the Ledger Live application. Some of the functions available for account management include checking balances, viewing transaction history, and receiving or sending cryptocurrencies.
If you have multiple cryptocurrencies or want to separate your funds into different accounts, you can repeat the process of adding accounts for each desired cryptocurrency. Ledger Live allows you to manage multiple accounts within the application.
If you want to change the account name or remove an account from your Ledger Live application, you can do so by accessing the account settings. Follow the instructions provided in the application to make the desired changes.
By following these steps, you can efficiently add and manage your cryptocurrency accounts using the Ledger Live application. This allows you to easily keep track of your digital assets and conduct transactions securely.
Step 6: Updating Firmware and Applications
Regularly updating the firmware and applications on your Ledger Nano S is essential for maintaining the security and functionality of your device. The Ledger team frequently releases updates to address any potential vulnerabilities and improve the overall user experience. Follow these steps to update the firmware and applications:
- Launch the Ledger Live application:
- Enter your Ledger Live password:
- Check for firmware updates:
- Follow the prompts to update the firmware:
- Check for application updates:
- Follow the prompts to update the applications:
- Wait for the updates to complete:
- Verify successful updates:
Open the Ledger Live application on your computer and ensure that your Ledger Nano S is connected via the USB cable.
If prompted, enter the password you set up during the Ledger Live account creation process. This step ensures the security of your accounts and wallet information.
In the Ledger Live application, navigate to the “Manager” tab. This tab allows you to manage your device’s firmware and applications. Click on the “Firmware” section, and the application will check if there are any available firmware updates for your Ledger Nano S.
If a firmware update is available, the Ledger Live application will guide you through the update process. Follow the instructions provided, which may involve confirming the update on your Ledger Nano S device and waiting for the update to complete. It’s important not to disconnect your device during the firmware update.
After updating the firmware, go back to the “Manager” tab in the Ledger Live application. Click on the “Applications” section to check if there are any available updates for your installed applications.
If application updates are available, the Ledger Live application will provide instructions for updating them. Typically, these updates bring improvements, bug fixes, or new features to the supported cryptocurrencies. Follow the provided instructions to initiate the application updates.
During the firmware and application update process, it’s crucial to be patient and allow the updates to finish. Depending on the size of the update and the speed of your internet connection, it may take a few minutes.
Once the updates are complete, you’ll receive a confirmation message on the Ledger Live application. You can also verify the updated firmware version and application versions on your Ledger Nano S device.
By following these steps and keeping your Ledger Nano S firmware and applications up to date, you ensure the best security and functionality for your device. Regular updates help protect your cryptocurrencies and provide access to the latest features and improvements.
Step 7: Securing Your Ledger Nano S
Security is of utmost importance when it comes to managing your cryptocurrency assets with the Ledger Nano S. Take the necessary steps to secure your device and protect your funds. Follow these guidelines to enhance the security of your Ledger Nano S:
- Keep your device firmware and applications up to date:
- Enable a strong PIN code:
- Enable the passphrase feature:
- Secure your recovery phrase:
- Double-check addresses:
- Be cautious of phishing attempts:
- Be mindful of physical security:
- Use a secure computer or mobile device:
- Stay informed:
Regularly update the firmware and applications on your Ledger Nano S. This ensures that you have the latest security patches and features for improved protection against potential vulnerabilities.
Choose a PIN code for your Ledger Nano S that is unique and not easily guessable. Avoid using common combinations like “1234” or “0000.” A strong PIN code adds an extra layer of protection against unauthorized access to your device.
Consider enabling the passphrase feature on your Ledger Nano S. This allows you to add an additional layer of security by creating a unique passphrase that must be entered to access your wallet. Make sure to use a strong passphrase and keep it private.
Store your recovery phrase in a safe place, preferably offline. Keep it away from prying eyes and potential threats like fire or water damage. Consider using a hardware or paper wallet to store the recovery phrase securely.
Always verify the accuracy of the recipient address before initiating any cryptocurrency transactions. Confirm the address on both the Ledger Nano S screen and the Ledger Live application to ensure that you are sending funds to the intended recipient.
Be vigilant about potential phishing attempts. Ledger will never ask for your recovery phrase, PIN code, or other sensitive information via email or direct messages. Only enter your information directly on the device itself.
Keep your Ledger Nano S in a secure location when not in use. Avoid leaving it unattended or in plain sight. Utilize the keychain accessory to attach it to your keyring for extra peace of mind.
Ensure that the device you connect your Ledger Nano S to is secure. Keep your operating system, antivirus software, and applications up to date. Avoid using public or untrusted computers or mobile devices for accessing your wallet.
Stay updated with the latest security practices and recommendations from Ledger. Subscribe to their official channels, follow their security guidelines, and remain aware of any potential security risks or updates.
By taking these security measures and remaining vigilant, you can help protect your funds and ensure a secure environment for managing your cryptocurrency assets with the Ledger Nano S.
Step 8: Making Transactions with Ledger Nano S
The Ledger Nano S provides a secure platform for making transactions with your cryptocurrency assets. Follow these steps to safely and confidently execute transactions using your Ledger Nano S:
- Launch the Ledger Live application:
- Enter your Ledger Live password:
- Select the desired account:
- Click on the “Send” tab:
- Enter the recipient’s address:
- Specify the transaction amount:
- Review and confirm the transaction:
- Confirm the transaction on your Ledger Nano S:
- Wait for transaction confirmation:
- Monitor the transaction status:
Open the Ledger Live application on your computer and make sure your Ledger Nano S is connected via the USB cable.
If prompted, enter the password you set up during the Ledger Live account creation process. This step ensures the security of your accounts and wallet information.
In the Ledger Live application, choose the account from which you want to make a transaction. This could be a Bitcoin, Ethereum, or any other supported cryptocurrency account linked to your Ledger Nano S.
Navigate to the “Send” tab within the selected account in Ledger Live. This is where you can initiate outgoing transactions.
Enter the accurate and verified recipient address in the designated field. Be cautious and double-check the address to ensure it matches the intended recipient.
Indicate the amount of cryptocurrency you wish to send in the appropriate field. Ensure that the amount is within your available balance.
Review the transaction details carefully, including the amount and recipient address. Verify that everything is correct before proceeding. If necessary, you can adjust transaction fees or add additional notes.
On your Ledger Nano S device, confirm the transaction details displayed on the device screen. Use the device buttons to navigate and verify the transaction. Only approve the transaction if the details are accurate and align with your intentions.
Once the transaction is confirmed and signed on your Ledger Nano S, the Ledger Live application will broadcast the transaction to the respective blockchain network. Wait for the transaction to be confirmed on the blockchain before considering it complete.
In the Ledger Live application, you can monitor the progress of your transaction by locating it in the transaction history of the respective account. This allows you to track the transaction’s confirmation and view any associated transaction IDs or details.
By following these steps, you can confidently execute transactions using your Ledger Nano S. The device’s secure design and verification process help safeguard your funds and ensure your transactions are conducted safely and accurately.
Troubleshooting Common Issues with Ledger Nano S
While the Ledger Nano S is a reliable and secure hardware wallet, you may encounter some common issues during setup or regular use. Here are some troubleshooting tips to help resolve these issues:
- Connection Issues:
- Device Not Recognized:
- Forgotten PIN Code:
- Unresponsive Device:
- Balance Not Displaying Correctly:
- Failed Transactions:
- Application not Available:
- Reach Out to Ledger Support:
If you’re having trouble connecting your Ledger Nano S to the Ledger Live application, try using a different USB cable or connecting to a different USB port on your computer. Ensure that the USB connection is secure and that your device is powered on.
If your Ledger Nano S is not recognized by your computer or Ledger Live, make sure you have the latest version of Ledger Live installed. You can also try restarting your computer or using a different computer or USB port.
If you forget your Ledger Nano S PIN code, entering an incorrect code three times will trigger a reset. This reset deletes all data on the device, including your cryptocurrency accounts. However, you can recover your accounts using your recovery phrase on a new device.
If your Ledger Nano S becomes unresponsive, try reconnecting it to your computer or restarting it by holding down the device’s left button for a few seconds. If the issue persists, check if there are any firmware updates available for your device.
If your Ledger Live application does not show the correct balance for your accounts, try refreshing the application or reconnecting your Ledger Nano S. If the issue continues, verify that your device firmware is up to date and that you’ve properly synchronized your accounts.
If a transaction fails or gets stuck, review the transaction details and ensure the recipient address is correct. Check if the transaction fee used is sufficient for the network congestion at the time. You may need to cancel or resend the transaction with an appropriate fee.
If a specific cryptocurrency application is not available on your Ledger Nano S, check if there are any updates for the Ledger Live application. Newer versions of Ledger Live often include support for additional cryptocurrencies.
If you’ve tried the troubleshooting steps mentioned above and are still experiencing issues, visit the official Ledger support website or contact their support team for further assistance. They have extensive documentation and a dedicated support team that can help address your specific situation.
Remember, it’s important to stay patient and follow the troubleshooting steps carefully. Always ensure that you have proper backups of your recovery phrase and important data to avoid any potential loss of funds or sensitive information.