
Room Requirements
Before setting up your room for the HTC Vive, there are a few key requirements to keep in mind. Ensuring that you have the appropriate space and conditions will help optimize your virtual reality experience. Here are the essential room requirements:
- Physical Space: The HTC Vive requires a minimum of 6.5ft x 5ft (2m x 1.5m) of clear space to allow for movement and arm extension during gameplay. However, for a more immersive experience, it is recommended to have at least 7ft x 7ft (2.1m x 2.1m) of space.
- Ceiling Height: Make sure your room has a ceiling height of at least 6.5ft (2m) to avoid any potential collisions with the headset or controllers during gameplay.
- Unobstructed Area: Clear the room of any furniture, obstacles, or fragile items that could potentially be damaged during gameplay. Ensure that there are no sharp objects, hanging decorations, or low-hanging lights that could interfere with your movement.
- Lighting Conditions: The HTC Vive utilizes external tracking technology called Lighthouse, which relies on the presence of infrared signals emitted by the base stations. It is ideal to have moderate ambient light in the room, avoiding direct sunlight or harsh overhead lights that could interfere with the tracking system.
- Electrical Outlets: Make sure that you have accessible electrical outlets near your play area to power the base stations and headset. Additionally, ensure that there are no trip hazards from loose cables.
By meeting these room requirements, you will create an optimal environment for your HTC Vive setup. The next step is to clear the space and prepare it for the installation of the base stations.
Clearing the Space
Clearing the space is an essential step in setting up your room for the HTC Vive. By removing any obstacles and creating a safe and open area, you can prevent accidents and fully immerse yourself in the virtual reality experience. Here’s how to clear the space:
- Remove Furniture: Clear the area of any furniture, including chairs, tables, and other objects that may obstruct movement. The more open the space, the better your room-scale VR experience will be.
- Secure Loose Items: Ensure that loose items such as rugs, cords, or cables are properly secured or removed from the play area. These can be potential tripping hazards and may impact your gameplay.
- Protect Fragile Items: If you have any fragile items in the vicinity, consider moving them to a safe location to prevent any accidental damage during gameplay. This includes vases, delicate decorations, or valuable items that could be knocked over or bumped into.
- Organize Cables: Take the time to organize and secure any cables that are in the play area. This will help prevent tripping hazards and ensure a smoother gaming experience. Consider using cable management solutions such as hooks or clips to keep cables out of the way.
- Clear the Floor: Remove any loose objects or debris from the floor that could interfere with your movement or tracking. This includes small toys, cords, or any other items that may cause you to trip or stumble during gameplay.
By clearing the space effectively, you create a safe and optimized environment for your HTC Vive setup. Once you’ve cleared the space, you can move on to mounting the lighthouses in the next step of the setup process.
Mounting the Lighthouses
Mounting the lighthouses is a crucial step in setting up your room for the HTC Vive. These lighthouses emit infrared signals that enable precise tracking of your movements and position within the virtual environment. Here’s a step-by-step guide to mounting the lighthouses:
- Choose Mounting Locations: Select suitable locations for mounting the lighthouses. They should be placed at opposite corners of your play area and positioned above eye level but facing downward.
- Ensure Stability: Make sure the mounting locations are secure and stable. Consider using wall mounts or tripods specifically designed for the lighthouses to ensure optimal stability during gameplay.
- Attach the Mounting Brackets: Depending on the lighthouse model you have, attach the provided brackets to the desired mounting locations using screws or 3M adhesive strips. Ensure that the brackets are firmly attached and can support the weight of the lighthouses.
- Mount the Lighthouses: Gently slide the lighthouses onto the brackets, ensuring they are securely attached. Follow the manufacturer’s instructions for specific models, as the mounting process may vary slightly.
- Adjust the Angle: Once the lighthouses are mounted, adjust their angle to face downward toward the center of your play area. The lighthouses should be angled slightly downward to ensure proper tracking coverage.
- Tighten the Locking Mechanism: Double-check that the locking mechanism on the lighthouses is securely fastened. This will prevent any involuntary movement during gameplay.
- Power On the Lighthouses: Connect the lighthouses to a power source using the included power adapters. Make sure they are properly plugged in and powered on.
By following these steps, you will successfully mount the lighthouses and establish the foundation for accurate and responsive tracking with your HTC Vive. With the lighthouses in place, you can move on to connecting them to your PC in the next step of the setup process.
Connecting the Lighthouses to Your PC
Once you have mounted the lighthouses in your room, the next step in setting up your HTC Vive is connecting them to your PC. This allows the lighthouses to communicate with the headset and controllers for accurate tracking. Here’s how to connect the lighthouses to your PC:
- Locate the USB Connections: Identify the USB ports on the back of your PC. These ports will be used to connect the lighthouses.
- Connect the Sync Cable: Take the sync cable included with your HTC Vive and connect one end to the sync port on the back of one lighthouse. Connect the other end to the sync port on the back of the second lighthouse. This sync cable ensures that the lighthouses are synced together for accurate tracking.
- Connect the Power Cables: Connect the power cables of each lighthouse to available power outlets. Ensure that the lighthouses are receiving power and turned on.
- Connect the Link Box to Your PC: Locate the link box included with your HTC Vive. Connect the USB cable from the link box to an available USB port on your PC. This link box acts as an intermediary device between your PC and the VR headset.
- Connect the VR Headset: Take the HDMI cable from the link box and connect it to the HDMI port on your PC’s graphics card. Connect the USB cable from the link box to an available USB port on your PC. These connections ensure that the VR headset can receive the necessary display and tracking information.
- Check for Driver Installation: Once all the connections are made, your PC may recognize the HTC Vive and begin installing the necessary drivers. Follow any on-screen prompts to complete the installation process.
With the lighthouses successfully connected to your PC, you’re one step closer to immersing yourself in the virtual reality world. The next step is to place the base stations in strategic locations for optimal tracking coverage.
Placing the Base Stations
After connecting the lighthouses to your PC, the next step in setting up your HTC Vive is to strategically place the base stations. Proper placement of the base stations is crucial for accurate tracking and an immersive VR experience. Here’s how to place the base stations:
- Consider the Play Area: Take into account the size and shape of your play area. The base stations should be positioned in a way that allows them to cover the entire play area effectively.
- Positioning at Opposite Corners: Place each base station at opposite corners of your play area. This will provide maximum coverage and help optimize tracking accuracy.
- Mounting or Placement Options: There are two main options for placing the base stations – mounting them on a wall or using tripod stands. Choose the option that works best for your room setup and preferences.
- Mounting on Walls: If you choose to mount the base stations on walls, use the provided mounting brackets or any compatible wall mounts. Make sure the base stations are securely attached and angled downward towards the center of the play area.
- Using Tripod Stands: Alternatively, you can use tripod stands to position the base stations. Extend the tripods to an appropriate height and place them in the desired locations. Ensure that the base stations are stable and pointing towards the center of the play area.
- Leveling and Angling: Once the base stations are in place, ensure that they are level and angled slightly downward. This will help optimize tracking accuracy and minimize any issues with tracking loss.
- Avoid Obstacles: Make sure there are no obstructions between the base stations and the play area. Avoid placing them near large furniture, mirrors, or other reflective surfaces that may interfere with the tracking signals.
- Power On the Base Stations: Connect the base stations to a power source using the provided power adapters. Ensure that they are properly plugged in and powered on.
By following these steps and strategically placing the base stations, you will optimize the tracking capabilities of your HTC Vive. With the base stations in place, you can move on to setting up the room-scale tracking in the next step of the setup process.
Setting Up the Room Scale
Setting up the room-scale feature of your HTC Vive is an important step to ensure a truly immersive virtual reality experience. The room-scale setup allows you to freely move and explore in a larger play area. Here’s how to set up the room scale:
- Launch SteamVR: Open the Steam application on your PC and click on the VR button at the top-right corner to launch SteamVR.
- Calibrate the Floor Level: In the SteamVR Dashboard, go to the Room Setup option and select “Run Room Setup.” Follow the on-screen instructions to calibrate the floor level by pointing to the base stations with the controllers.
- Define Your Play Area: In the Room Setup process, you will be prompted to define the boundaries of your play area using one of the available methods (standing only, sitting, or room-scale). For room-scale, carefully walk around the play area and use the controllers to mark the boundaries on the floor as directed.
- Confirm the Play Area: Once you have defined the play area, the system will show you a summary of the defined boundaries. Ensure that the boundaries are correct and align with the actual physical space.
- Test the Tracking: After confirming the play area, it’s recommended to test the tracking by moving around within the boundaries. Make sure all the movements and positions are accurately tracked by the base stations and reflected in the virtual environment.
- Adjustments and Corrections: If you notice any tracking issues or inaccuracies, you can make adjustments to the base station angles, positions, or retry the room setup process to ensure optimal tracking performance.
By following these steps and setting up the room-scale feature, you can enjoy a more immersive and interactive virtual reality experience with your HTC Vive. The next step is to position the controllers for optimal gameplay.
Positioning the Controllers
Positioning the controllers correctly is crucial for precise interaction and gameplay in virtual reality with your HTC Vive. Proper placement and grip of the controllers will enhance your immersive experience and ensure accurate tracking. Here’s how to position the controllers:
- Grip the Controllers: Hold the controllers firmly but comfortably in your hands, with your thumbs resting on the touchpad or buttons. Ensure that your grip is secure but not overly tense to avoid fatigue during extended play sessions.
- Awareness of Controller Orientation: Pay attention to the orientation of the controllers to match the virtual representation in the VR world. Each controller has a front side, typically indicated by a logo or button arrangement. Orient them accordingly, facing forward.
- Positioning Within the Play Area: Keep the controllers within the boundaries of your play area. Make sure they are not obstructed by your body, furniture, or other objects that could interfere with tracking.
- Avoid Covering the Sensors: Be mindful of your hand and finger placement on the controllers, avoiding covering any of the tracking sensors. This will ensure accurate tracking and prevent any tracking loss during gameplay.
- Utilize the Physical Buttons and Trackpad: Make use of the physical buttons and trackpad on the controllers to navigate menus, select objects, or perform in-game actions. Familiarize yourself with the layout and functionality of the buttons for an intuitive gaming experience.
- Use Motion Controls: The HTC Vive controllers support motion controls, allowing you to interact with the virtual environment by physically moving your hands. Take advantage of motion controls for a more immersive and engaging experience in compatible games and applications.
- Reposition if Necessary: If you experience any tracking issues or notice a loss of responsiveness, try repositioning the controllers within the play area. Sometimes small adjustments or angling the controllers can improve tracking performance.
By following these guidelines and properly positioning the controllers, you can fully immerse yourself in the virtual world and enjoy a seamless and interactive HTC Vive experience. With the controllers in position, the next step is to connect the headset and cables.
Connecting the Headset and Cables
To fully set up your HTC Vive, you need to connect the headset and cables to your PC. These connections establish the audiovisual link between your VR experience and the computer. Here’s how to connect the headset and cables:
- Prepare the Headset: Ensure that the headset is adjusted, so it fits comfortably on your head. Adjust the straps and the distance between the lenses to find the optimal position for clear vision.
- Connect the Headset Cable: Locate the cable coming from the back of the headset. Connect the HDMI end of the cable to the HDMI port on your PC’s graphics card. Connect the USB end to an available USB port on your PC. The cables are labeled to help you identify the correct connections.
- Connect the Power Cable: Connect the power cable to the link box of your HTC Vive. Plug the power adapter into a nearby electrical outlet. Make sure the link box is powered on.
- Setup the Link Box: The link box acts as a bridge between your PC and the VR headset. Make sure the link box is connected to your PC via USB and HDMI cables. Additionally, connect the provided cables from the link box to the headset, ensuring a secure and proper connection.
- Check the Connections: Verify that all the cables are securely connected at both ends. Double-check the HDMI and USB connections on the PC side as well. Loose connections can impact the display and audio quality.
- Adjust Cable Length: Take a moment to adjust the length of the headset cable. Ensure that it’s not too tight or too loose, allowing for comfortable movement and preventing any strain on the cables or headset.
- Put on the Headset: Once everything is connected, put on the headset, and adjust the straps to ensure a comfortable fit. Make sure the lenses align with your eyes for clear and immersive visuals.
By following these steps, you will have successfully connected the headset and cables, establishing the critical link between your HTC Vive and the PC. The next step is to adjust the headset straps for an optimal fit.
Adjusting the Headset Straps
Properly adjusting the headset straps is an important step to ensure maximum comfort and optimal visual clarity when using your HTC Vive. The right fit will enhance your overall virtual reality experience and prevent discomfort during extended gameplay sessions. Here’s how to adjust the headset straps:
- Position the Headset: Place the headset on your head, ensuring that it rests comfortably and securely. The back strap should be positioned at the back of your head, and the side straps should wrap around the sides of your head.
- Adjust the Top Strap: Locate the top strap and adjust its length to achieve a secure and comfortable fit. Tighten or loosen the strap until the headset feels stable on your head without being overly tight or causing discomfort.
- Adjust the Side Straps: Adjust the side straps on both sides of the headset to achieve a balanced fit. These straps should support the weight of the headset and help distribute it evenly across your head. Tighten or loosen the side straps as needed to ensure a secure but comfortable fit.
- Position the Padded Interface: The padded interface that rests against your face should be positioned correctly for optimal comfort and visual clarity. Adjust the interface up or down and tilt it slightly to align with your face contours. Ensure that it fits snugly against your face without causing any discomfort or pressure points.
- Check for Stability: Once you have adjusted the straps and positioned the padded interface, move your head gently in different directions to check for stability. The headset should remain securely in place without shifting or causing any discomfort.
- Recheck and Fine-Tune: After wearing the headset for a few minutes, reassess the fit and comfort. If needed, make further adjustments to the straps to achieve the desired fit. Minor tweaks may be necessary to ensure the best experience during prolonged use.
By following these steps and adjusting the headset straps, you will achieve a comfortable and secure fit for your HTC Vive. A well-fitted headset will enhance your virtual reality adventures and minimize any distractions from discomfort. With the headset properly adjusted, you are now ready to pair and calibrate the controllers.
Pairing the Controllers
Pairing the controllers is an essential step to ensure they are recognized by your HTC Vive and function properly within the virtual environment. Properly paired controllers enhance the immersive experience and enable precise interaction. Here’s how to pair the controllers:
- Turn on the Controllers: Press and hold the system button on each controller for a few seconds until the LED lights on the controllers turn solid green. This indicates that the controllers are powered on and ready to pair.
- Launch SteamVR: Open the Steam application on your PC and click on the VR button at the top-right corner to launch SteamVR. Ensure that both the headset and base stations are already powered on and properly connected.
- Enter Pairing Mode: While in SteamVR, click on the SteamVR drop-down menu and navigate to Devices > Pair Controller. This will initiate the pairing process between your PC and the controllers.
- Follow On-Screen Prompts: Pay attention to the on-screen instructions and prompts to complete the pairing process. Typically, you will be asked to press and hold the menu button and the system button on each controller simultaneously. This helps establish the connection between the controllers and your PC.
- Wait for Successful Pairing: Once the pairing process is initiated, wait for the controllers to be successfully paired. You will see a confirmation message on the screen, indicating that the controllers are now paired and ready for use.
- Verify Controller Connectivity: To ensure proper connectivity, check if the LED lights on the controllers are solid green. This indicates that the controllers are connected and synced with the HTC Vive system. If the LED lights are flashing or showing a different color, repeat the pairing process.
- Test the Controllers: After successful pairing, test the controllers by navigating through menus or interacting with objects in a VR environment. Verify that all buttons and motion controls are functioning correctly to ensure a seamless and immersive gaming experience.
By following these steps, you will successfully pair the controllers with your HTC Vive, allowing you to fully immerse yourself in virtual reality and engage in various interactive experiences. With the controllers paired, the next step is to calibrate the room scale for accurate tracking.
Calibrating the Room Scale
Calibrating the room scale is a vital step in setting up your HTC Vive. Proper calibration ensures accurate tracking of your movements within the play area, allowing for a more immersive and interactive virtual reality experience. Here’s how to calibrate the room scale:
- Launch SteamVR: Open the Steam application on your PC and click on the VR button at the top-right corner to launch SteamVR. Make sure your HTC Vive headset, controllers, and base stations are all powered on and properly connected.
- Select Room Setup: Within the SteamVR Dashboard, select “Room Setup.” You will be guided through the calibration process step by step.
- Define Play Area: During the room setup process, follow the on-screen instructions to define the boundaries of your play area. Use one of the available methods – standing, sitting, or room-scale – depending on your desired VR experience. Make sure to walk around the perimeter and use the controllers to trace the boundaries on the floor.
- Confirm Play Area Dimensions: After defining the play area, you will be asked to double-check the dimensions and adjust if needed. Ensure that the dimensions accurately represent the physical space available for your virtual reality activities.
- Configure Chaperone System: The chaperone system creates virtual walls or grids that appear in your VR environment to warn you when getting close to the boundaries of your play area. Customize the appearance of the chaperone system and choose the level of visibility and sensitivity that suits your preferences and needs.
- Test Tracking and Room Scale: After completing the calibration and configuring the chaperone system, test the tracking and room-scale capabilities by moving around within the play area. Verify that the base stations accurately track your movements and that there are no issues with tracking loss or jittering.
- Make Adjustments if Necessary: If you notice any tracking issues or have concerns about the play area dimensions, you can repeat the room setup process to make adjustments. Minor changes in base station positions or play area boundaries might be required to optimize tracking accuracy.
By following these steps and calibrating the room scale, you will ensure accurate tracking and create an optimal virtual reality environment with your HTC Vive. The calibrated room scale allows for immersive gameplay and freedom of movement within the designated play area. With the room scale calibration complete, you’re ready to test and enjoy your VR experiences.
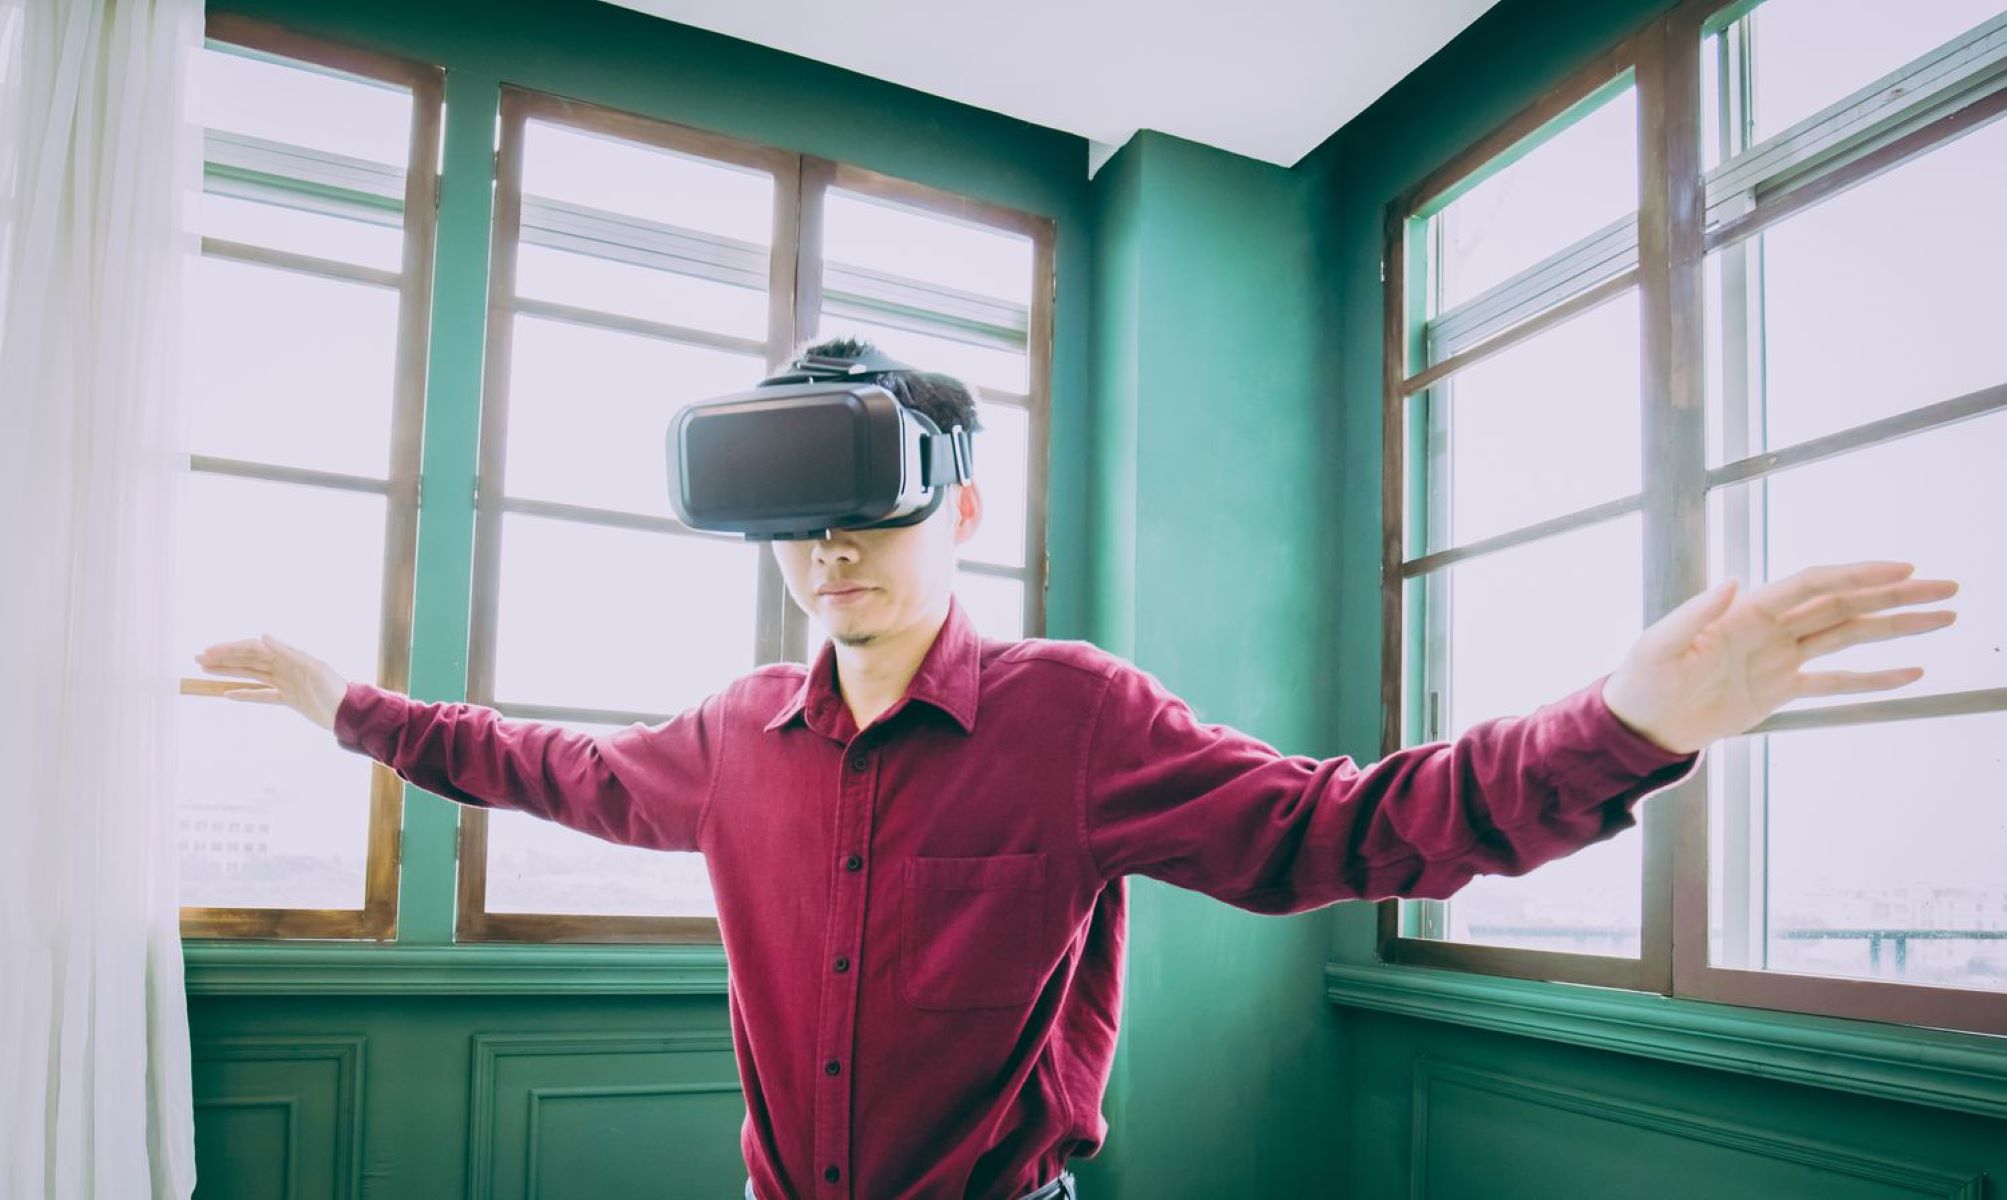
Testing the VR Experience
With your HTC Vive set up and calibrated, it’s time to test the VR experience and immerse yourself in a whole new world. Testing allows you to ensure that everything is working correctly and provides an opportunity to familiarize yourself with the virtual reality environment. Here’s how to test your VR experience:
- Launch VR Applications: Open your preferred VR application or game through the SteamVR Library or other compatible platforms. Choose an experience that showcases the capabilities of your HTC Vive.
- Check Visual Clarity: Assess the visual clarity by looking around and focusing on different objects within the virtual environment. Adjust the headset position and the straps if necessary to achieve the clearest image possible. Explore the graphics and visual details to fully appreciate the immersive experience.
- Interact with Objects: Utilize the controllers to interact with objects or perform actions within the VR world. Test how accurately the controllers respond to your movements and gestures. Engage with the virtual environment and experiment with different interactions to grasp the full potential of the HTC Vive system.
- Move Around the Play Area: Test the room-scale tracking by physically moving around within the play area. Walk, crouch, or reach out to objects in the VR environment while ensuring the base stations accurately track your movements. Confirm that there are no tracking glitches, loss of tracking, or issues with the virtual representation of your movements.
- Assess Audio Quality: Pay attention to the audio quality and spatial sound effects within the VR experience. Ensure that you can hear sounds coming from their intended direction, creating a more immersive and realistic audio experience. Adjust the volume if necessary for optimal enjoyment.
- Experiment with Different Applications: Try various VR applications and games to explore the versatility of your HTC Vive. Experiment with different genres, environments, and experiences to discover what captivates you the most. Take advantage of the wide range of content available on platforms like SteamVR to unlock new adventures and possibilities.
- Troubleshoot Issues: If you encounter any technical issues or notice any problems during testing, refer to the troubleshooting resources provided by the HTC Vive or the respective VR application. Common issues may include controller connectivity, tracking issues, or software compatibility. Follow the recommended steps to address and resolve any problems.
By following these testing procedures, you can ensure that your HTC Vive is functioning properly and fine-tune the settings to optimize your VR experience. Enjoy exploring the vast VR world and unlocking the countless possibilities that await you with your HTC Vive headset.